This guide provides a step-by-step process for logging an Ad-Hoc maintenance job in the Accounts screen of iamproperty CRM, ensuring that users can efficiently document issues that have not been reported via Property Management. By following these instructions, users can streamline their maintenance requests and enhance property management efficiency. It's an essential resource for anyone looking to maintain accurate records and ensure timely repairs.
1. Navigate to https://crm.iamproperty.com/Dashboards/Accounts
2. This process shows how to add a maintenance task that HAS NOT been added via the Property Management dashboard. It is best practice to add all maintenance via the Property Management module to benefit from the better tracking and contractor management features.
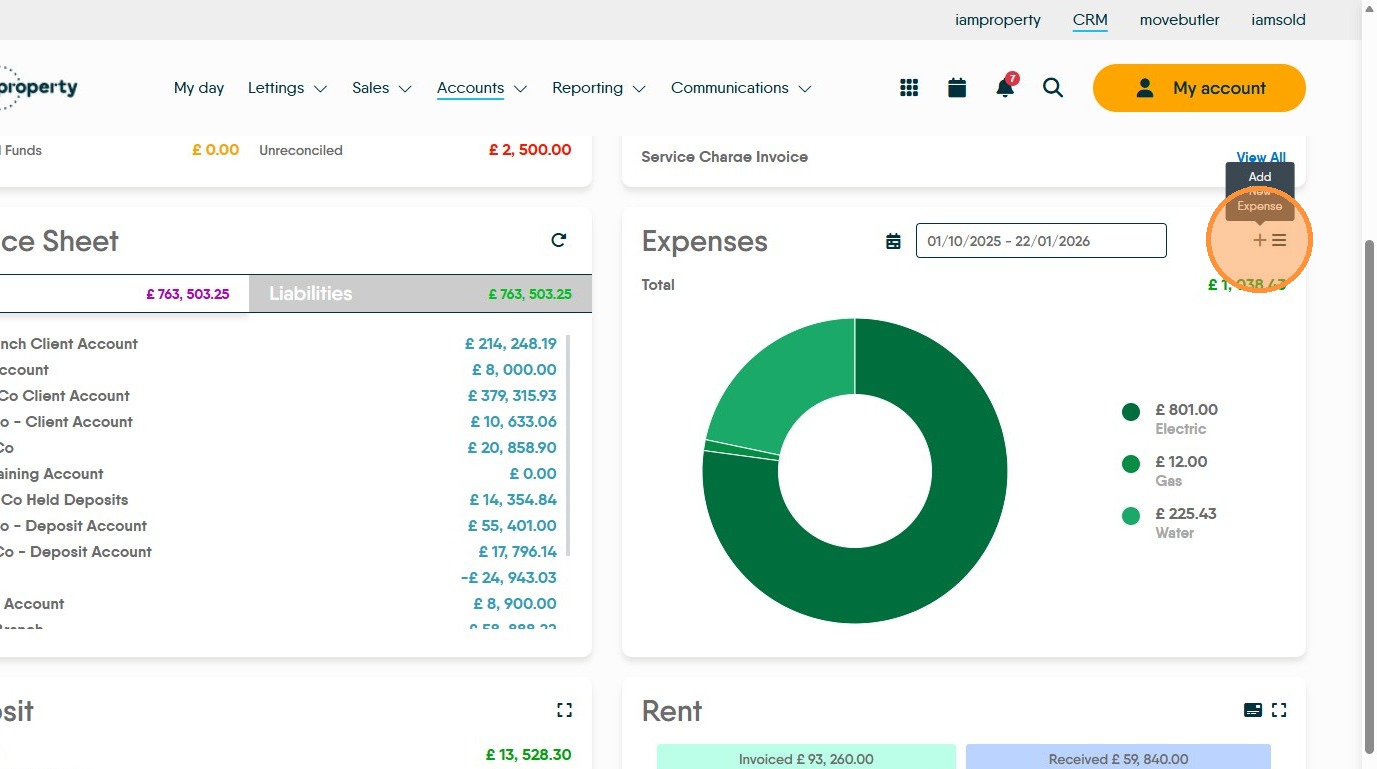
3. To add an Ad Hoc expense click here.
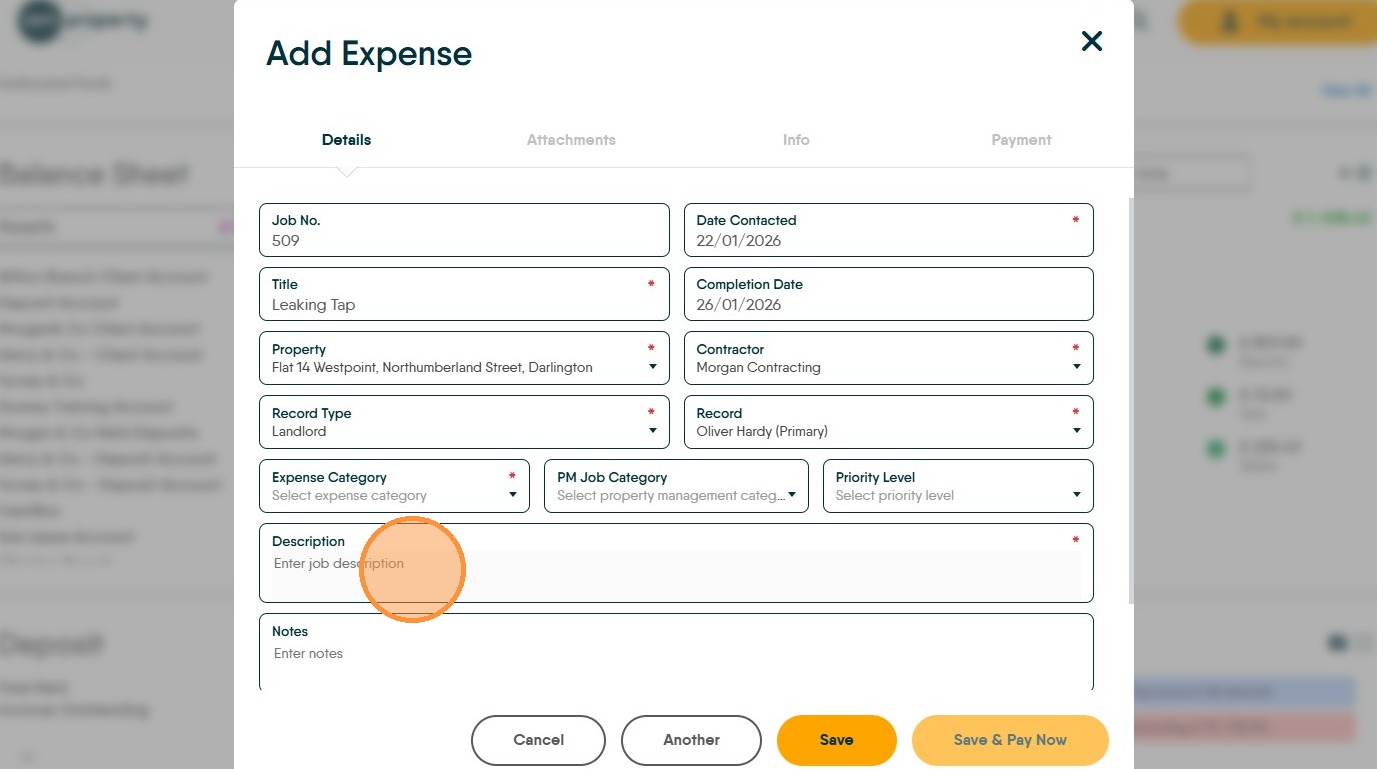
4. Click the "Title" field. Add the job title (description for the task)
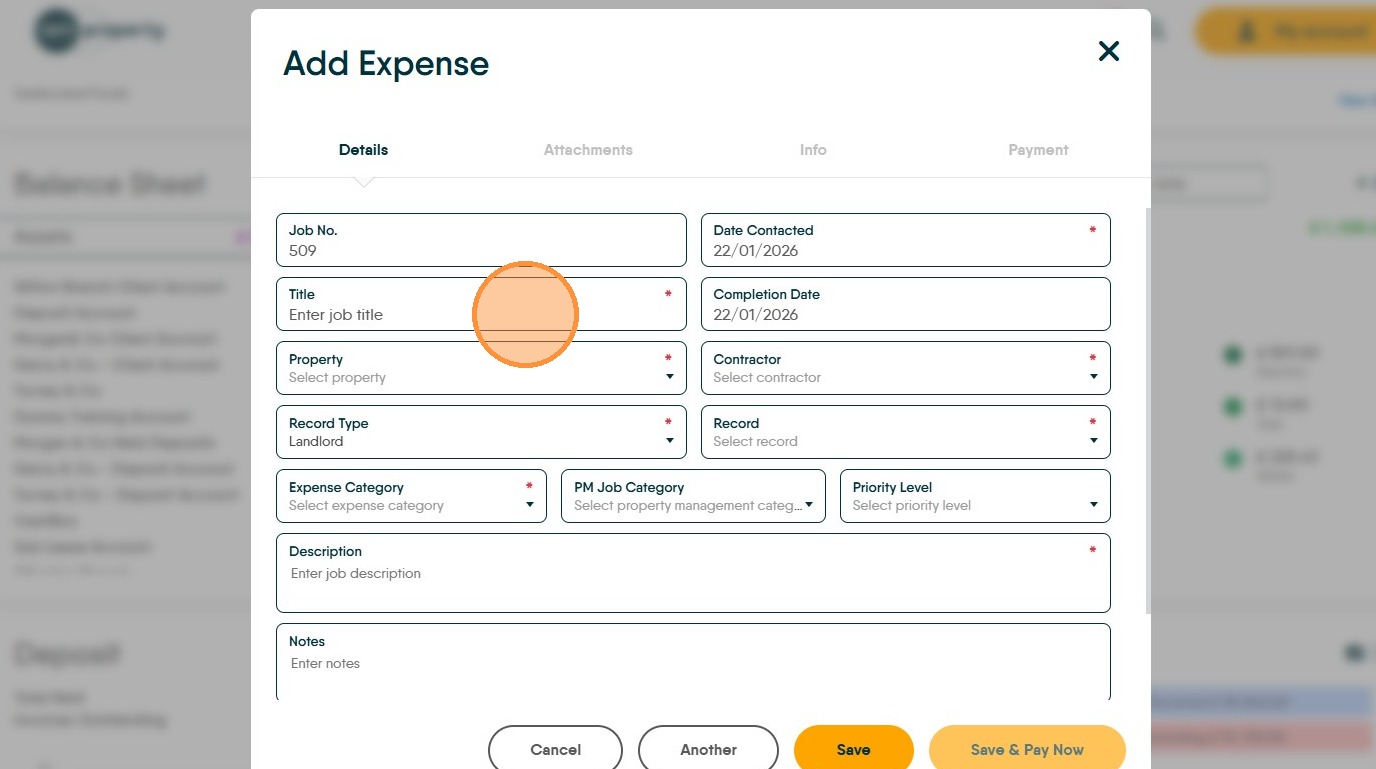
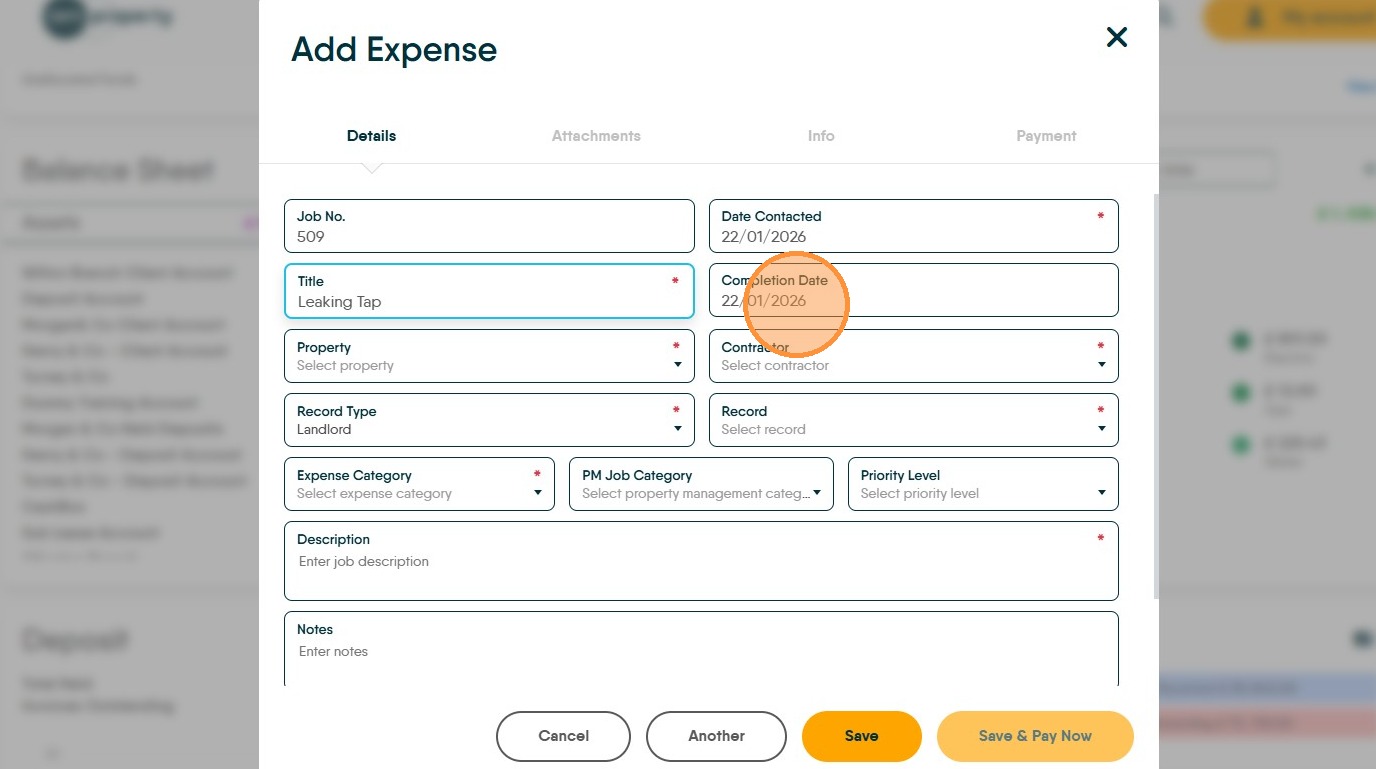
5. Click the "Completion Date" field and add the date the job was completed.
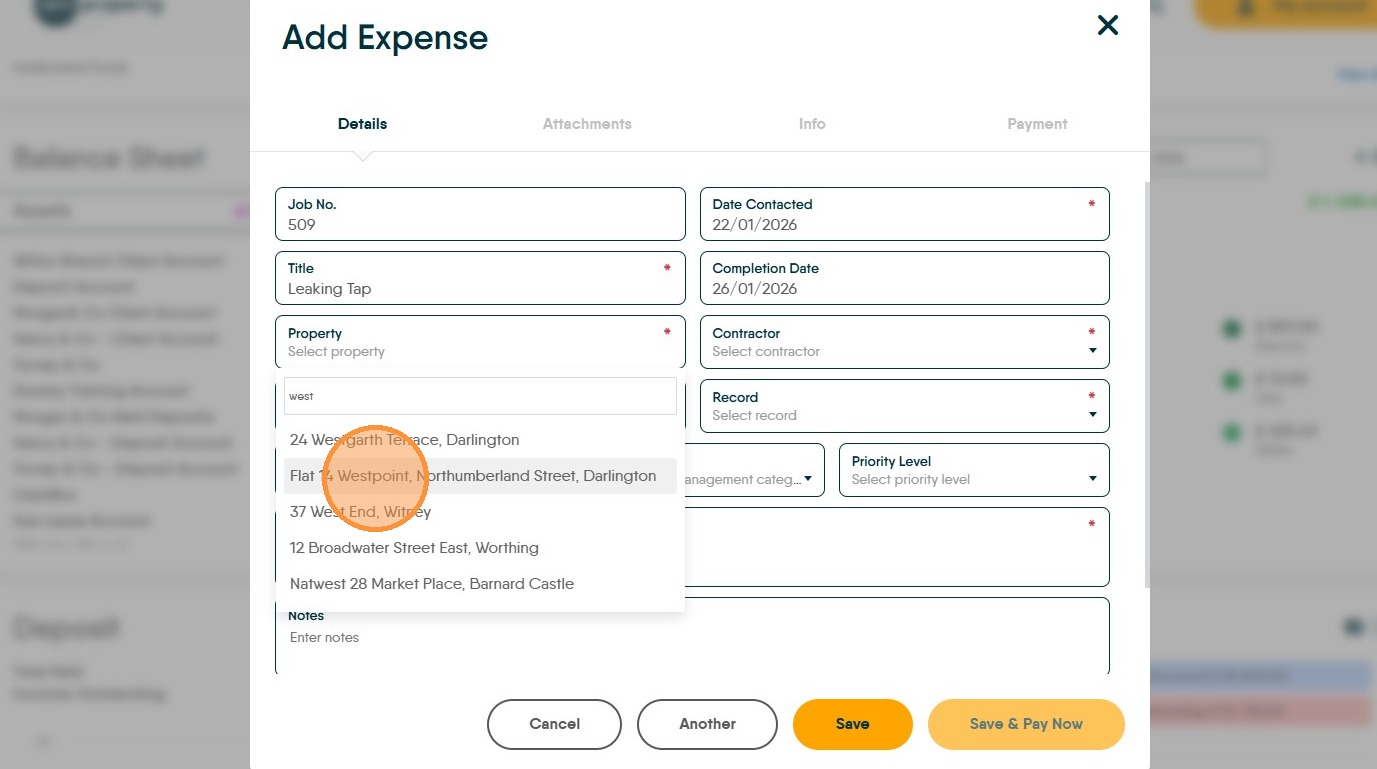
6. Search for the Property. Click "Property Name" from the list shown.
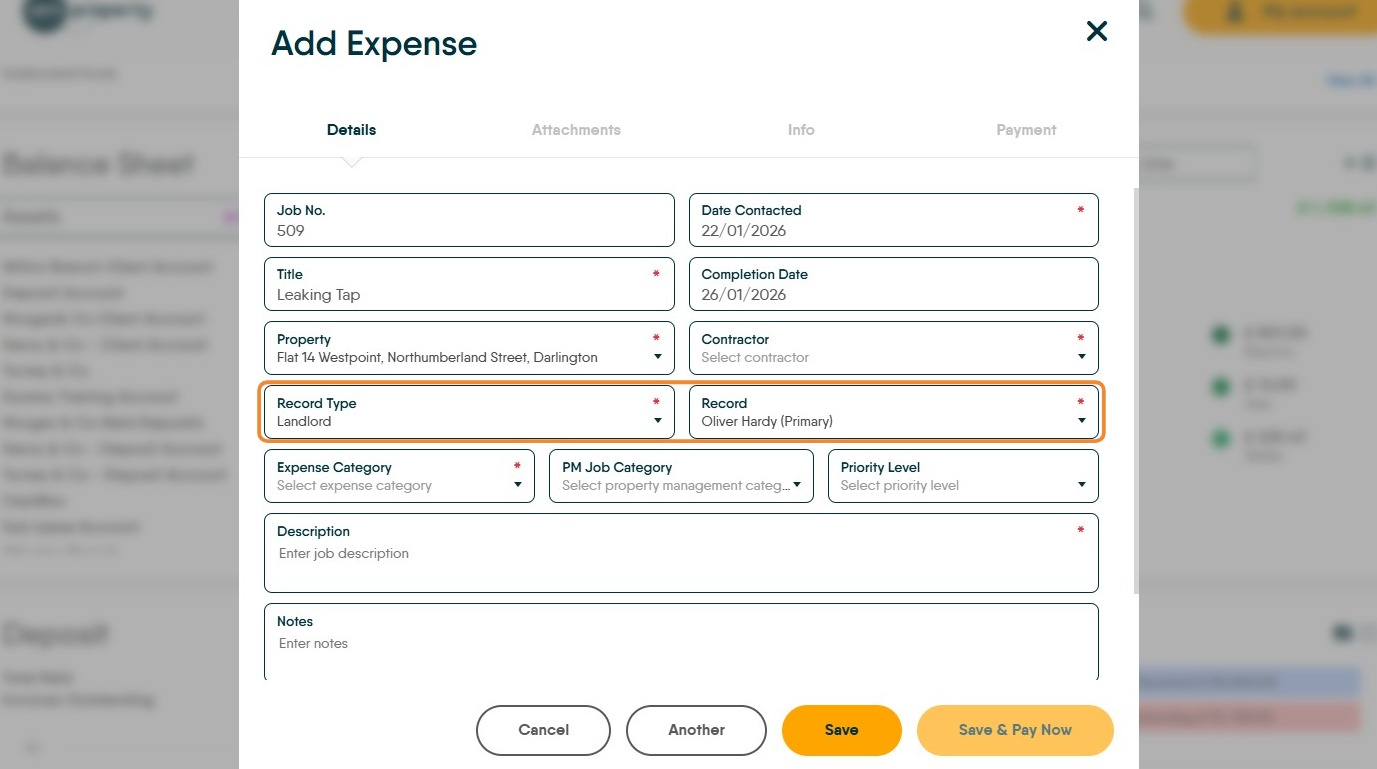
7. When the Property details are added the Landlord details will be completed
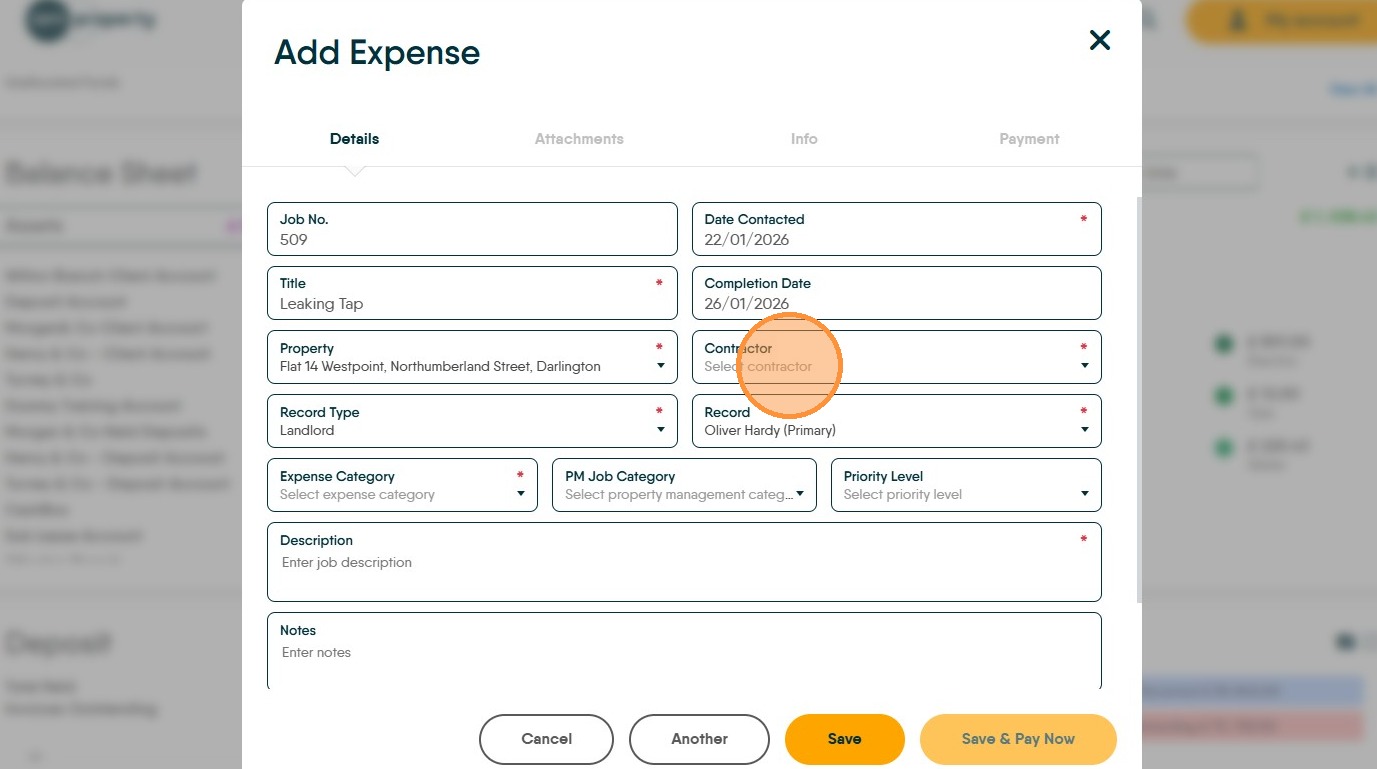
8. Click "Select contractor" search for your contractor.
N.B. this does not show 'Assoc' (associated) against the contractors names. 'Assoc' contractors details are shown in the 'Info' screen.
9. Click "Select expense category" also if required set the PM Job Category and Priority Level.
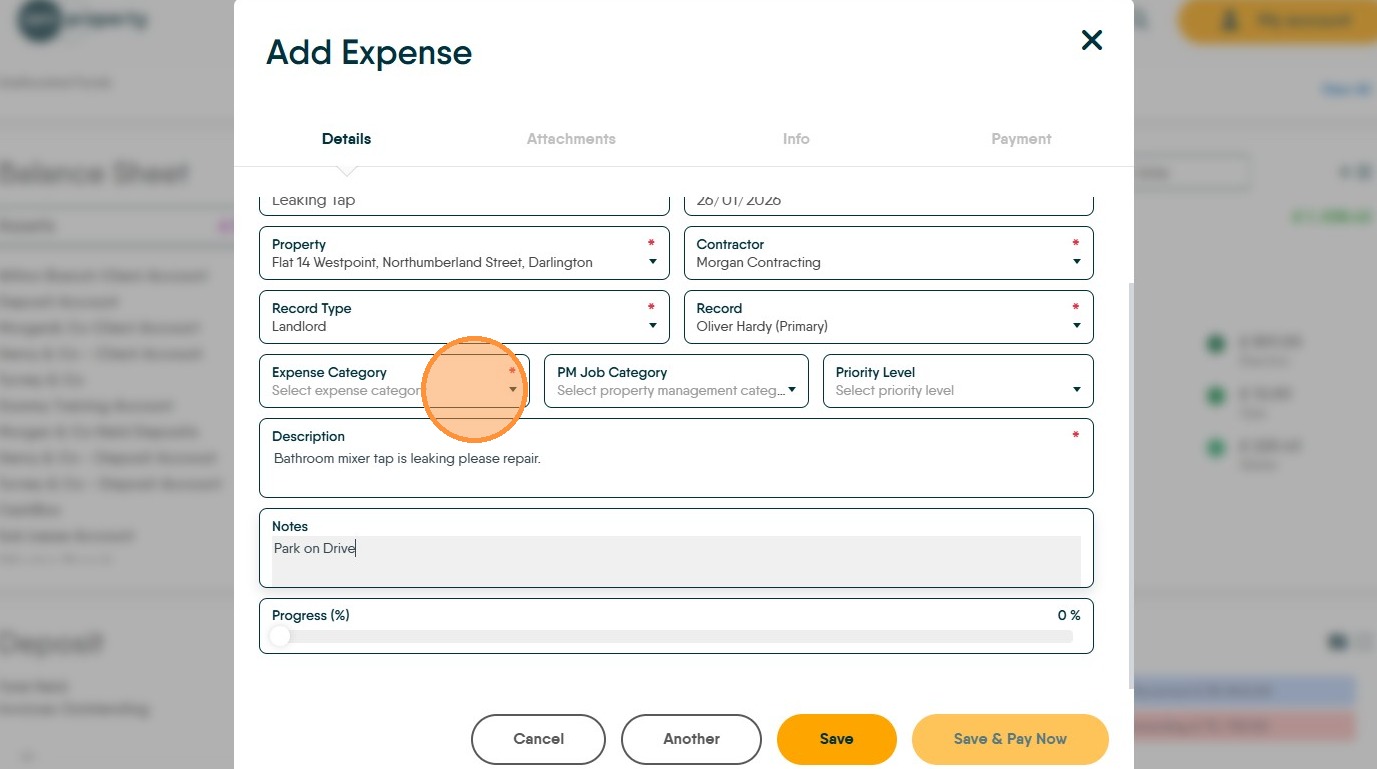
10. Click the "Description" field and enter a clear description of the job. This may be shown to the Landlord as part of their statement.
11. Click the "Notes" field add any additional notes that you want to add.
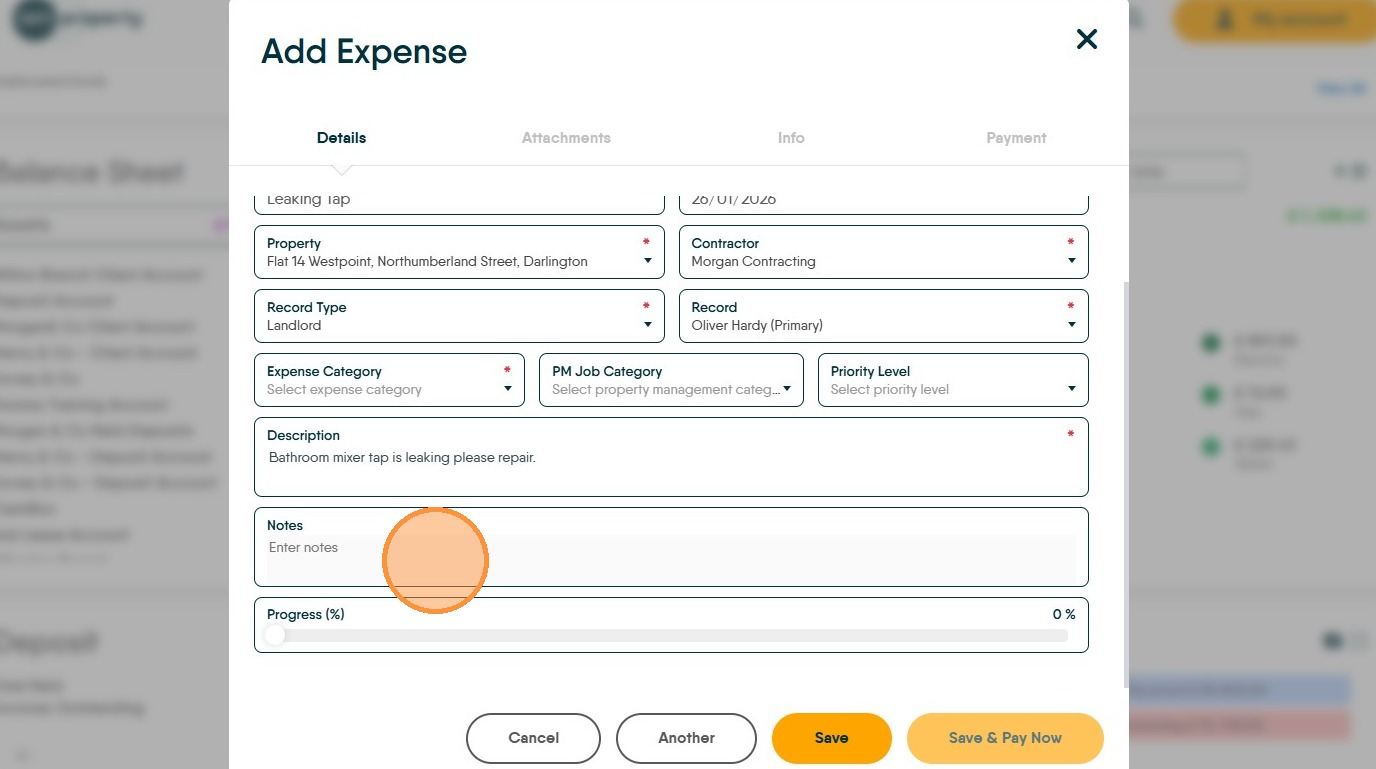
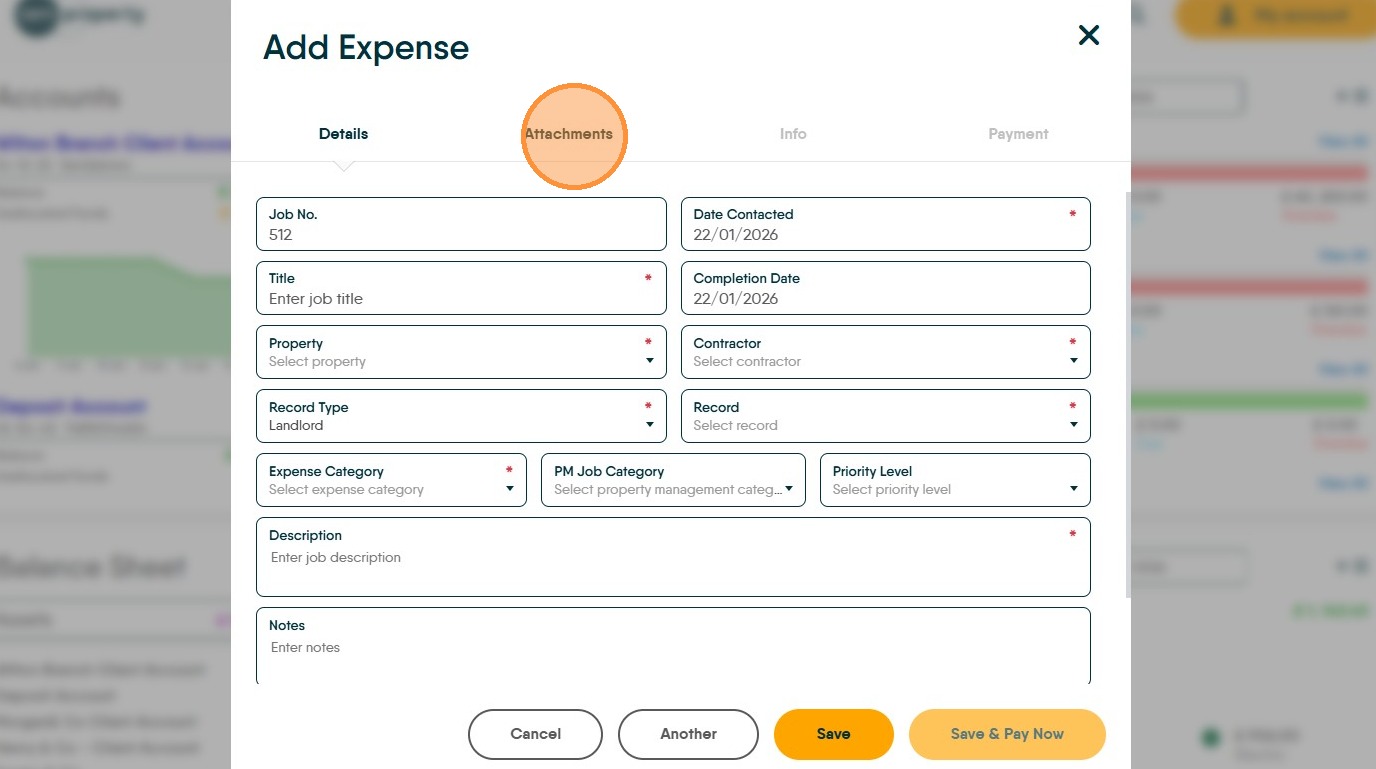
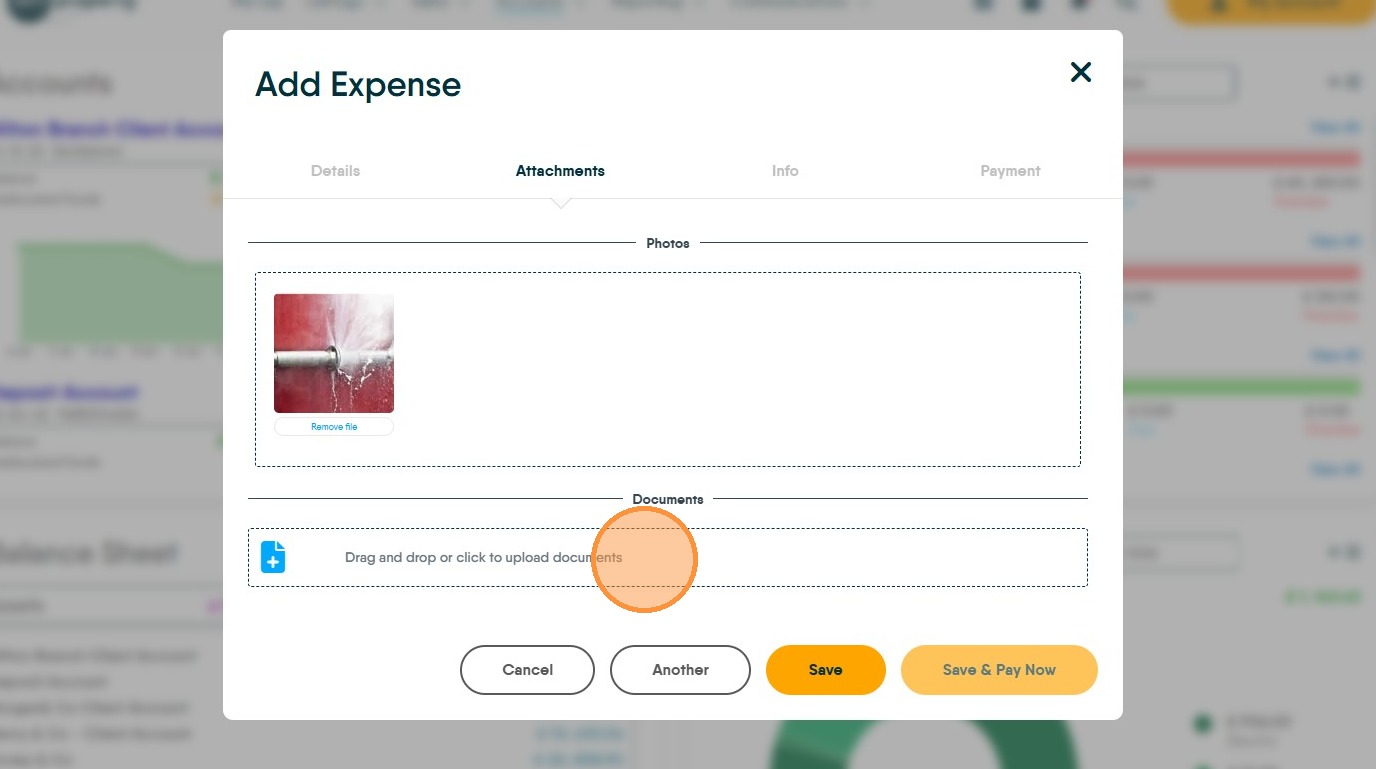
12. Adding Images or Invoice
13. Click "Attachments"
14. Click "Drag and drop or click to upload photos" you can either search your computer or drag images from an email or folder into here.

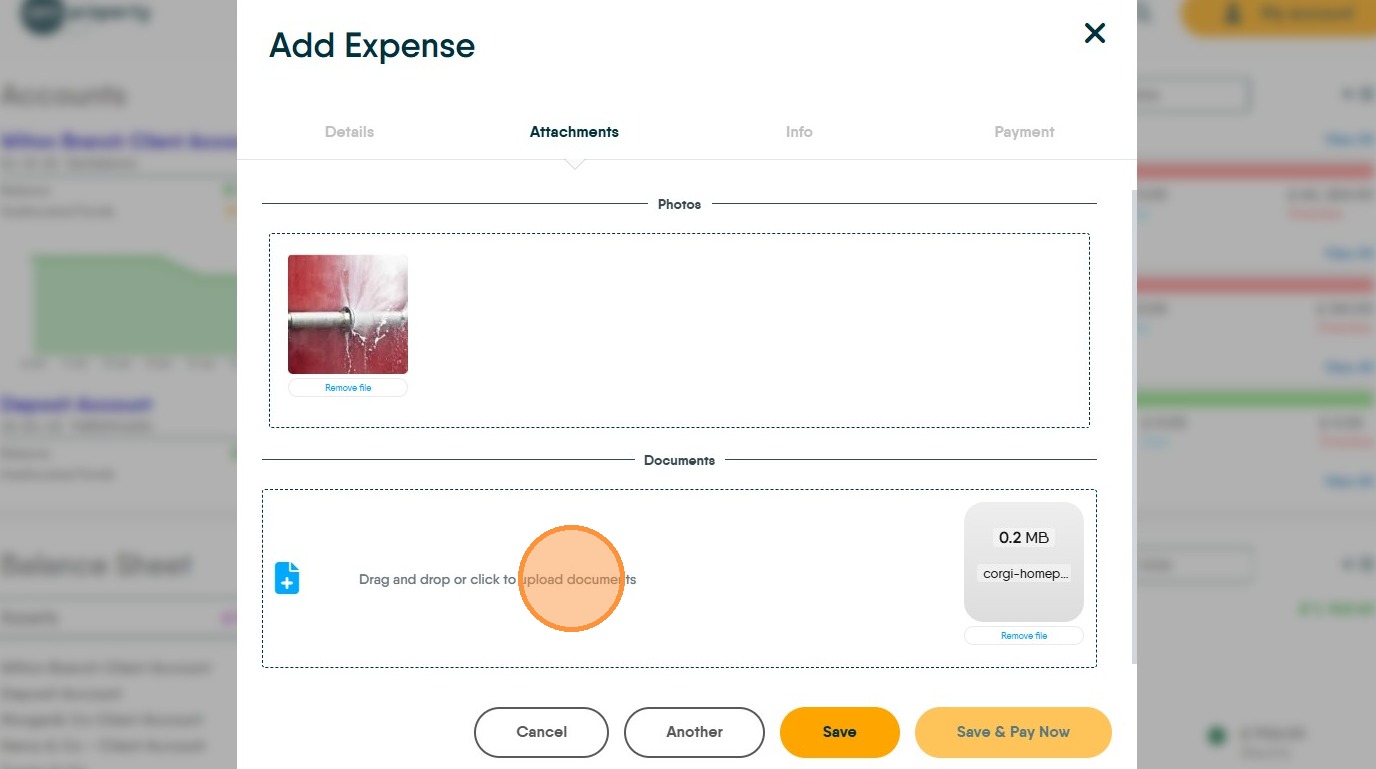
15. Click "Drag and drop or click to upload documents" upload any copies of documents into here from emails or folders on your computer. These images could be copies of the Invoice or other types of documents.
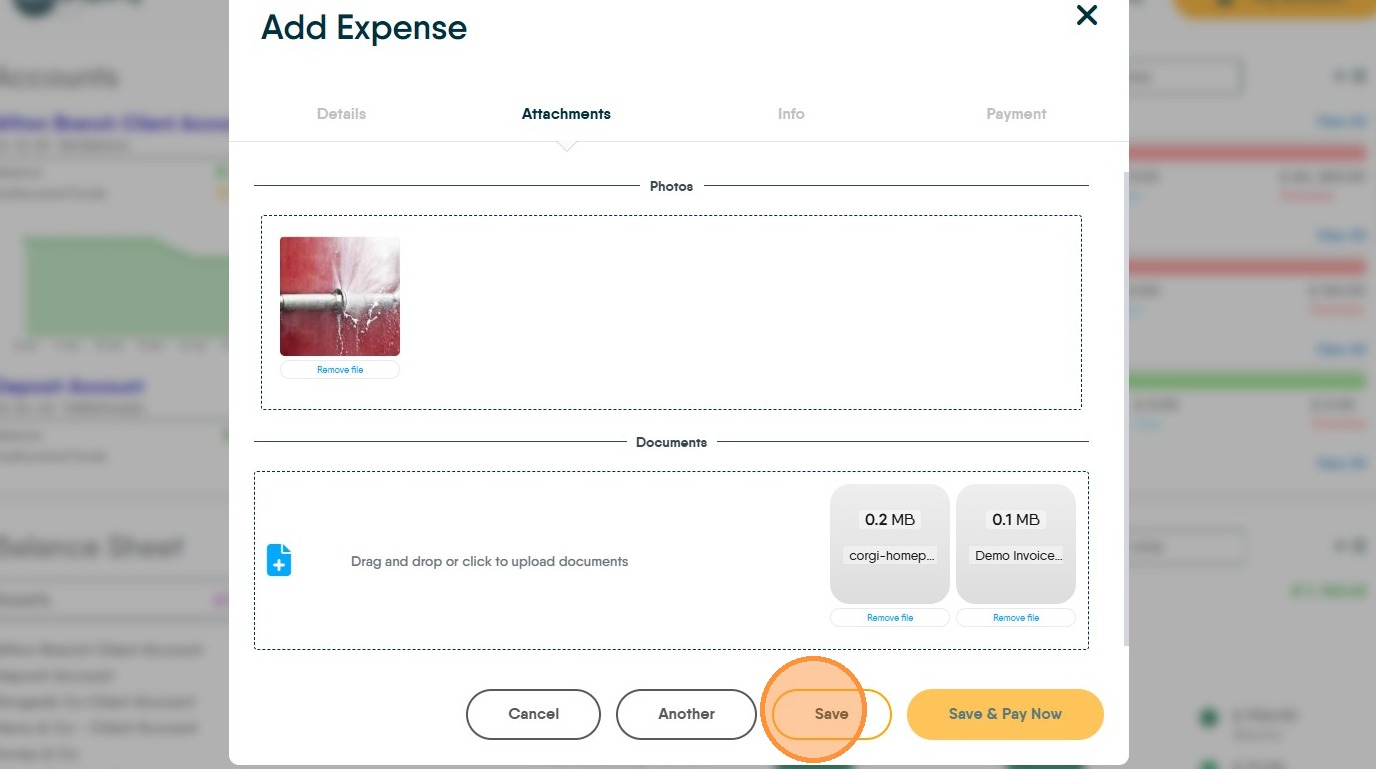
16. Click "Drag and drop or click to upload documents"
17. Click "Save"
18. Click "Payment"

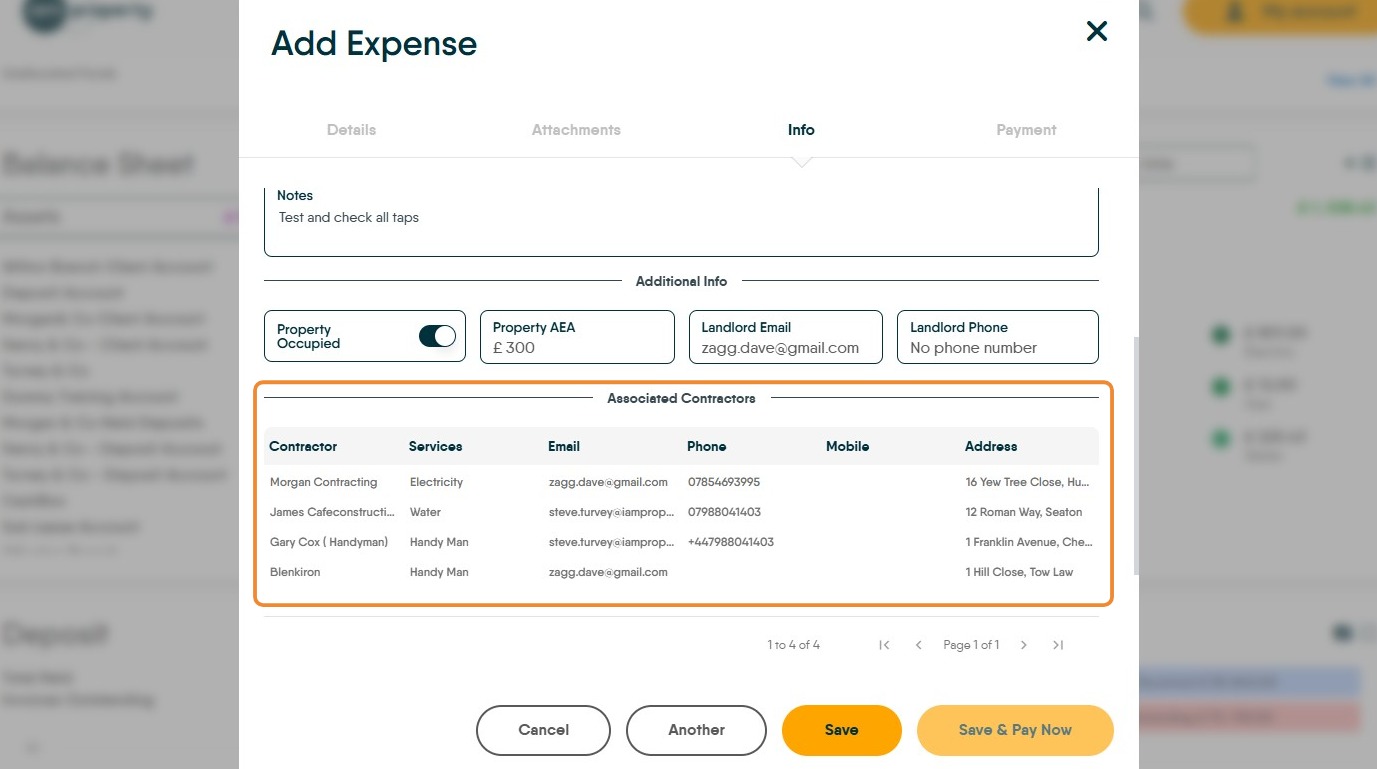
19. Click "Info"
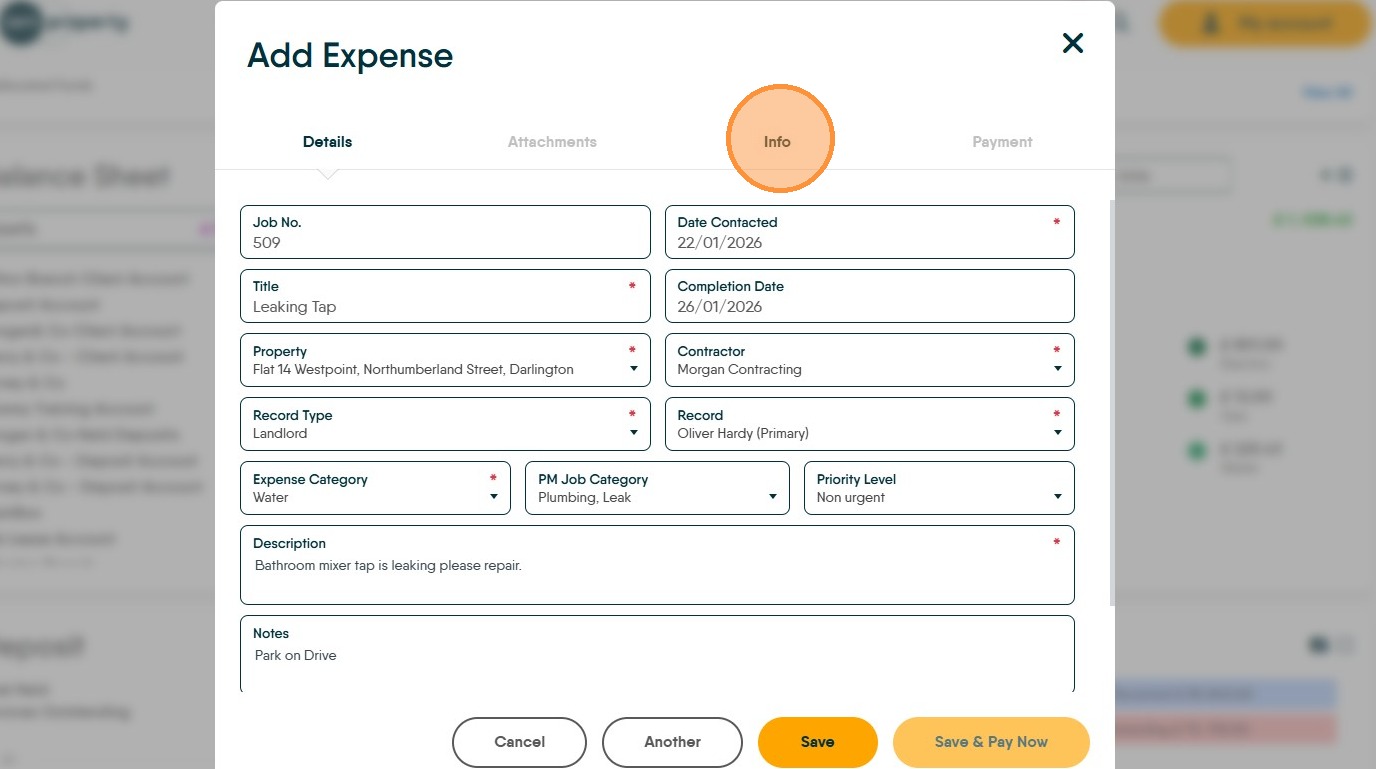
20. Click the "Notes" field add any notes.

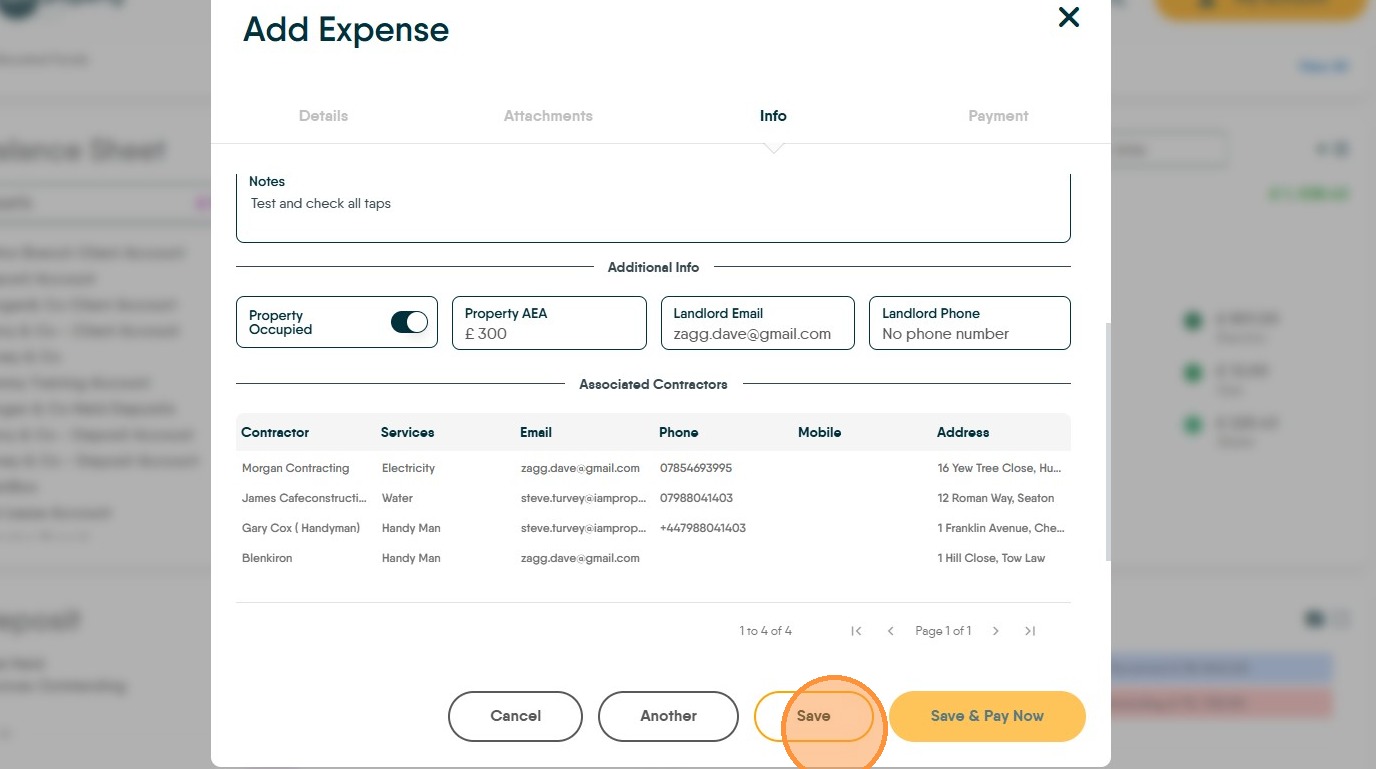
21. A list of assigned contractors for this record is shown at the bottom of the info screen.
22. Click "Save"
23. Invoicing the Landlord.
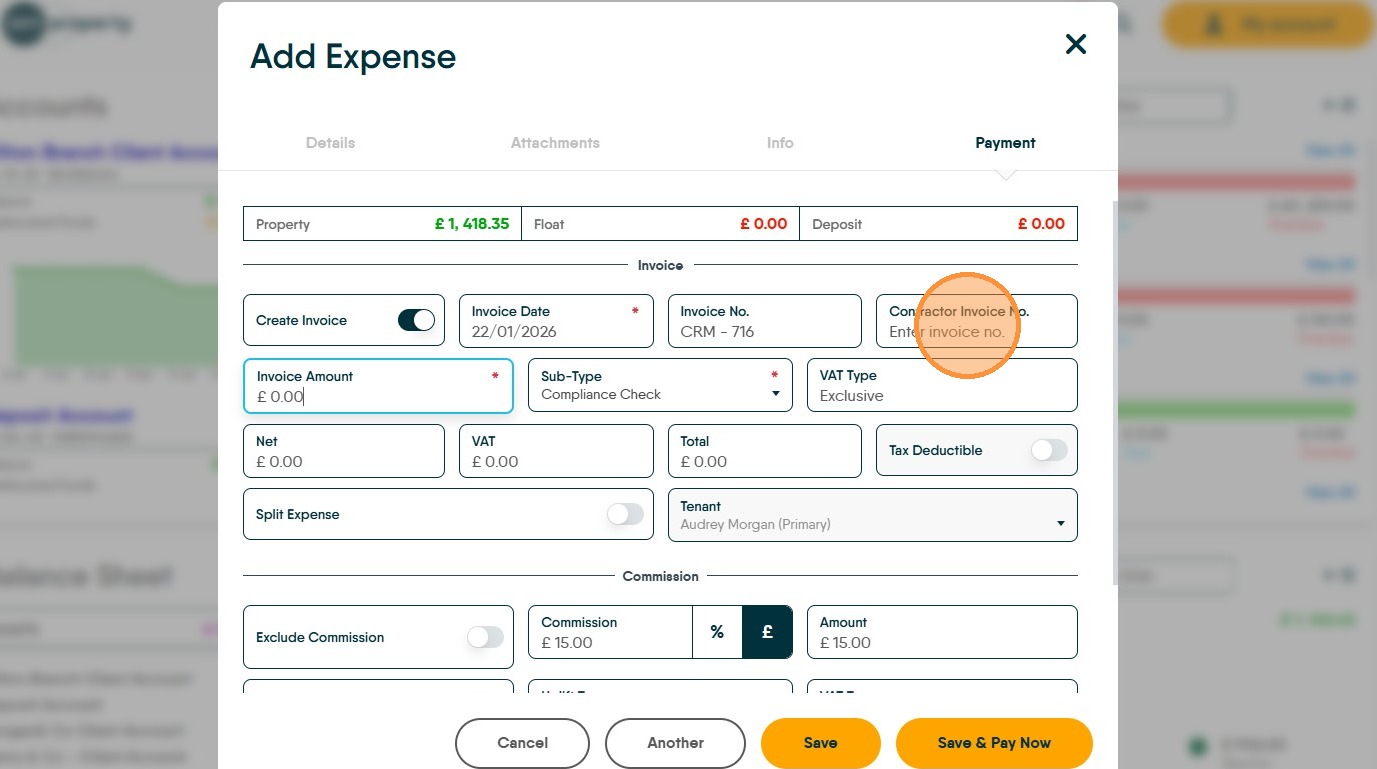
24. Click here to create the charge to the Landlord. Check the invoice date and the invoice number are correct. The 'Invoice Number' is created from the configuration and increases by 1 each time.
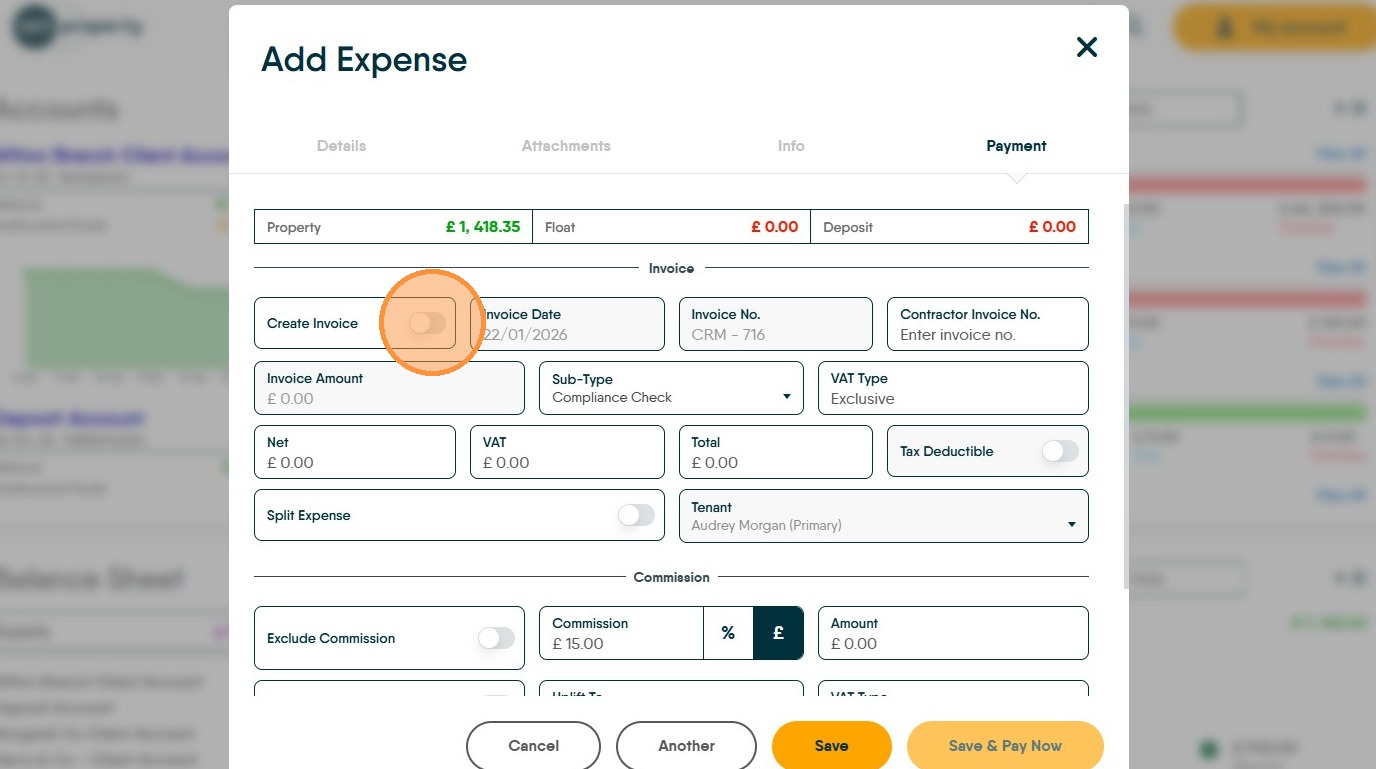
25. Click the "Contractor Invoice No." field. The CRM will warn if this number has been used previously by this contractor.
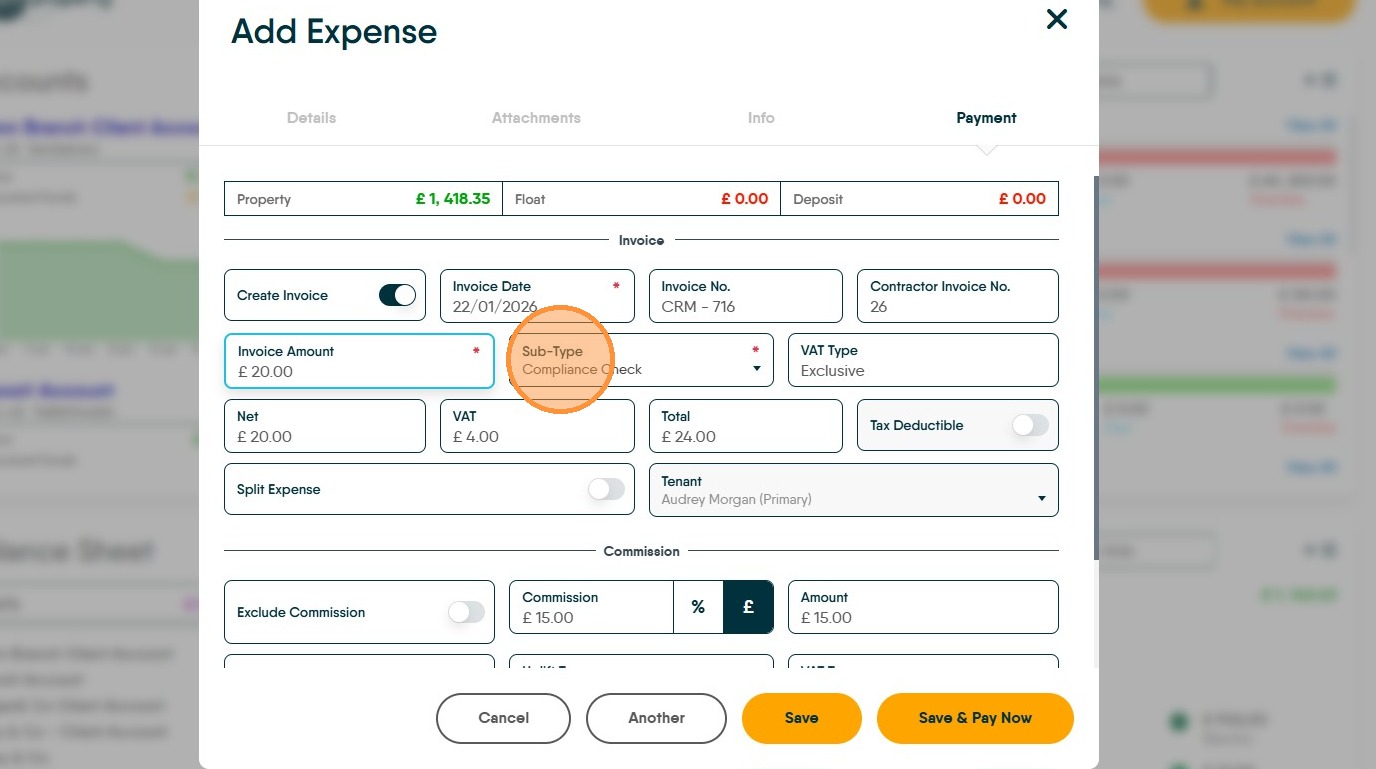
26. Click the "Invoice Amount" field.
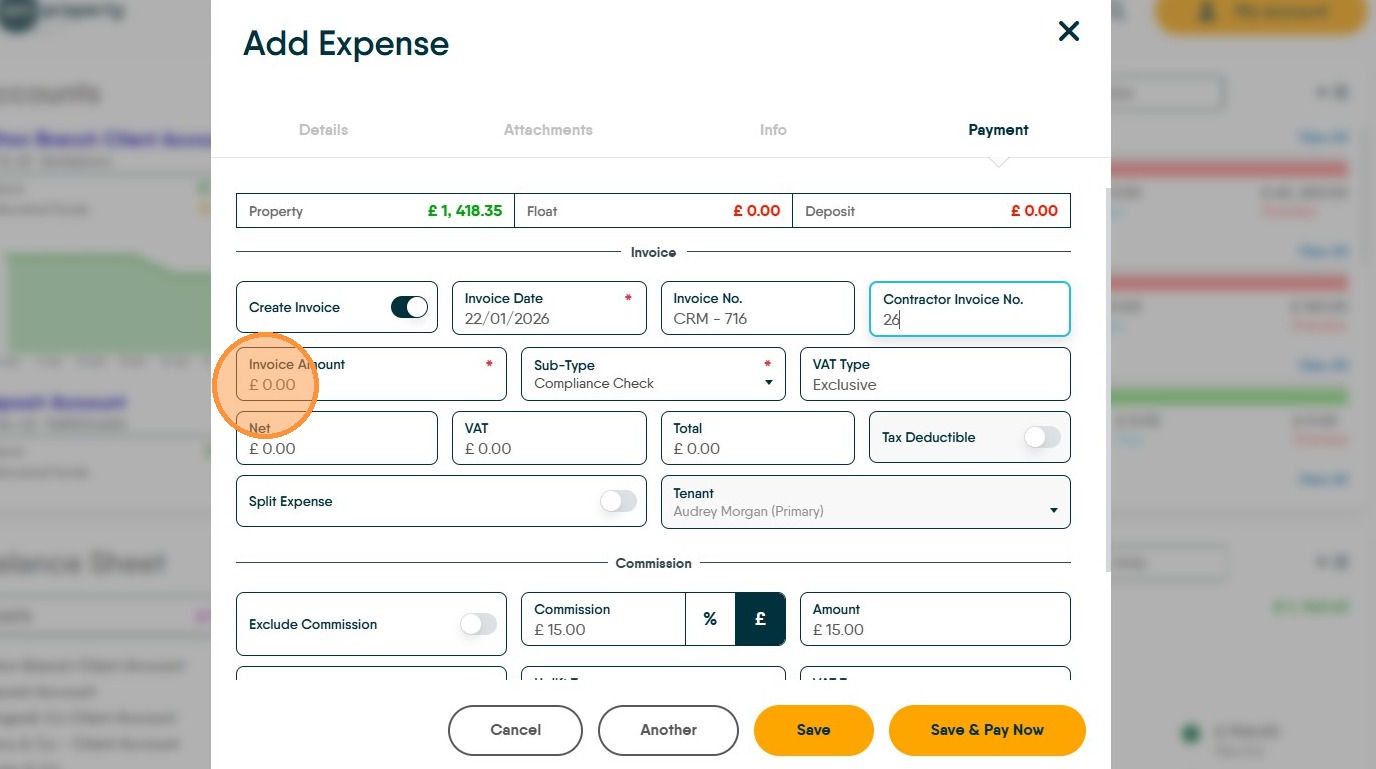
27. Click "Sub-Type" and set the appropriate option. These control how VAT is charged and are configurable by yourselves.
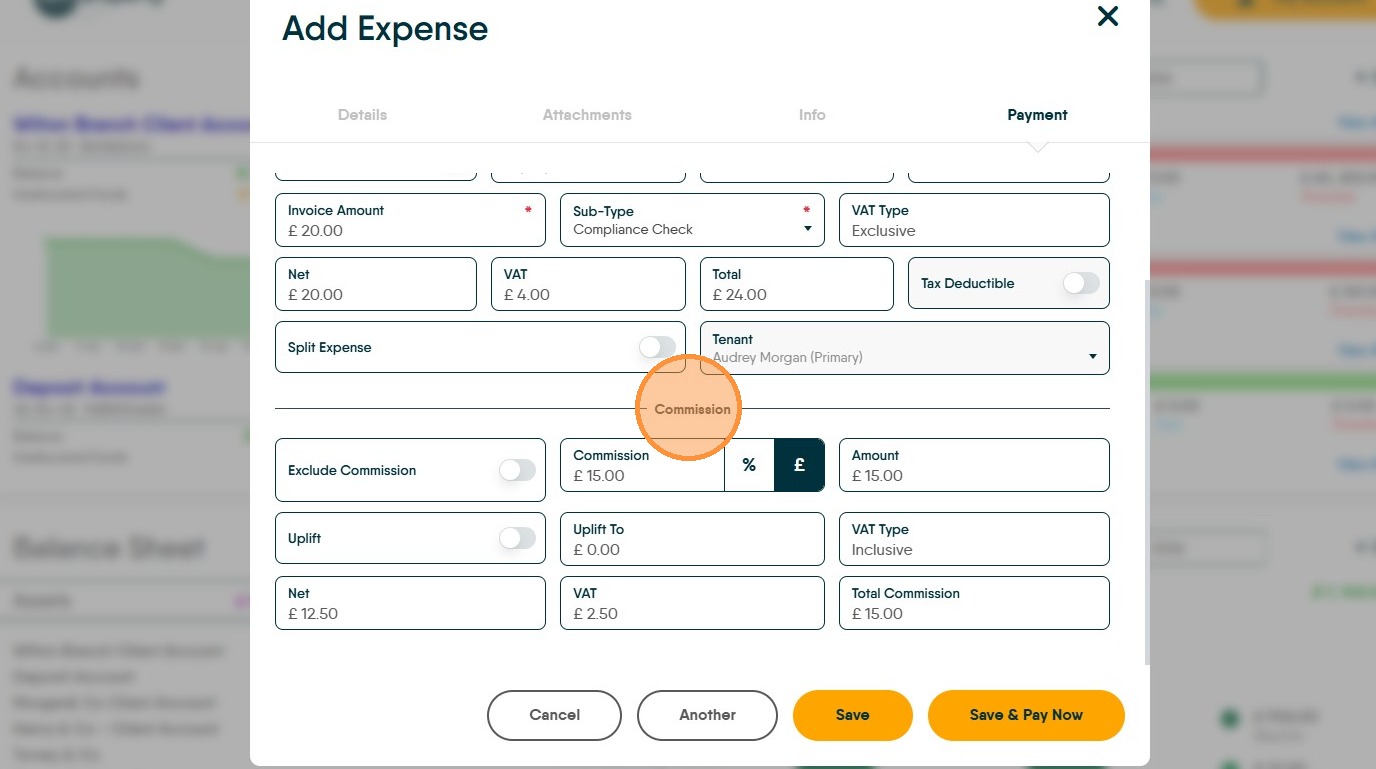
28. Commission
29. If you charge a commission to contractors for giving them work or you charge an uplift to Landlords, this is where that is added. Commission is added to the contractor record, in the Financial tabs. Click "Commission" to charge.
30. Click "Save" The charge will now be made to the Landlords account. The payment will be taken and the payment made to the Contractor will be made when Perform Payments is next run.
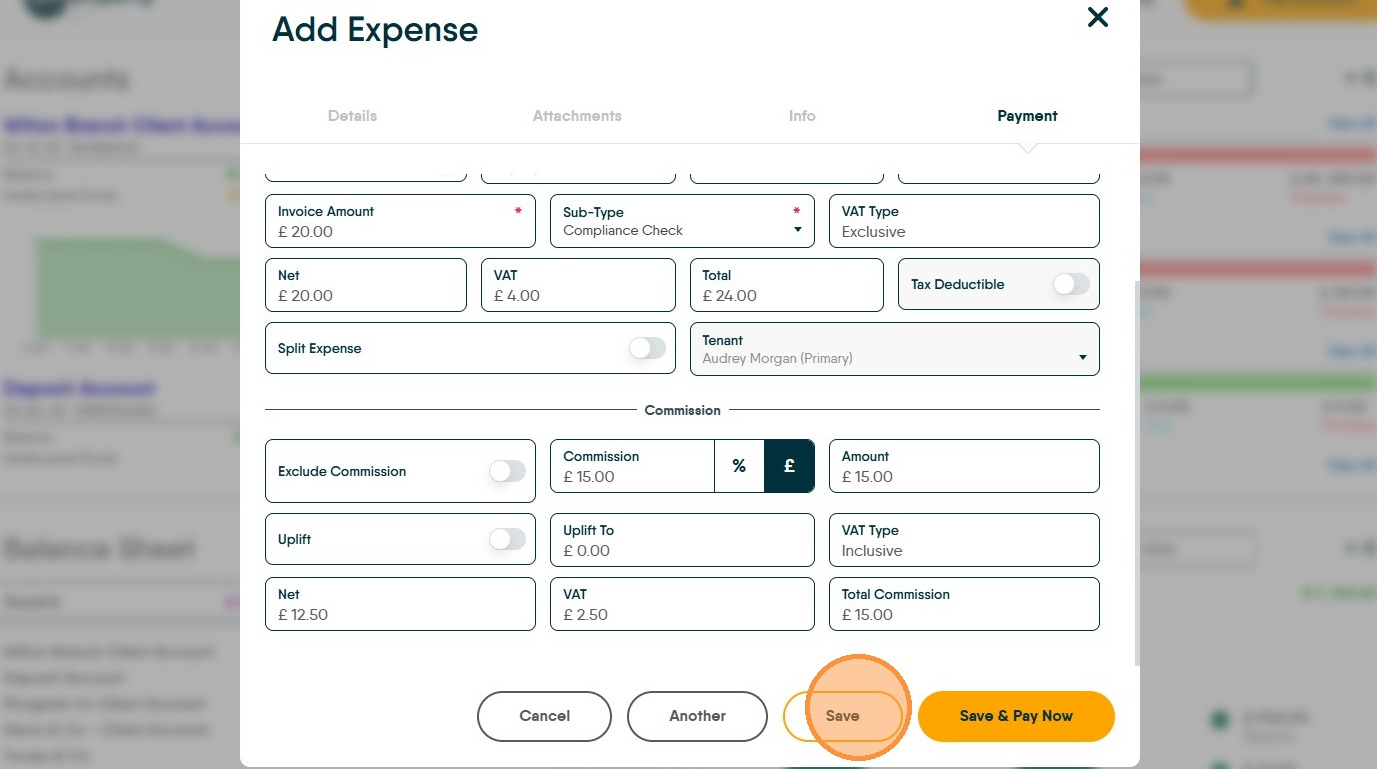
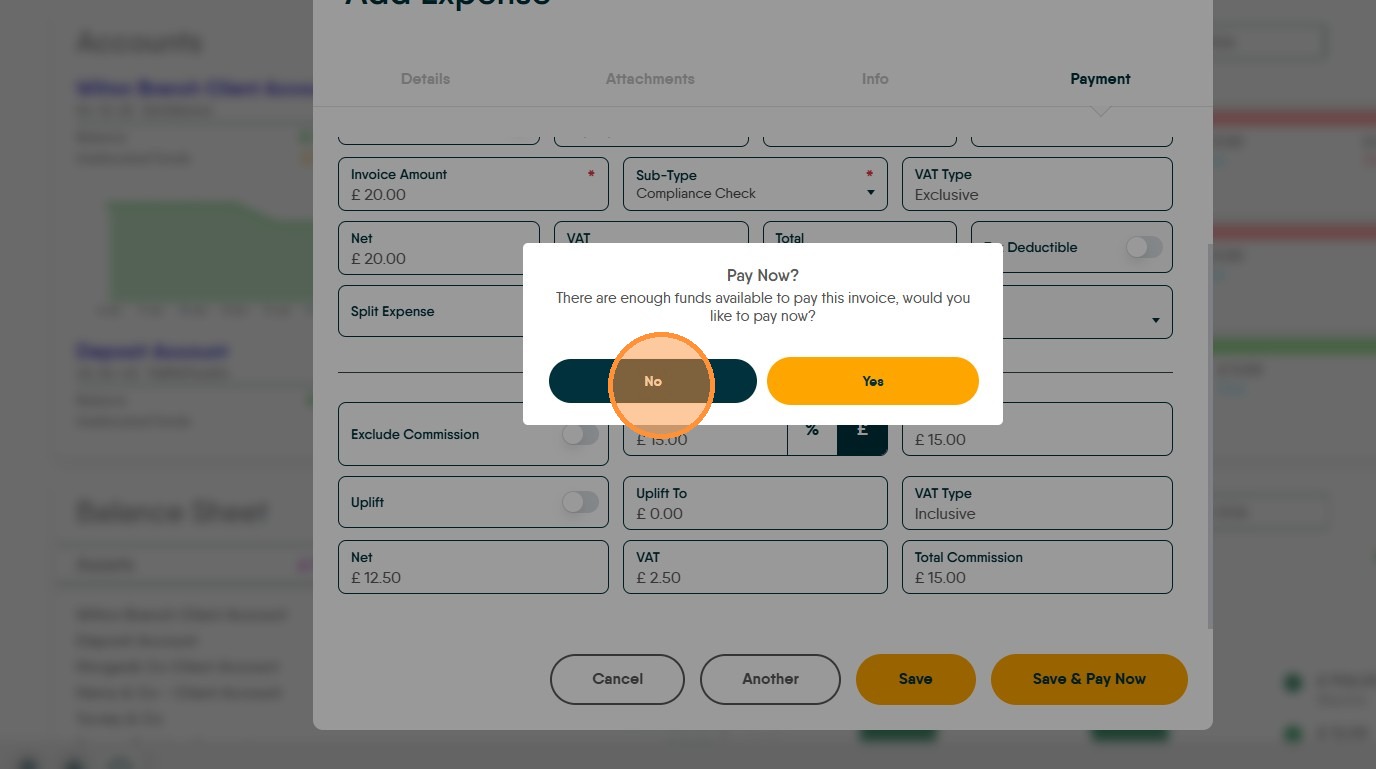
31. If shown, click "Yes" or "No" to the option to Pay Now?