This guide provides a straightforward approach to creating a BACS payment file, ensuring users can navigate through the process efficiently. With clear, step-by-step instructions, it eliminates confusion and saves time for those unfamiliar with BACS payments. By following this guide, users can streamline their payment processes and enhance their accounting practices. It is a valuable resource for anyone looking to simplify their financial transactions.
Alert: Alert! To use BACS you need to know the BACS file format that your bank uses. This ensures that the payment file is created in the correct format for the upload. This can be added on the CRM BACS screen or set as a default in the Accounts Module configuration.
1. From the Accounts menu.
2. Click "General"

3. Click "BACS List"

Alert: Alert! You can only pay via BACS if you have the full payment details for the payee e.g. Account Name, Bank Account number and Sort Code.
4. At this point make sure that the BACS file format is set correctly in the BACS file field.
The BACS format is pre determined by YOUR bank, speak with your bank if you are unsure what it is. If necessary, click this highlighted checkbox to update the BACS format.

5. To filter the payment you wish to make click here.

6. A filter can be set to pay some or all of your payees.
Click "Apply"

7. Click here to create the BACS file.
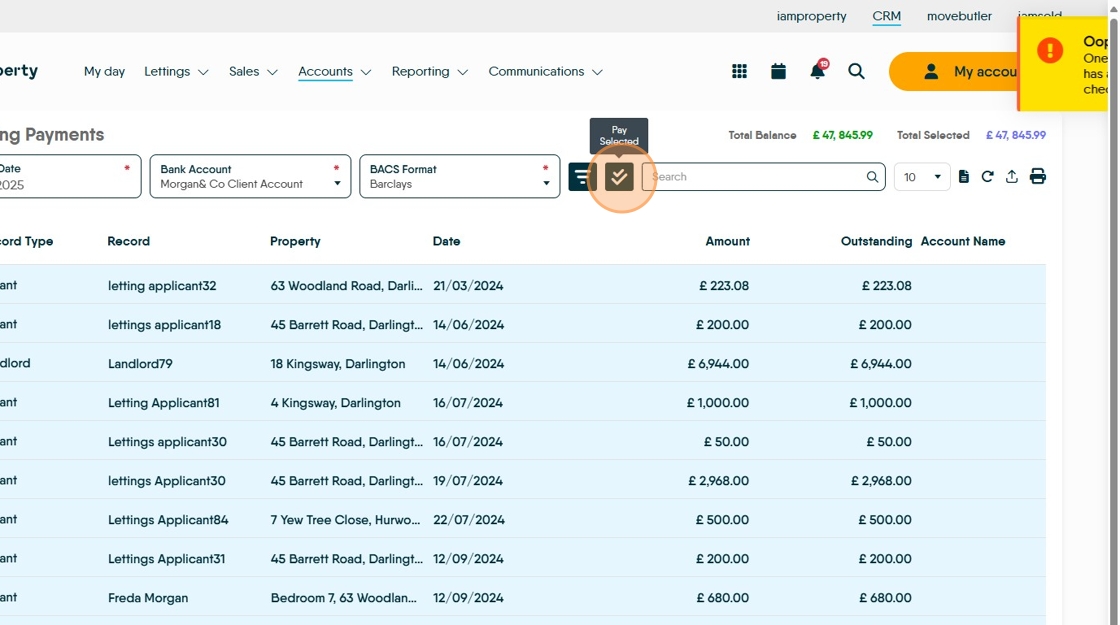
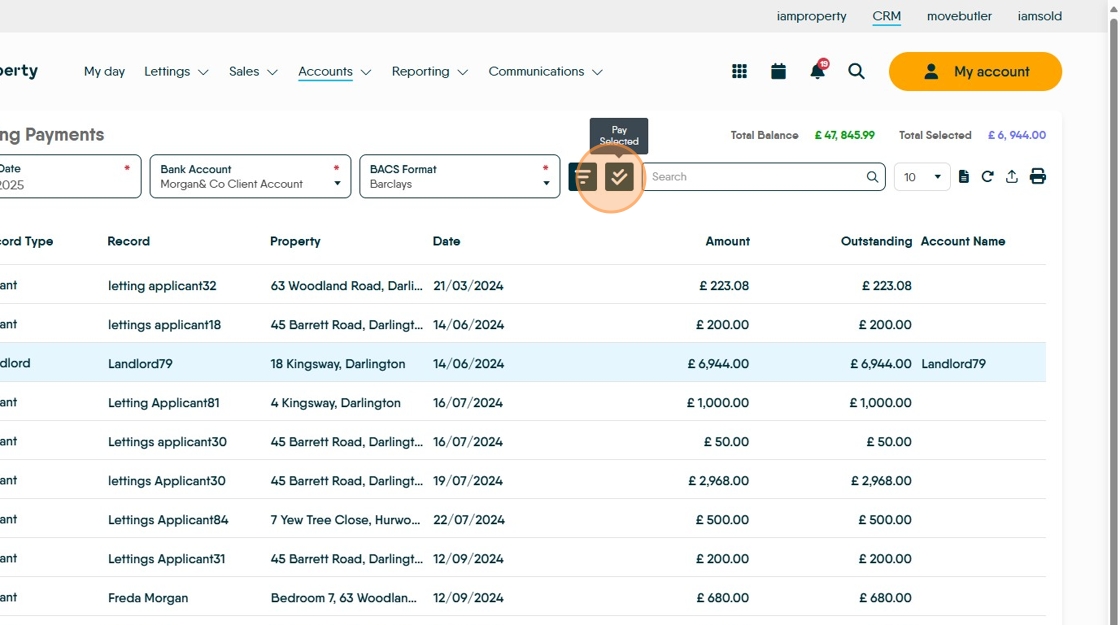
8. You can see the account details to the right of the outstanding column. Click the pay selected button to create the BACS file.
This will be saved in the 'Downloads' folder of your computer.
Tip: Once the BACS file is created, navigate to your bank's upload screen and upload the file, completing any tasks your bank requests.
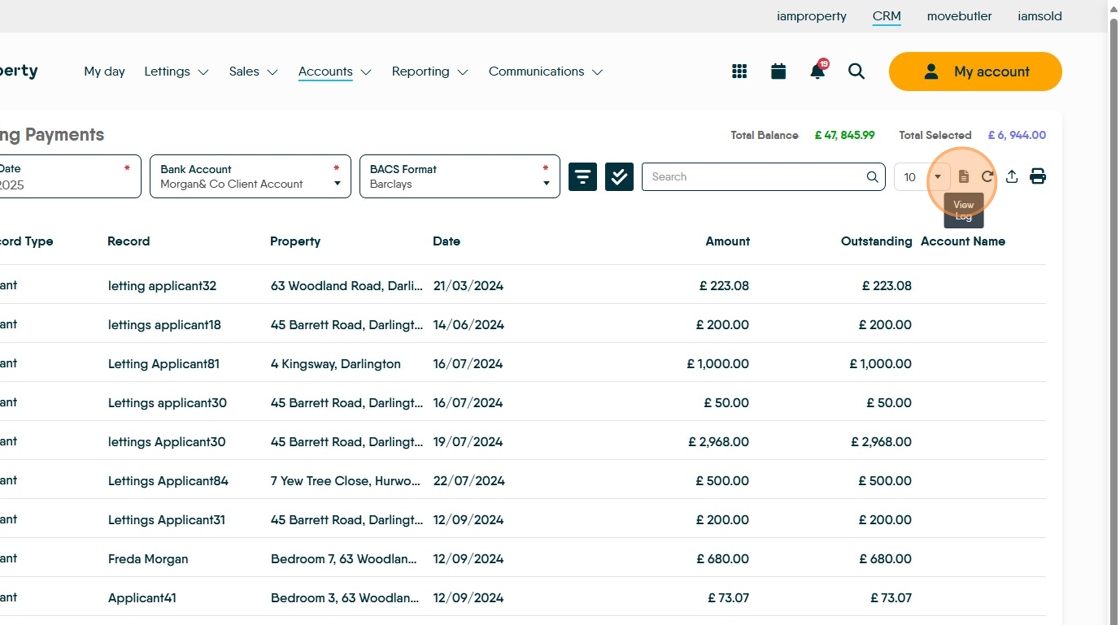
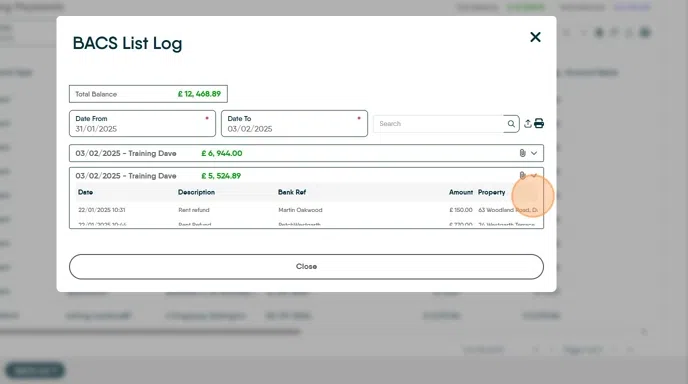
9. To view a log of all of the BACS files created, there is a log. Click here.
10. You can set the date to see more results. Then click the drop down arrow next to the file you want to look into.

11. You will be able to see all of the payments in the file, also there is the option to re download a previous BACS file if required. Click here.
Click here.
12. Once created the BACS payments will look like this in the Client Account.

13. Click "Group By Batch" to show all BACS payments made in the recent file in one payment line

14. The previous BACS payments will look like this, all payments in one transaction line.

Adding Payment Details to a Landlord Record.
15. Navigate to the Property Record.
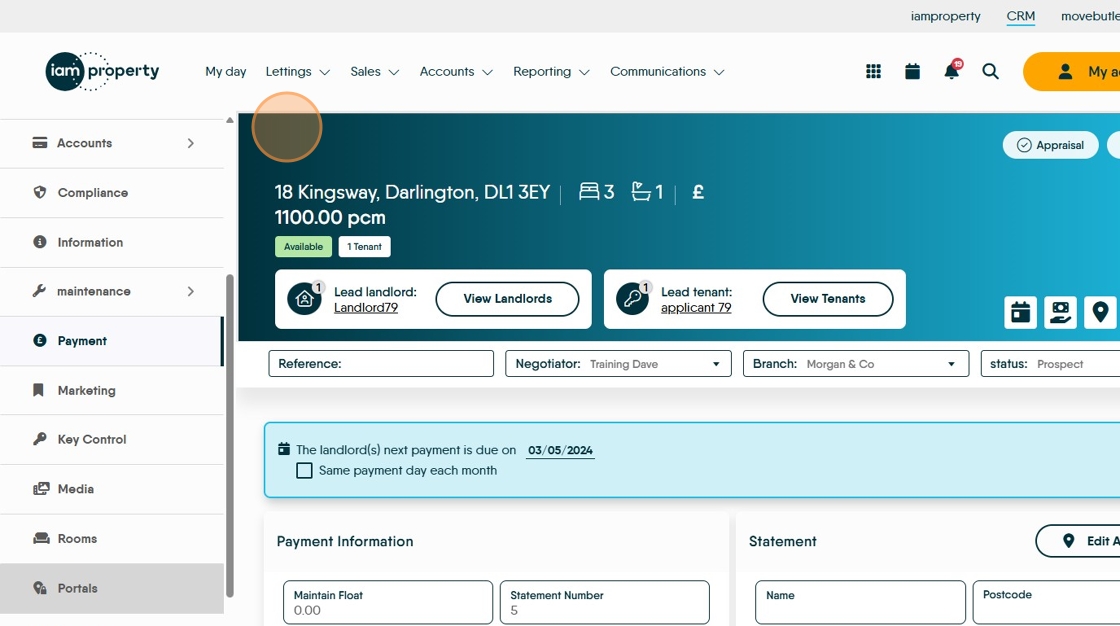
16. Click "Payment"

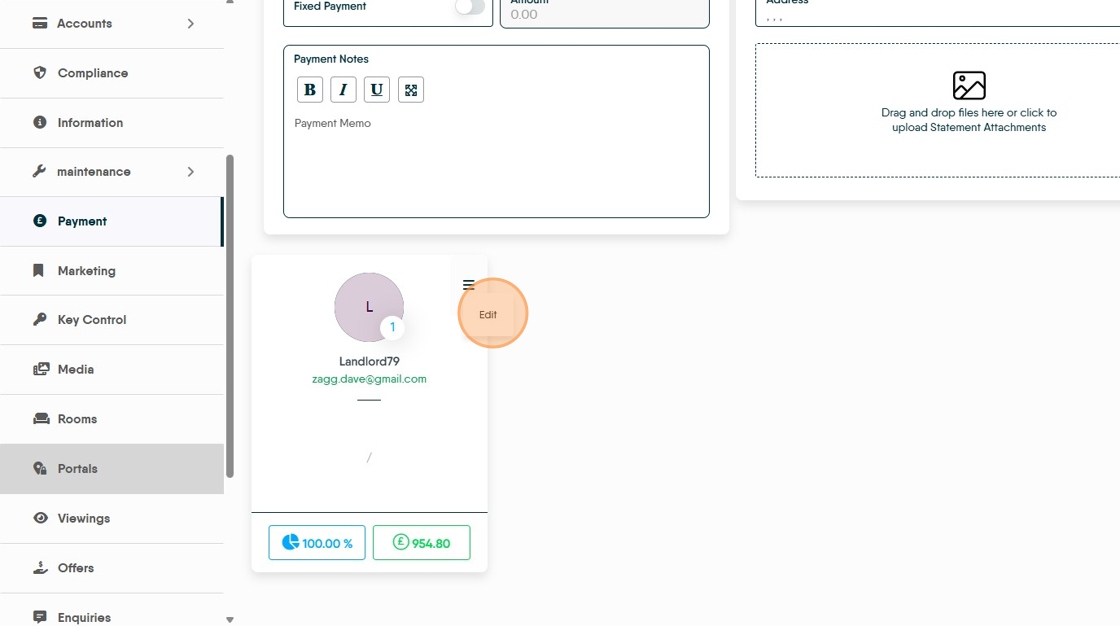
17. Click here.

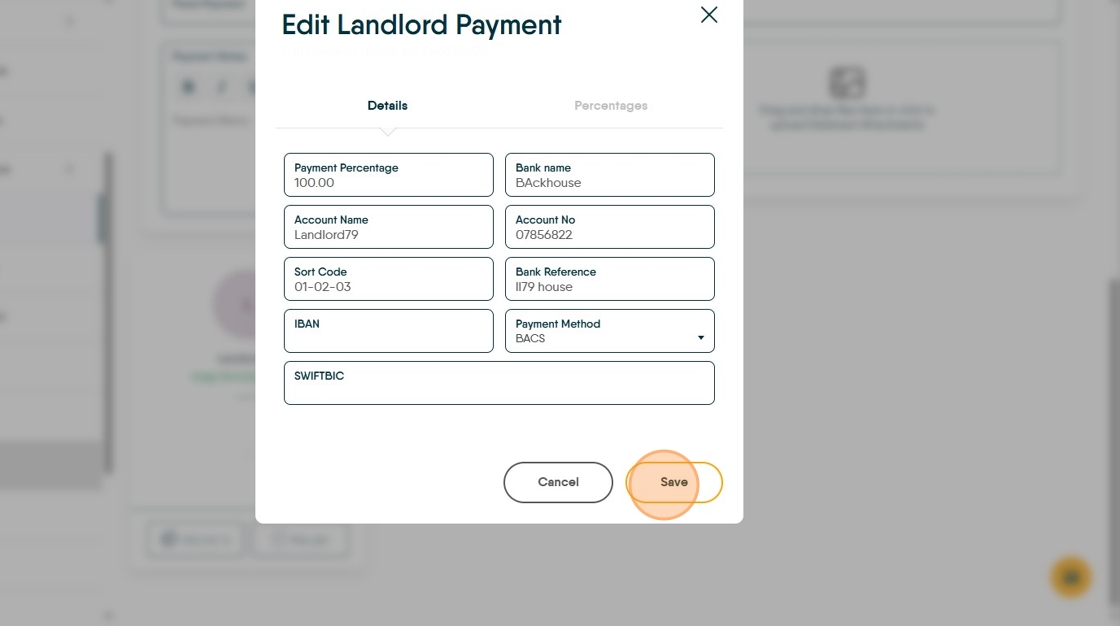
18. Click "Edit"
19. Complete all of the fields. IBAN and SWIFTBIC are not required for UK payments
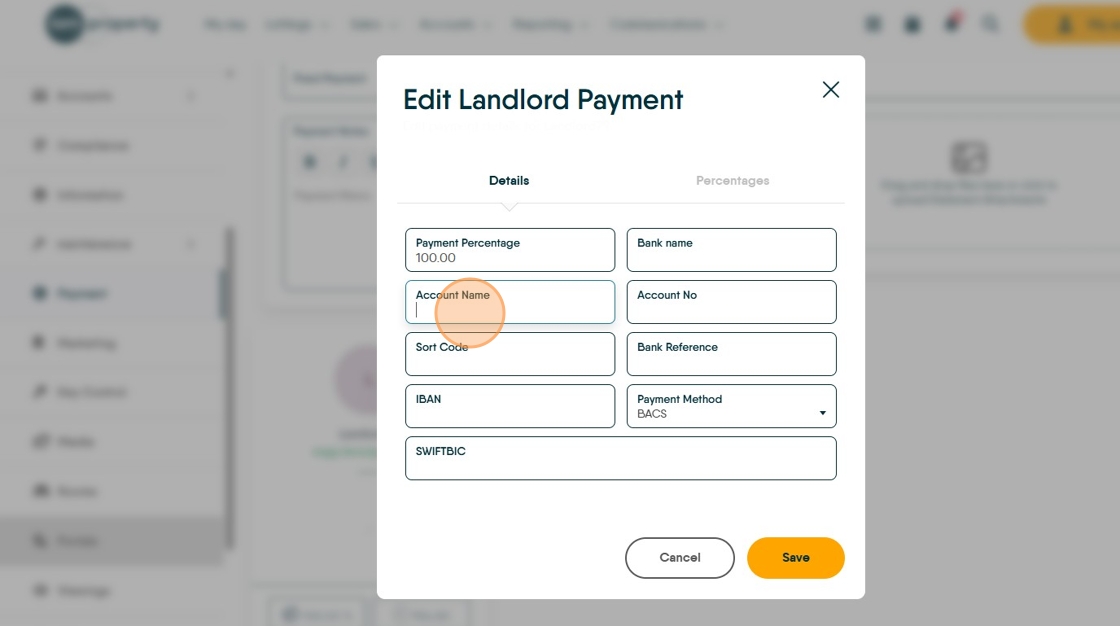
20. Click "Save"