Using the NEW Core Process Simplification screens. This guide provides a straightforward, step-by-step approach to adding a new sales property in the CRM system. It simplifies what can be a complex task into manageable actions, ensuring users can efficiently navigate the CRM platform. By following these steps, users can save time, reduce errors, and enhance their productivity in managing properties.
1. Navigate to https://crm.iamproperty.com/MyDay
2. Click "Bento" button.

3. From the menu click "Add new record"

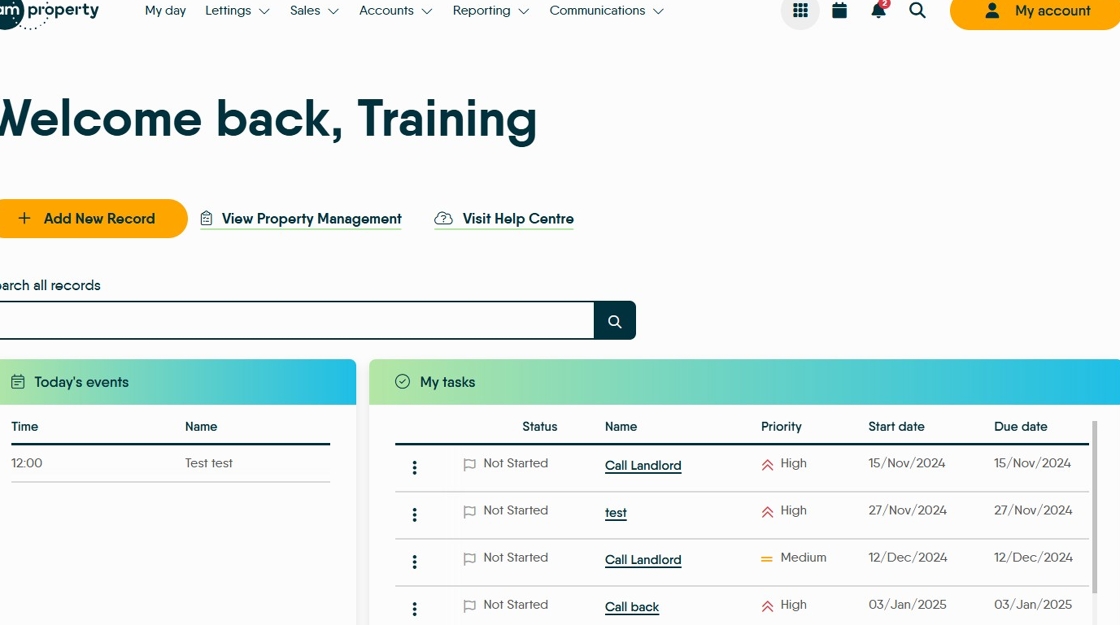
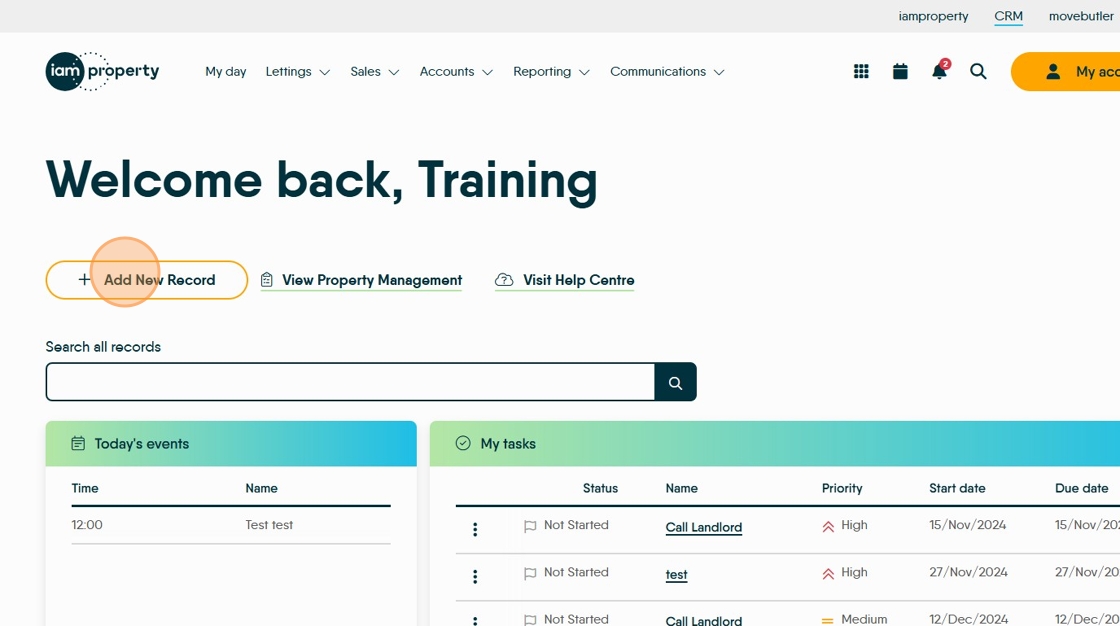
4. OR Click "Add New Record" on the 'My Day' screen
5. Click "Sales Property"

6. Click the "Address *" field. Type the Property postcode or select

7. Click the "Property type" and select from the drop down menu.

8. Select the "Property Age" from the drop down menu.

9. Select the "Occupier" type from the drop down menu.

10. Check and Update the Branch and Negotiator details.
Add the Bedroom/Bathroom/Receptions details Then click "Continue"

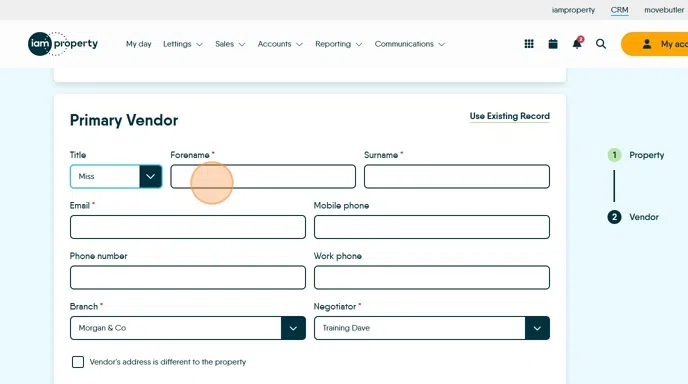
Adding Primary Vendor Information
11. Select the "Miss" option.

12. Click here and add the Forename, Surname and email address.
If the email address has been used previously in CRM you will see this screen showing the original records and giving you the option to merge or use the data from the other record to save you duplicating work.
Click "Create new record" if you want to manually create a new client record with the duplicate email address
13. Add the Mobile Number and Phone Number for the Vendor.
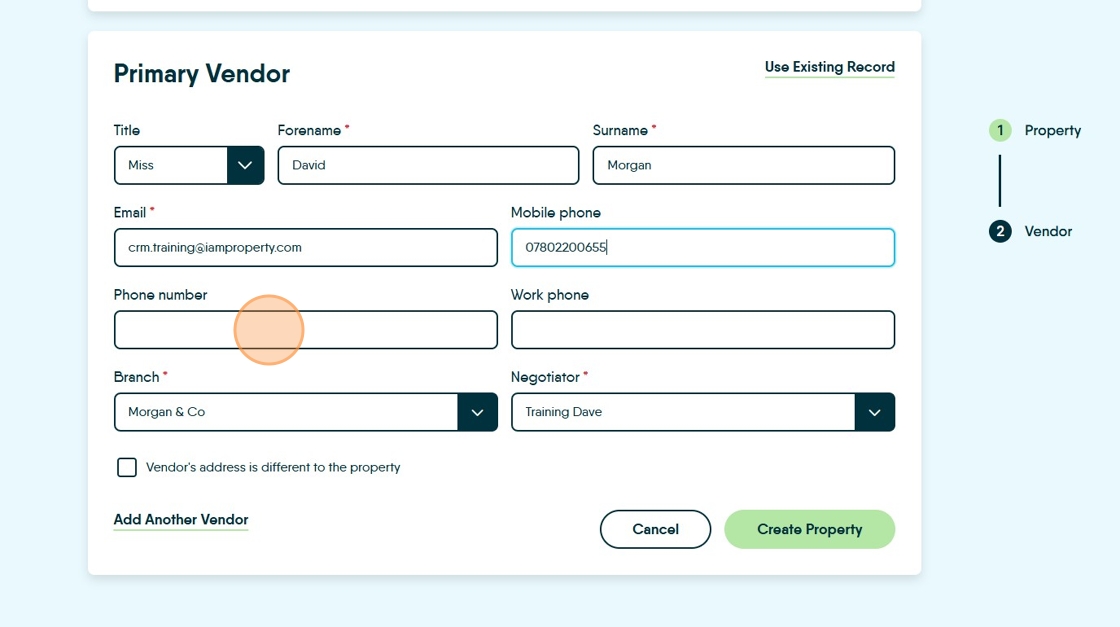
Tip: Tip! If the main contact number is a mobile phone number then add the number to both the Mobile Phone and the Phone Number fields. This applies to all Vendors.
This enables the the CRM to understand how to both show a contact number and send SMS messages to the Vendor.
14. If the "Vendor's address is different to the property" click the option and add the Vendors current address. If the addresses are the same ignore this option.

15. To add the Vendors address, click the "Search postcode" field. Select the postcode from the list or click '...Enter Address Manually' to enter/edit the address

Tip: Tip! If there is a second (or more) Vendor then it is good practice to add the second vendor as a new record. EVEN WHEN the client is a married couple.
Any additional vendors can be added in the Property Record via the Vendor tab at the top of the Property Record Screen.
16. If there is a second vendor, click "Add another vendor" and follow the process for adding a new Vendor (same as previous)

17. If the Vendor is an existing client click here and search for the client.

18. Once the Second Vendor is added (if required) click the Create Property button.

Tip: Tip! Although this has created a new record it is still a basic record. There are still fields that need to be completed within the CRM Vendor record, for example you may have a Checklist enabled or UDF that need completion.