This guide provides a straightforward process for uploading essential identity and address verification documents for vendor records, ensuring compliance with necessary requirements. By following the outlined steps, users can efficiently manage their documentation in a centralised platform, streamlining vendor management. Viewing this guide will help maintain accurate records and avoid potential delays in vendor onboarding or transactions.
1. Navigate to a Sales Vendor record. This can be done via a search for records in the global search, using the Vendor tile in the sales activity list or the Vendor option in the Sales Menu Search
Tip: This process allows you to update the 'Identity Confirmed' and 'Address Confirmed' fields in the top left of the screen with a green tick and update the box highlighted below.
2. Once you have found the Vendor you are adding the documents for. Click "Documents",

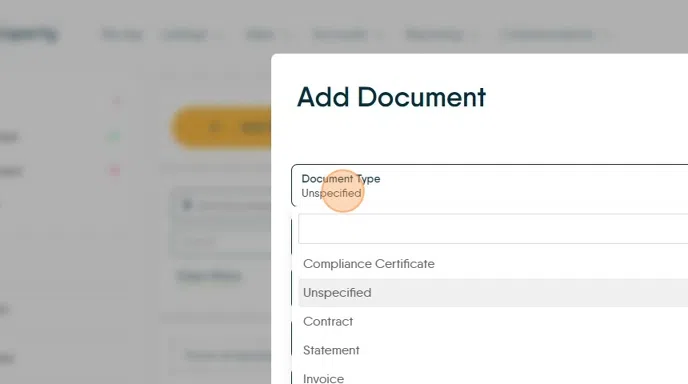
3. Click "Add Document"

4. From the drop down menu click "Proof of Identity"

5. Click into the Upload Document screen. This will open a download screen where you can search for and select the document, alternatively the document can be dragged and dropped from a folder or from an email.

6. Click "Save"

7. You will see the Identity Confirmed option is now a green tick.

To update the Address Confirmed option repeat the process, selecting the Proof of Address option
8. Click "Add Document"

9. Click and scroll to find "Proof of Address"
Click "Proof of Address"
Click here.
10. The file name will automatically update with the name of the file uploaded, click and edit if required.

11. Click "Save"

12. Both Identity and Address Confirmed will now be green

Tip: Tip! This is the same process to add any document to the Vendor record, or in fact to add a document to any CRM record.