This guide will show the Vendor Portals. Giving a comprehensive walk-through of the client portals within the iamproperty CRM, making it an essential resource for users looking to enhance their Clients property management experience. By following the detailed steps, users can efficiently access vendor functionalities, manage properties, view feedback, and handle compliance documents.
Vendor Portal
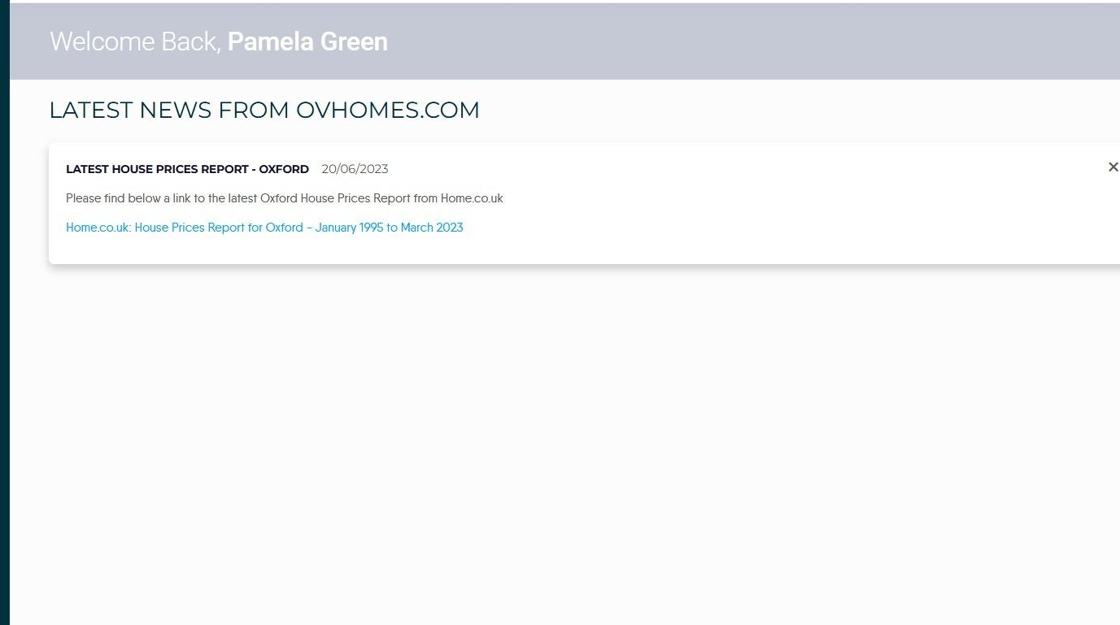
1. Type your Username and Password Click "Sign In"

2. The first screen is the News Feed, this is set from the Configuration screen and is created by you.
3. Click "Vendor Portal"

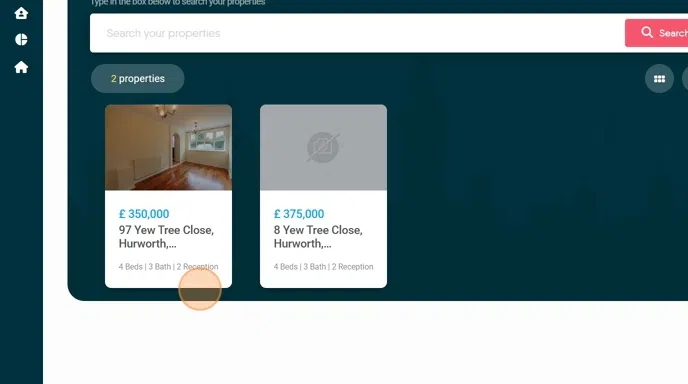
4. Click "Properties" this will display all properties controlled by the Landlord.

5. Click the property you want to view.
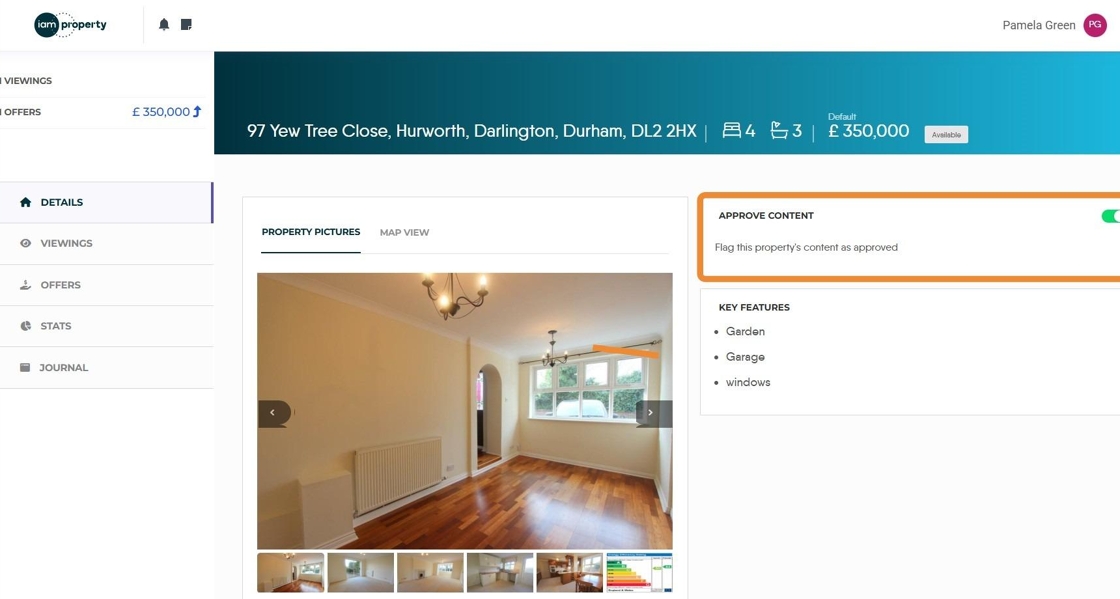
6. This will take you to the Property screen.
This screen will show all the details that have been added to the Marketing screen in the Property record. There is also an option (highlighted) for the Vendor to toggle that they accept the details which will show on the Property record in CRM.
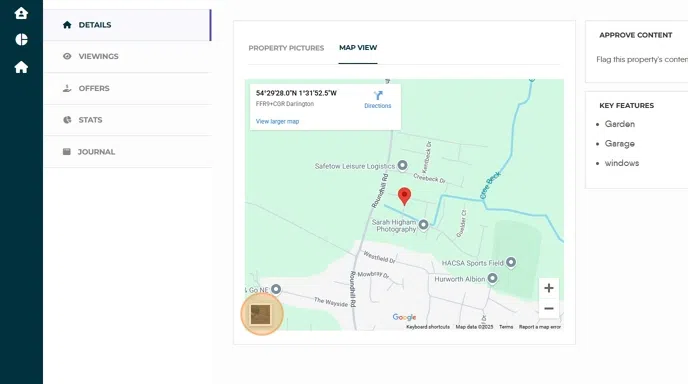
7. Click "Map View"

8. The vendor will be shown a map of where their property is, which can be a satellite view for added detail.
Double-click this button.
9. If feedback has been left for the viewing then this will be noted on the viewing and can be viewed.
Click "View Feedback"

10. The feedback will then show on the screen

11. Click "Offers"
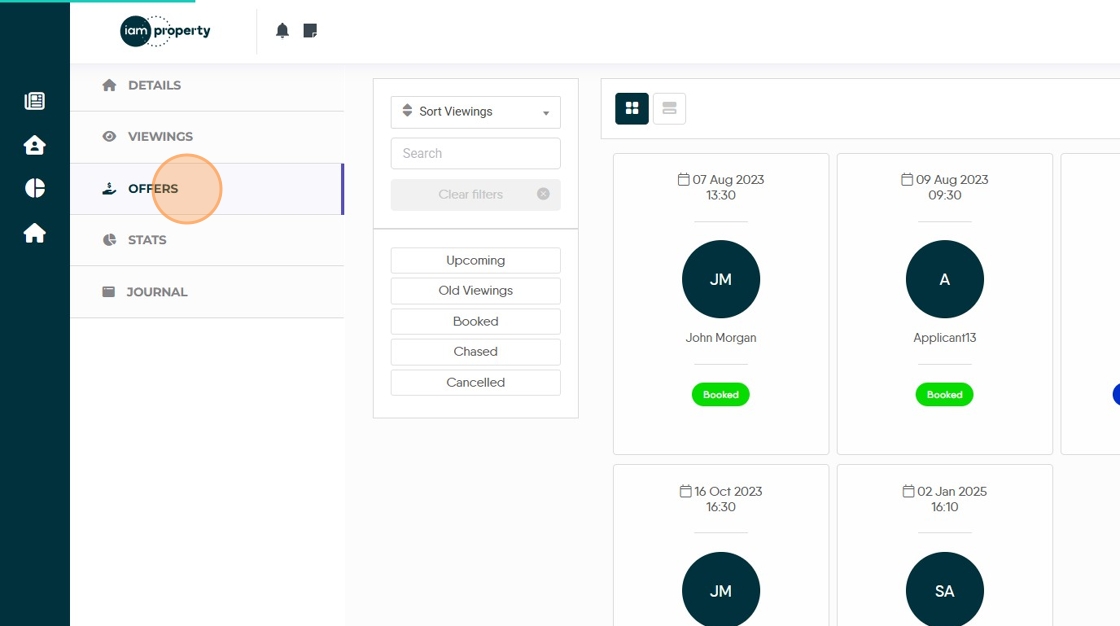
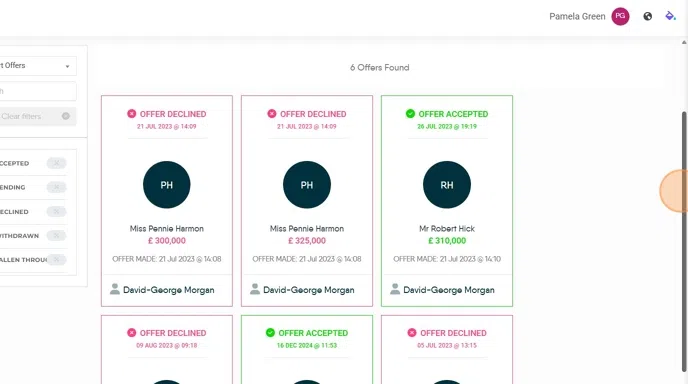
12. This will show all the offers made on a property. If an offer is clicked on.
13. The Vendor will be taken to the Compliance for their property, where they can see the dates that items are completed. This is only for Accepted Offers

14. Click "Stats" to see the Rightmove Click Statistics for the Property.

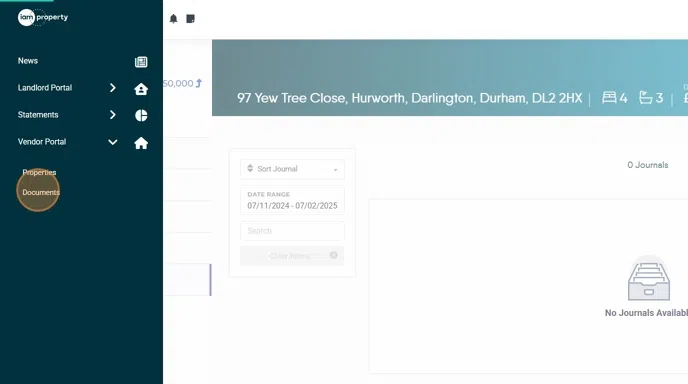
15. Click here to access the Journal for the Property

16. Click "Documents" to show all the Documents uploaded to the Property record that have been made visible to the client portals.