In the Financial tab of a Tenant record there is an option for Rent Status. This guide will help you learn how to manage and update your tenant rent status settings within the CRM platform. This guide helps administrators efficiently add new lookup options to ensure accurate tracking of financial and legal statuses.
Tenant Rent Status Update
Tip: Tip! This option helps you manage Rent Status information for Tenants, allowing you to show the current rent status of a Tenant for example, if the Tenant has a payment plan agreed or other information you might want to use e.g. no arrears.
N.B. By default there are no options in the drop down menu, these can be added by any user with access to configuration. To understand how to configure click here
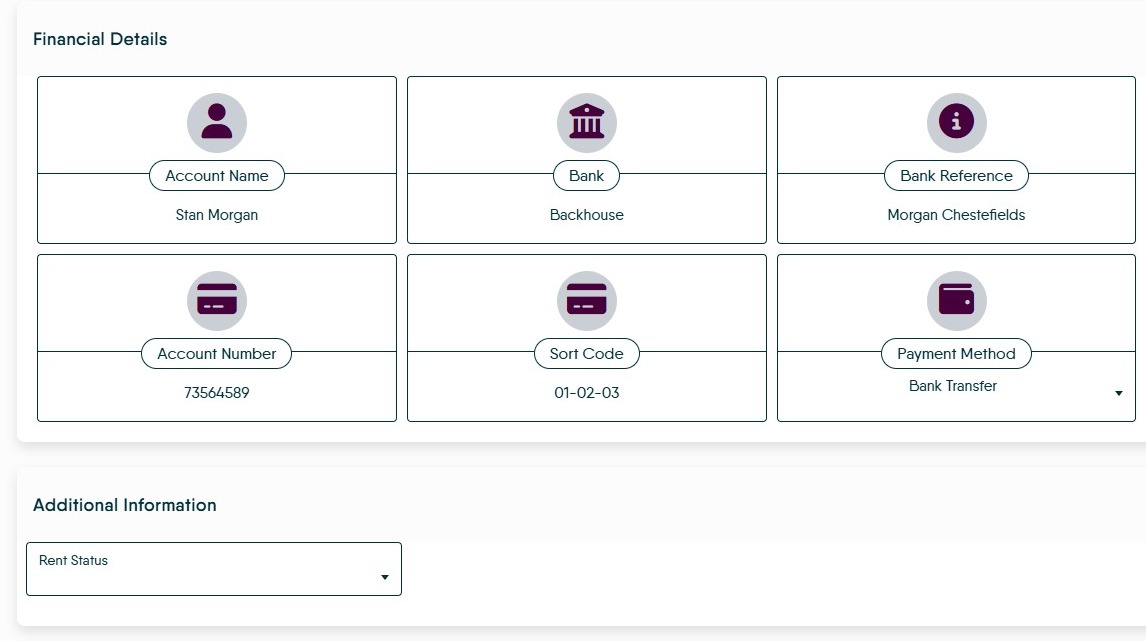
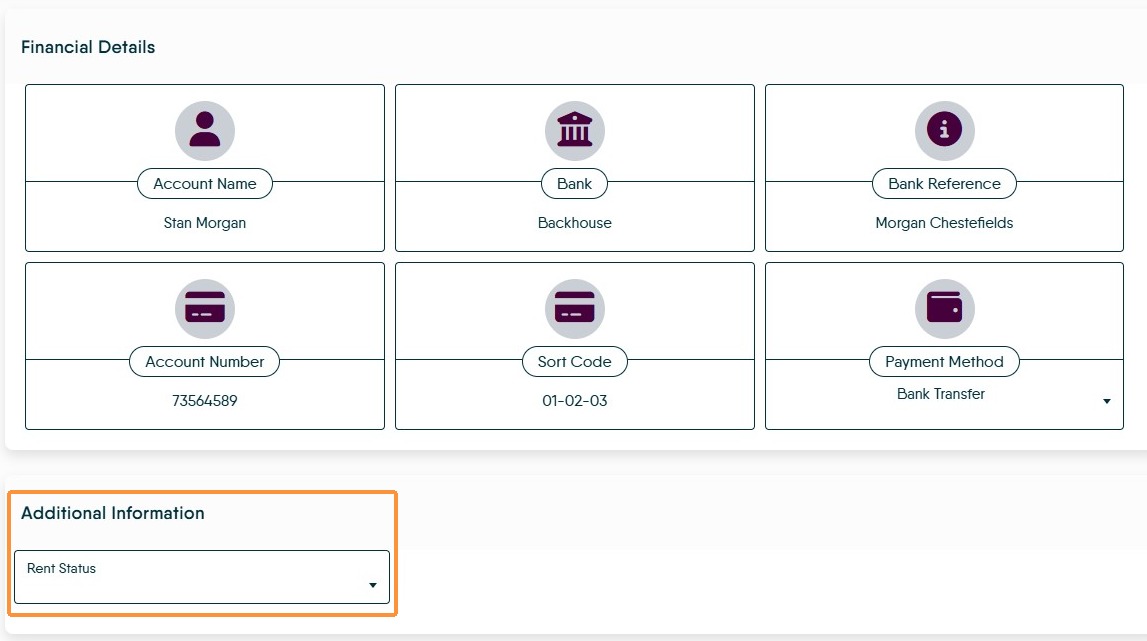
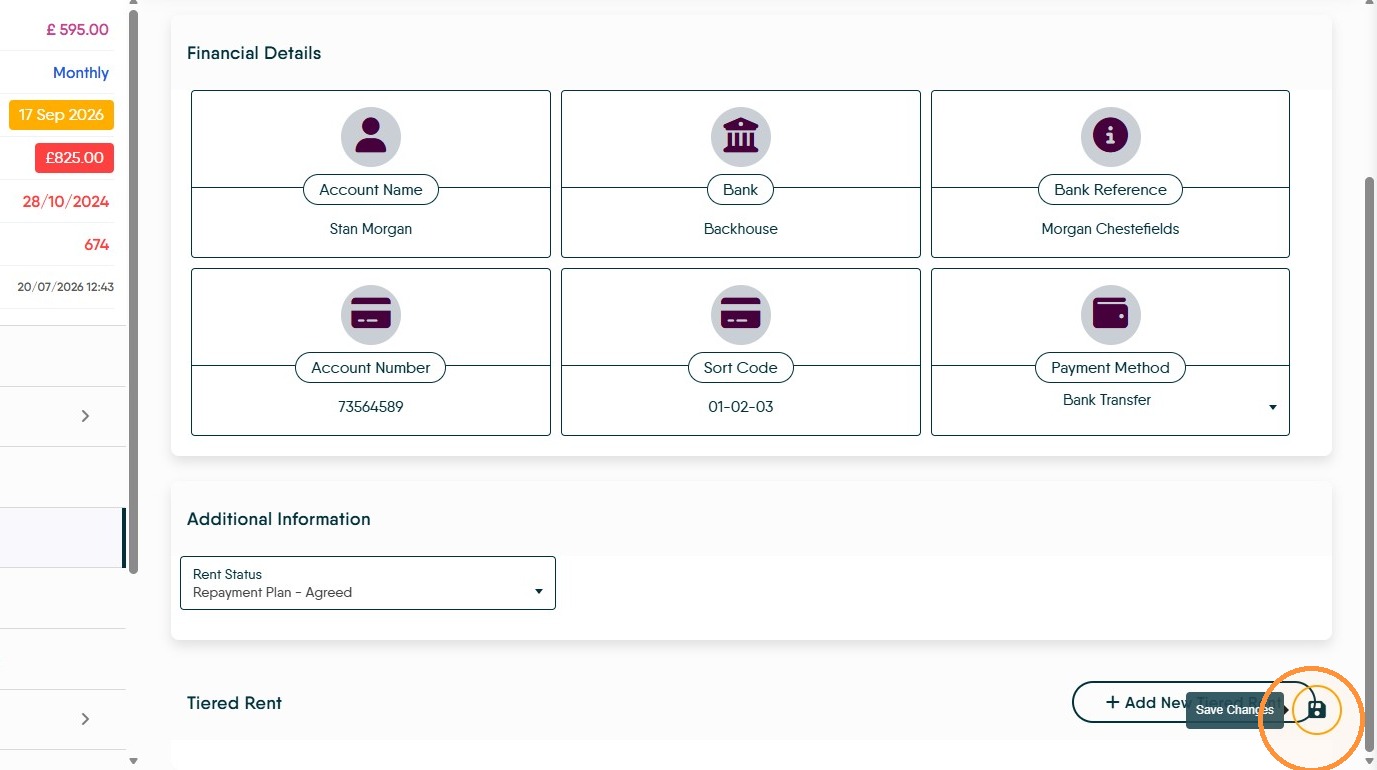
1. Navigate to the tenant record you are adding the detail to. Scroll to and click on the 'Financial' tab. Scroll to the 'Additional Information' section.
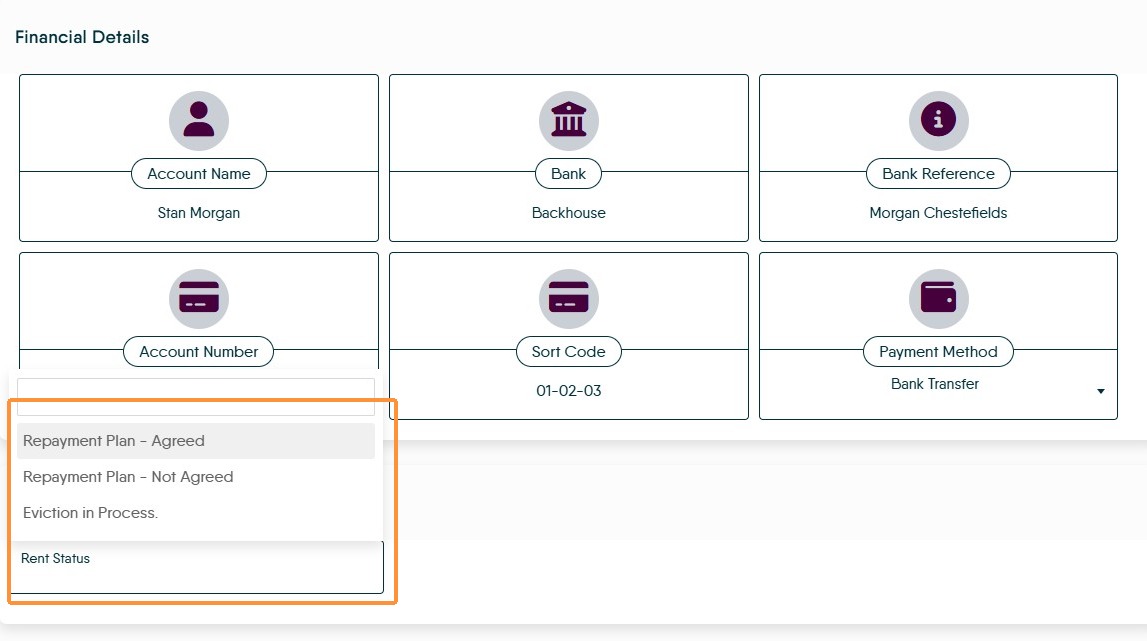
2. From the "Rent Status" field select the option you require e.g. "Repayment Plan - Agreed" from the Rent Status dropdown.
3. Click Save to save the changes. This will save your chosen option in the screen.
Adding Items to 'Rent Status'
As previously noted there are no items in the Rent Status drop down menu, the configuration is in the Accounts module configuration. To add an option to the drop down follow the results below
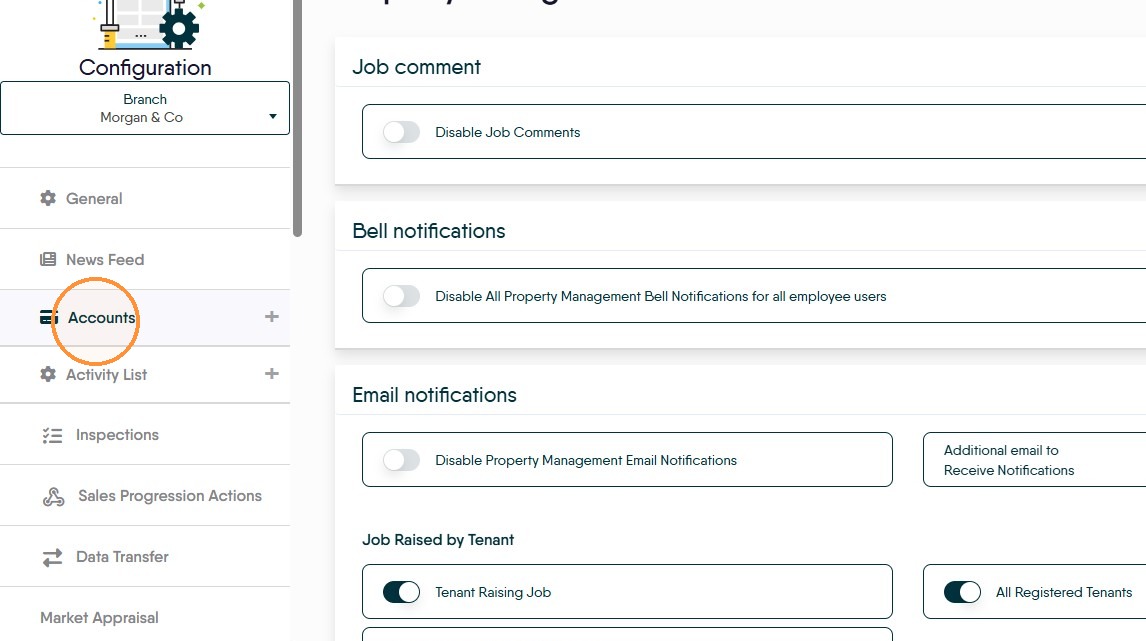
5. Click "Accounts"
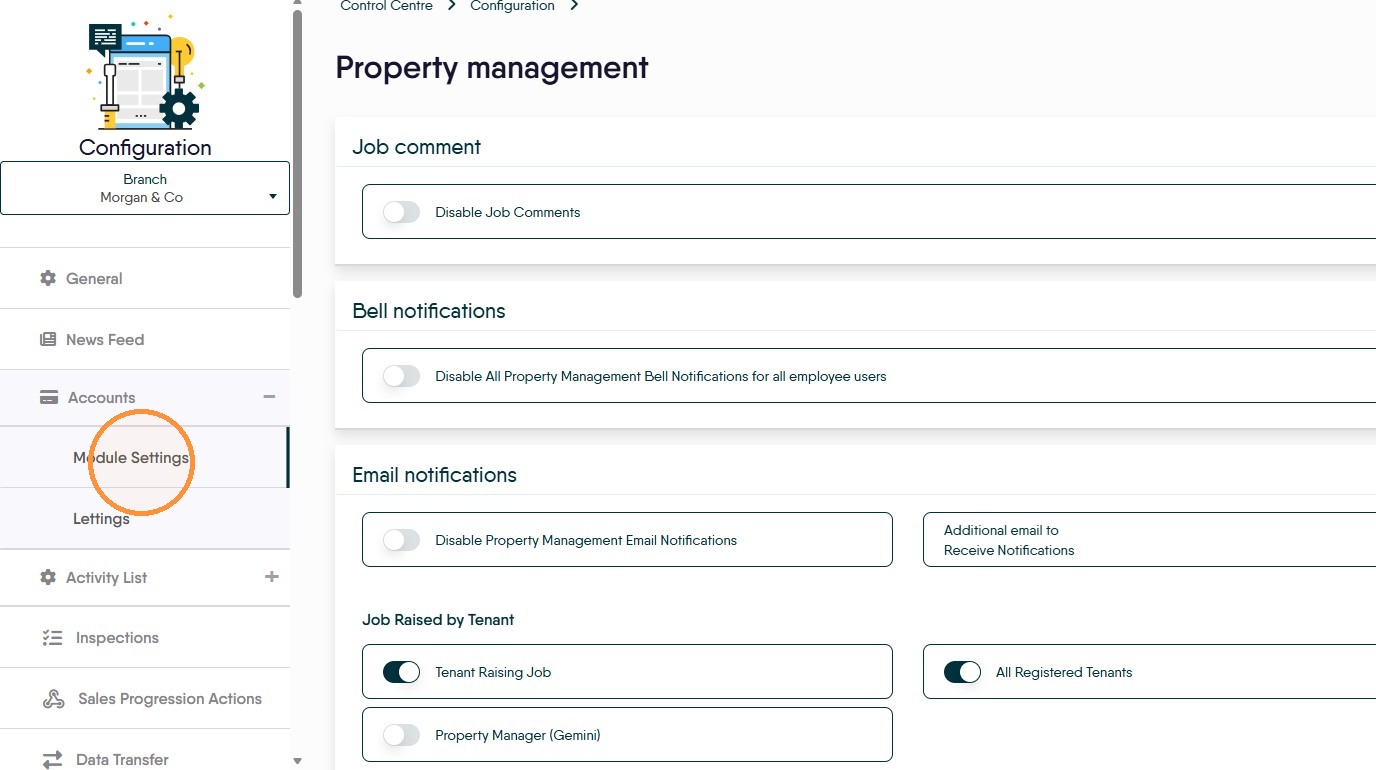
6. Click "Module settings"
Lookup Configuration
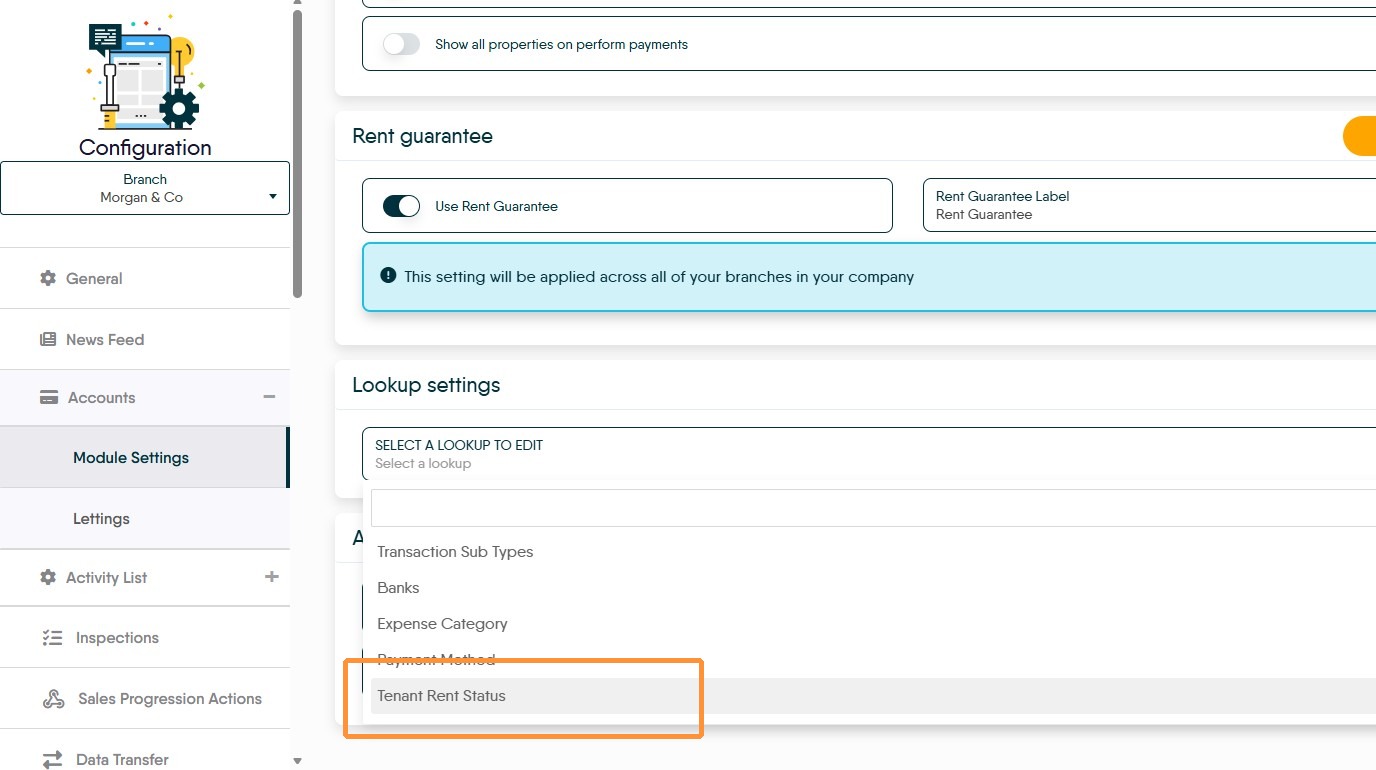
7. In "Lookup Settings" click into "Select a Lookup to Edit"
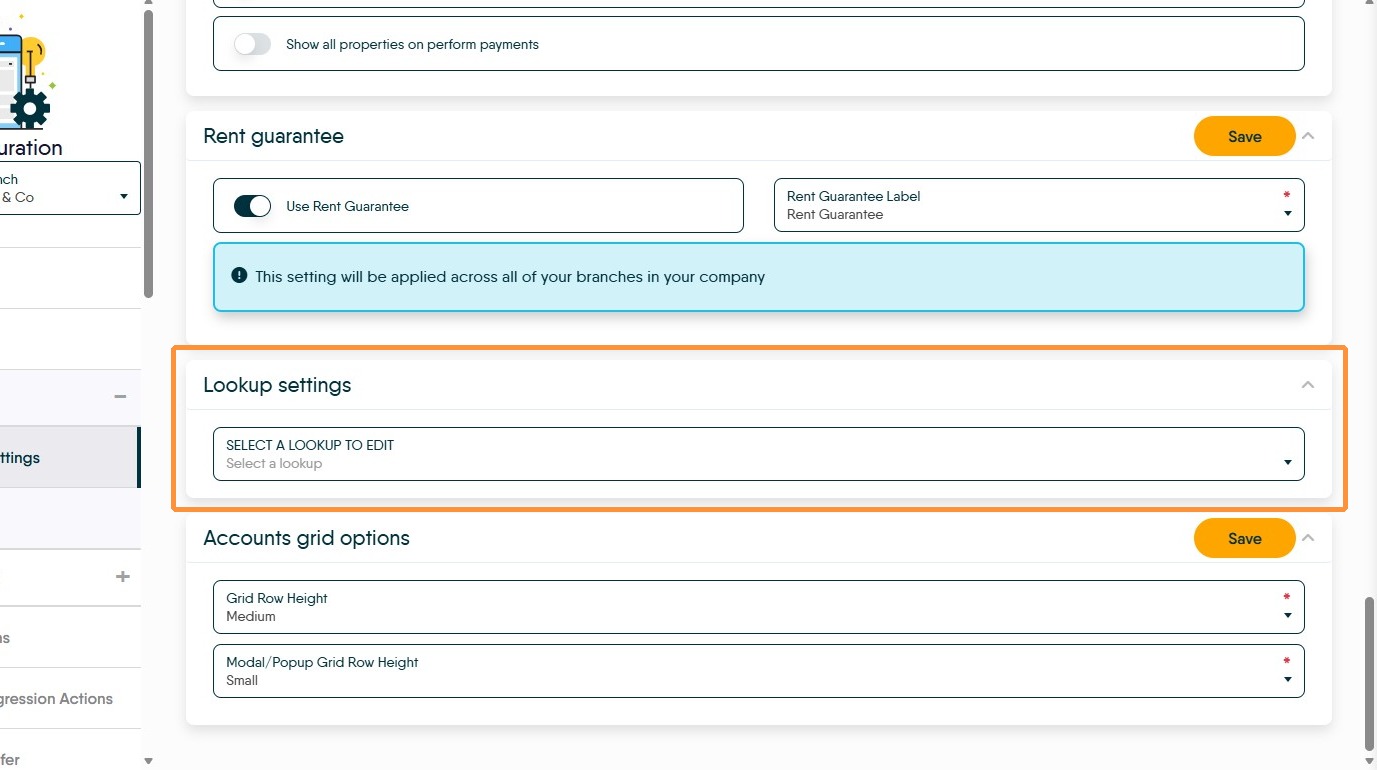
8. Click "Tenant Rent Status"
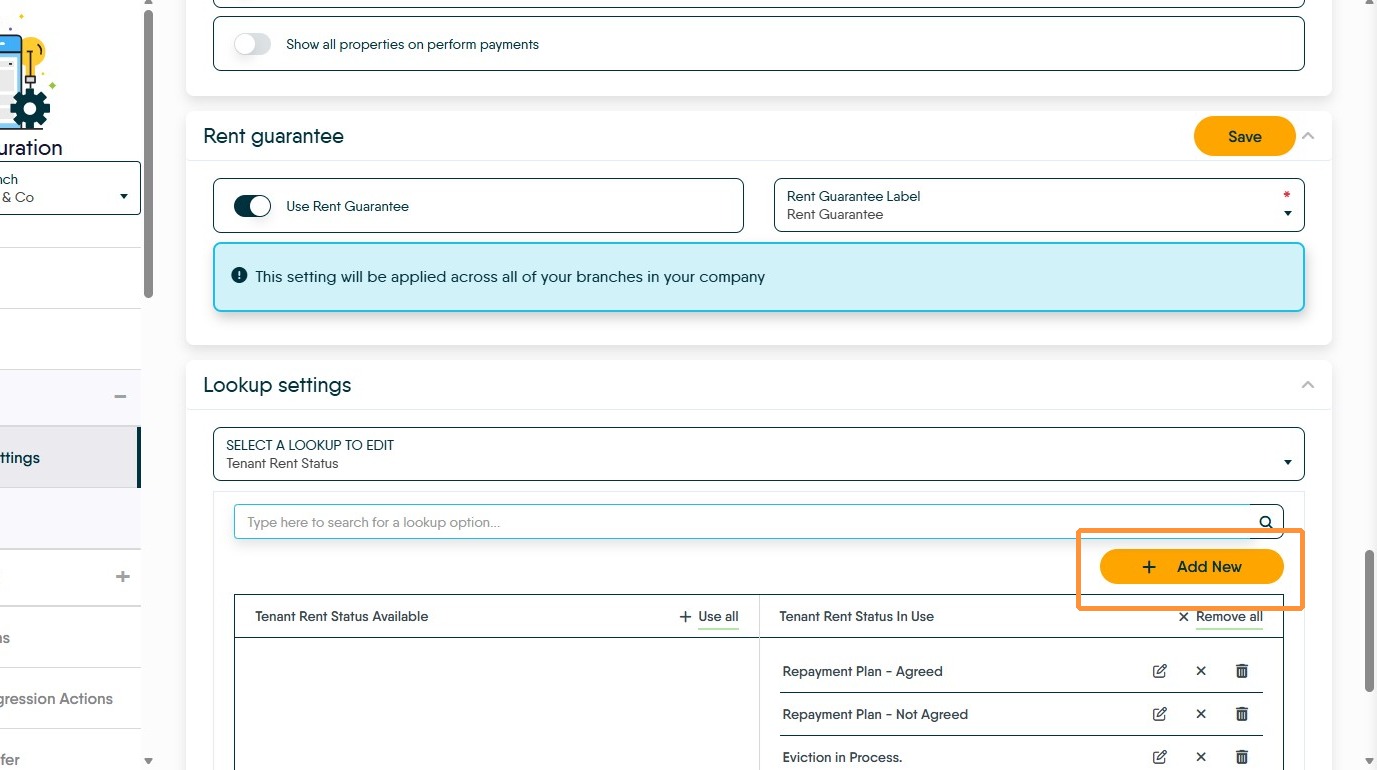
9. Click "Add New"
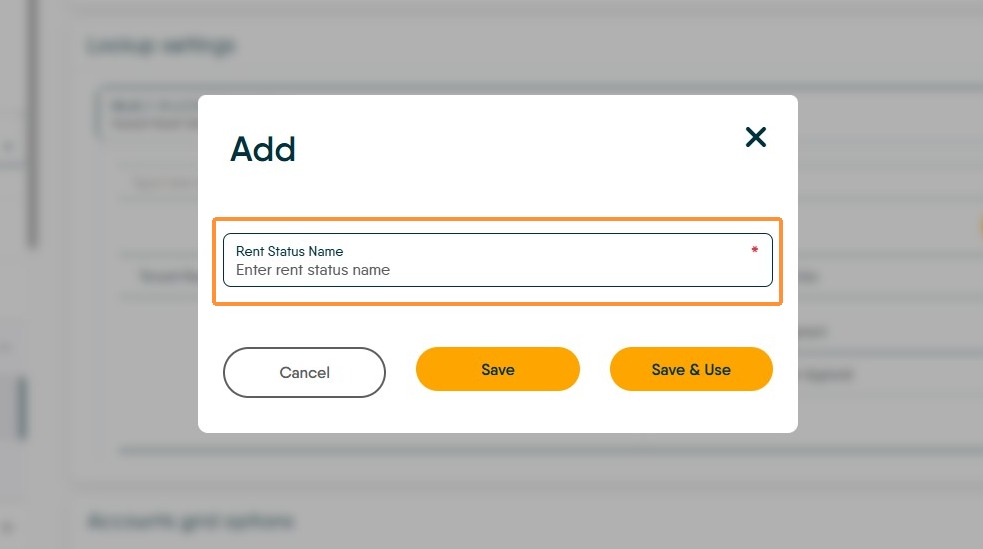
10. Click the "Rent Status Name" field and enter the name for the status you wish to create.
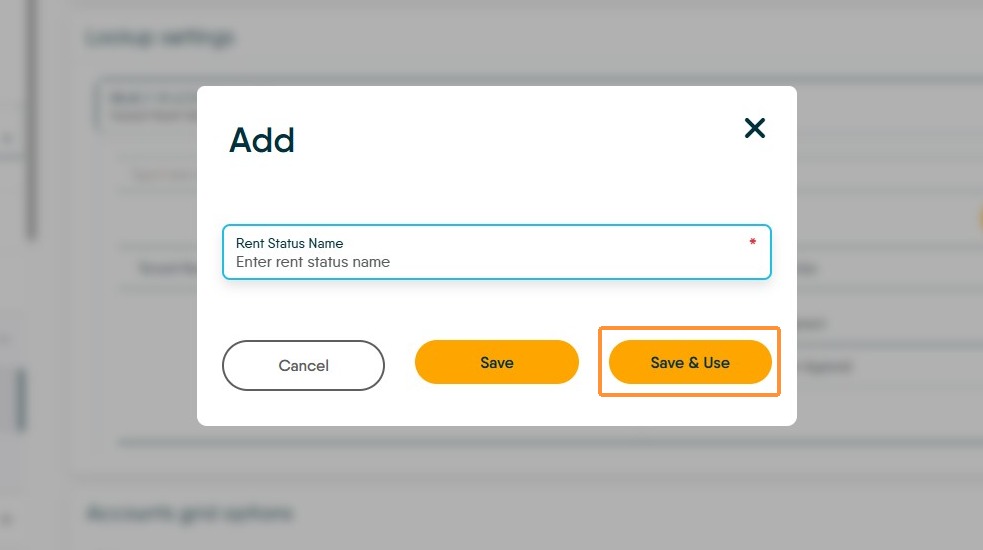
11. Click "Save & Use"
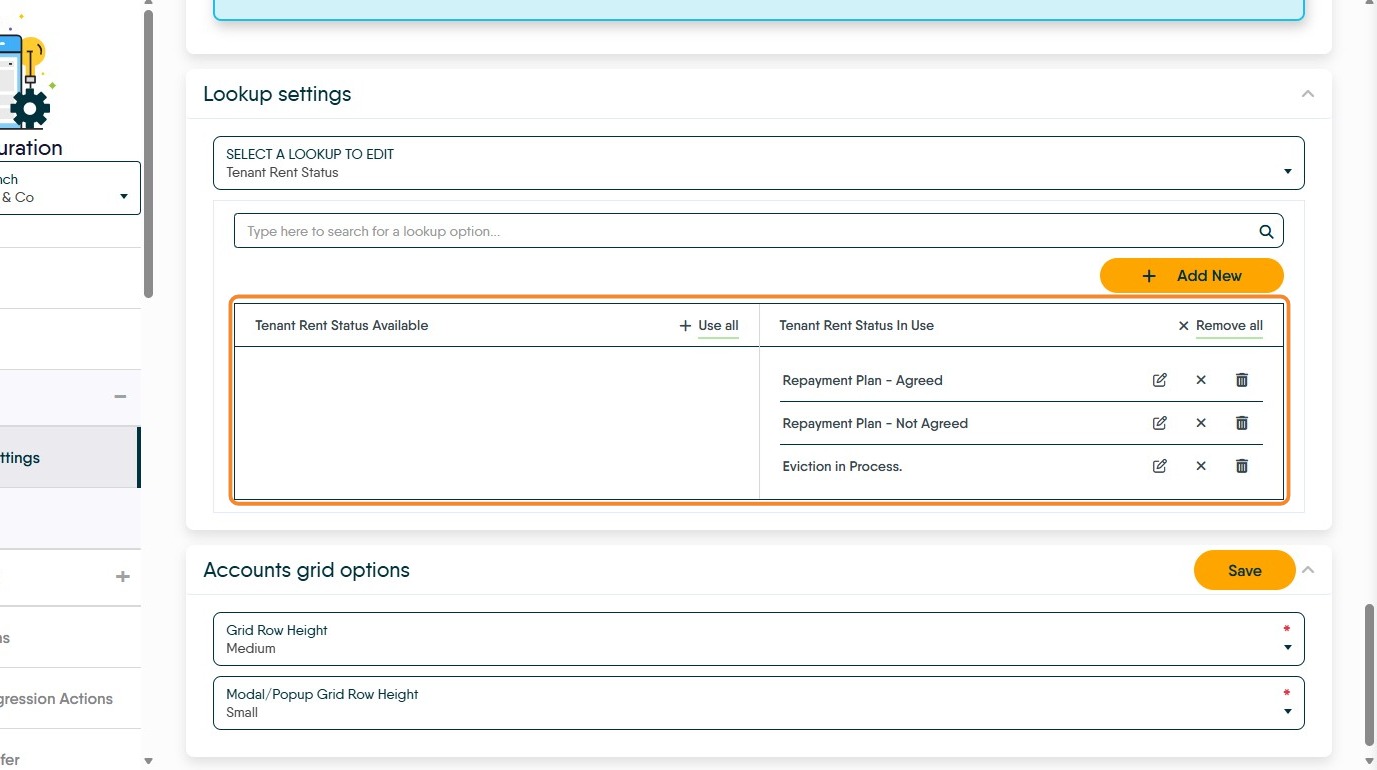
12. The options you have set will show in the 'Tenant Rent Status In Use' field. These options will be available in the 'Rent Status' area of the 'Financial' tab in a Tenant record.
Any status options you have created and not enabled will show in the 'Tenant Rent Status Available' field.