This guide provides a step-by-step process for creating a new tenancy agreement directly from the Applicant Record in a CRM system. It ensures that users can accurately input tenant and property details, including rent and deposit amounts, while accommodating multiple tenants. By following this guide, users can streamline the tenancy creation process, ensuring all necessary information is captured correctly and efficiently.
Alert: Alert! From the 1st May 2026 you will only be able to offer (the majority of customers) a Periodic Tenancy this guide has been edited to reflect this.
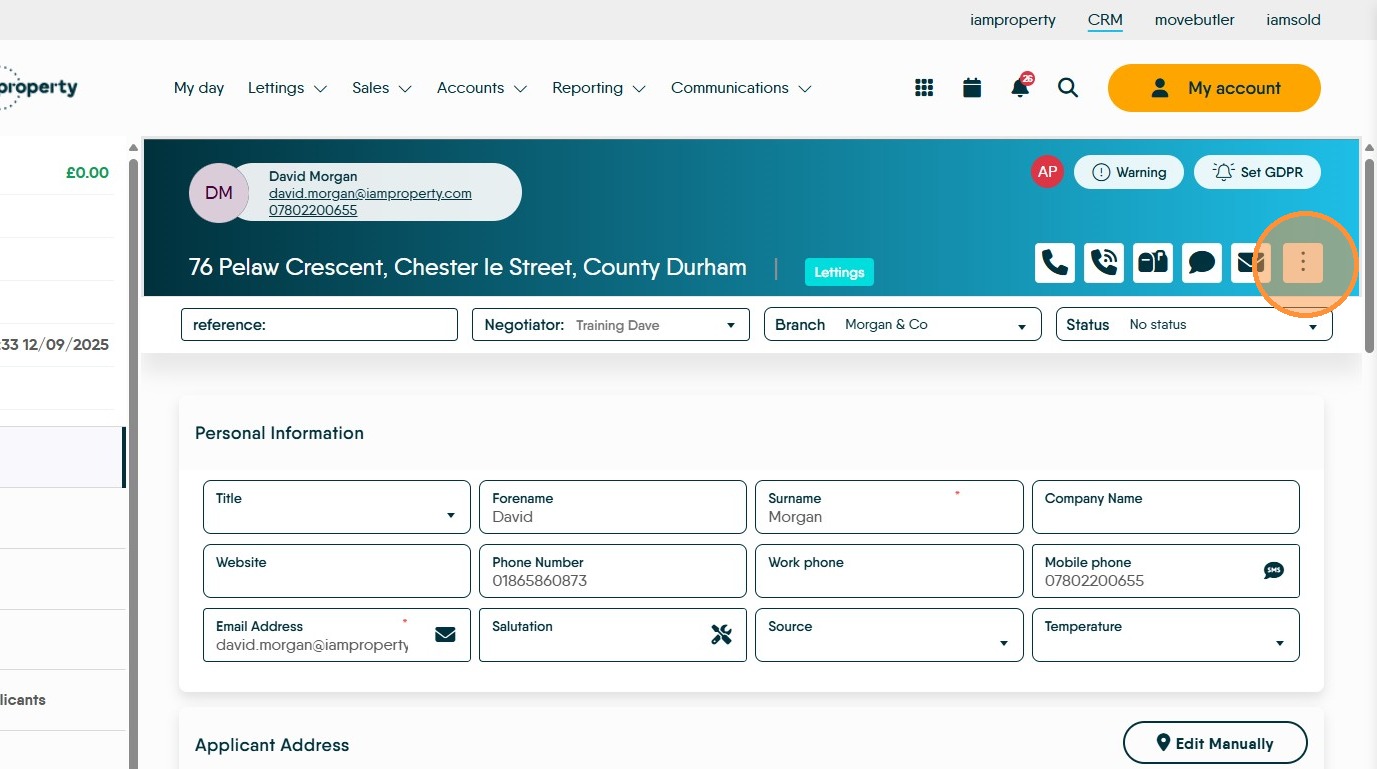
1. This process of creating a new tenancy can be started from 2 places in the CRM. Either the Applicant record or the Property Record. This guide will look at creating the Tenancy from the Applicant Record.
2. From the Applicant record. Click here.
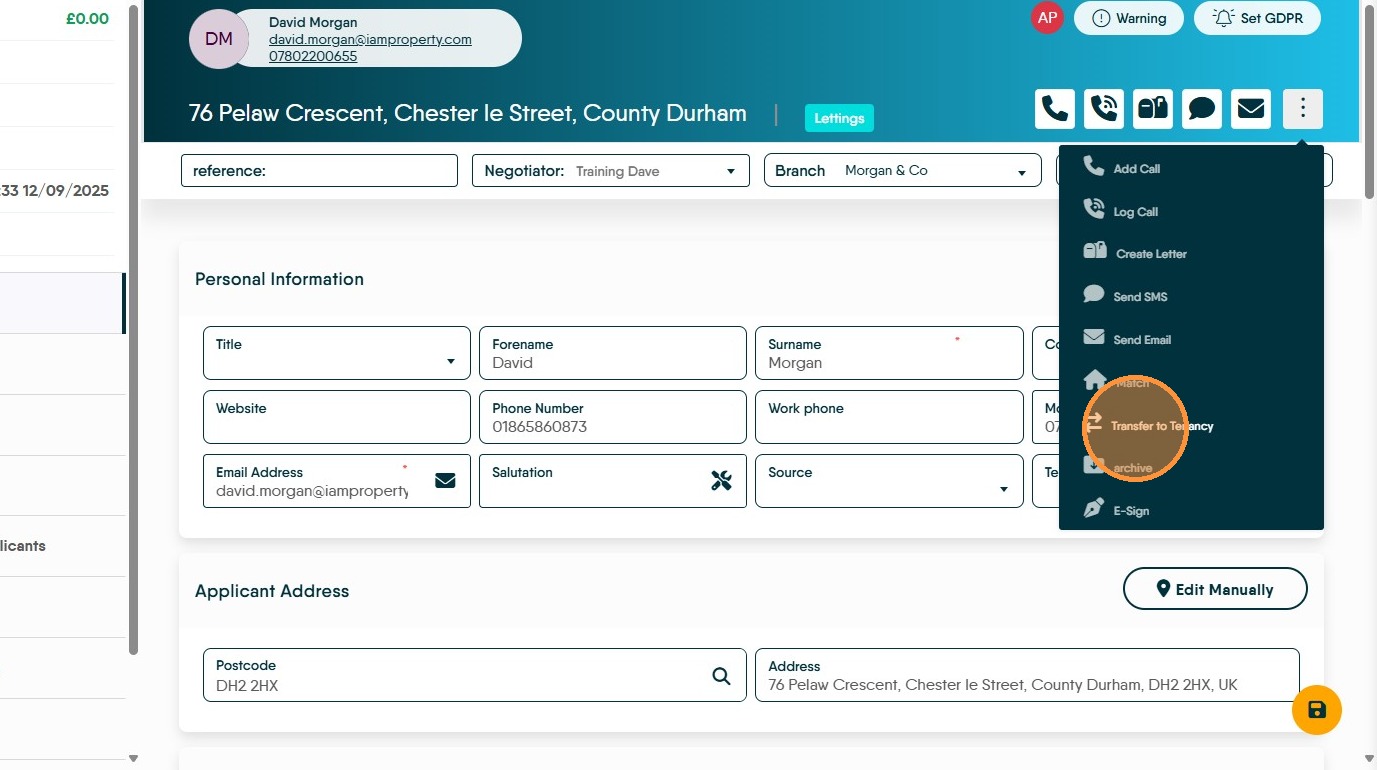
3. Click "Transfer to Tenancy"
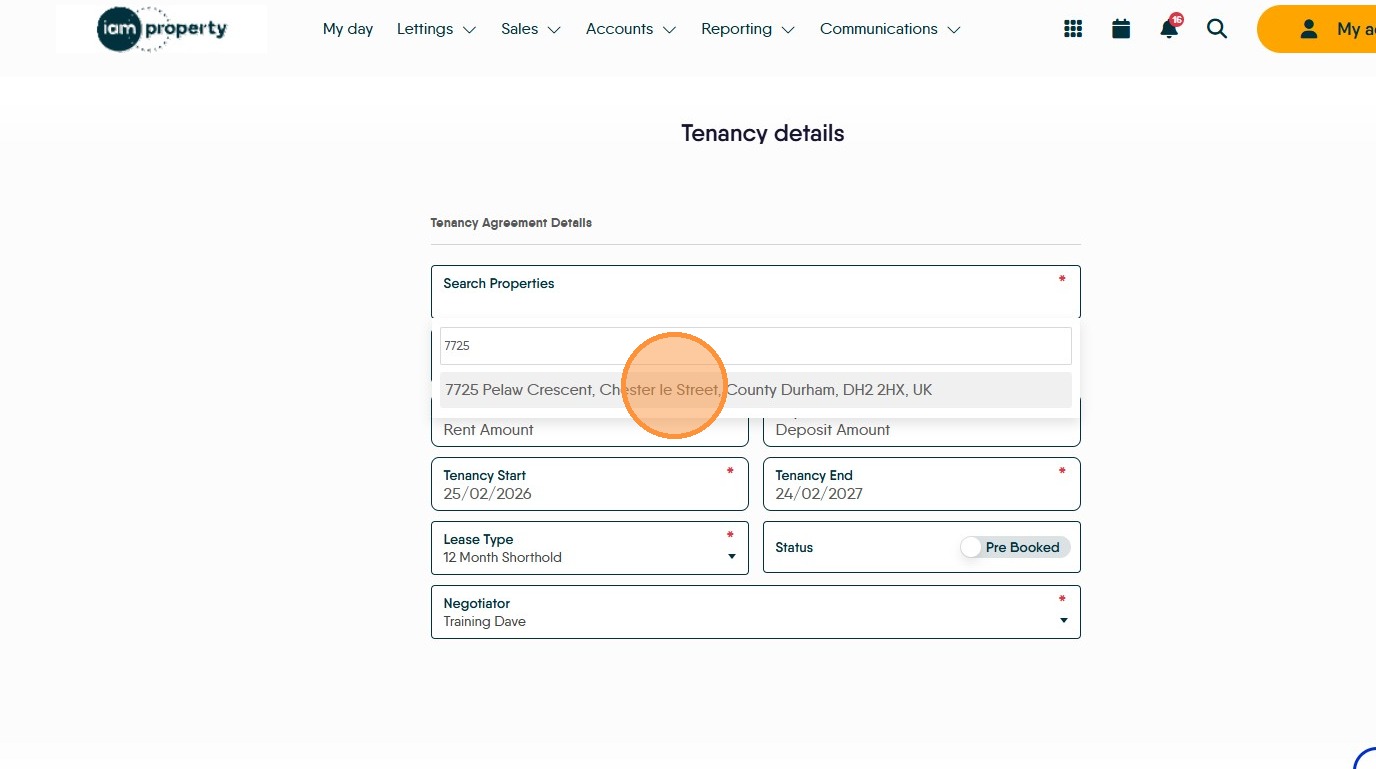
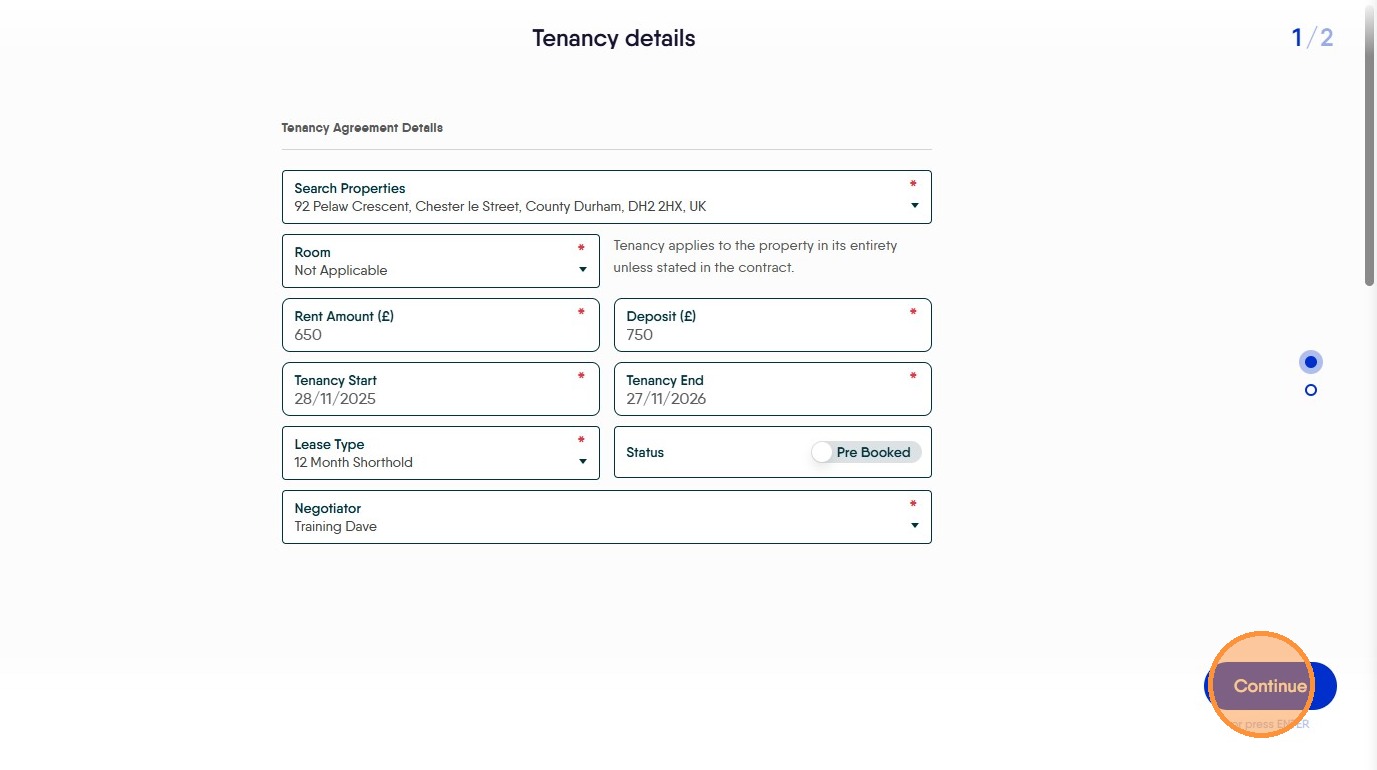
4. Search for and select the property Address from the drop down list.
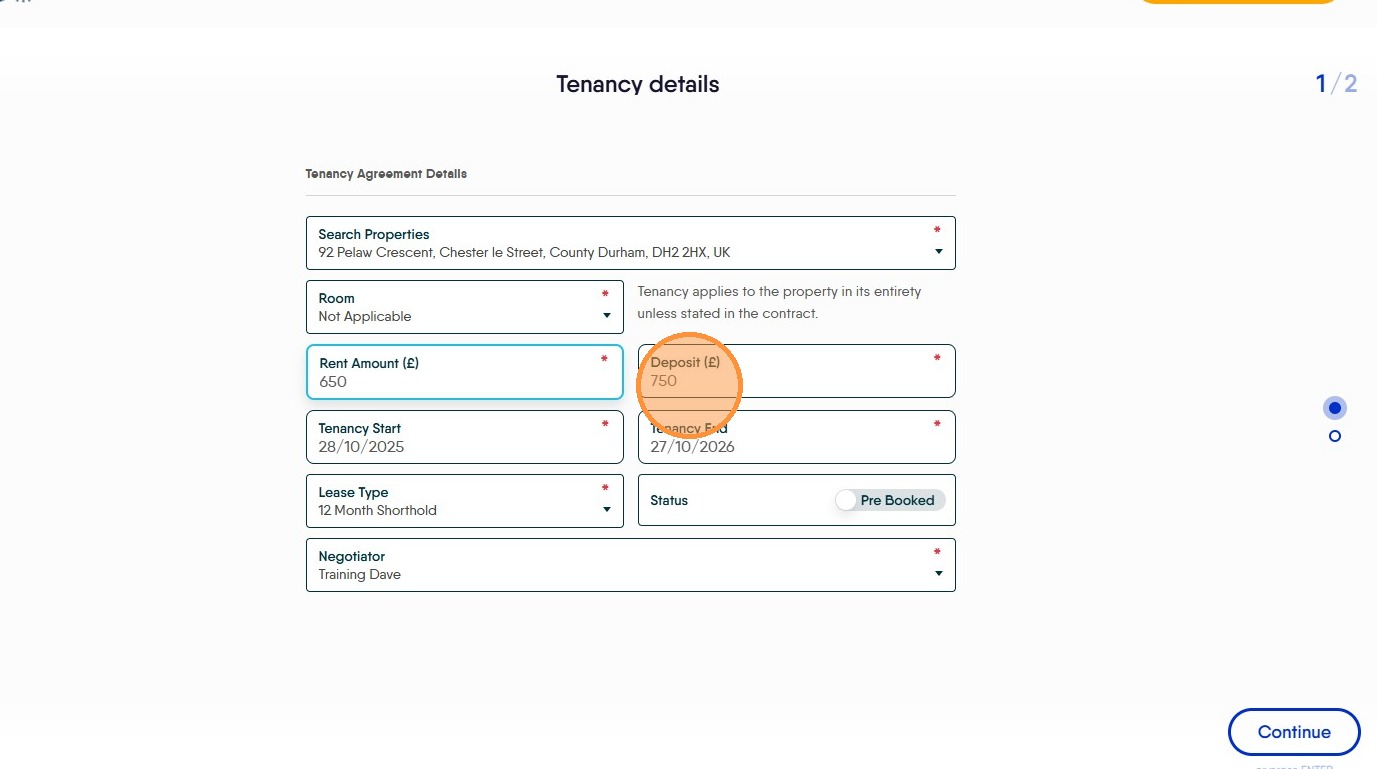
5. Click the "Rent Amount" field and ensure the correct rent amount is showing.
The rent amount displayed is what is advertised in the property record. If there is more than 1 tenant contributing to paying the rent and you want each tenant to be shown to be paying their own share, make sure to edit this rent amount to be the amount your tenant is paying and as you add the additional tenants add their contribution in at that time. If 1 Tenant is paying the full rent, make sure any other tenants you add have £0 rent and deposit amounts.

6. Click the "Deposit Amount" field. Check the deposit is correct
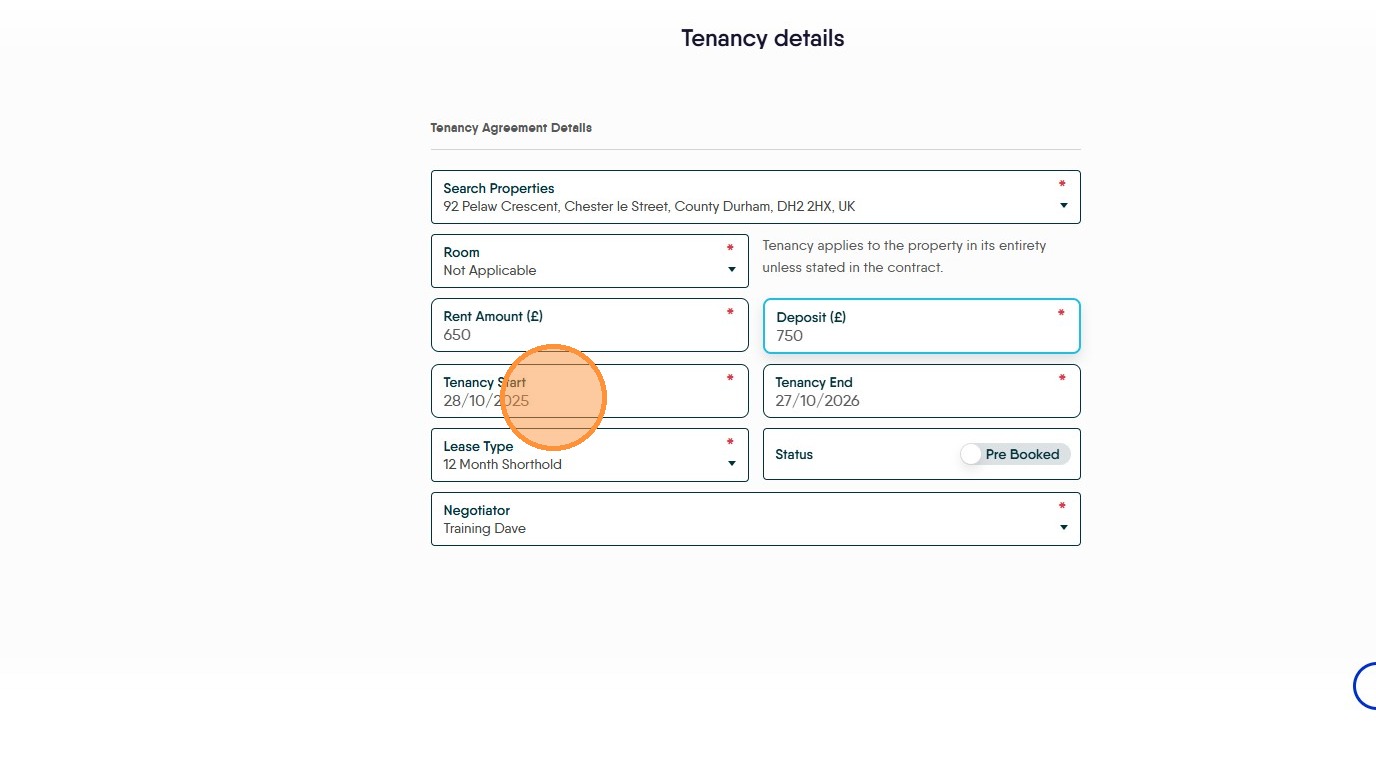
7. Click the "Select Date" field and set the date the tenancy is due to start.
This could be left as the date you create the tenancy, however best practice is to update it to the date you expect the tenancy to start. At this point check that the 'Lease Type' is set as Periodic if as shown here it is showing as 12mth (or anything else) update the Lease Type field in the property record.
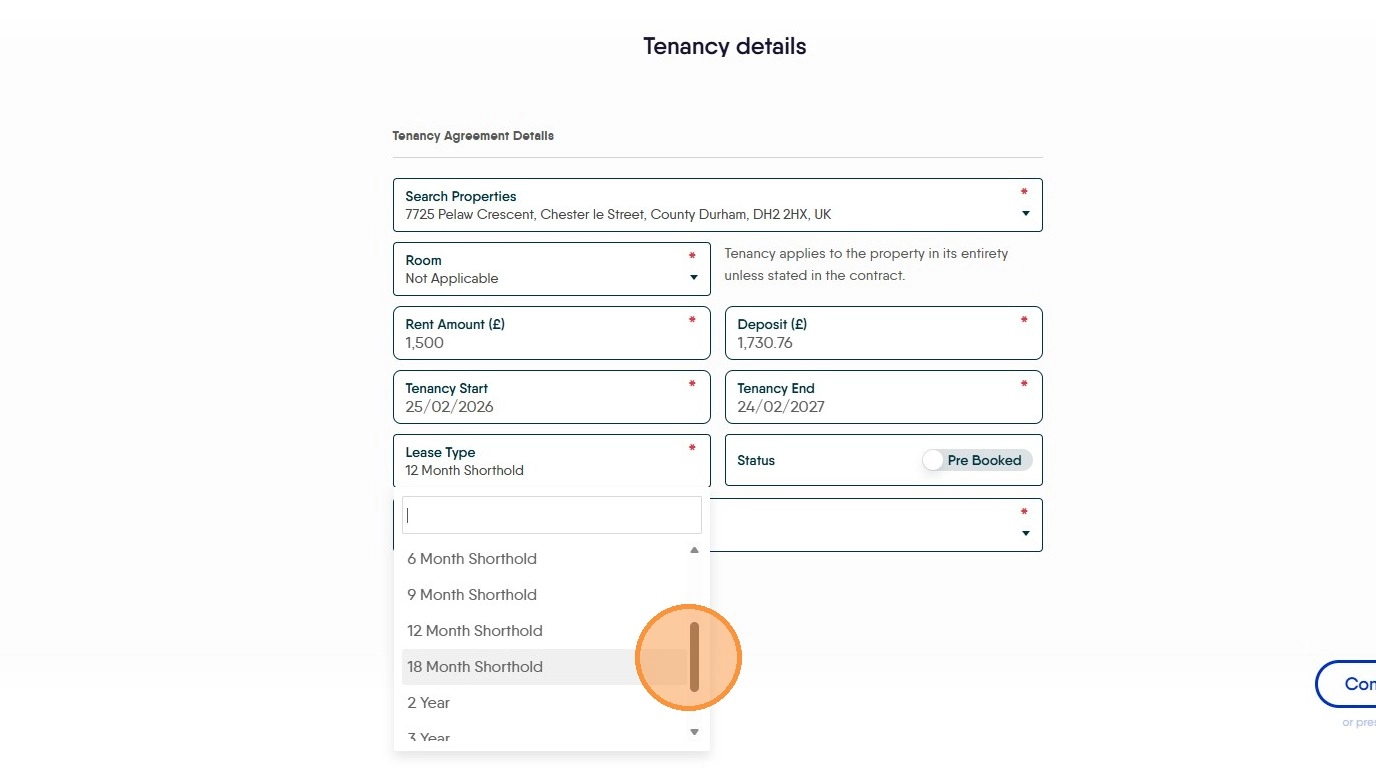
8. If the lease is to start after the 1st May 2026. Check the lease type is set to "Periodic"
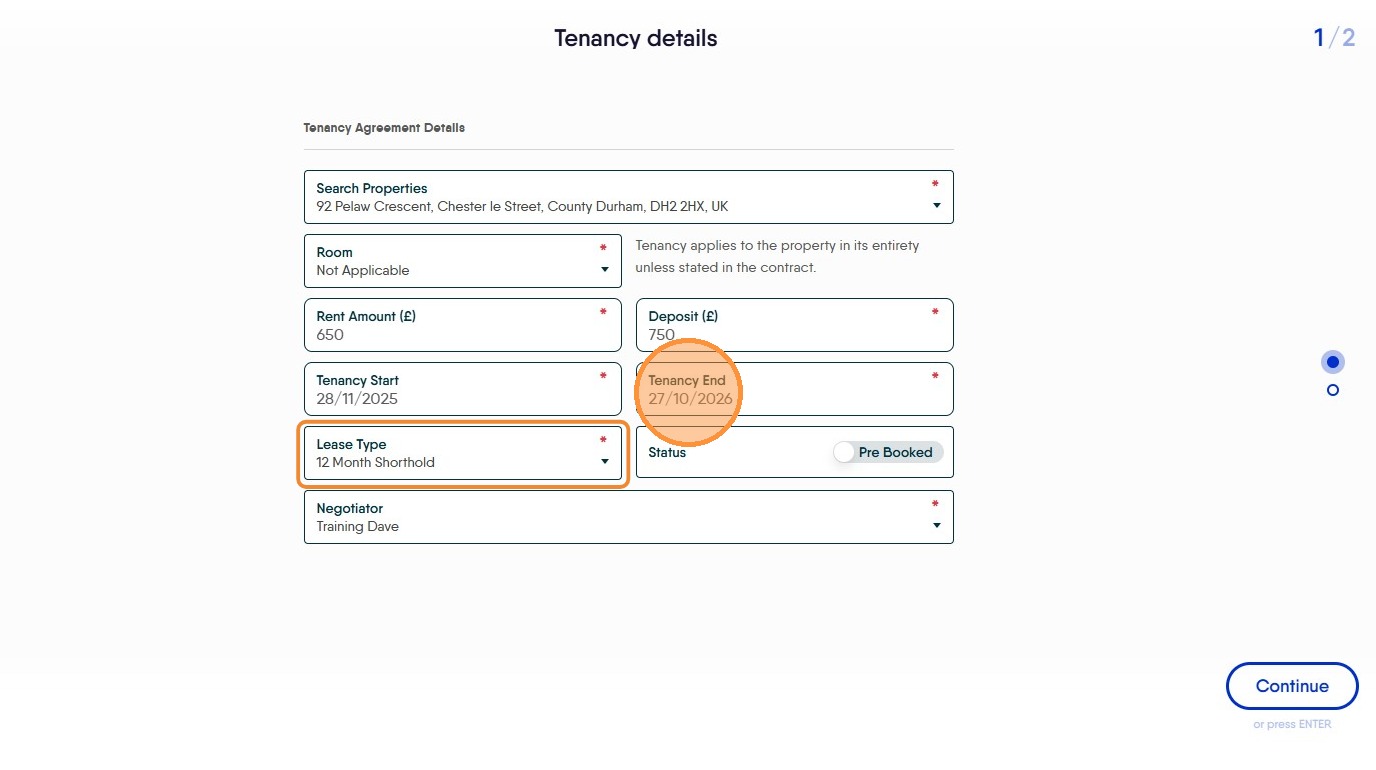
9. The Tenancy End date is controlled by the 'Lease Type' option and for a periodic tenancy will be 1 month onwards from the Tenancy Start date.
10. Click "Status Pre Booked" this is the default setting so should not need to be changed
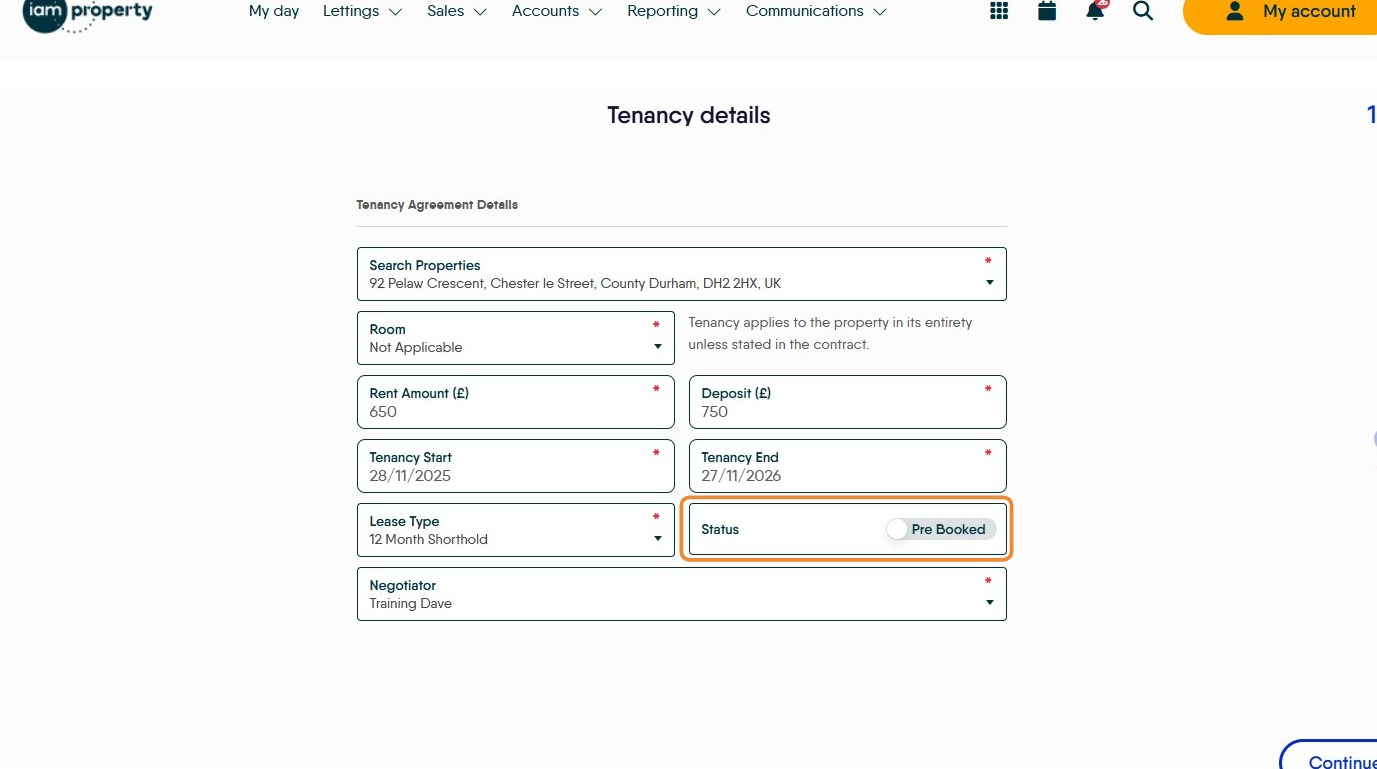
11. Click "Continue"
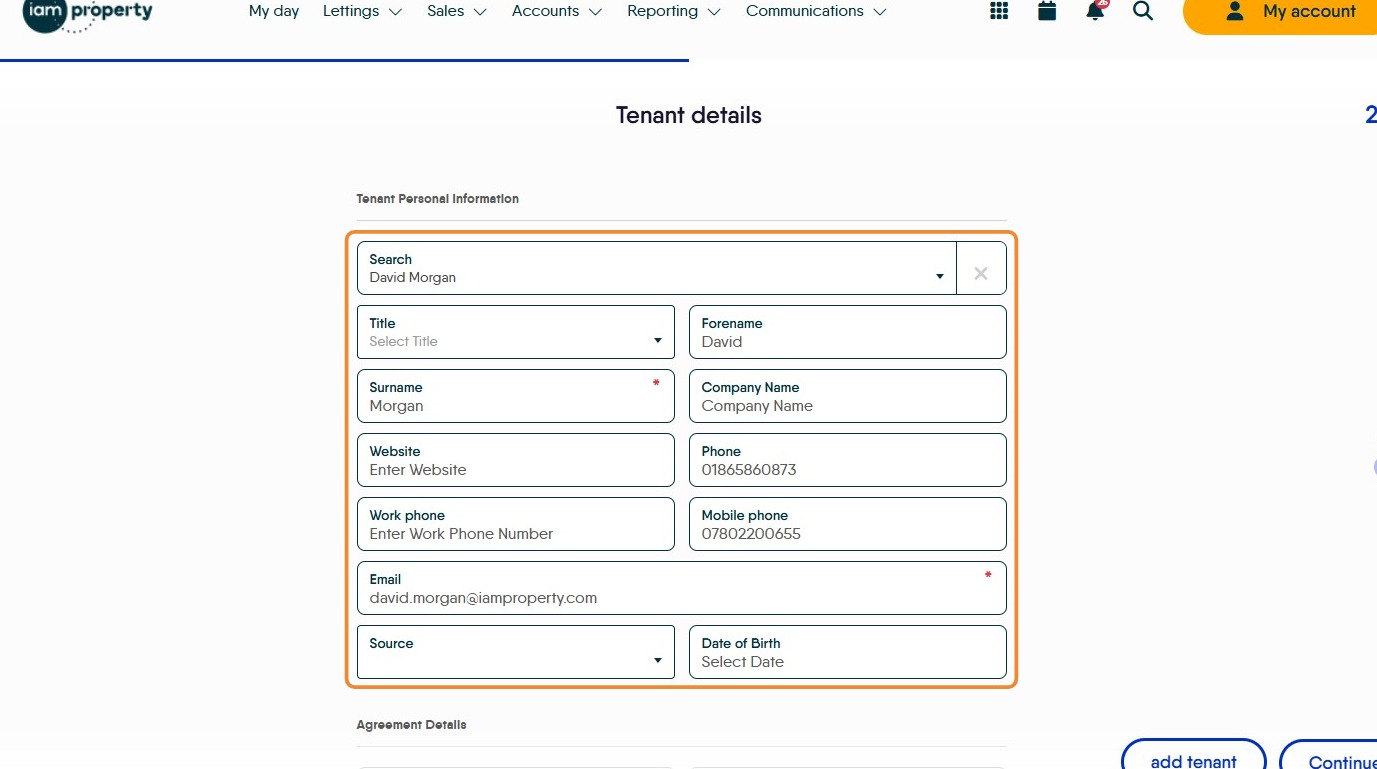
12. The Tenant details will automatically be entered, check they are correct and complete any gaps. Click into the fields to edit if required.
13. Check the Rent details are correct, is each tenant paying their own share or is one tenant responsible for paying? Click the "Rent Amount" field to edit the rent, the Deposit amount will change automatically as will the holding deposit.
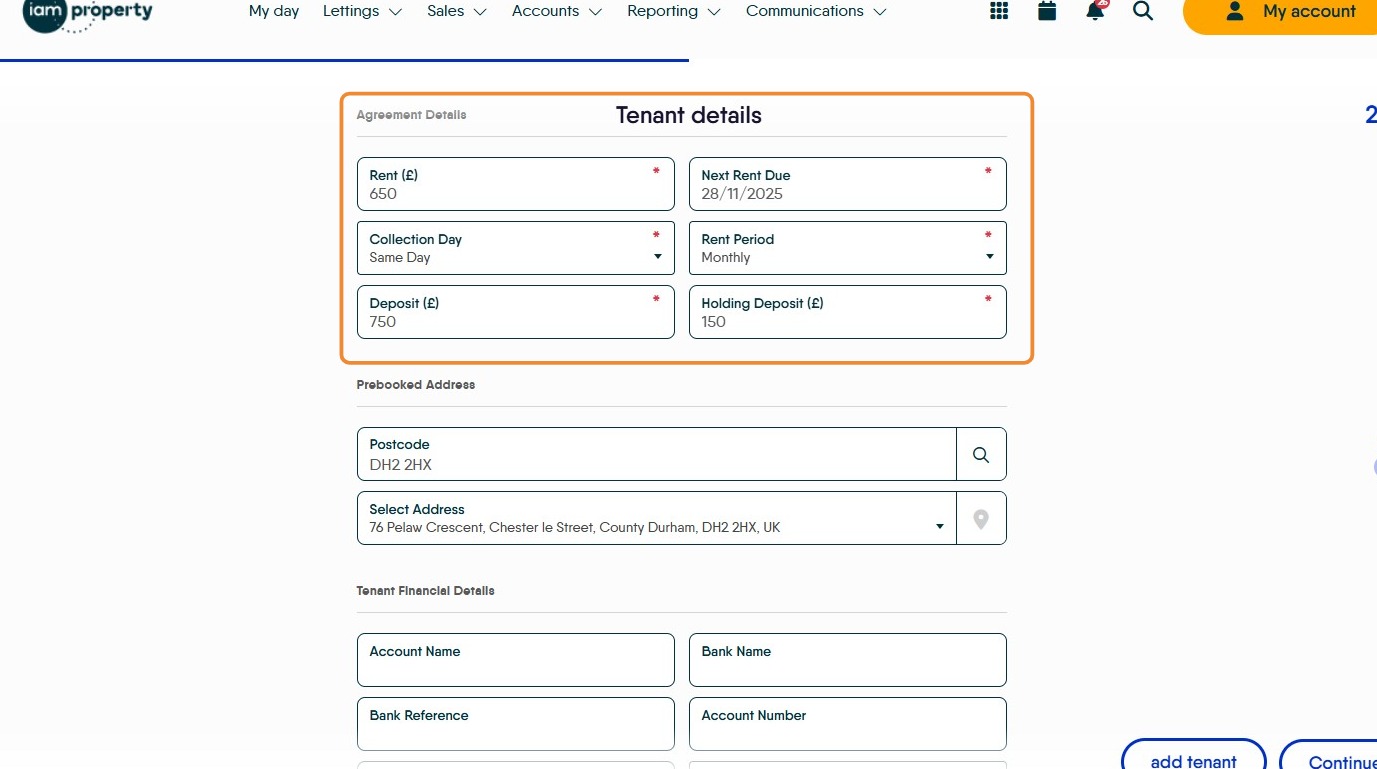
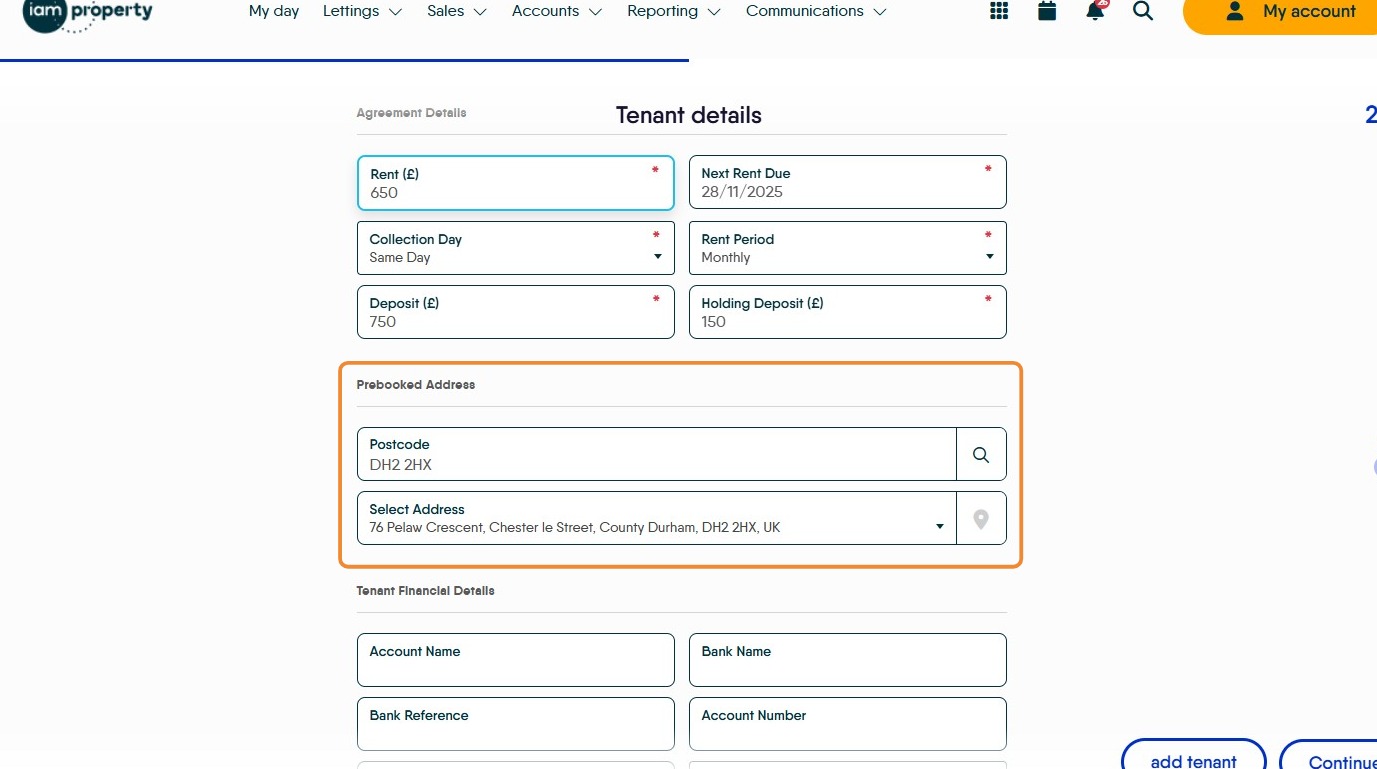
14. Click "Prebooked Address" check and update as required.
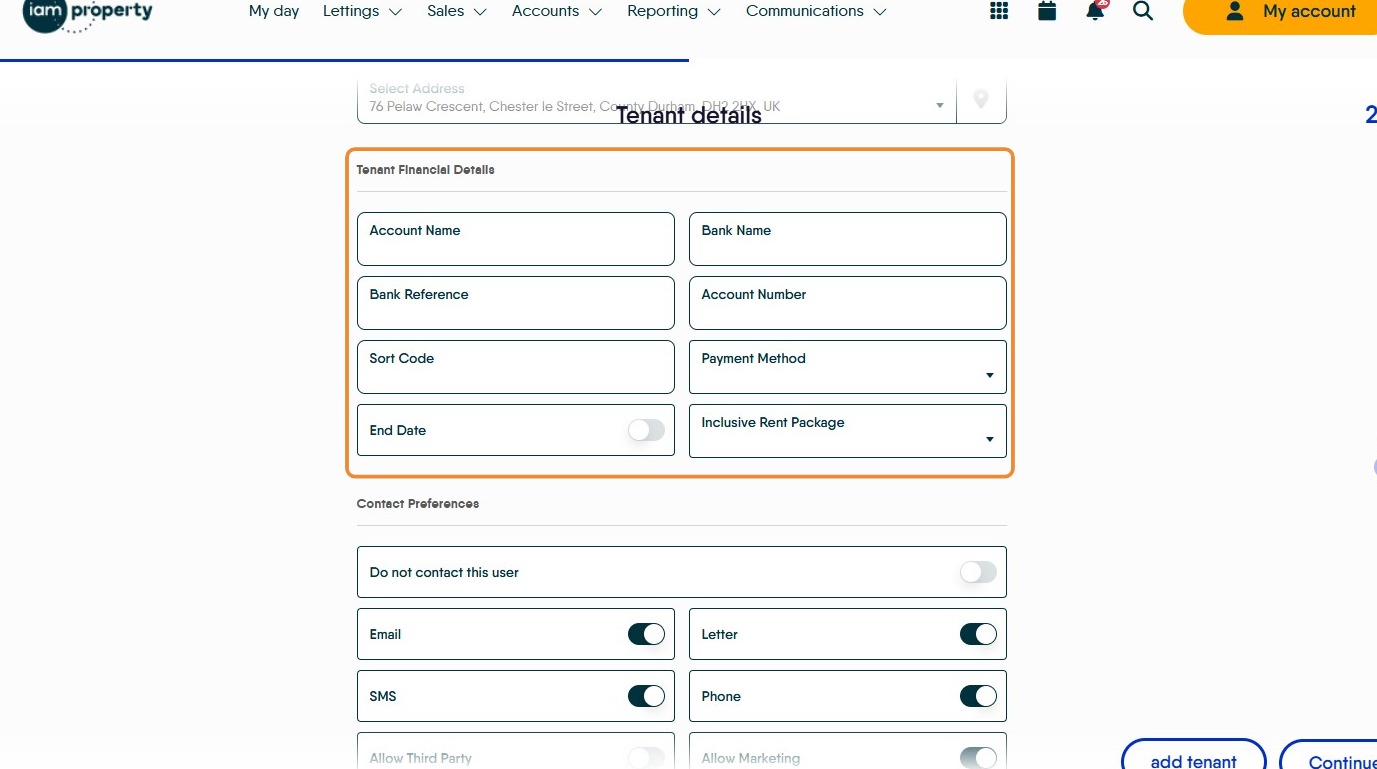
15. Click "Tenant Financial Details" check and update as required.
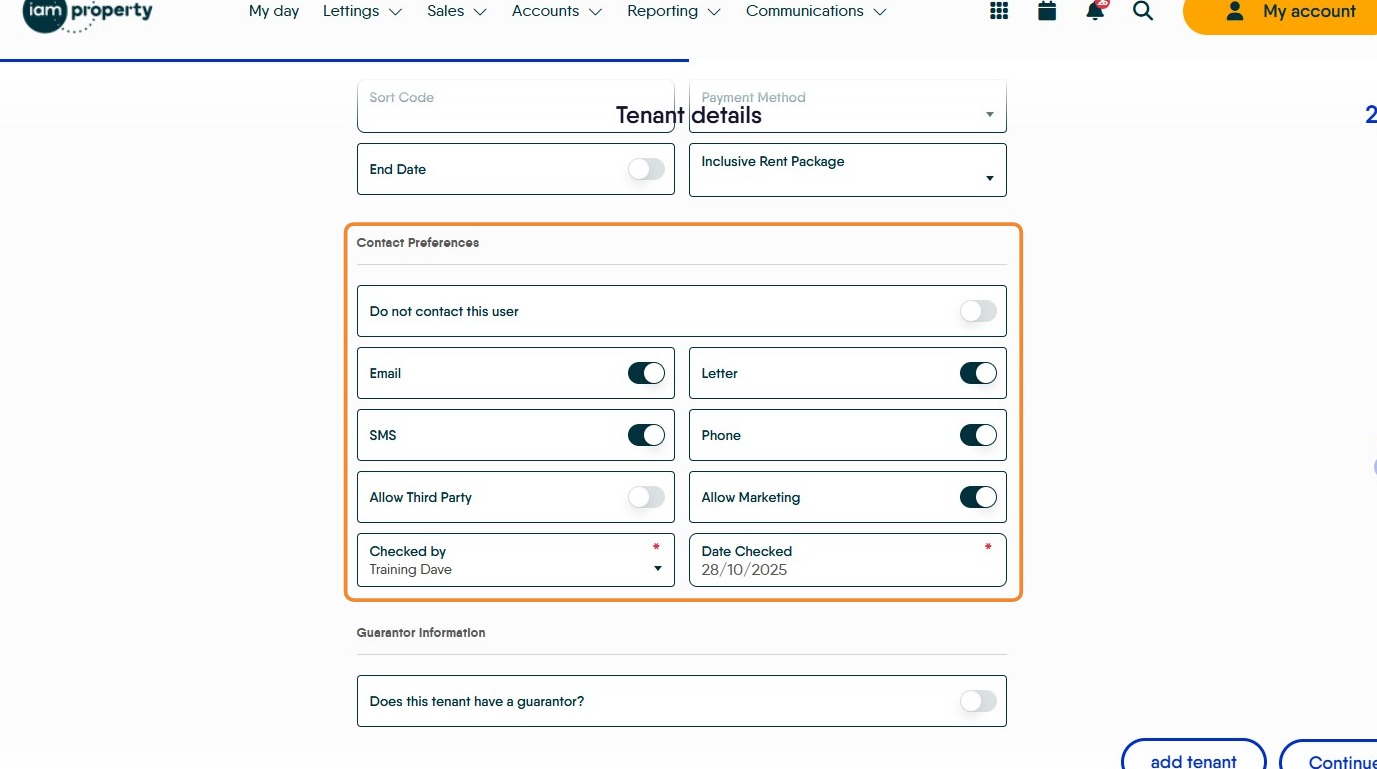
16. Click "Contact Preferences" check and update as required.
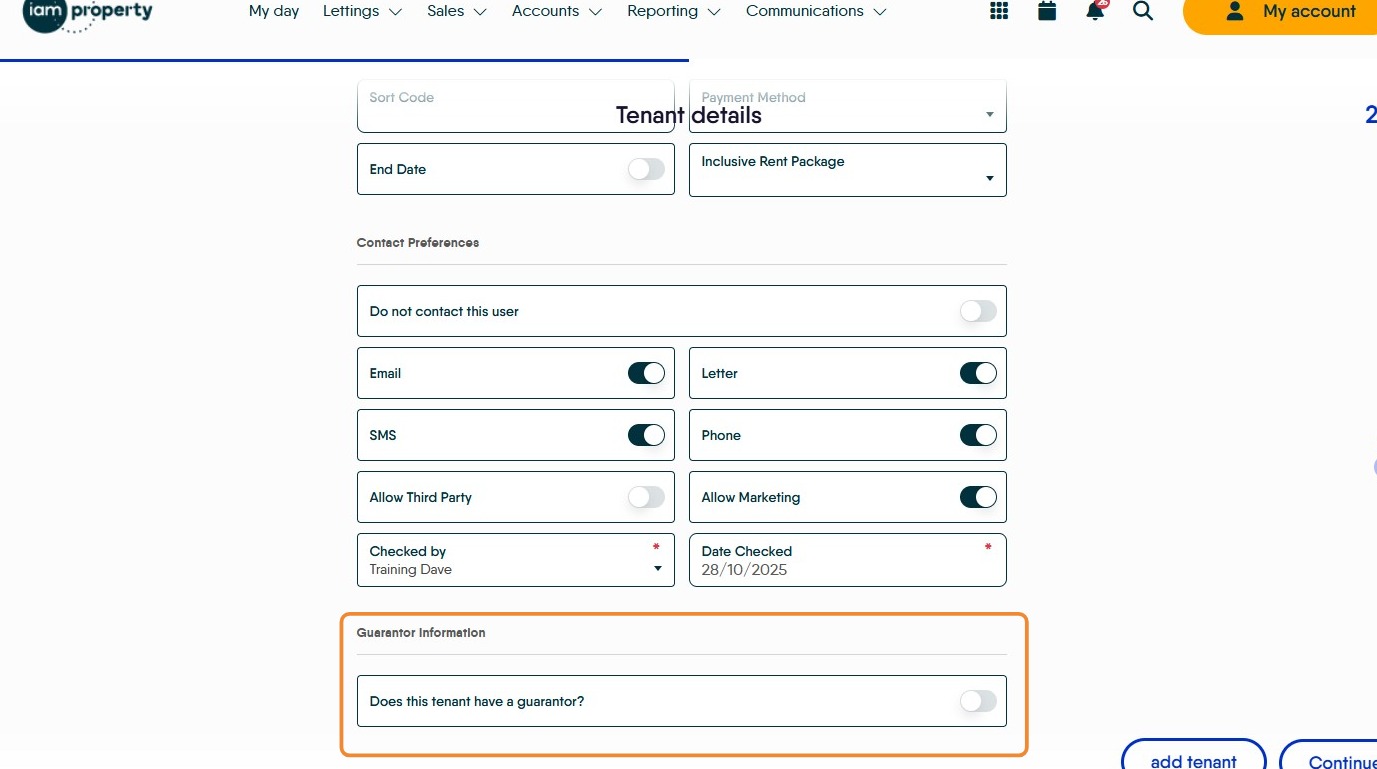
17. Click "Guarantor Information" add the Guarantor details if required.
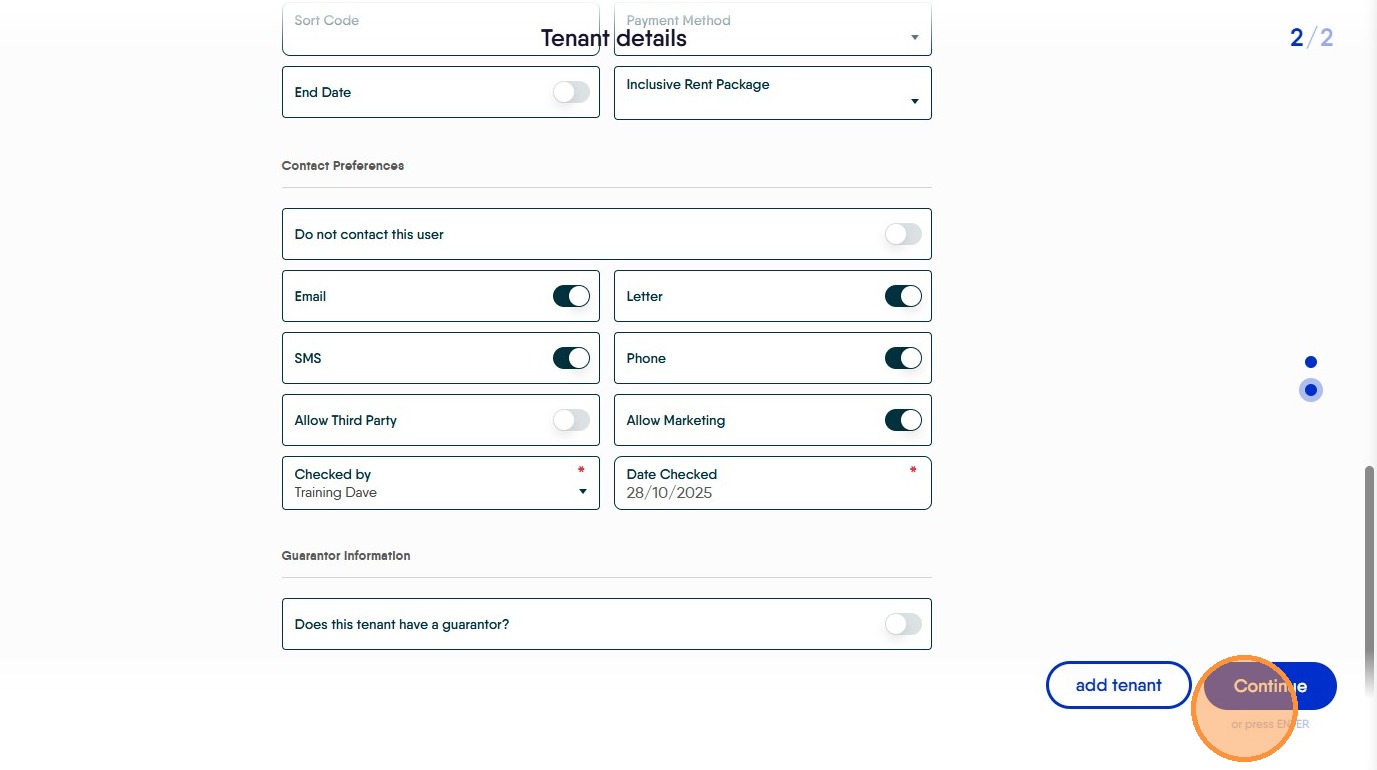
18. If a second, or subsequent, tenant is to be added. Click "add tenant" add the tenant details, the screen is similar to the previous screens for the lead tenant.
Ensure the rent details are correct based on how the tenants are paying either enter their contribution or £0 if the lead tenant is responsible.

19. Click "Continue"
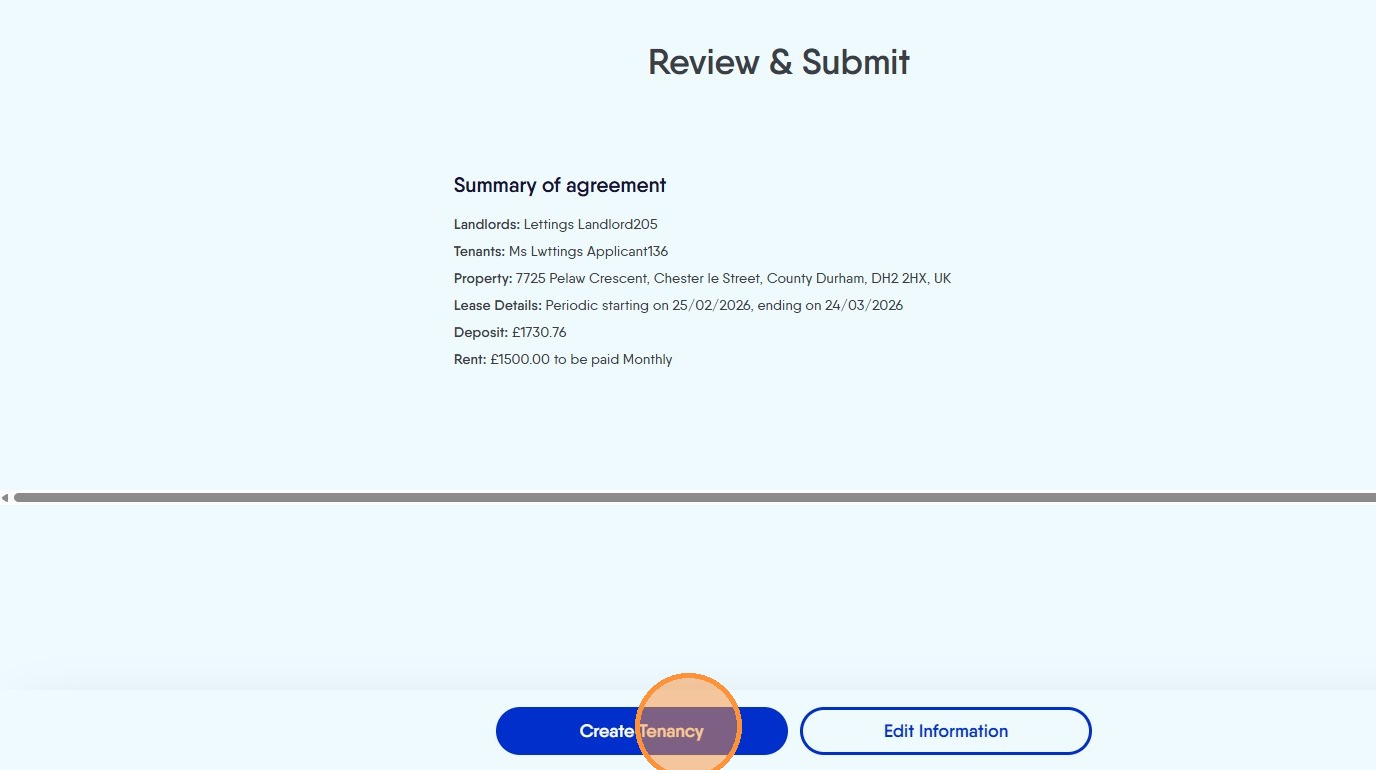
20. Click "Create Tenancy"
21. The Pre Booked Tenancy will now be created.