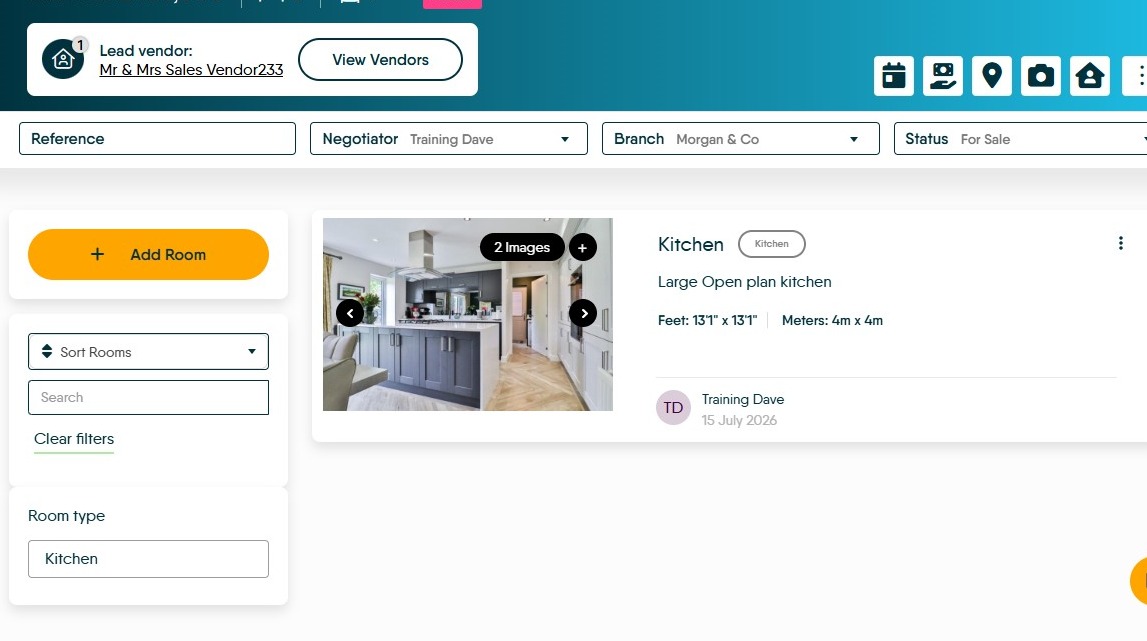
Learn how to efficiently manage property photos by uploading files and assigning them to specific rooms within the CRM. Adding individual rooms is optional, if it is done the room detail shows at the end of the main description.
1. Navigate to the property you are adding the images to.
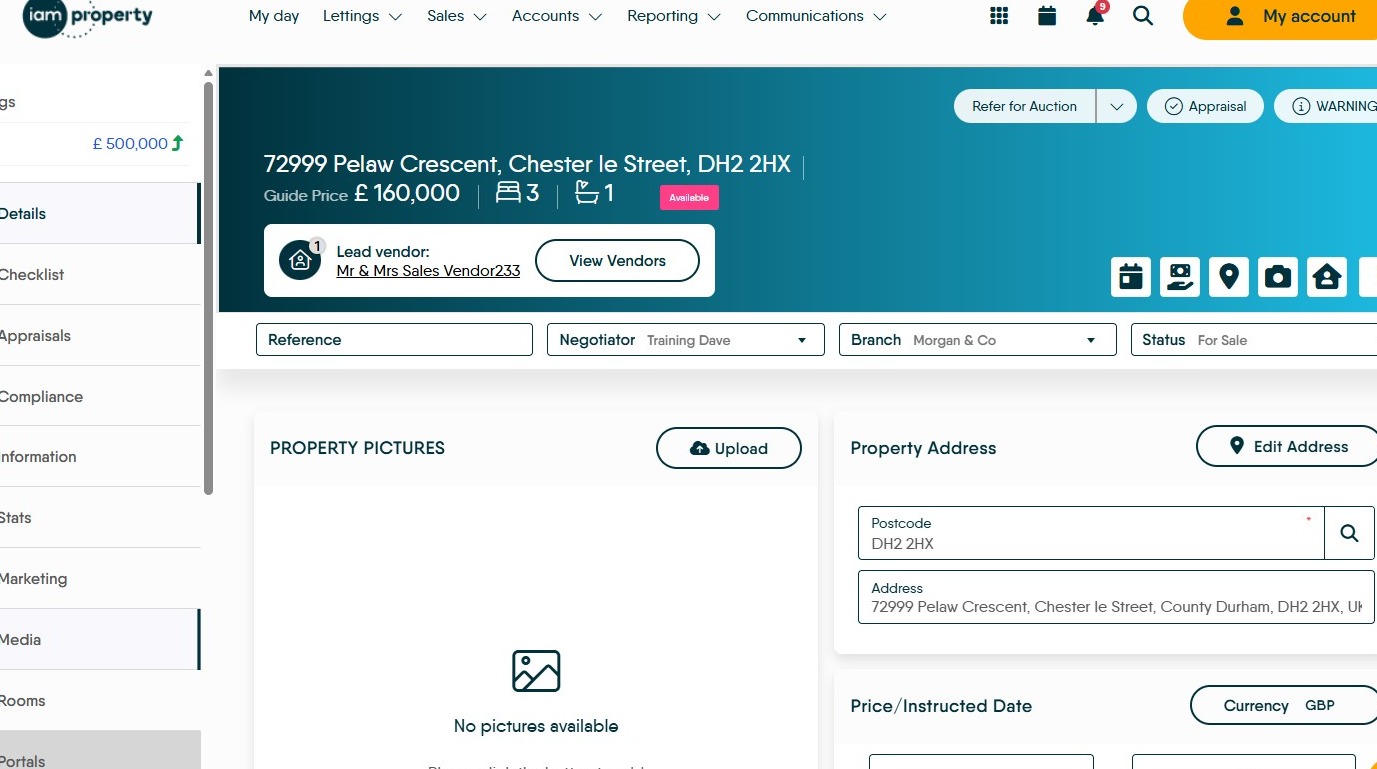
Media Upload and Editing
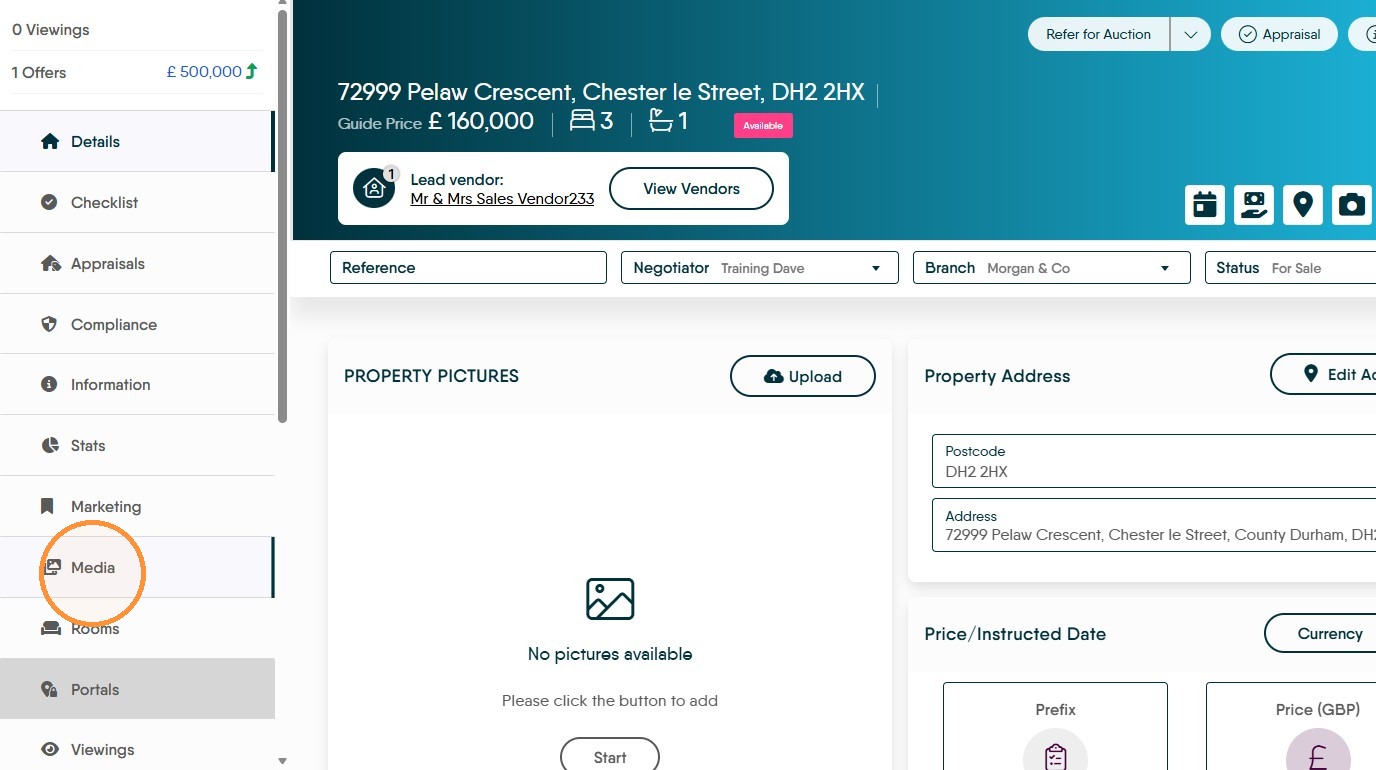
2. Click "Media"
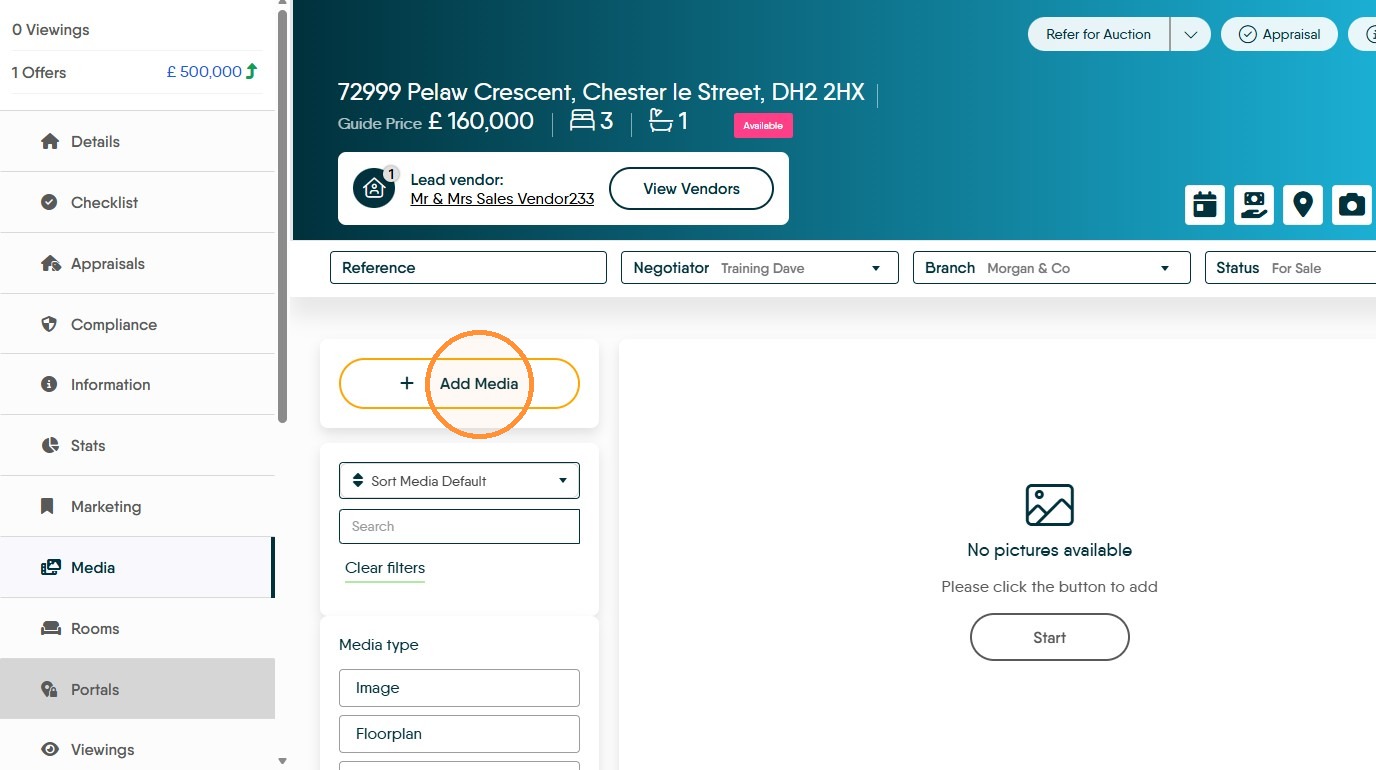
3. Click "Add Media"
4. Click "Drag and drop files here or click to upload media" you can either drag images from another file/ email etc to here or click on to the screen and there will be a file search option that will allow you to search your computer and find your images quickly and easily.
There is an upload limit of 20mb per upload on files, if an upload fails this is the most likely issue. To add more images just repeat the process.
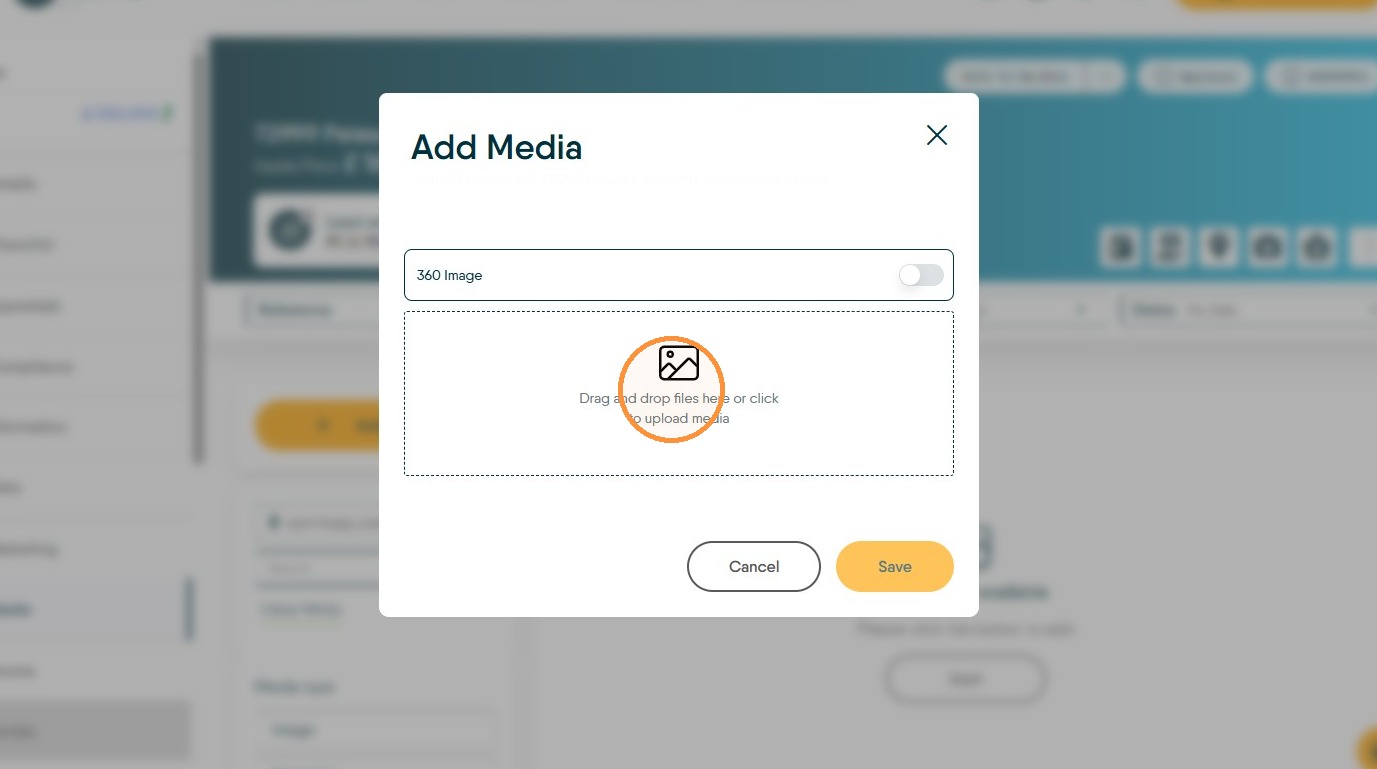
5. Click "Save"
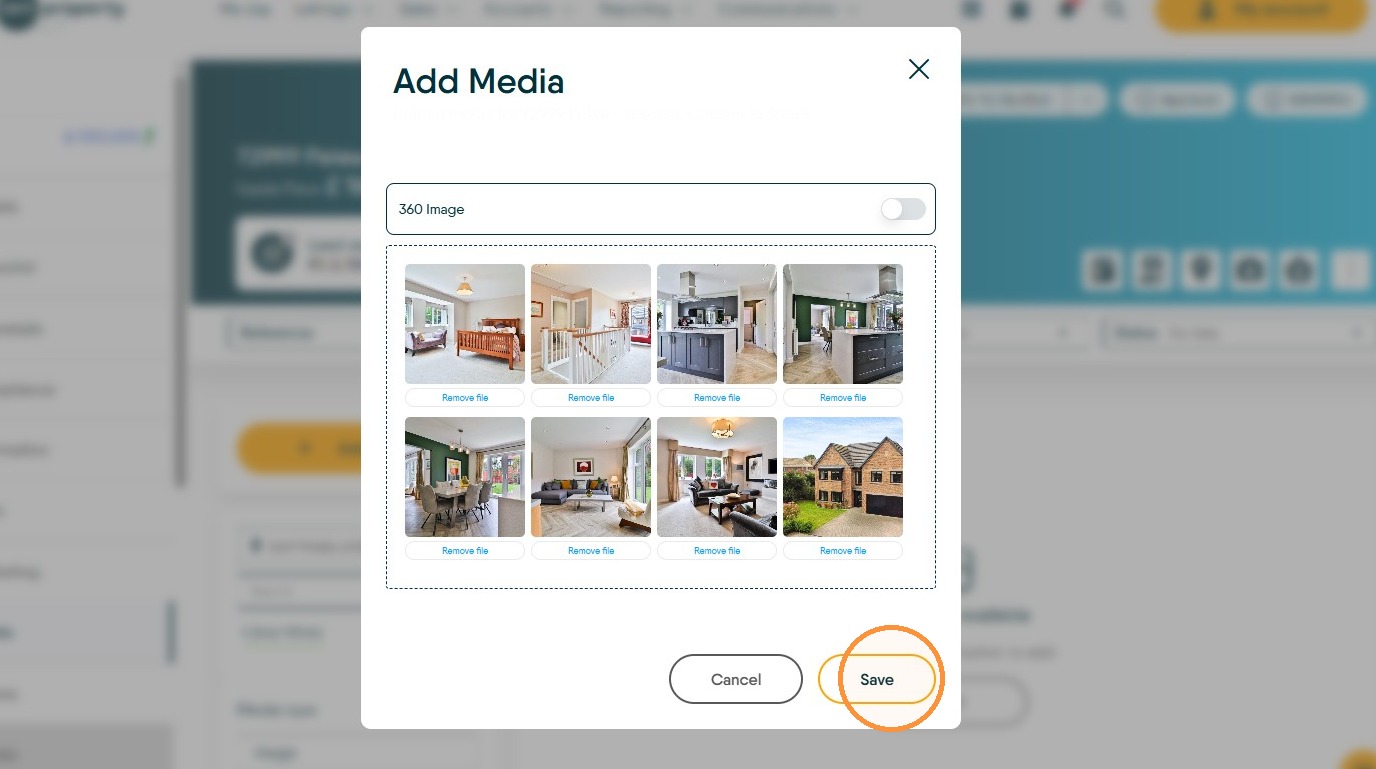
6. The images will show on screen, to add more repeat the process. To reorder the images, drag the images around the screen to the required position.
Be aware that the position on the screen is the position the image will show in a brochure, for example image top left is always 'image 1'
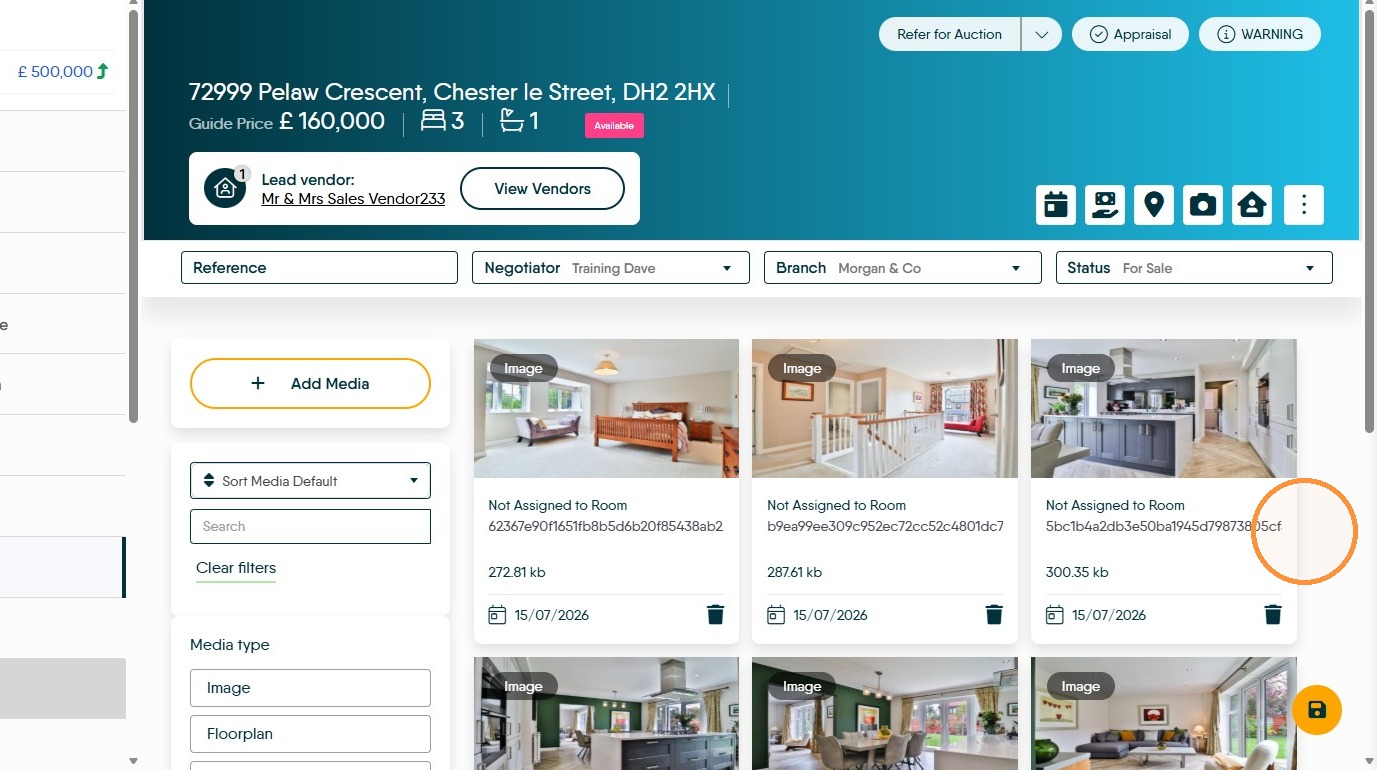
7. To edit images or add an individual description. Click the Edit icon (pencil) on the image
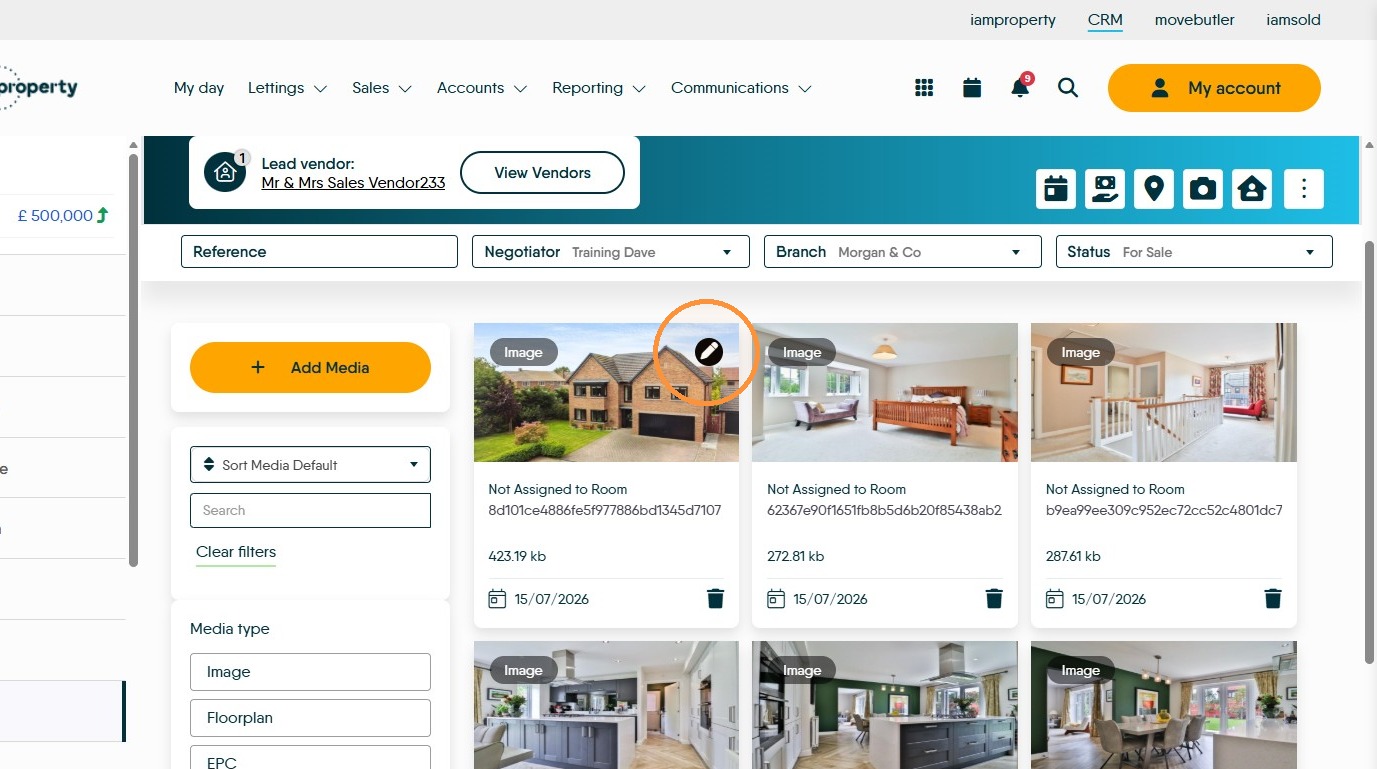
8. 'Information' will allow a caption or description to be added to the image and also the media type to be changed if a Floorplan is uploaded as an image this is where you would change the Media Type to Floorplan allowing the image to upload to portals correctly.
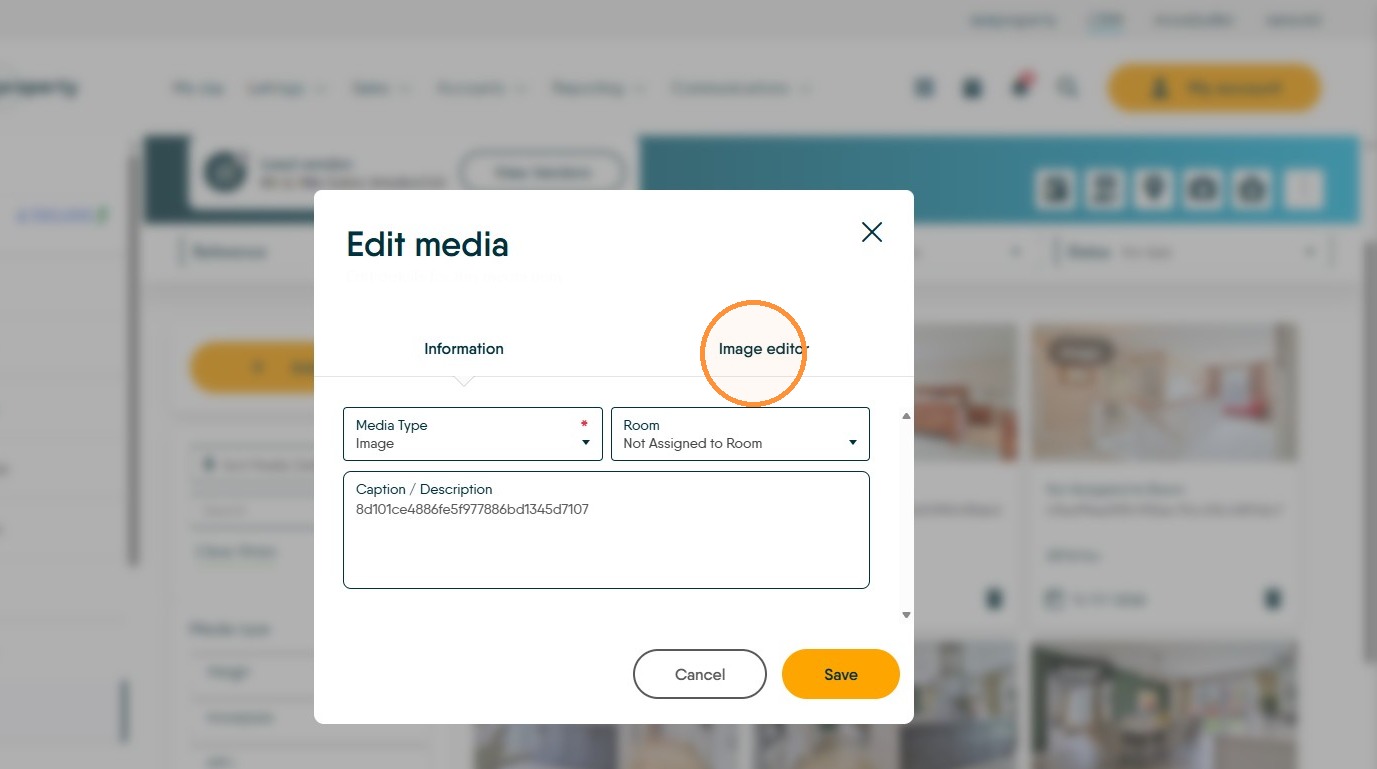
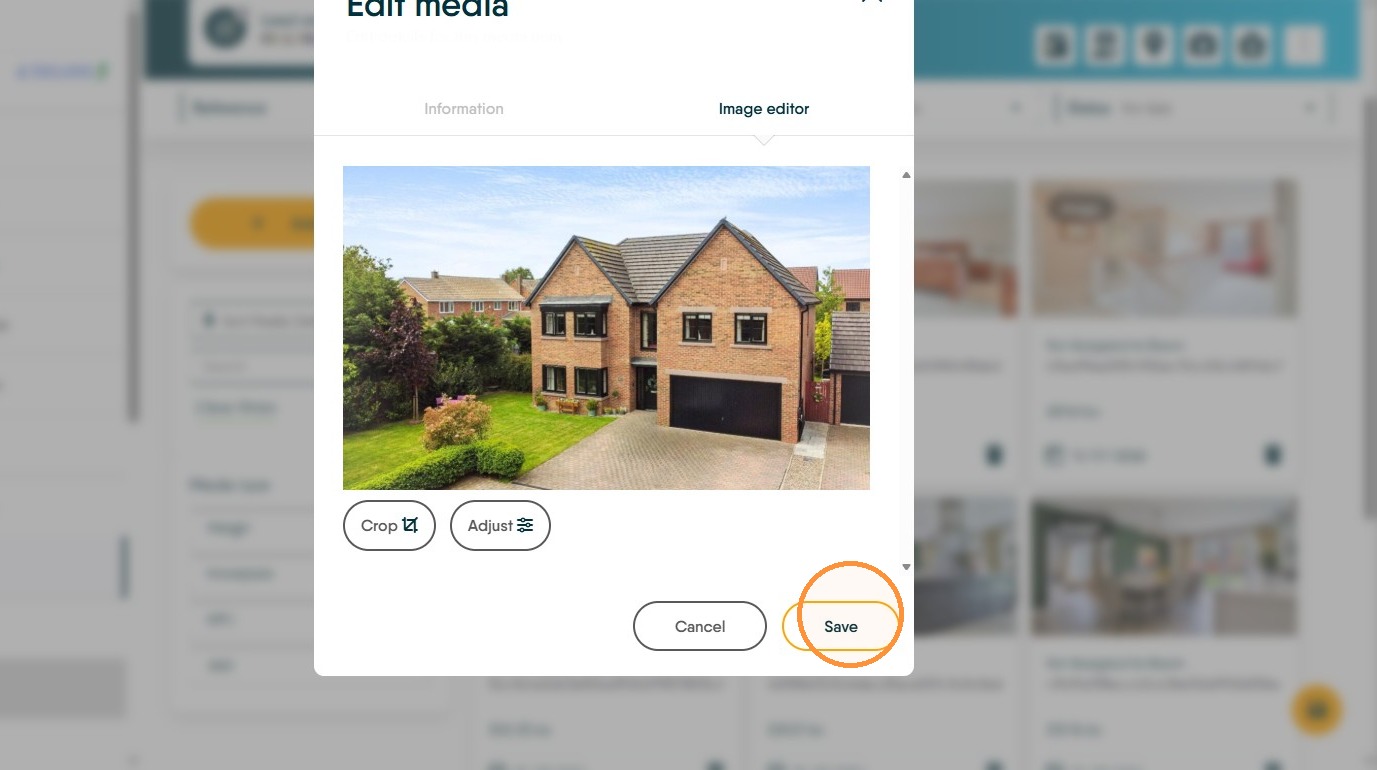
9. Switch to the Image editor tab where the image can be cropped and the image attributes changed. Click "Save"
Rooms
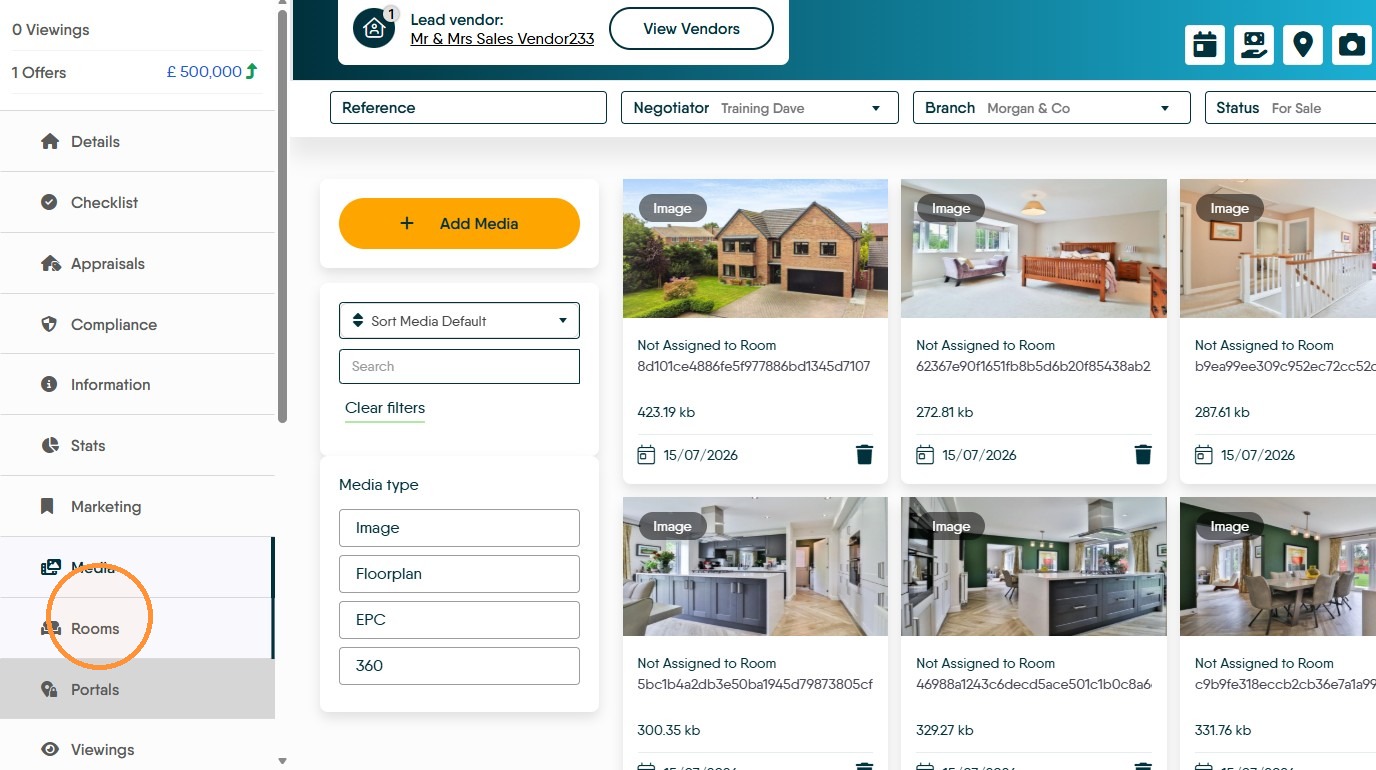
10. Click "Rooms" this allows individual rooms to be highlighted in the property description
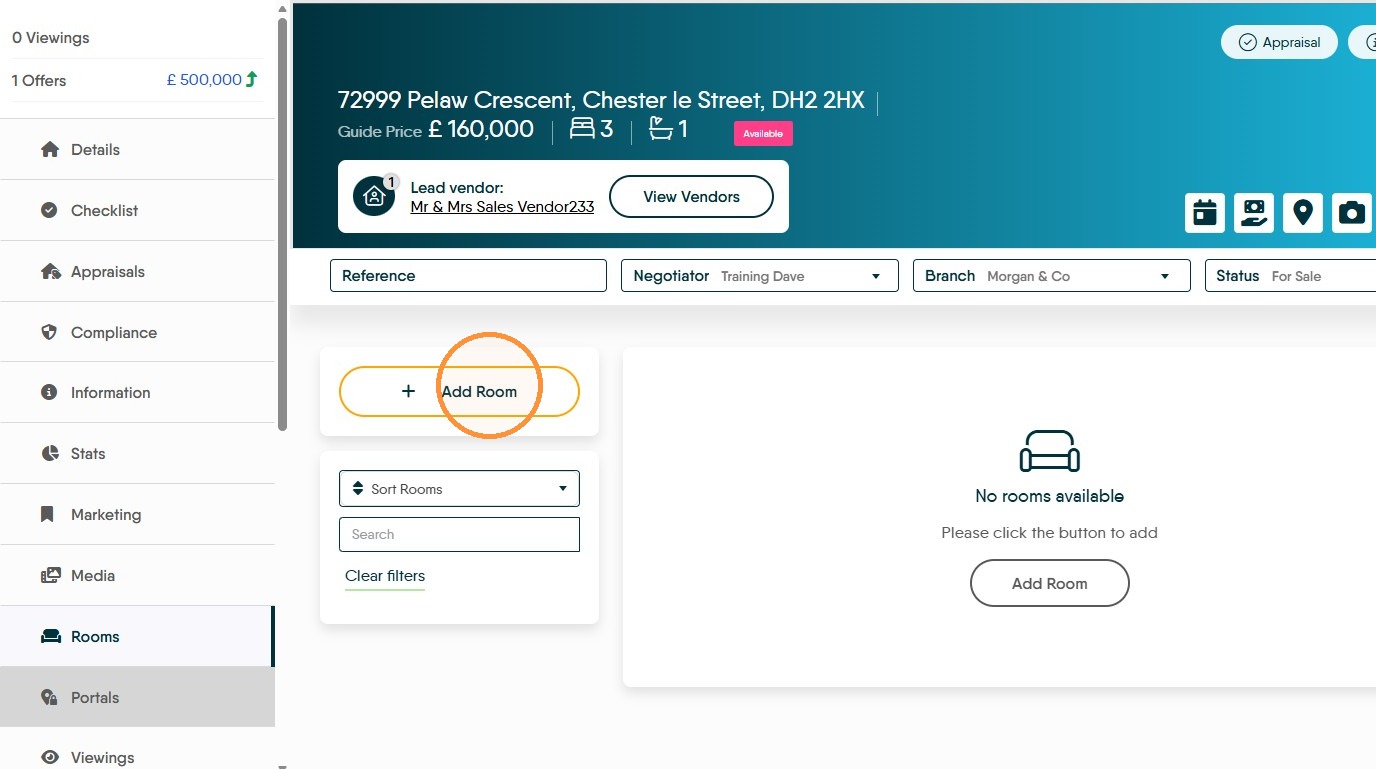
11. Click "Add Room"
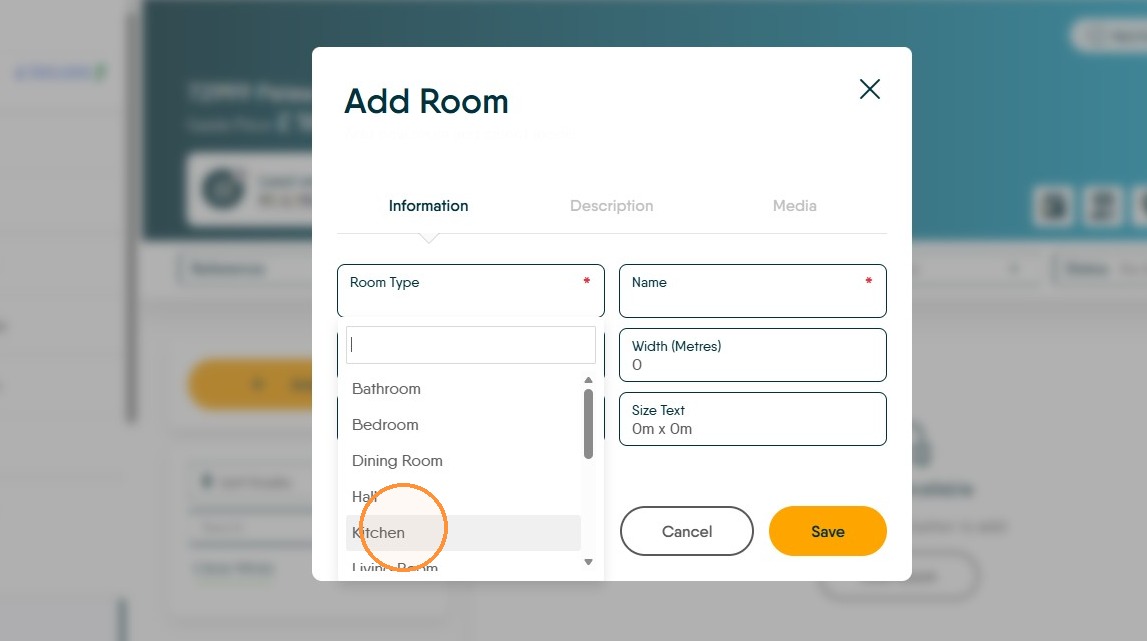
12. From the 'Add Room' screen in the 'Room Type' drop-down menu you can select the particular room type. In the example select 'Kitchen' from the Room Type drop-down menu.
In the 'Name' field you can give a specific name to the room, other than the type selected.
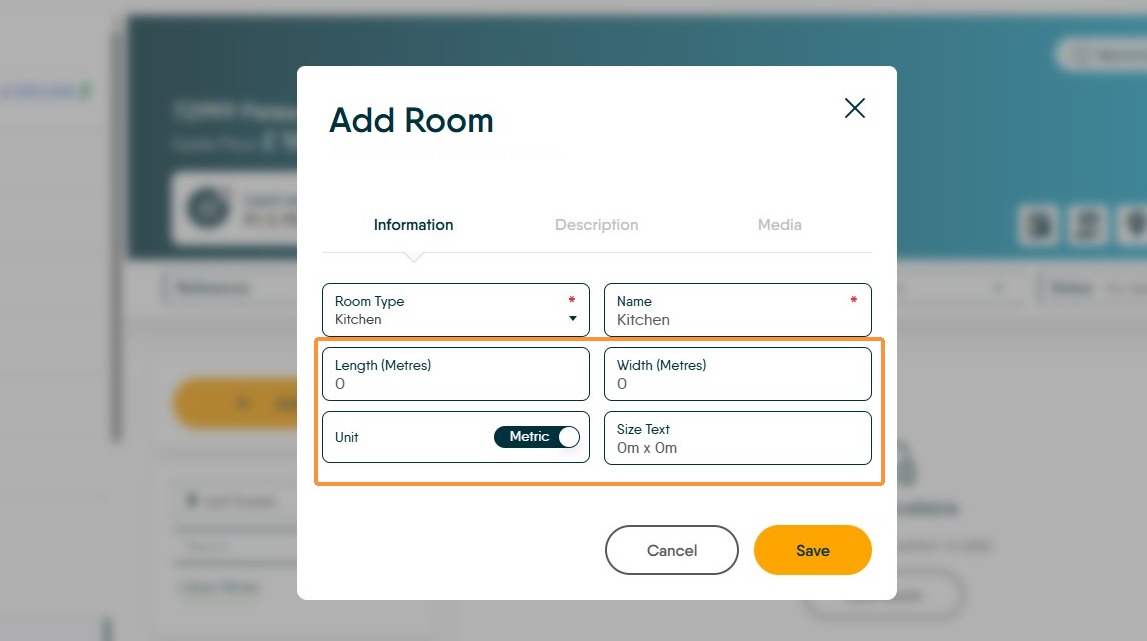
13. Then complete the size fields on this screen as required.
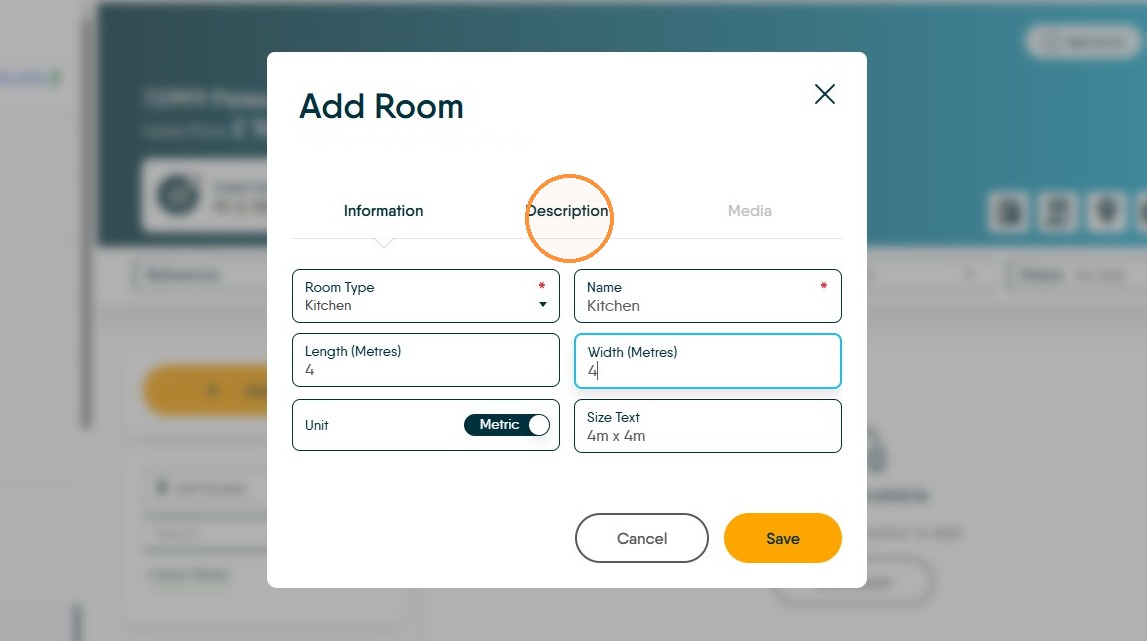
14. Click "Description"
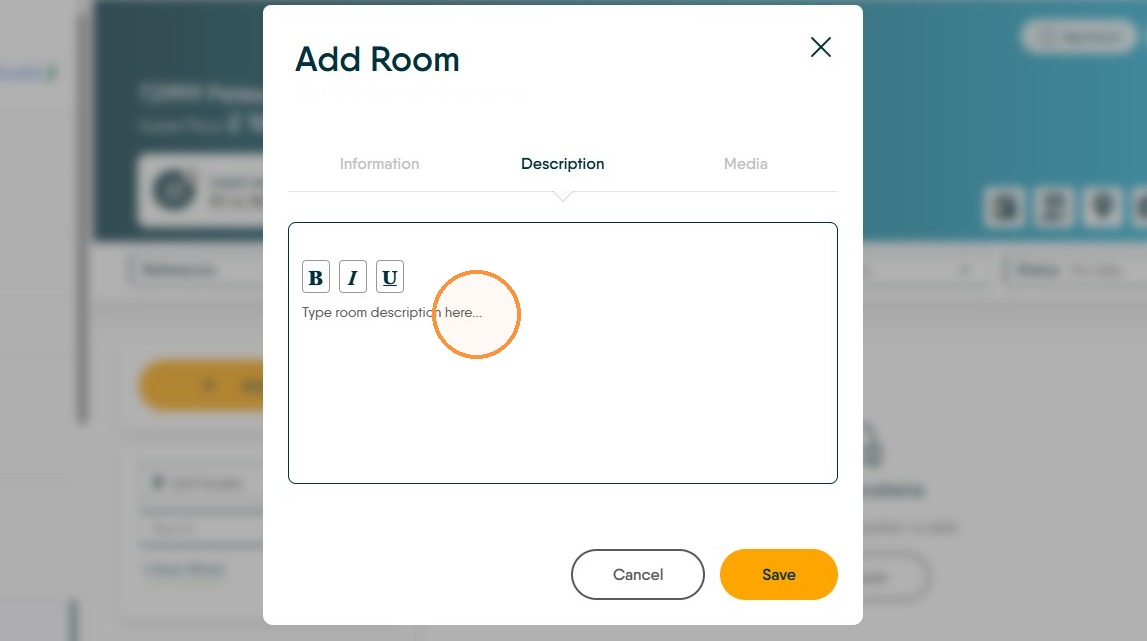
15. Click "Type room description here..."
16. Click "Media"
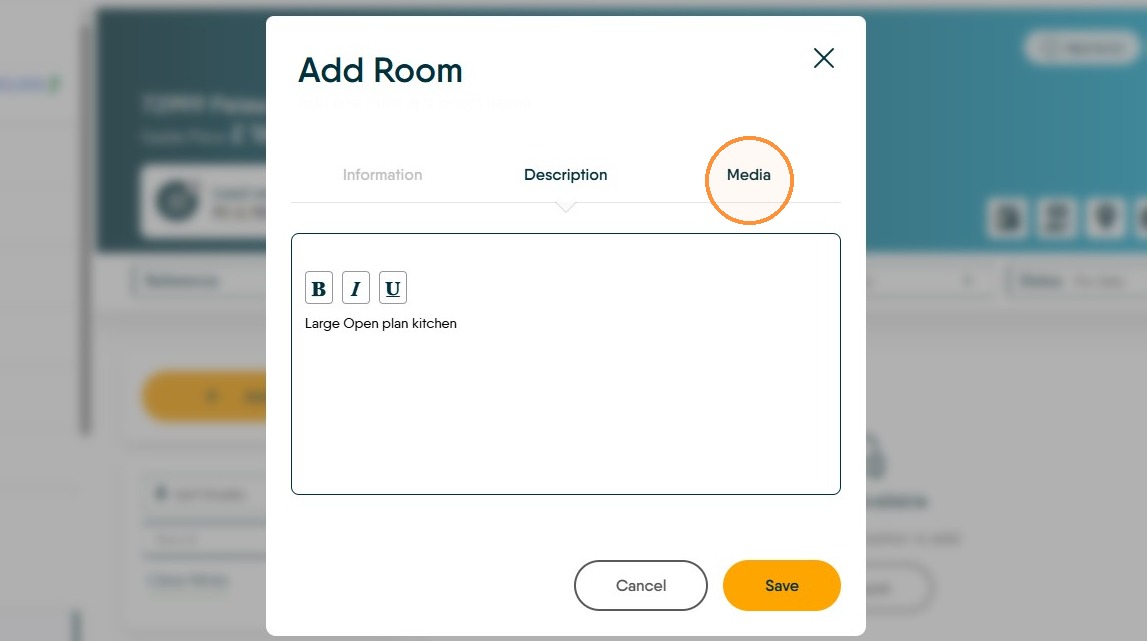
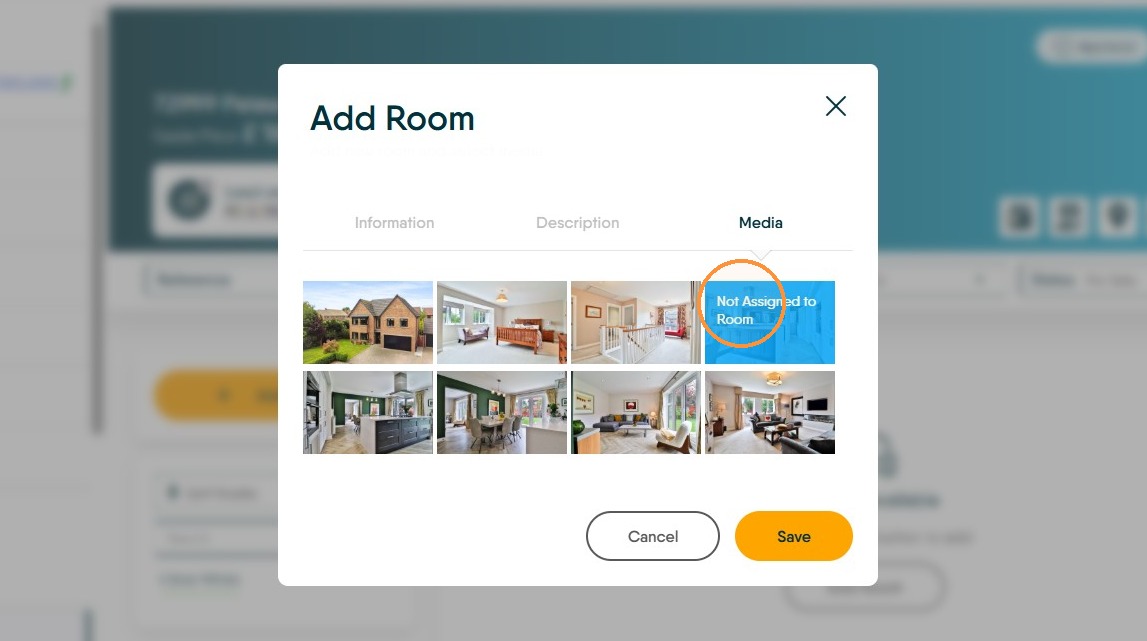
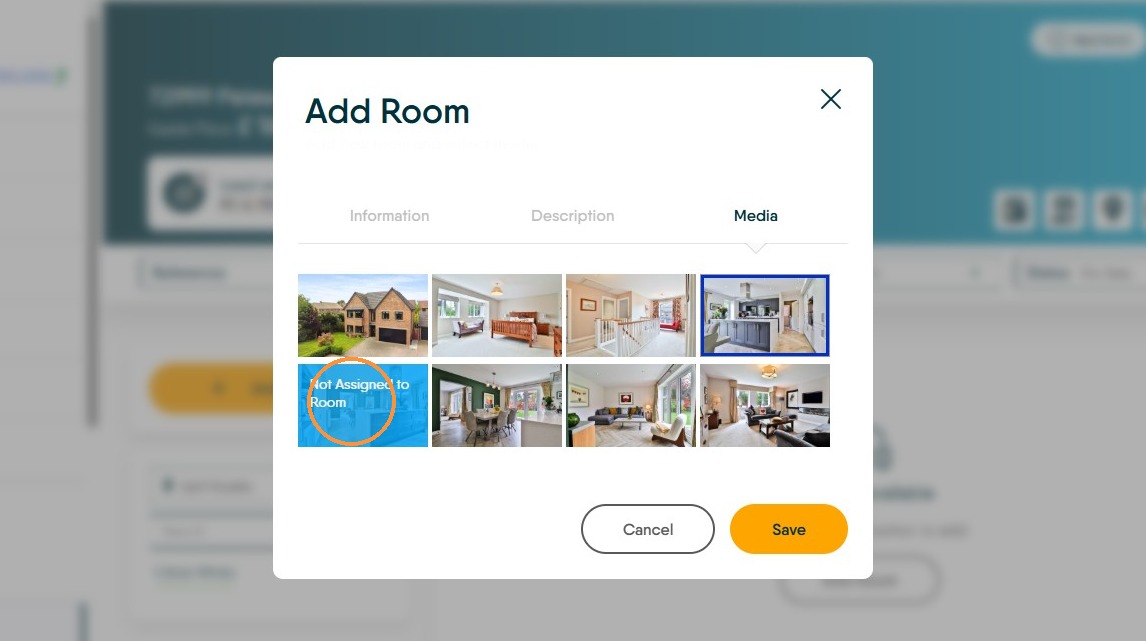
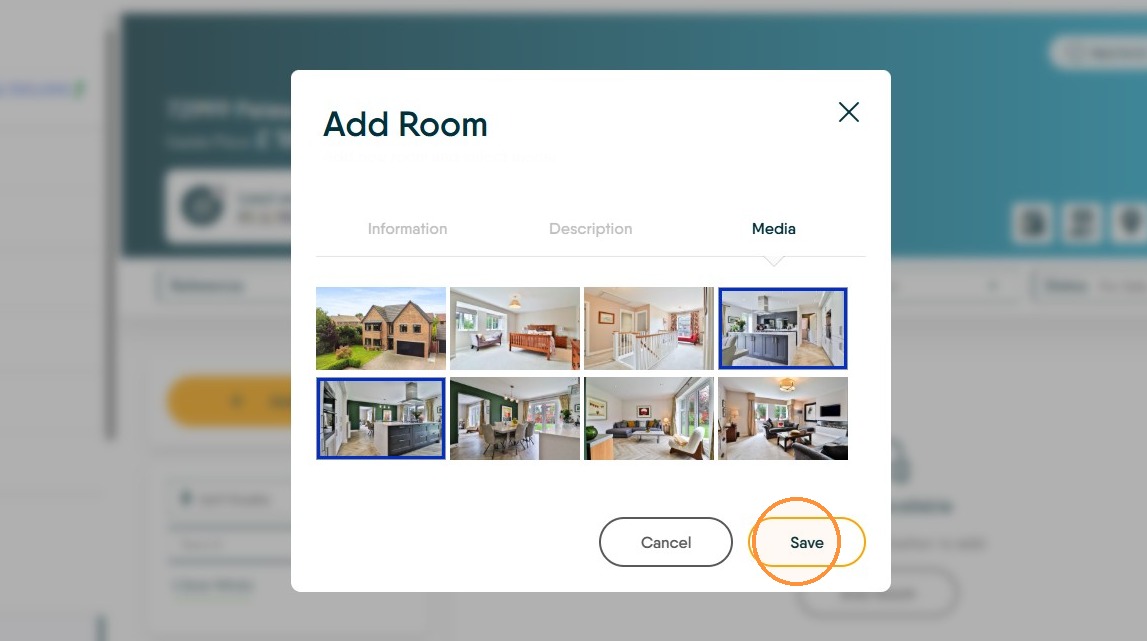
17. Select the images to assign to this room
18. Click "Save"
19. The Kitchen room card will show.