This guide provides a step-by-step process for adding room information to a property record, ensuring that users can accurately document and showcase property features. By following these instructions, users can enhance their property listings, making them more appealing to potential buyers or renters. The guide simplifies the process, making it accessible even for those unfamiliar with the system, ultimately improving property management efficiency.
Tip: The process detailed below is identical if the property is a sales or lettings property. The key difference is, if in lettings configuration the HMO option is enabled then the individual rooms will show in the tenancy section and be able to be let out individually.
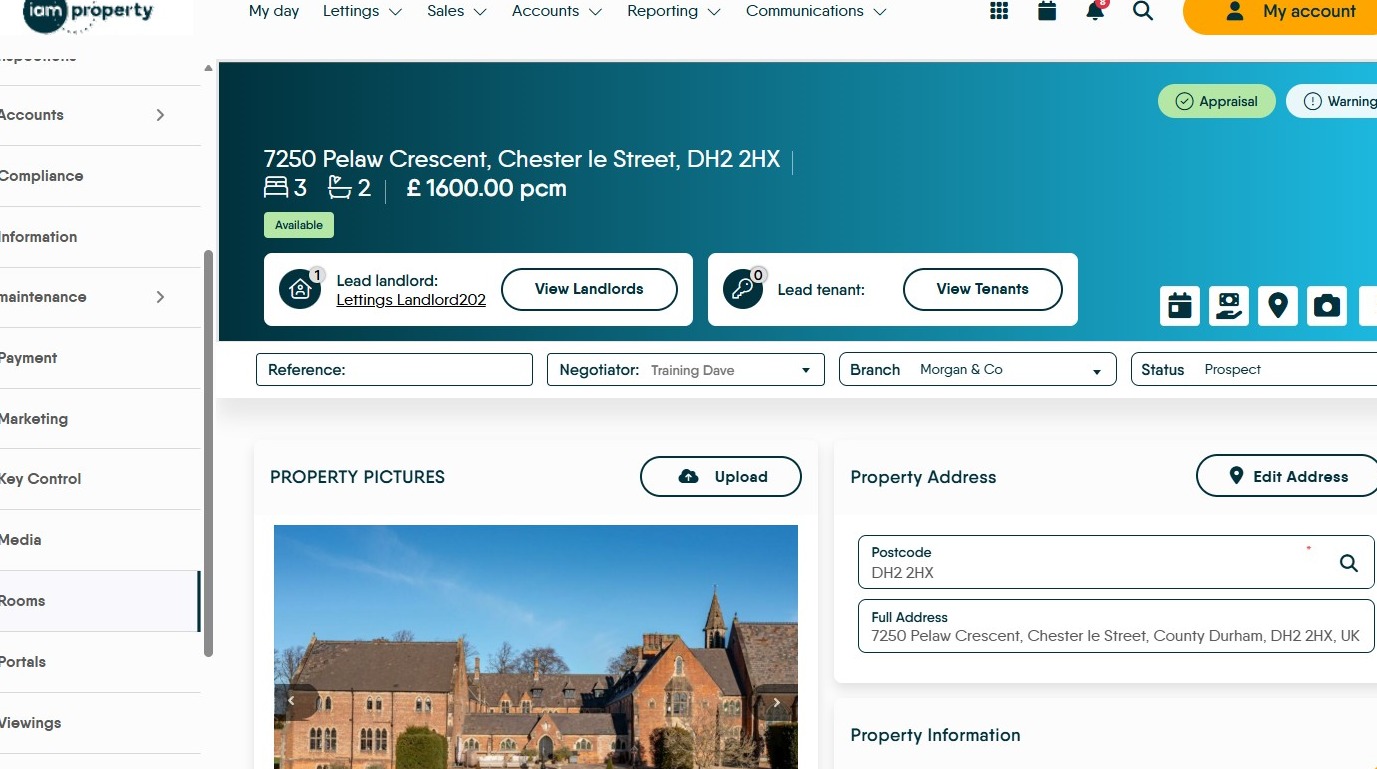
1. Navigate to a property record
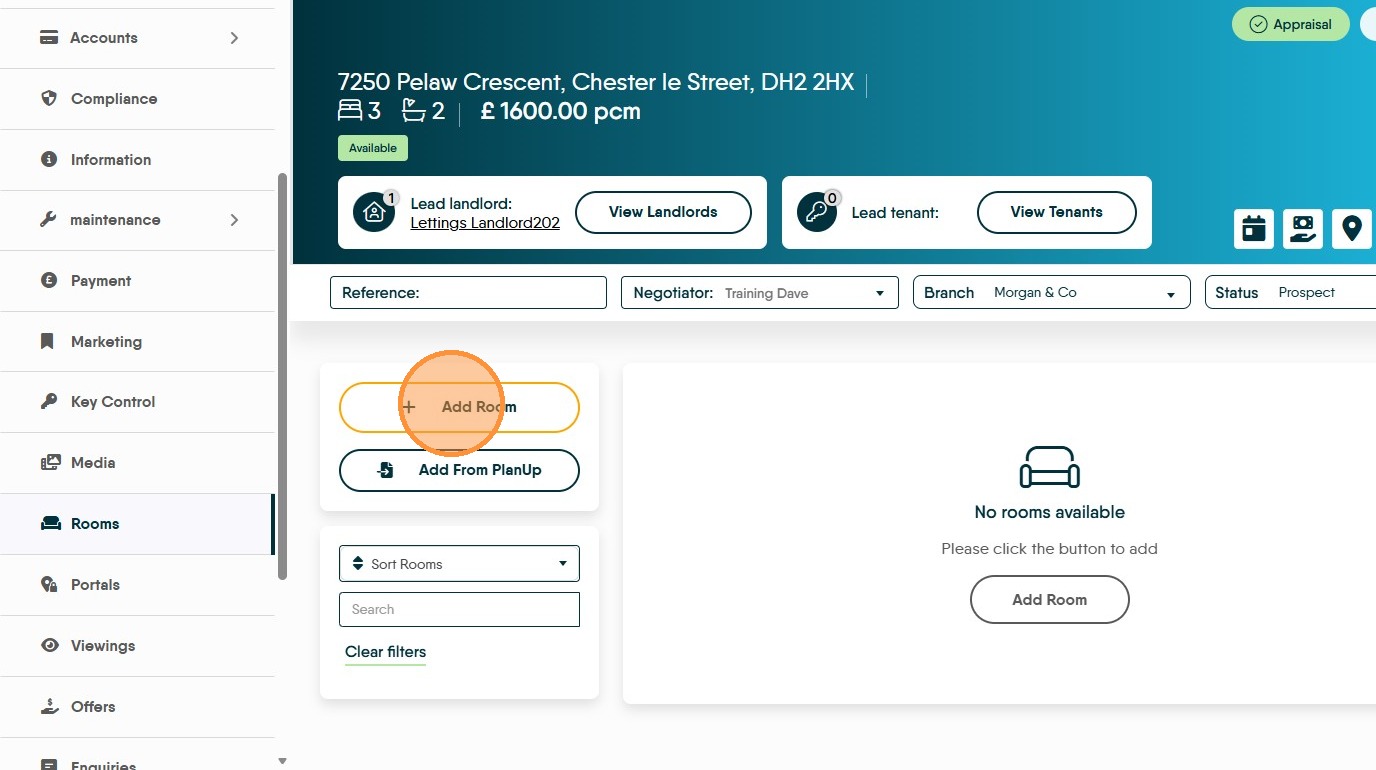
2. Click "Rooms"

3. Click "Add Room"
4. Click here to select the 'Room Type' from the drop down menu.
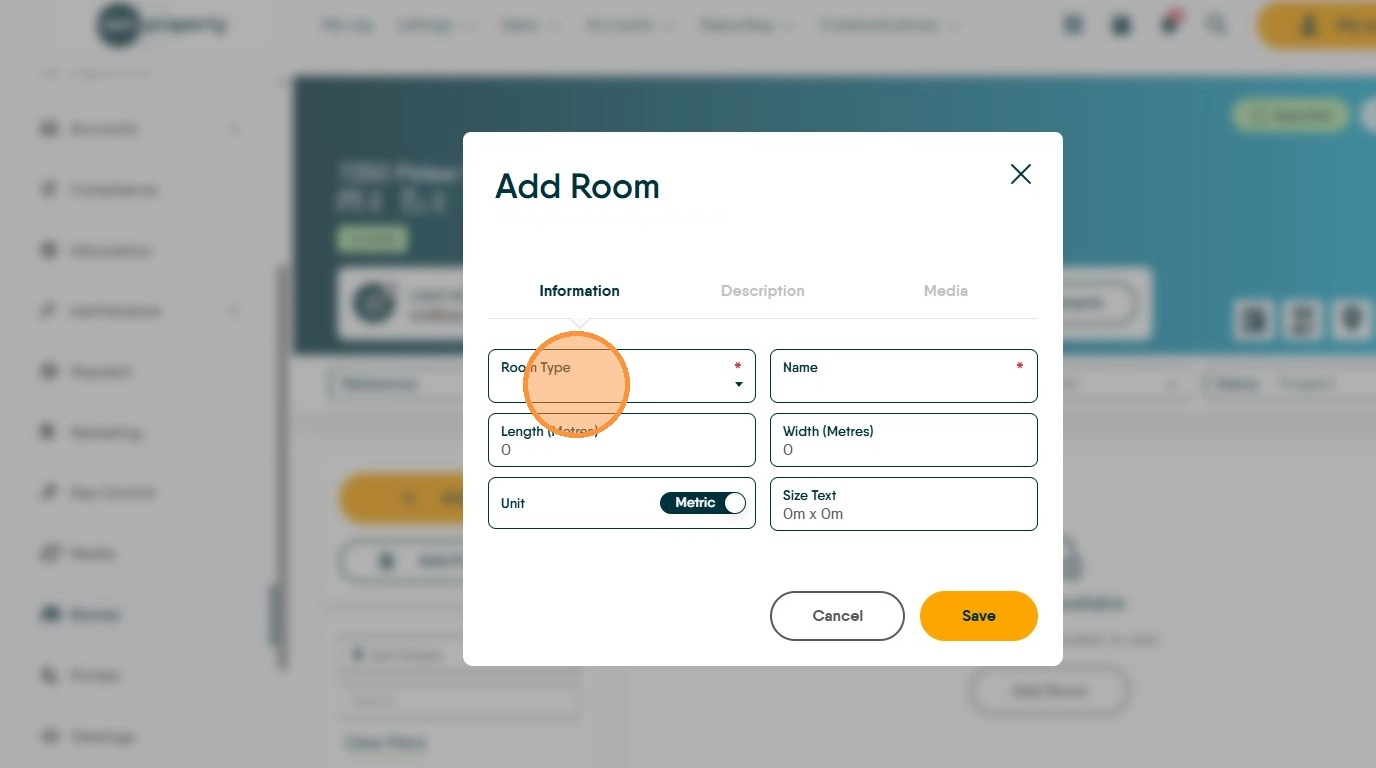
5. Click "Length (Metres)" and add the size of the room, click 'Width...' to add the width of the room.. This can be either metric or imperial measurements, selected via the toggle on screen.
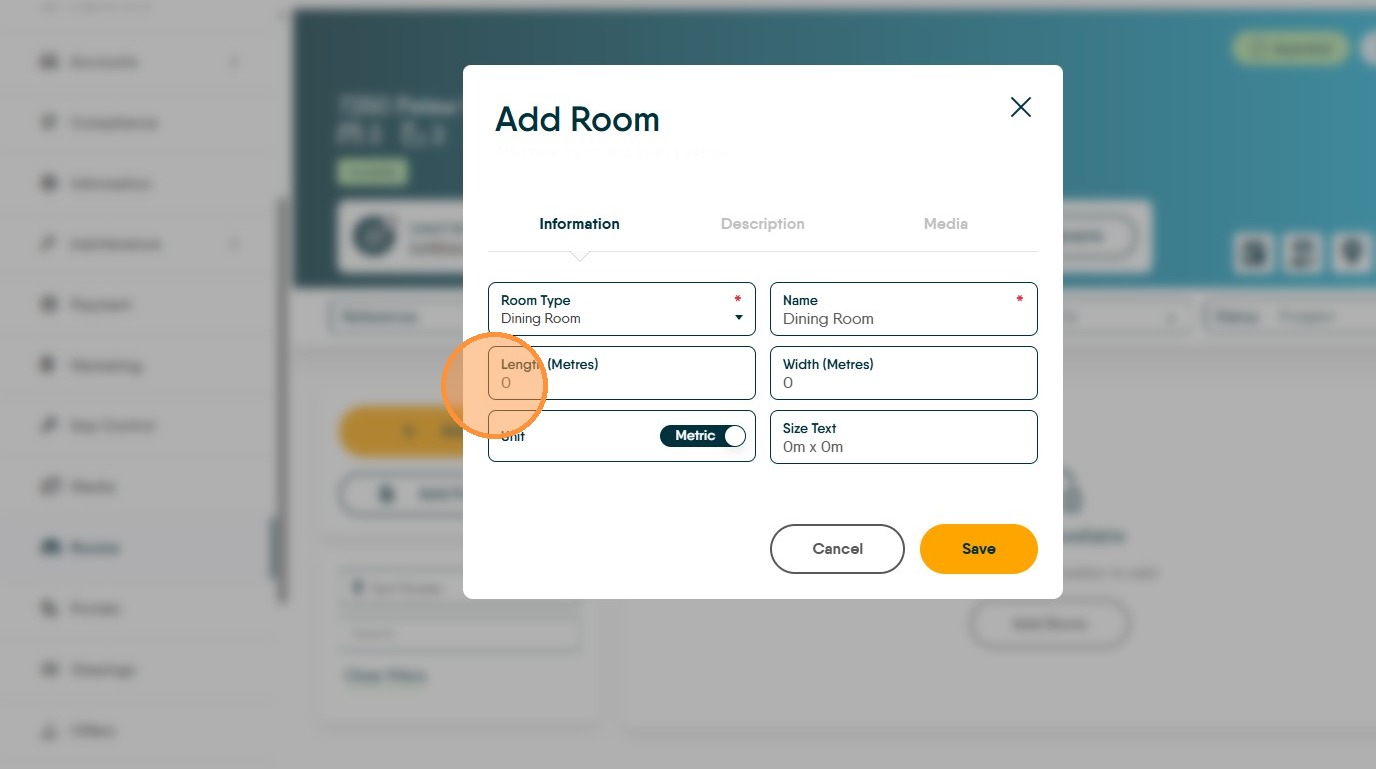
6. Click "Unit Metric" to change from Metric to Imperial measurements

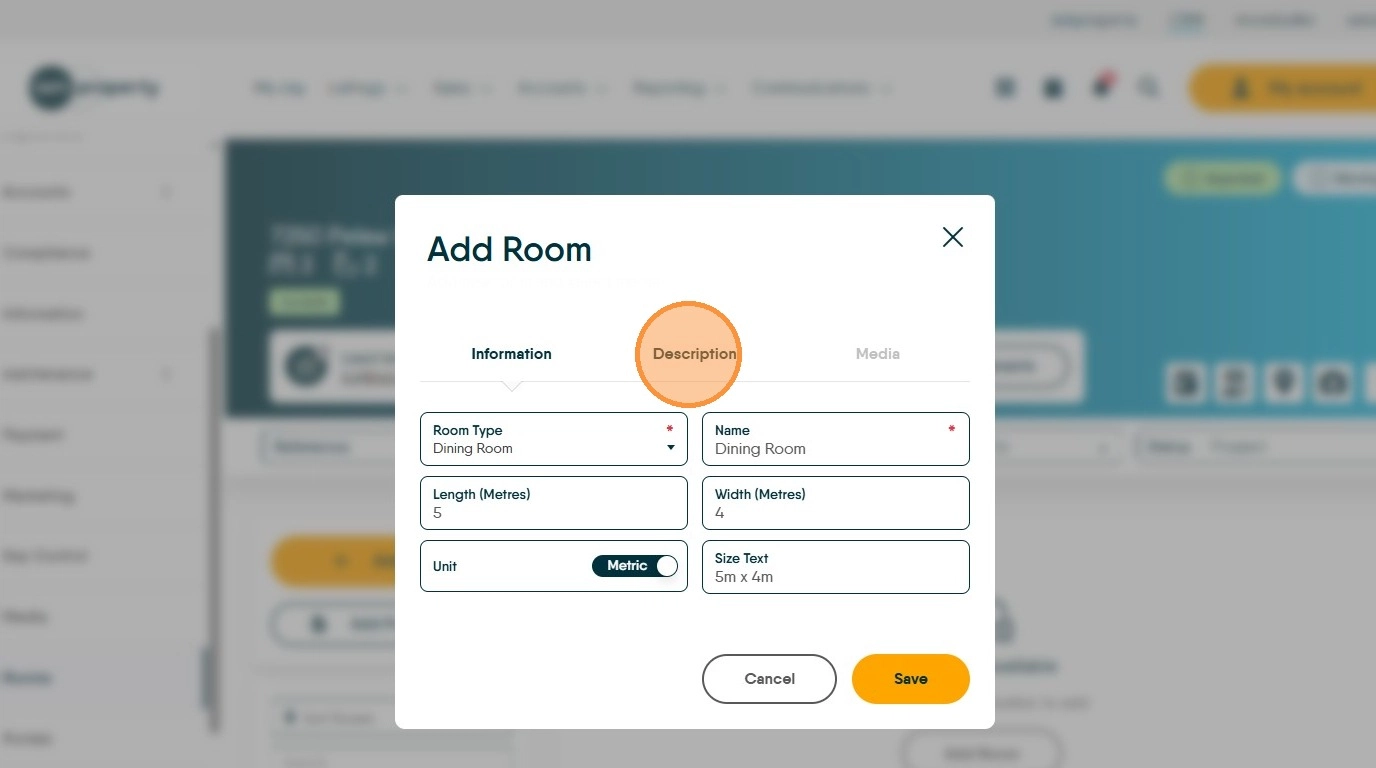
7. Click "Description"
Add your room description
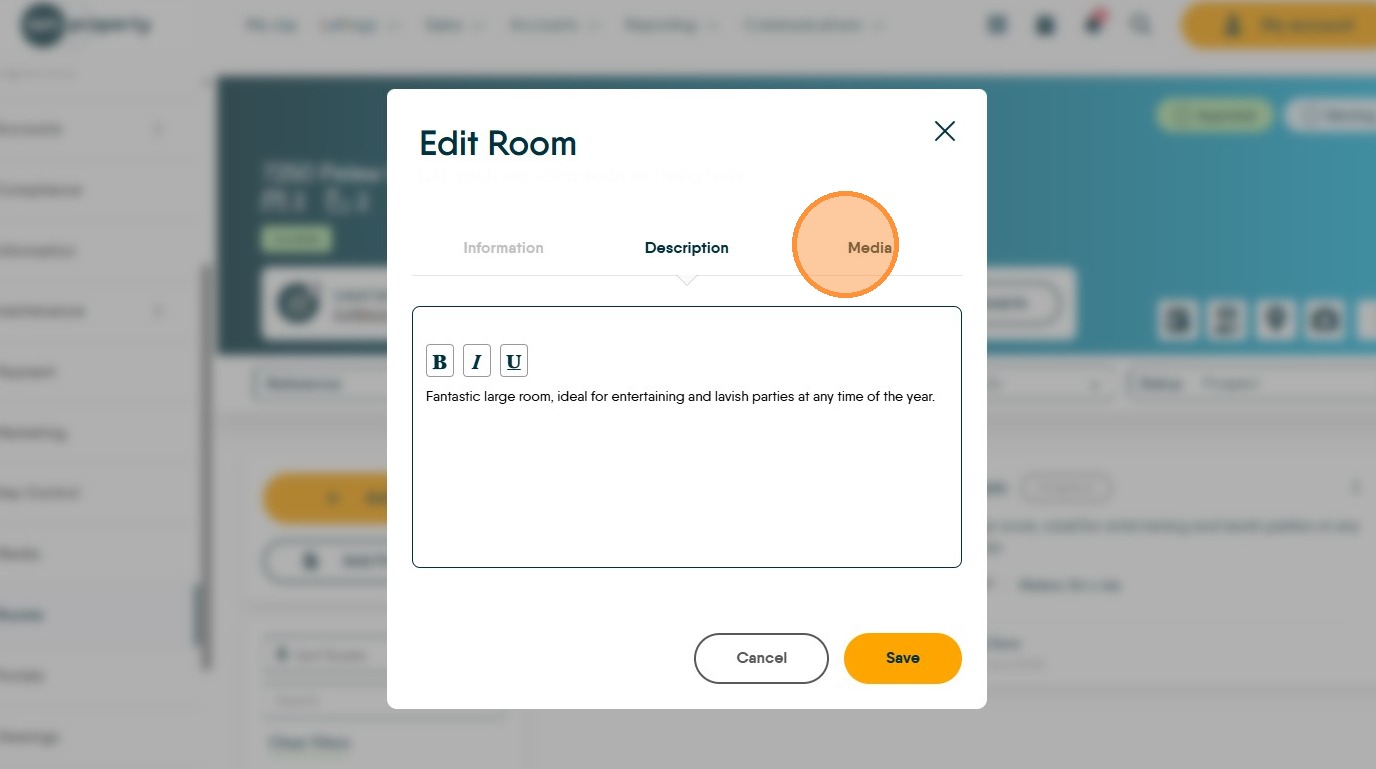
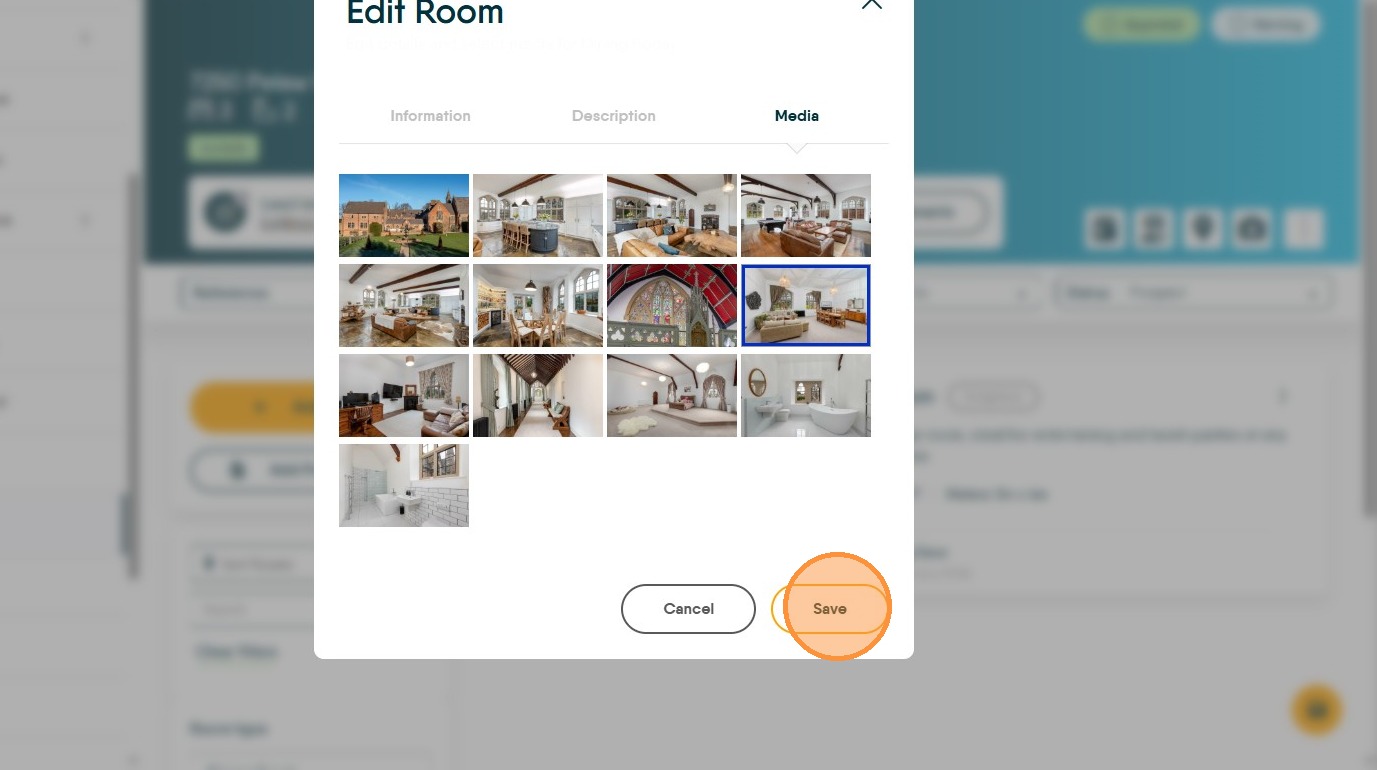
8. Click "Media" to add images to the room.
9. Click click each image to select, multiple images can be picked per room.
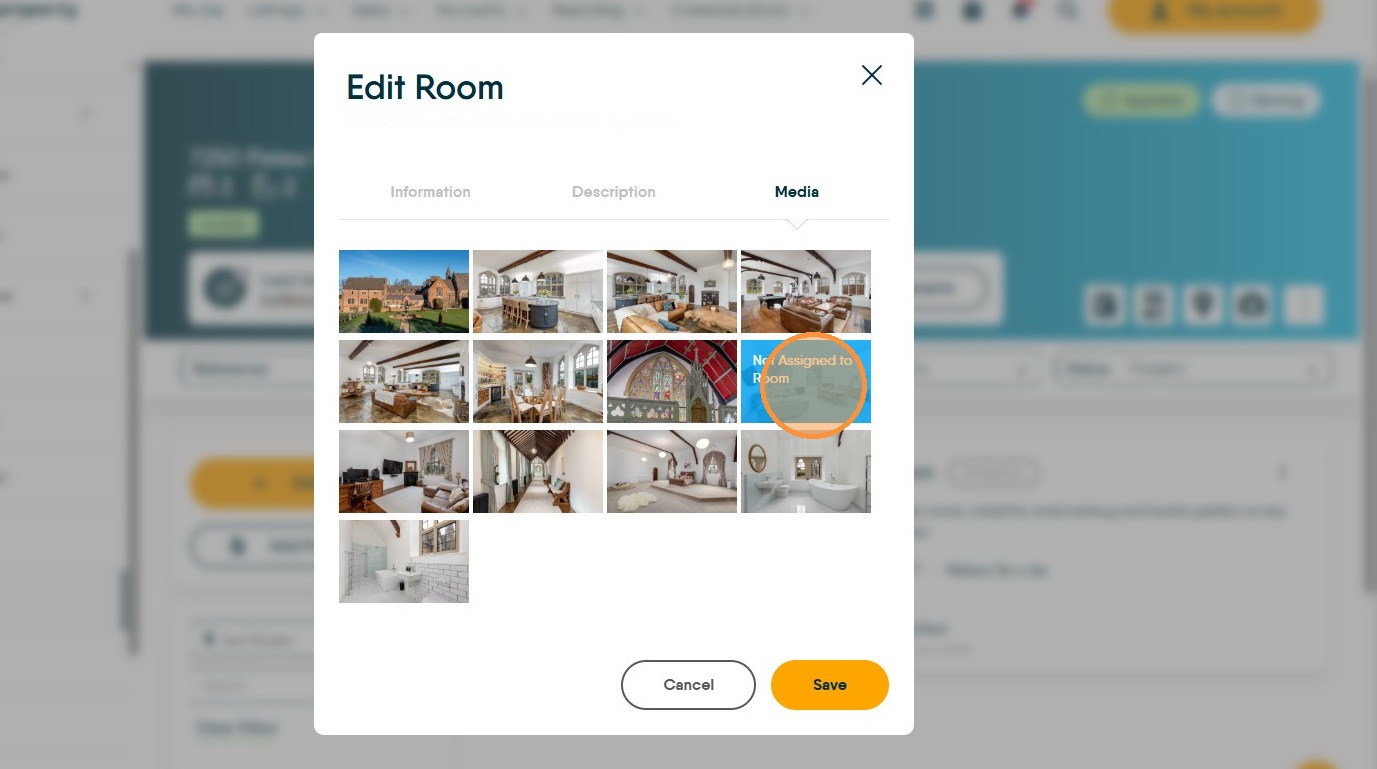
10. Once complete click "Save"
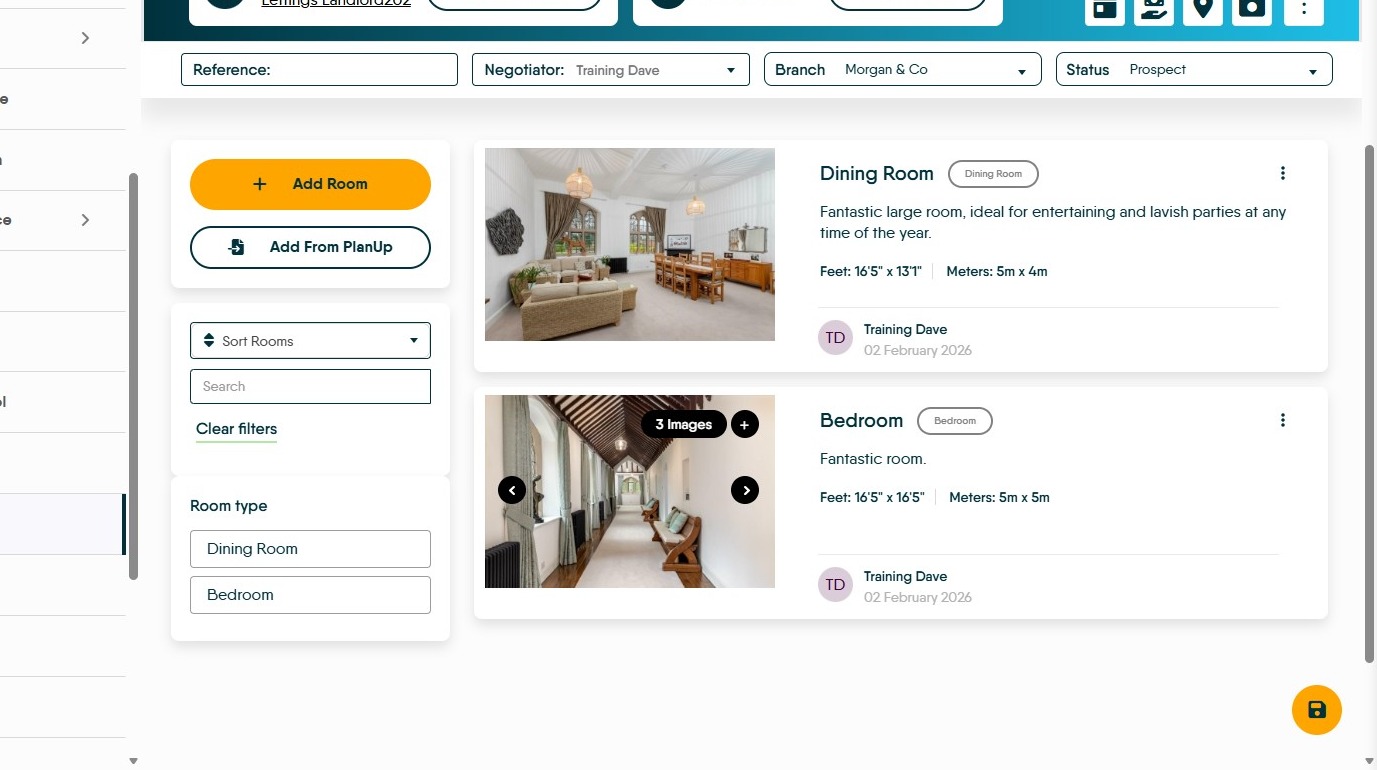
11. The result will look like this