Learn the necessary steps to navigate to the Dynamic Agent portal and locate the required mileage documentation. This guide helps you quickly access the correct submission form to ensure your monthly records are processed efficiently.
1. Navigate to https://dynamic-agent.co.uk/
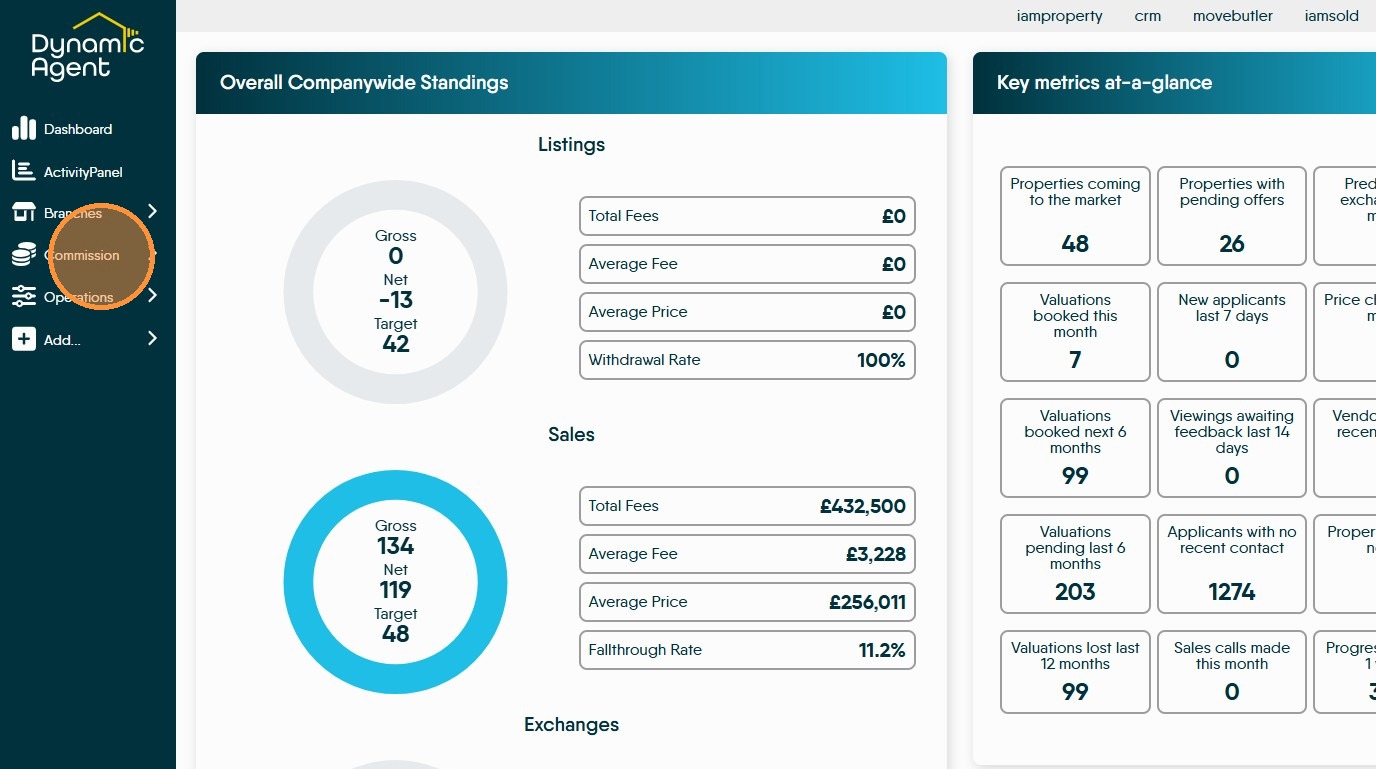
2. Click "Commission"
Mileage
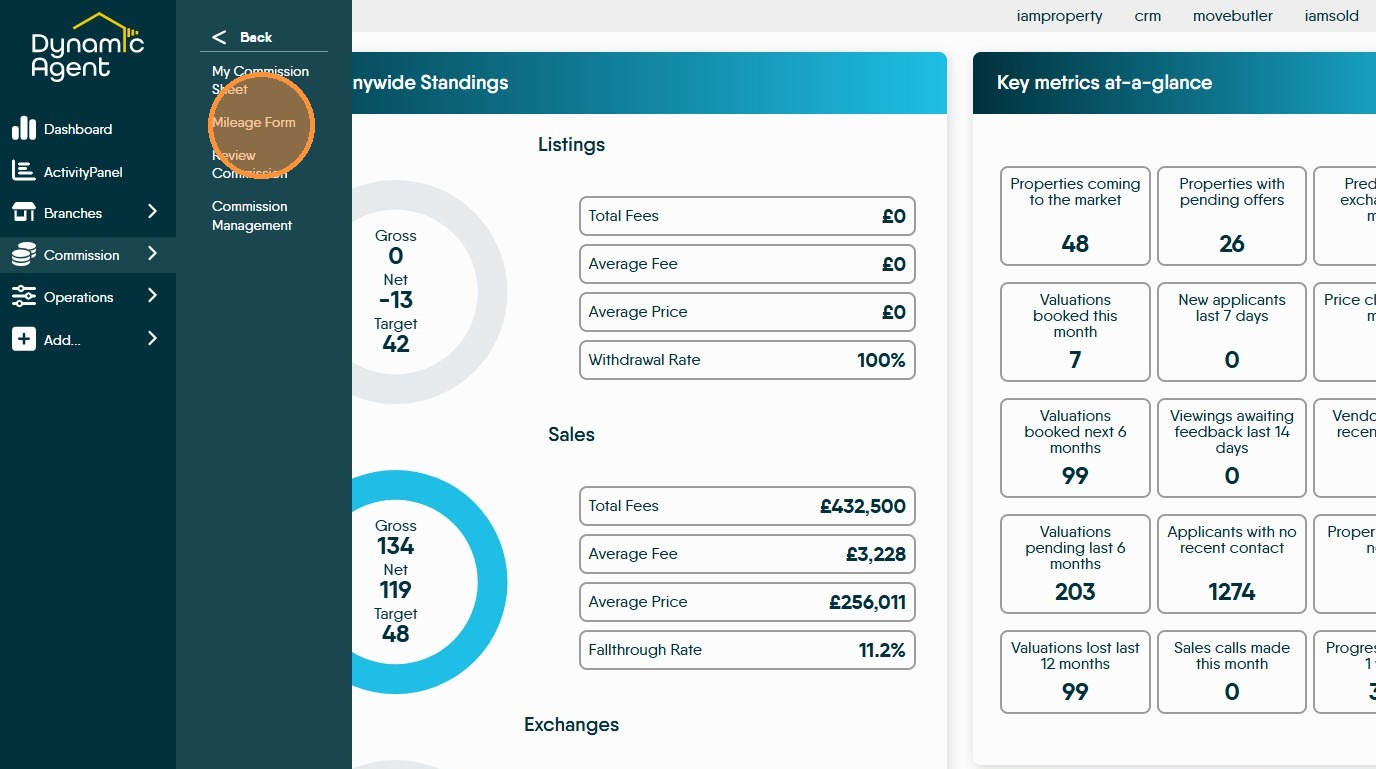
3. Click "Mileage Form"
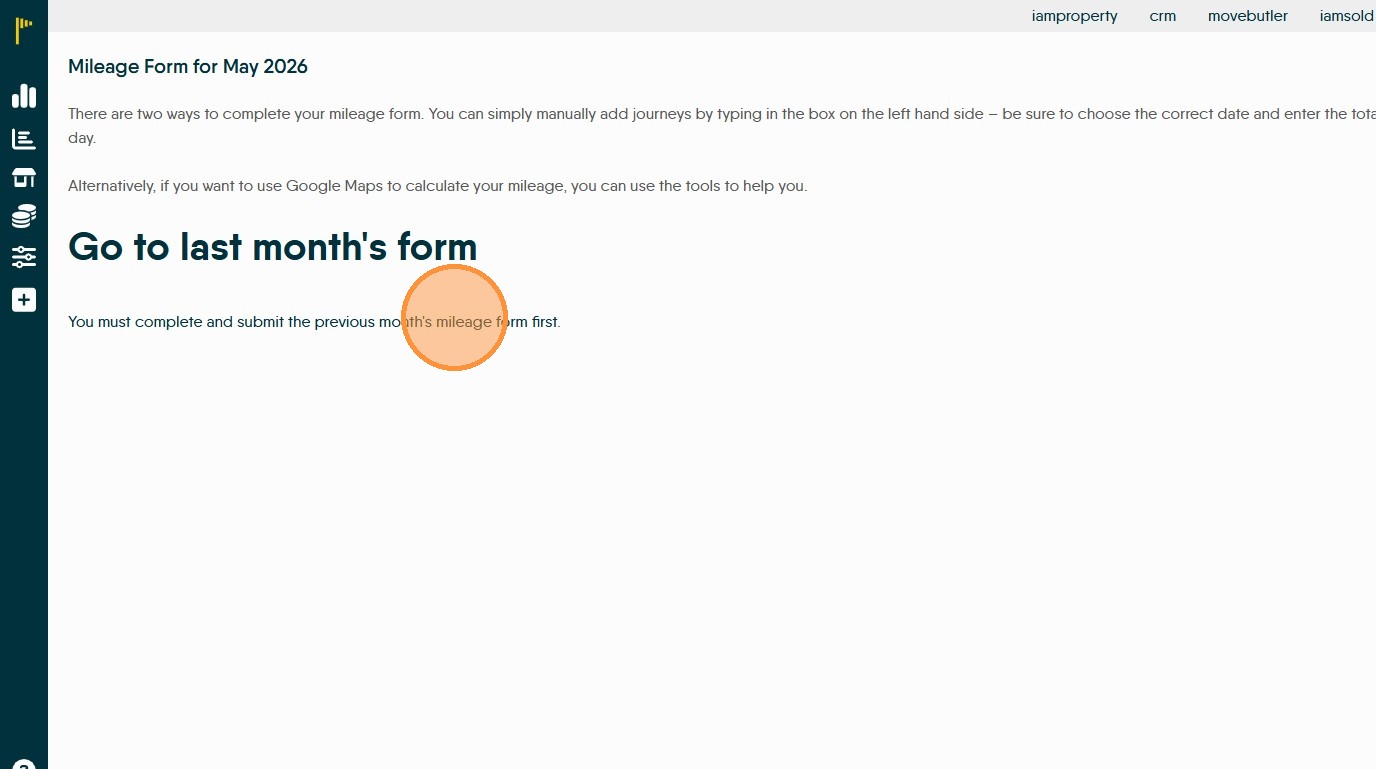
4. Click the link to navigate to the previous month's mileage form
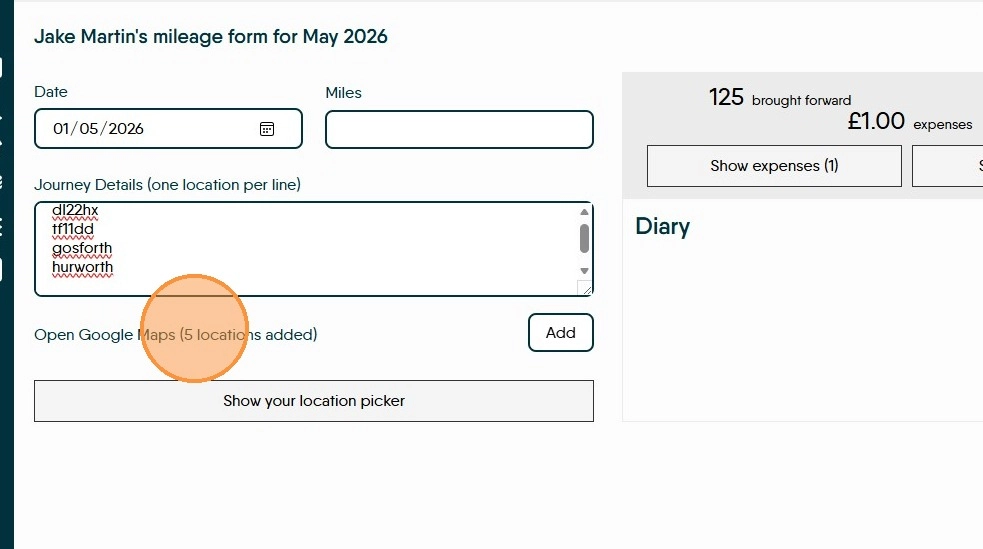
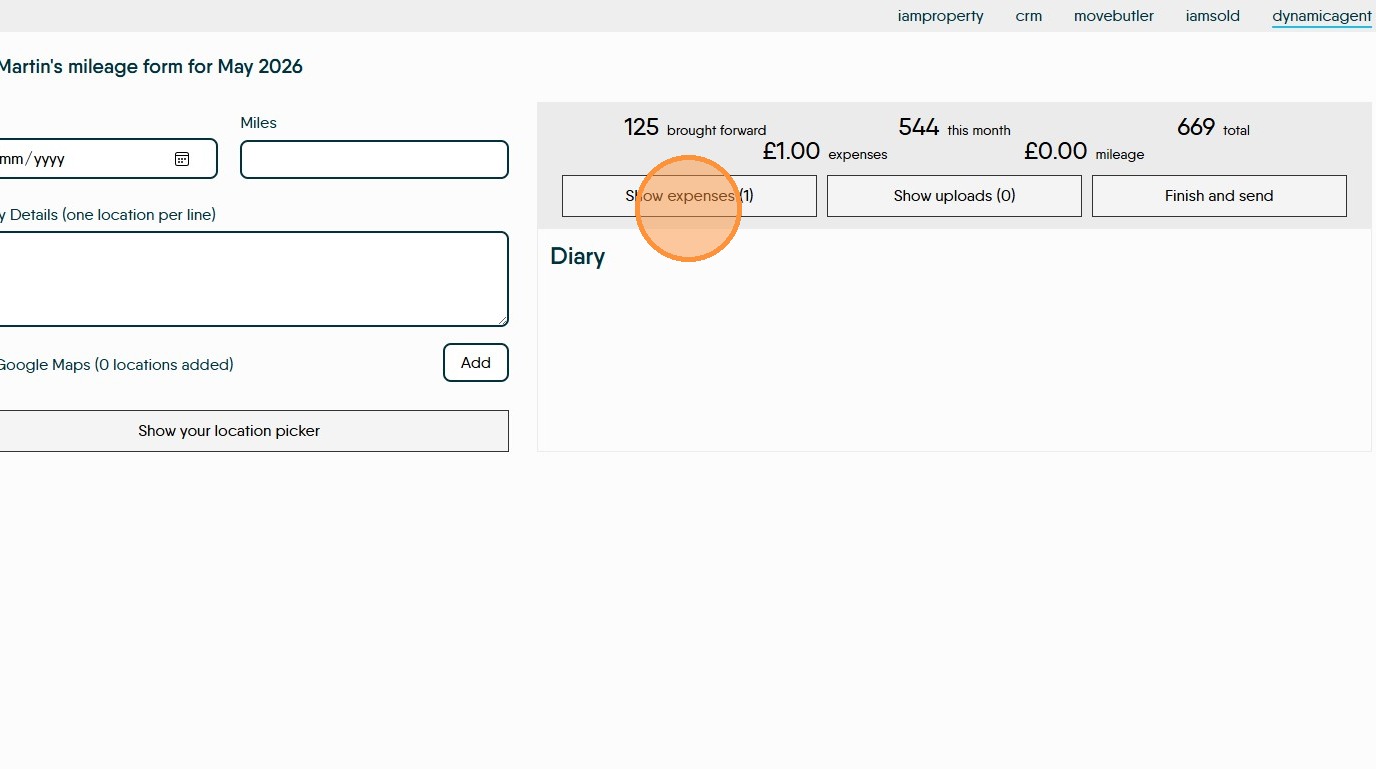
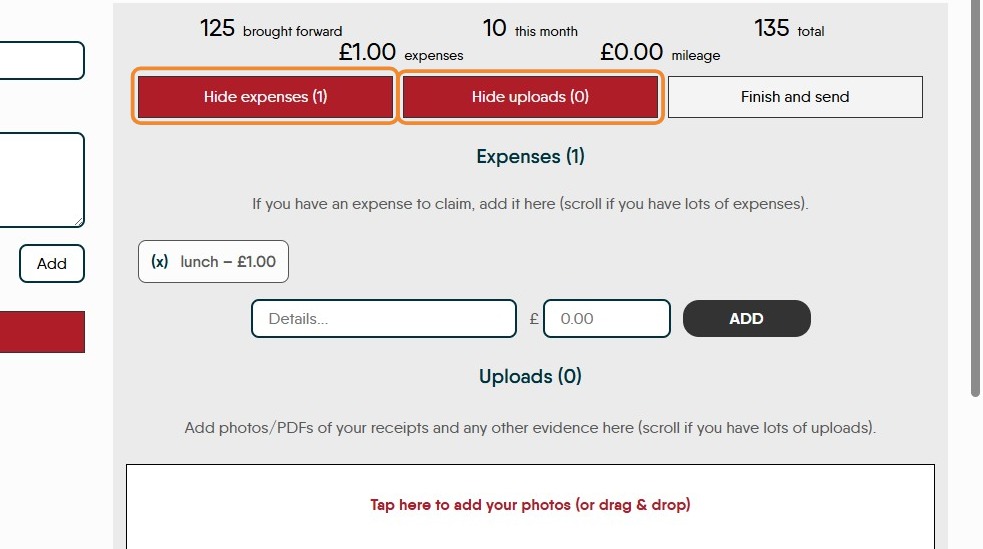
5. The form shows any mileage brought forward, total this month so far and total.
To add a mileage claim, click into the journey details and add your journey, add the mileage to the 'Miles' field. Add 1 leg of the trip per line.
Click the "Journey Details (one location per line)" field, enter the details. Start Address, 1st Address, 2nd Address.....End Address.
To the right side of the screen, in the 'Diary' field any diary entries for Viewings and Appraisal appointments will show. This allow you to select the job and add it straight to the mileage calculator.

6. At this point if you know the distance travelled, click into the 'Miles' field and add the distance.
If not, or you want to check, click "Open Google Maps...." This will take you to a screen showing the trip on google maps, where you can get the mileage.
The 'Location Picker Option' allows you to set locations e.g. office or home for quick access when adding your mileage.
Expenses
7. To claim 'Expenses' click 'Show Expenses' this will show any expense currently claimed, this could be parking, coffee, milk etc it is not mileage.
To add an expense record
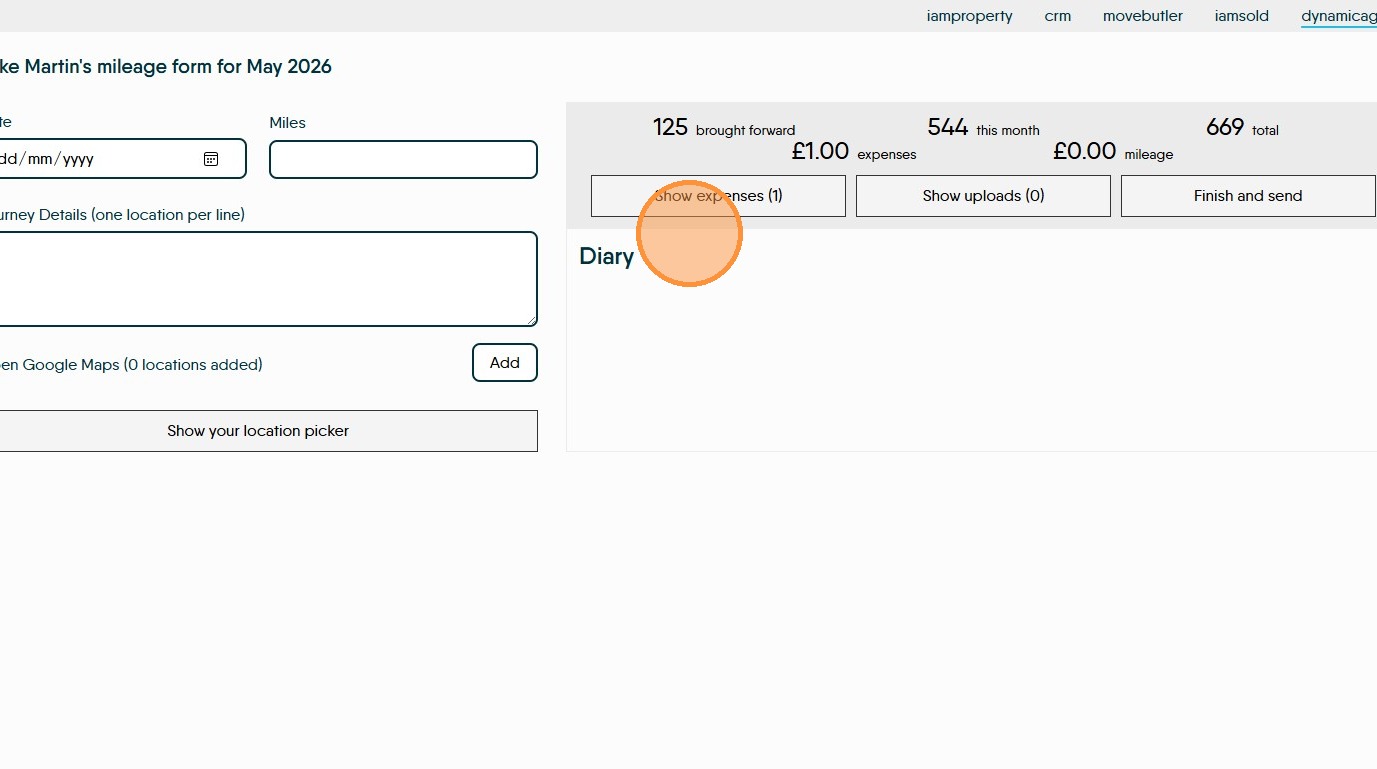
8. Click "Show expenses"
9. Add the details of the expense into the 'Details' field and the amount into the '£' field then click 'Add'

10. To add receipts for expenses or mileage. Click "Show uploads" click into the field that shows and either drag and drop or search your device for the images. If you are using a mobile device, an option to use the camera will show.
Click "Tap here to add your photos (or drag & drop)" to upload your images.
Keep doing this till all is completed.
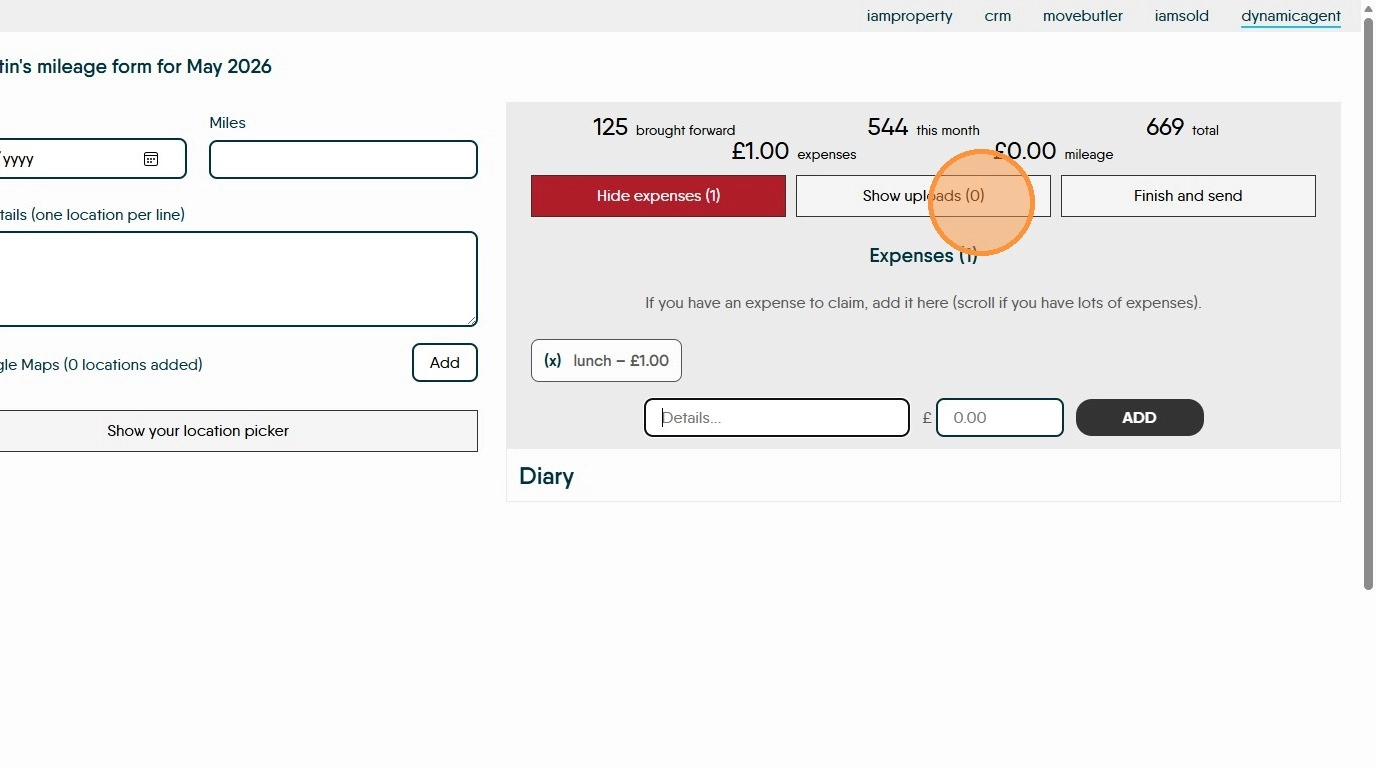
11. Click "Hide expenses" or "Hide Uploads" to close this screen.
12. If you need to complete and submit the expenses on behalf of your user. Click "Finish and send"
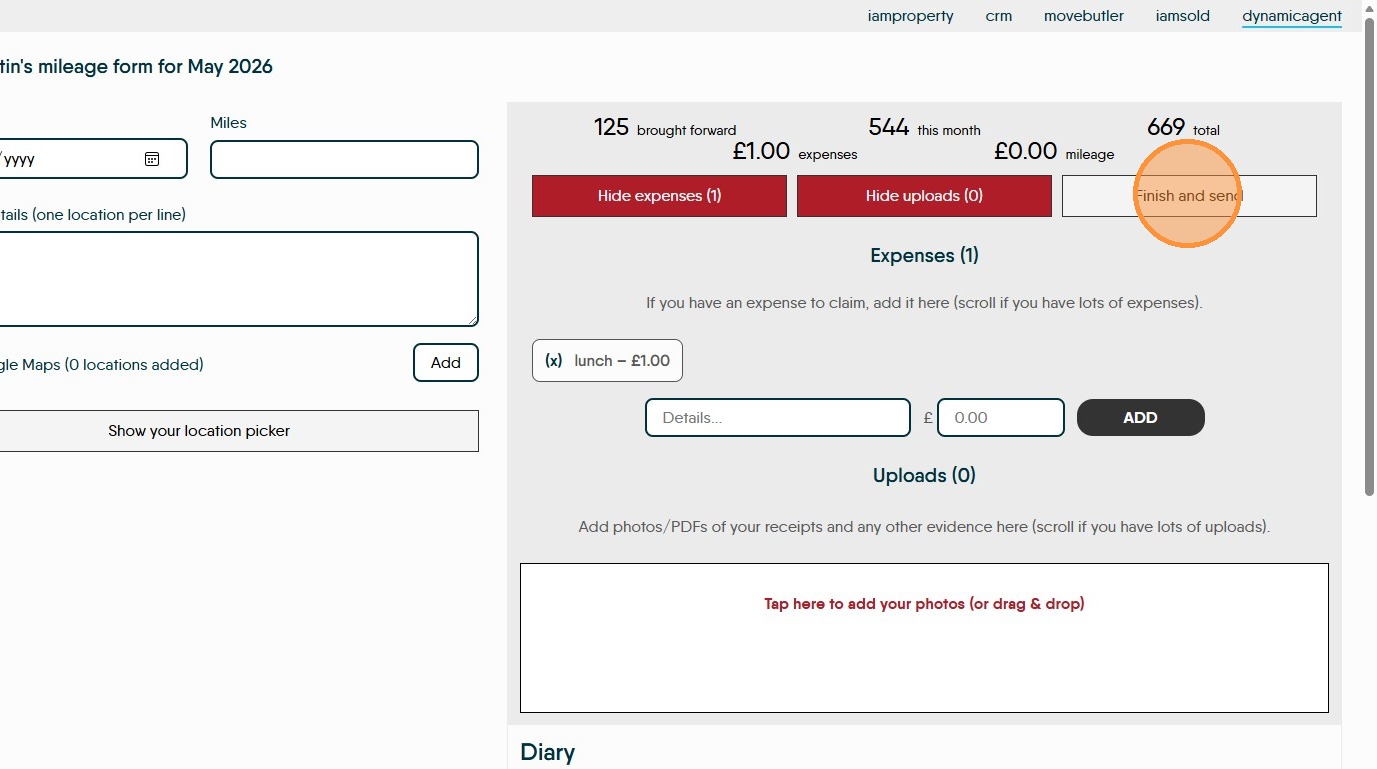
13. If you need to complete and submit the expenses on behalf of your user. Click "Finish and send"
