Learn how to effectively manage your daily schedule by adjusting calendar views and event settings. This guide walks you through the configuration steps needed to organize your sales and lettings appointments efficiently.
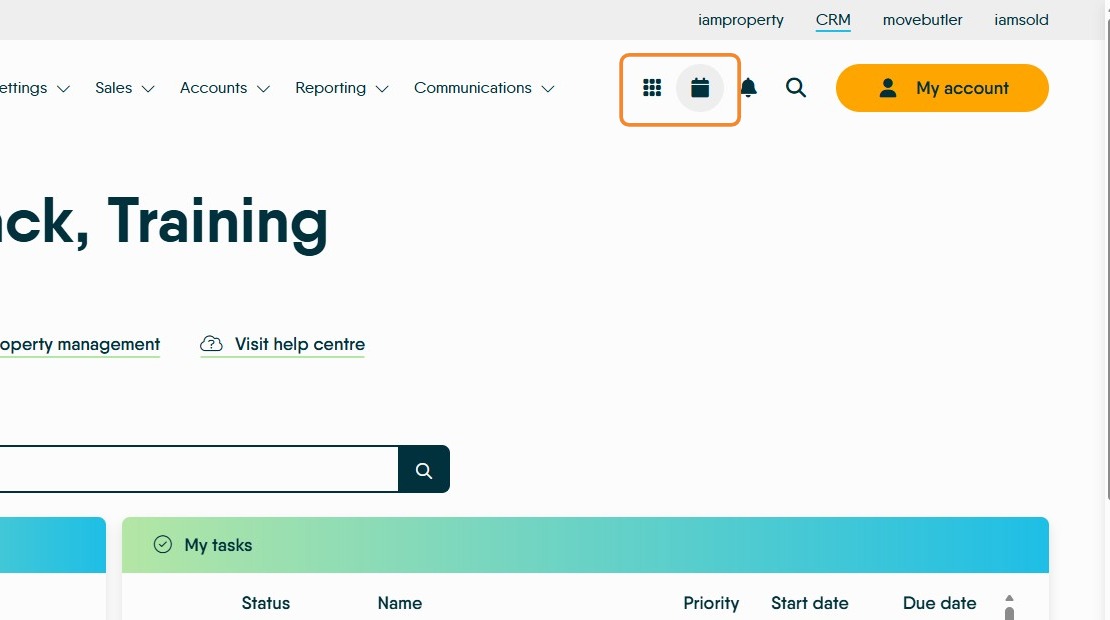
1. Navigate to https://crm.iamproperty.com/MyDay the calendar can be accessed from either the Quick Access menu (aka bento/rubics cube) or by using the Calendar icon. Both at the top right of the CRM screen. These icons will always be visible regardless of the screen you are using in CRM.
Open Calendar
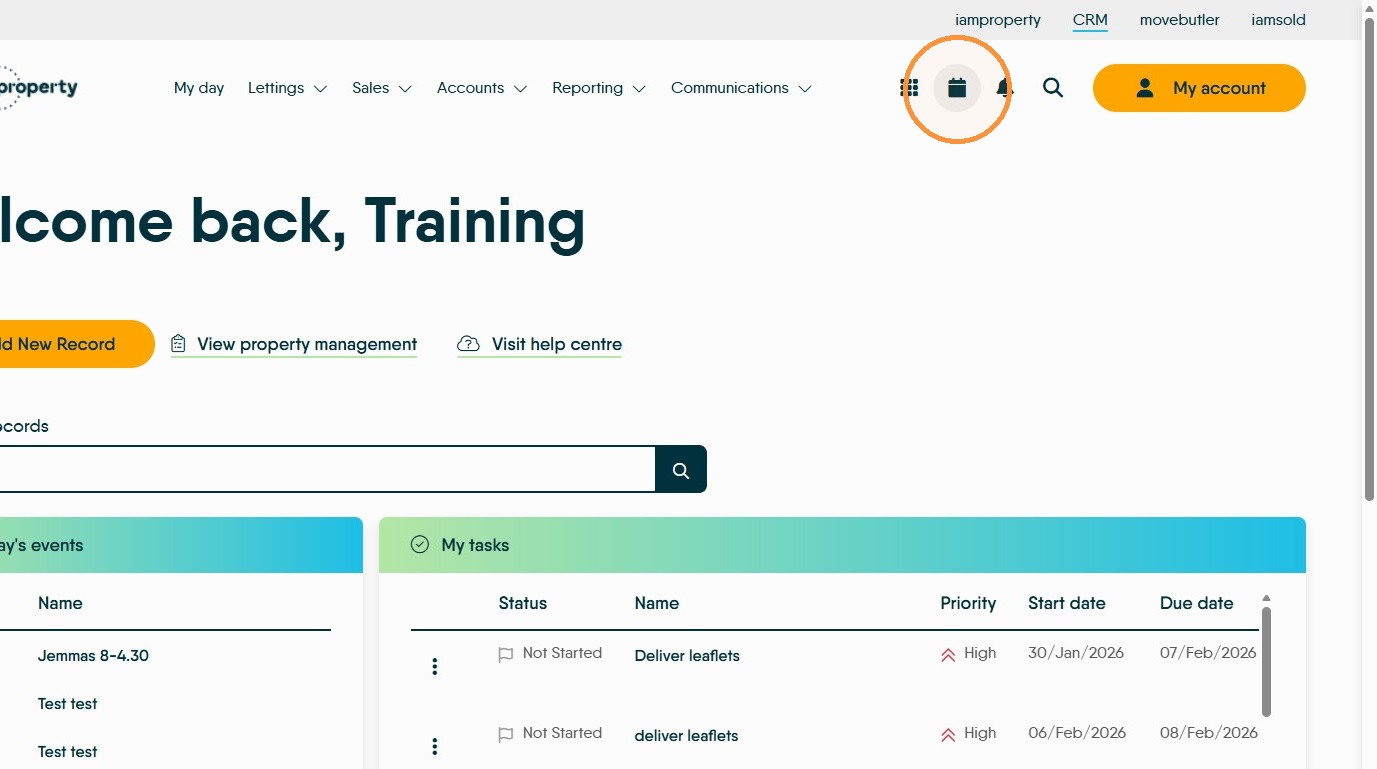
2. Click "Calendar" icon, there are other ways to open the calendar however, this is the easiest.
3. This will open the Calendar screen.
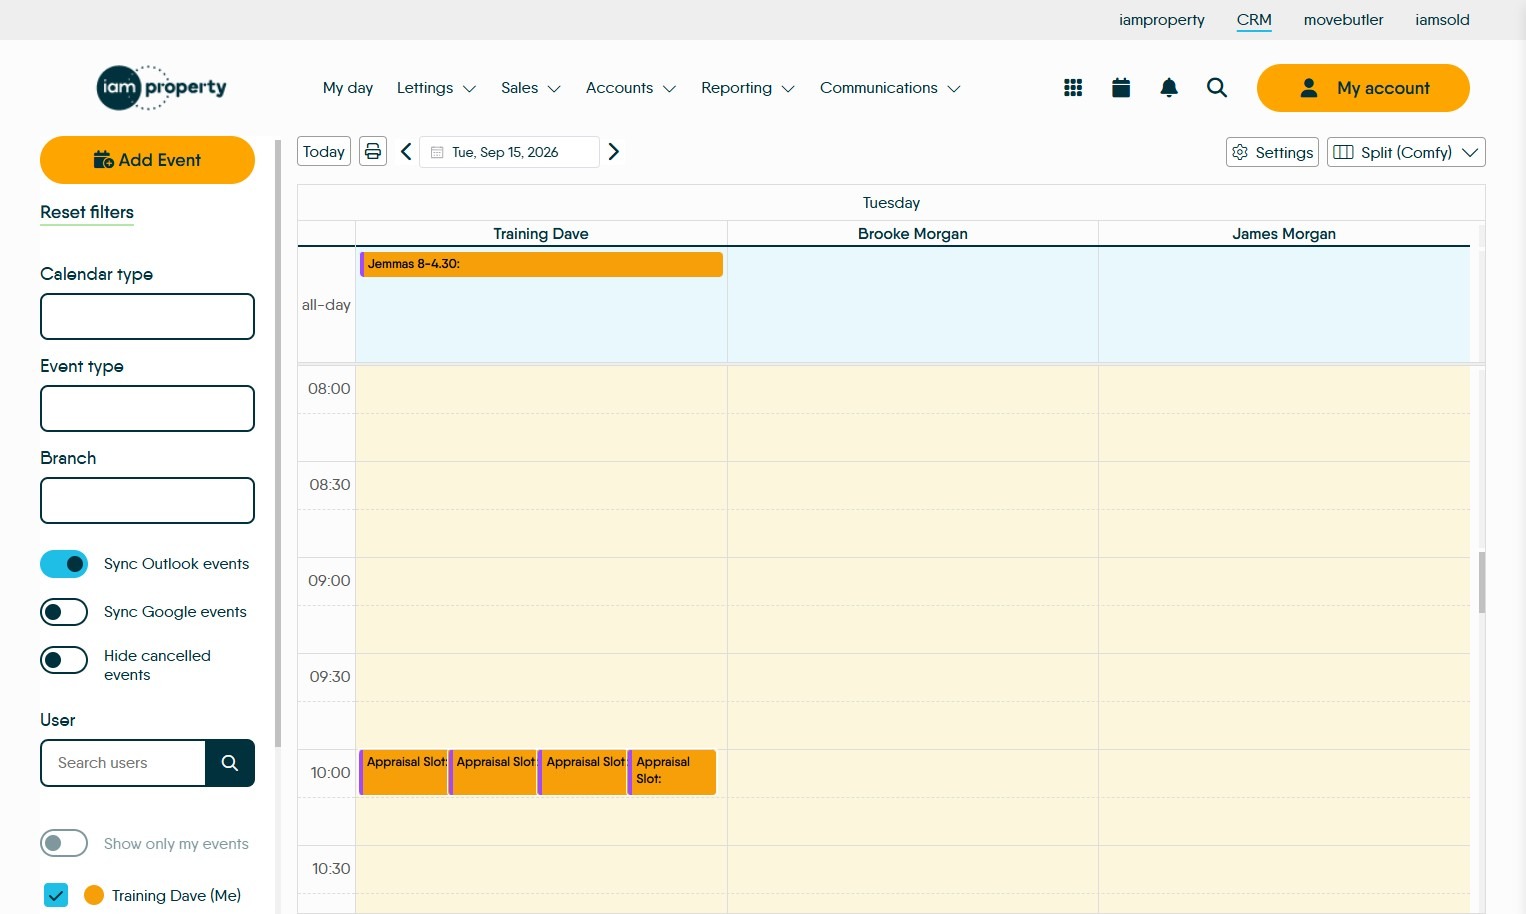
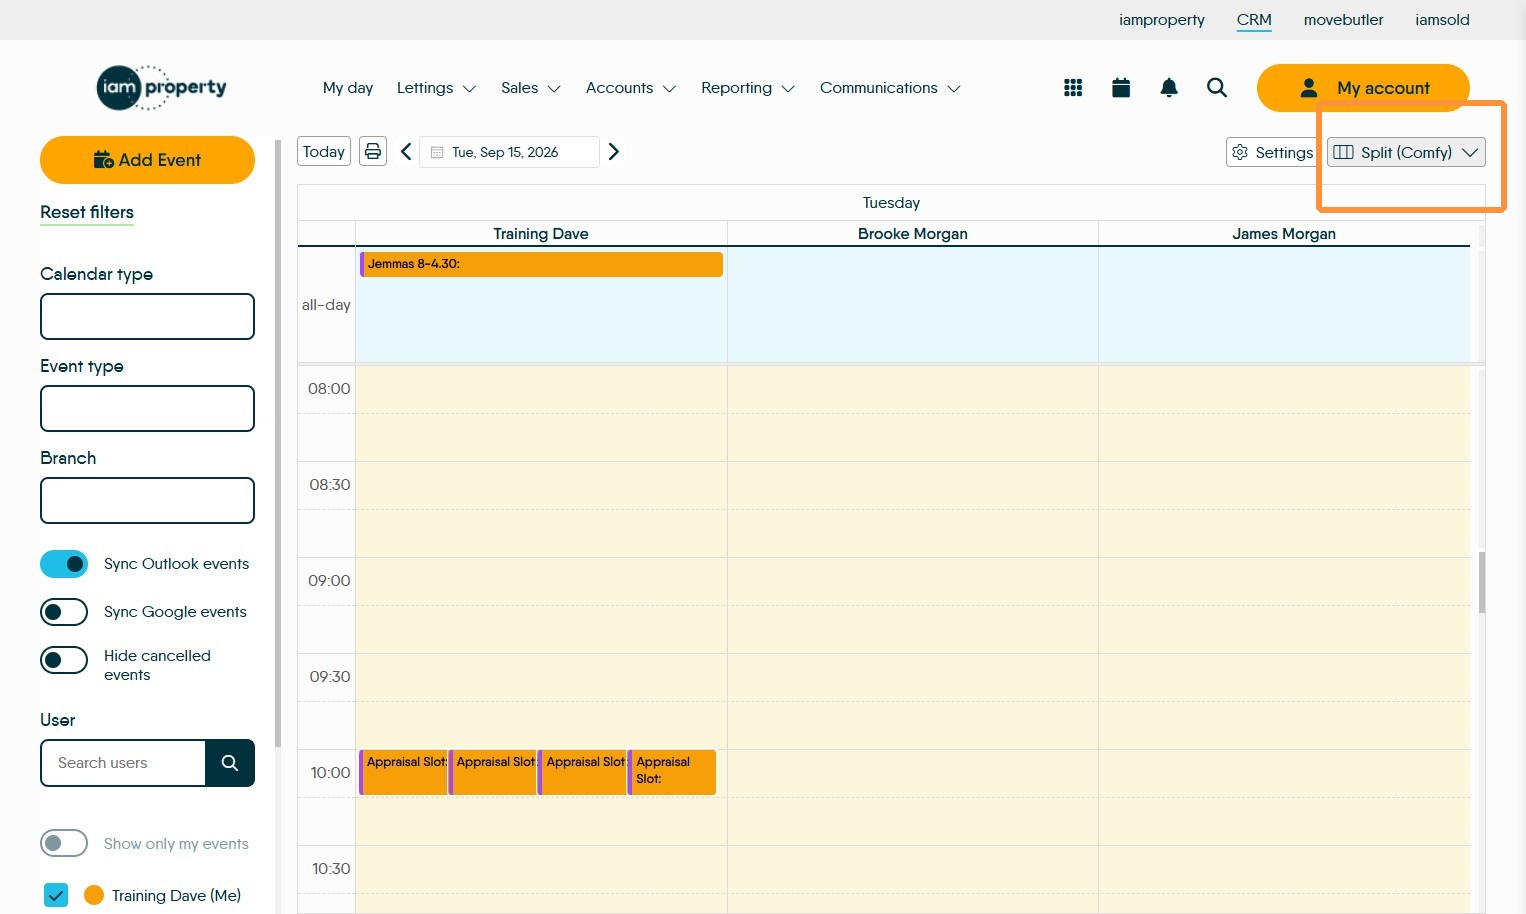
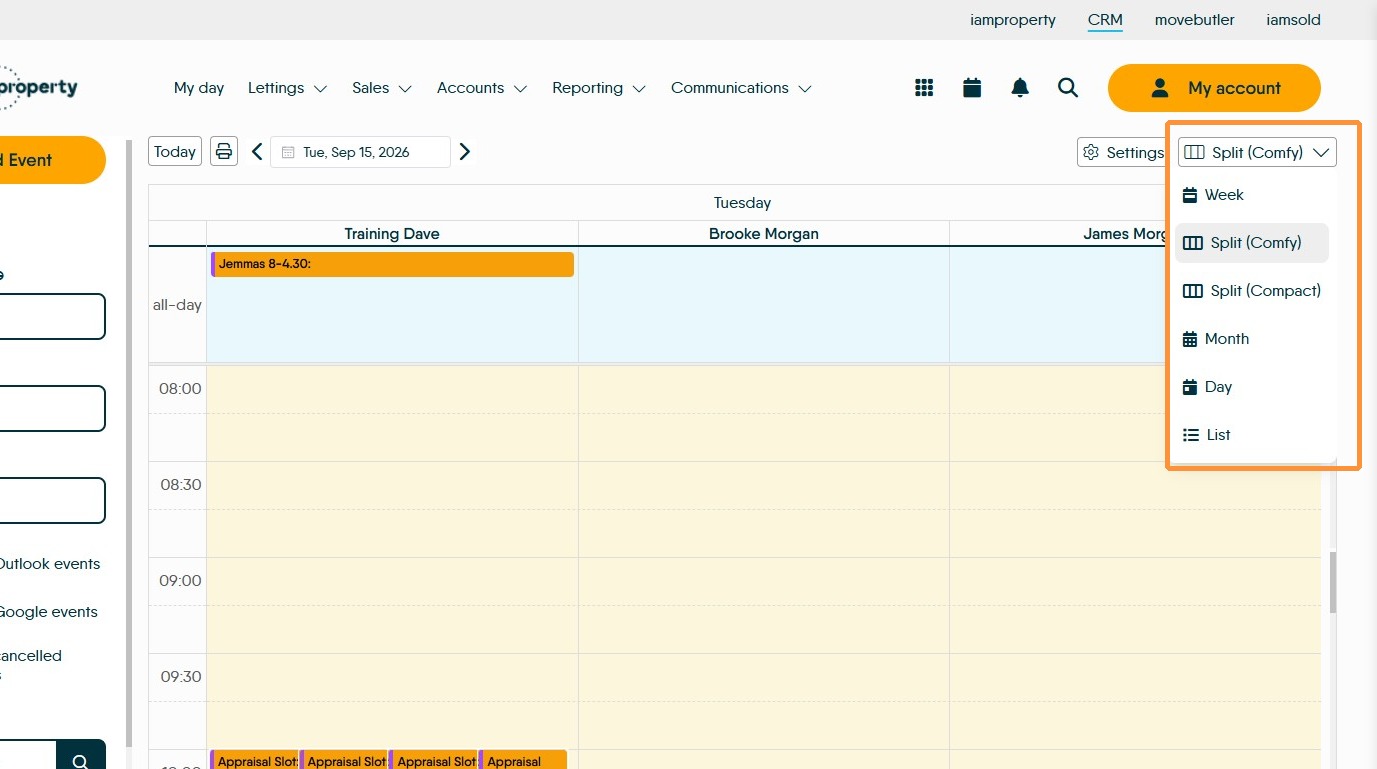
4. At the top right of the screen (under 'My Account') is an option that will allow the calendar view to be changed. There are a number of views, default is Month view. The view shown on screen is 'Split (comfy)'
Click "Split (Comfy)"
Create Event
Tip: Tip! The best way to create a calendar entry for either an Appraisal or a Viewing is to use the 'Add New Record' option in the quick access menu or on the My Day screen. These are quicker and easier than the process from within the calendar.
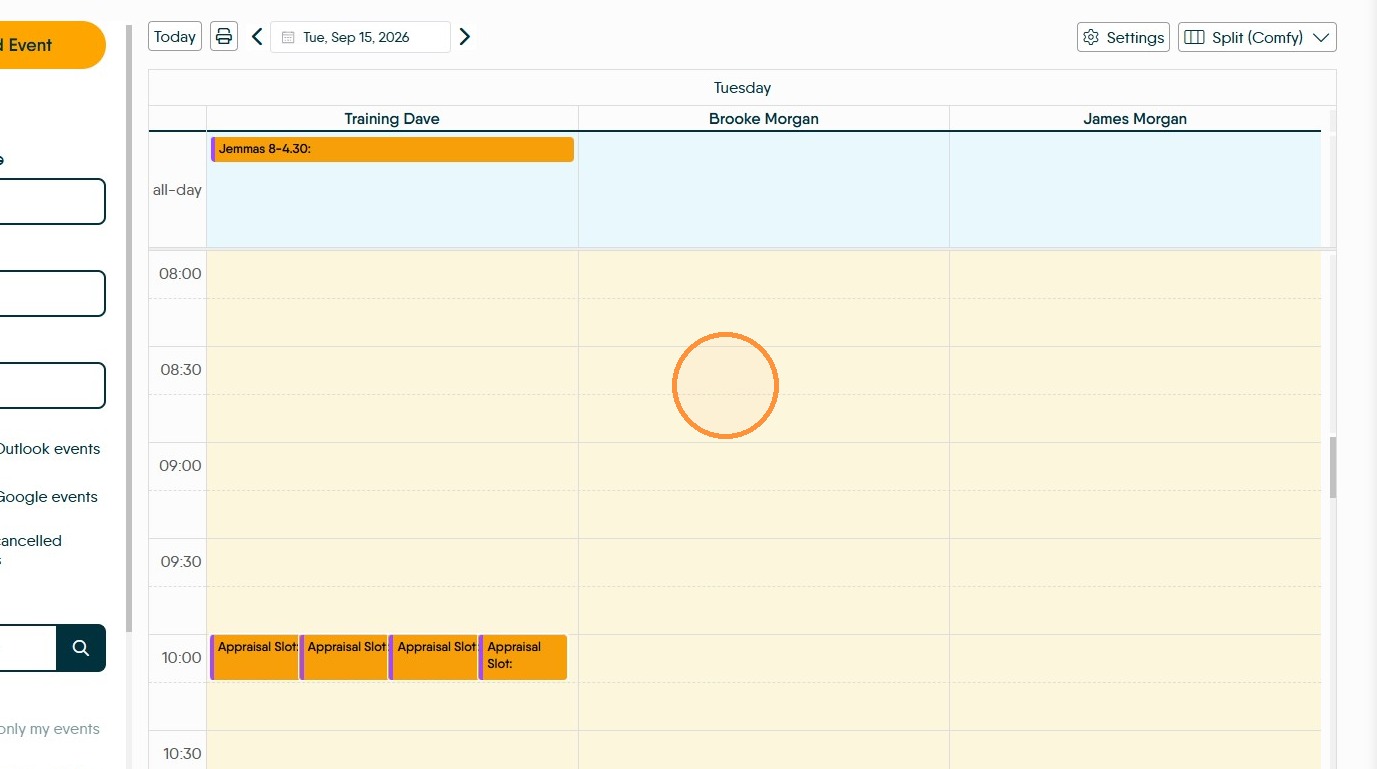
5. The easiest way to create an event in the calendar is to 'Right-click' on the time and date that the event is to be created. In this case we are in the 'Split' view so we can also select a specific user.
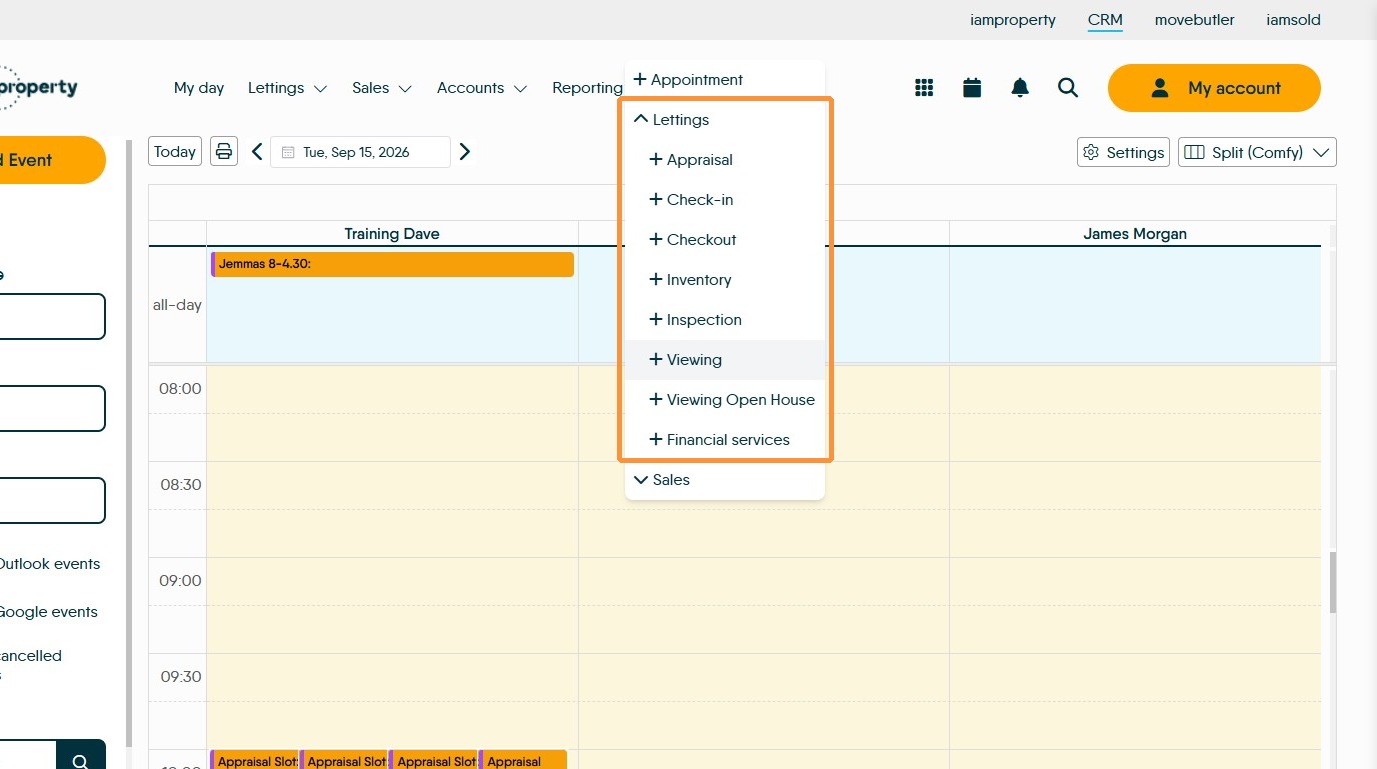
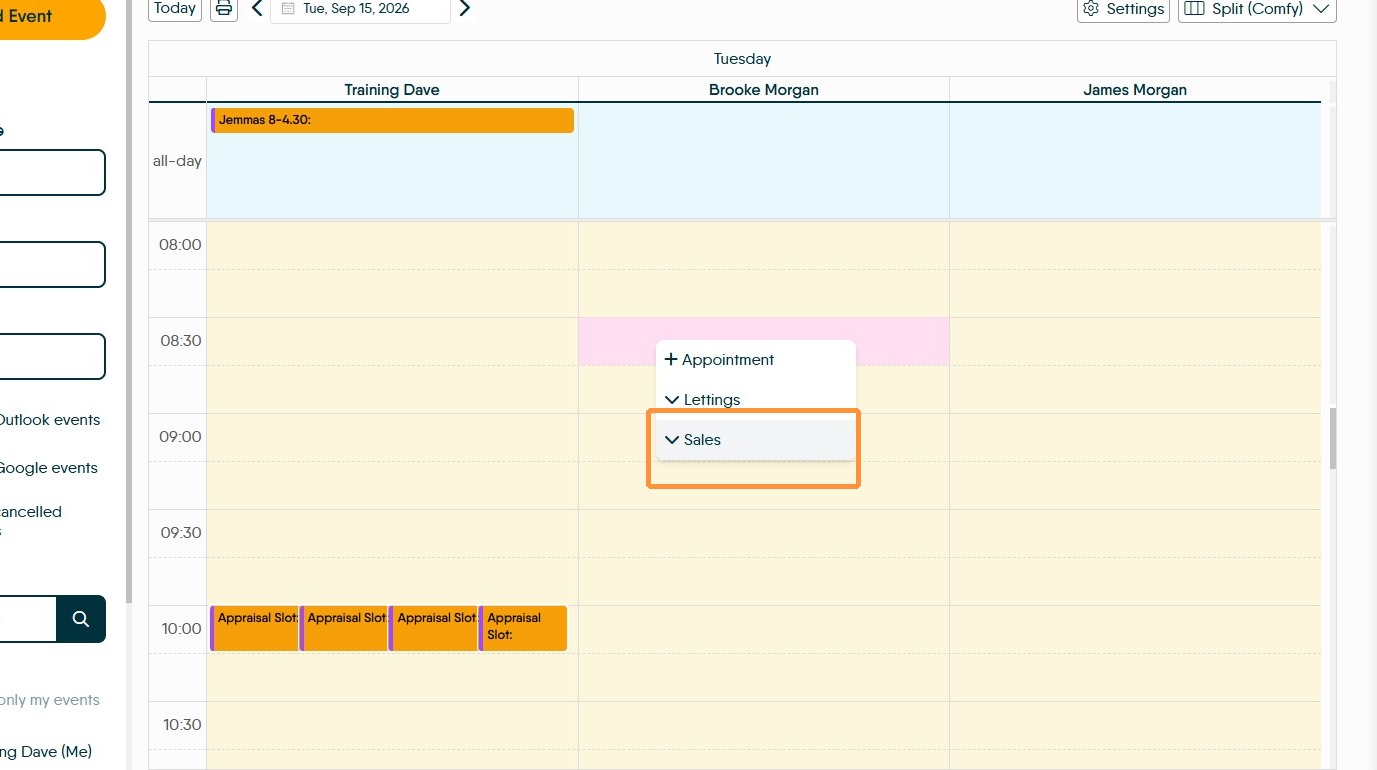
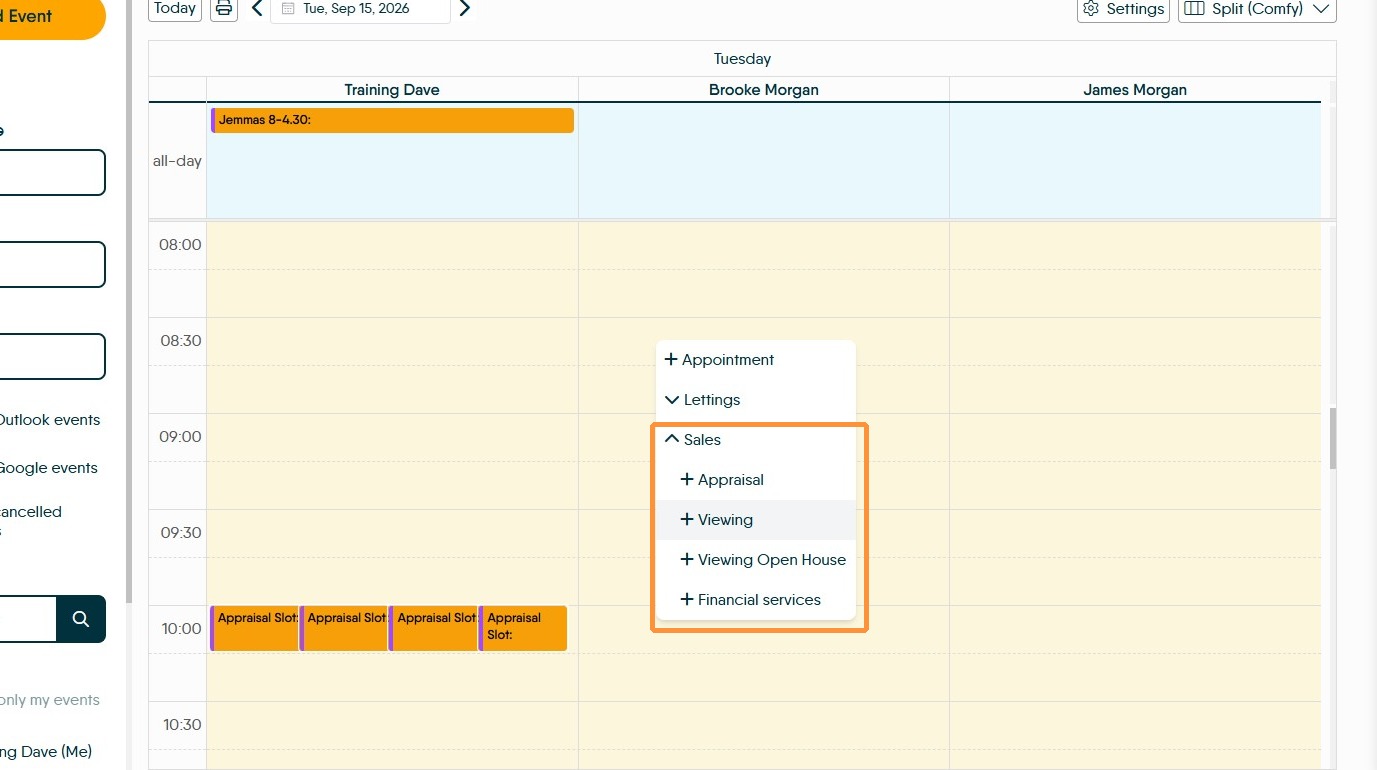
6. Click "Lettings" or "Sales" and select the appointment type from the drop down list.
The "Appointment" option is designed to be used for creating personal appointments, e.g holidays, noting working days etc. Not for booking customer appointments
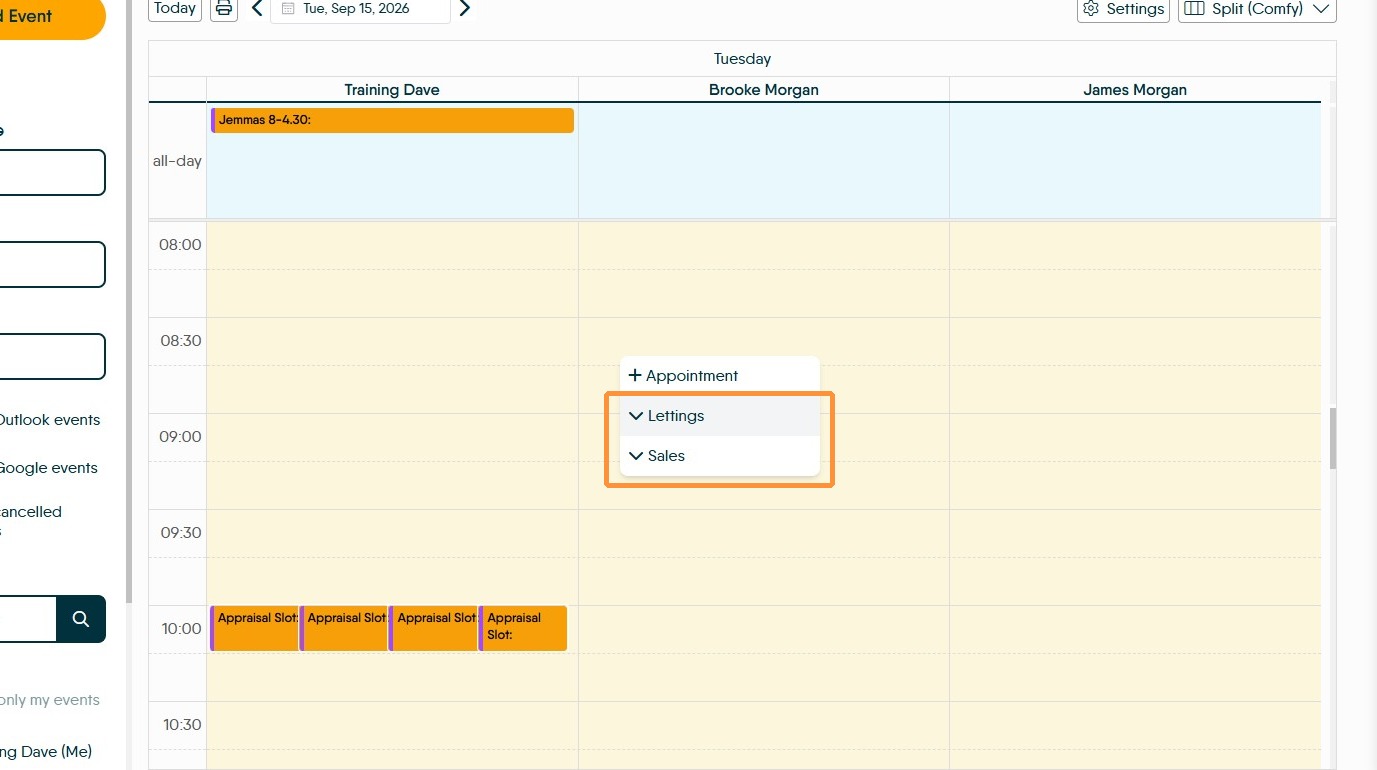
7. These are the options for a Lettings calendar entry
8. These are the options for adding a Sales calendar entry
9. The alternative way to create an event in the calendar is to click "Add Event"
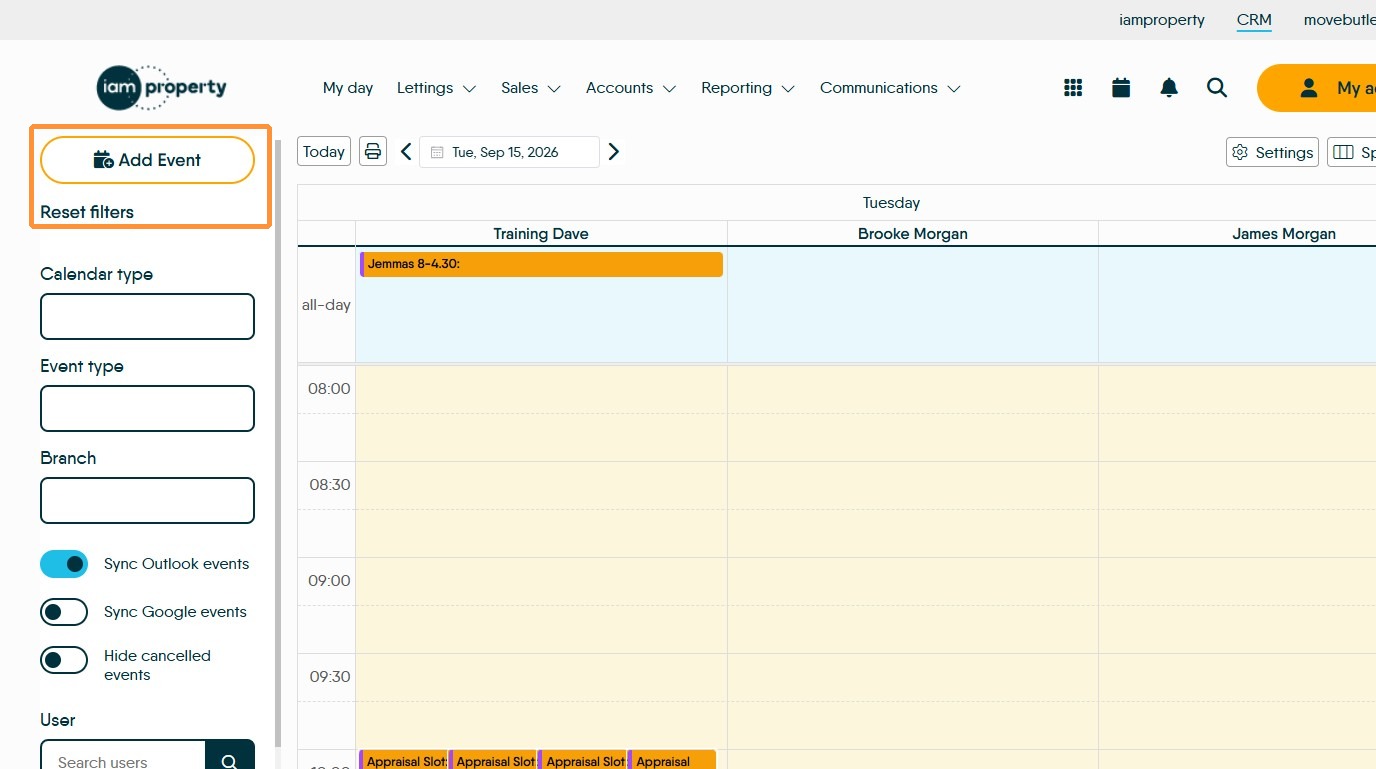
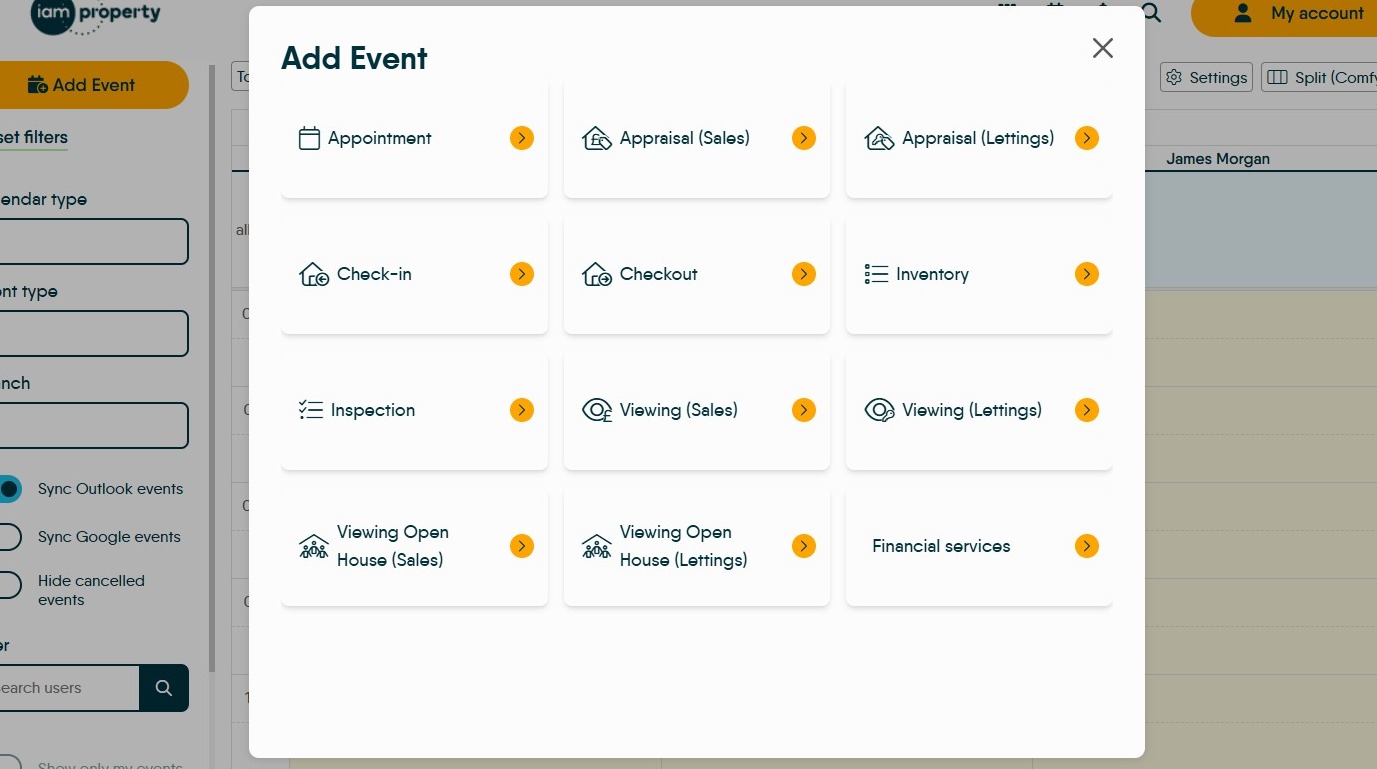
10. These are the options when "Add Event" is clicked,
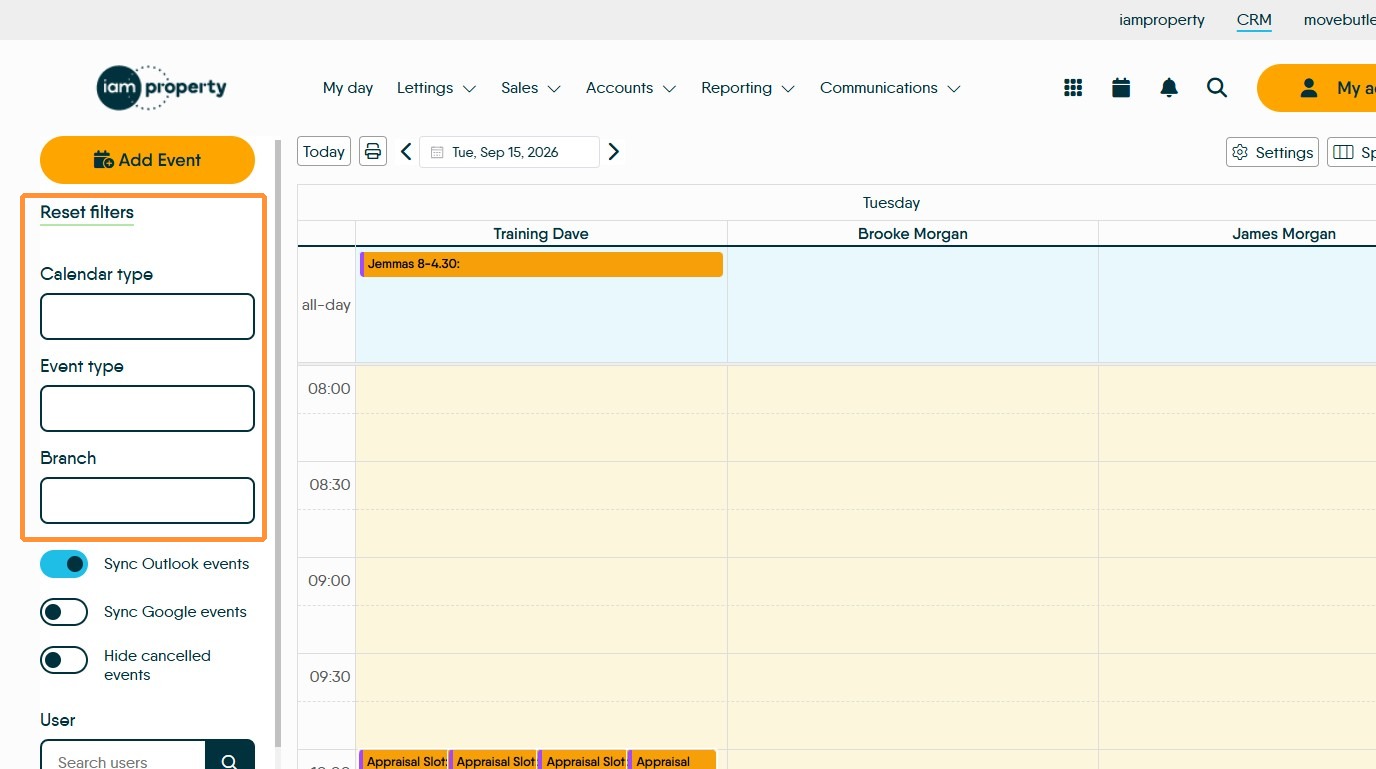
11. These options down the left side of the screen act as filters, if left as shown (empty) all calendar data is shown on the screen. If there is an entry in any of the fields only that data will show on the calendar.
For example, if Sales is selected in the 'Calendar type' field, the only entries that will show are those added to the sales calendar.
Our advise is keep these fields clear unless you definitely only need to see a specific data set and nothing else.
Calendar Settings
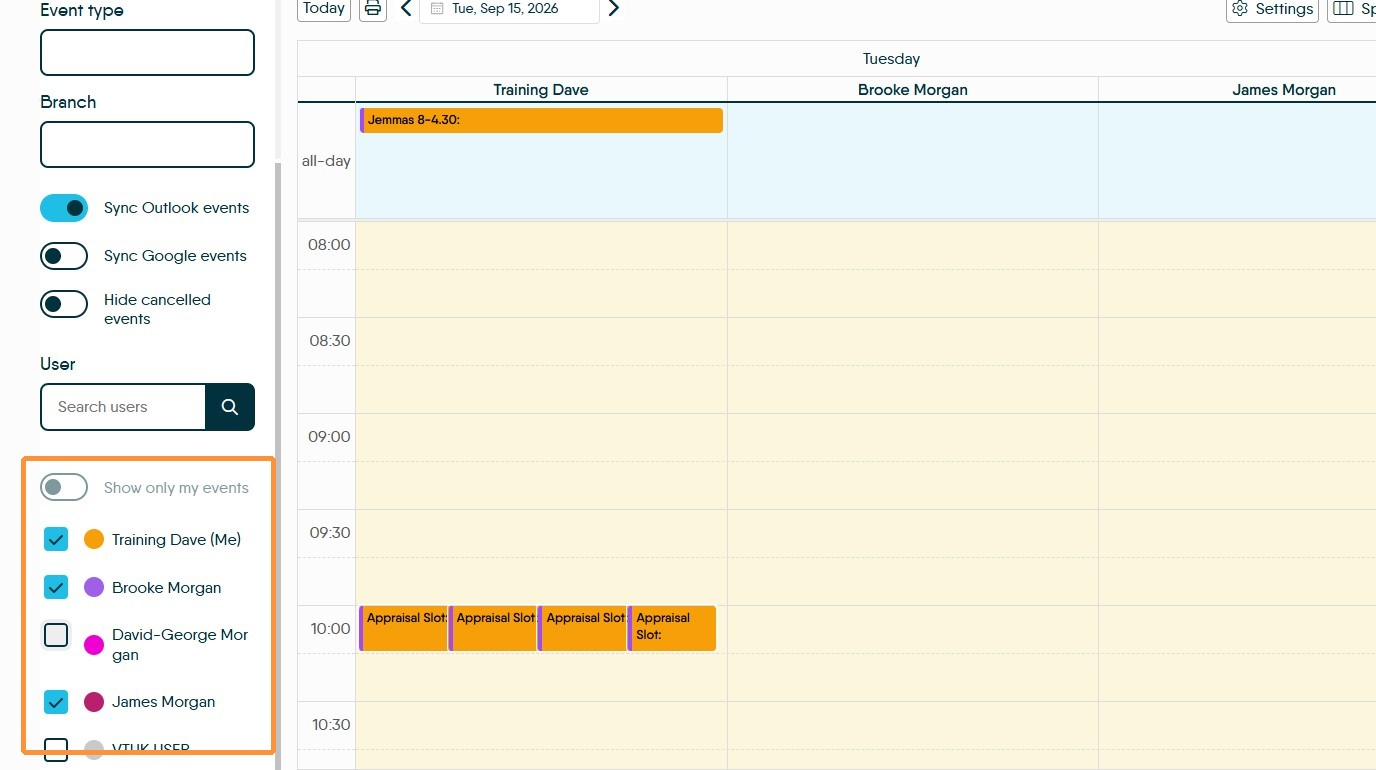
12. To select individual user calendars, they can be selected using the checkboxes on the left side of the screen. This will enable the calendars for all the selected users to show on the calendar screen either in 'Split View' (as shown below) or as coloured boxes in a week or month view.
The users that are shown are taken from the Branches that you have enabled in you 'Active Branches' option.
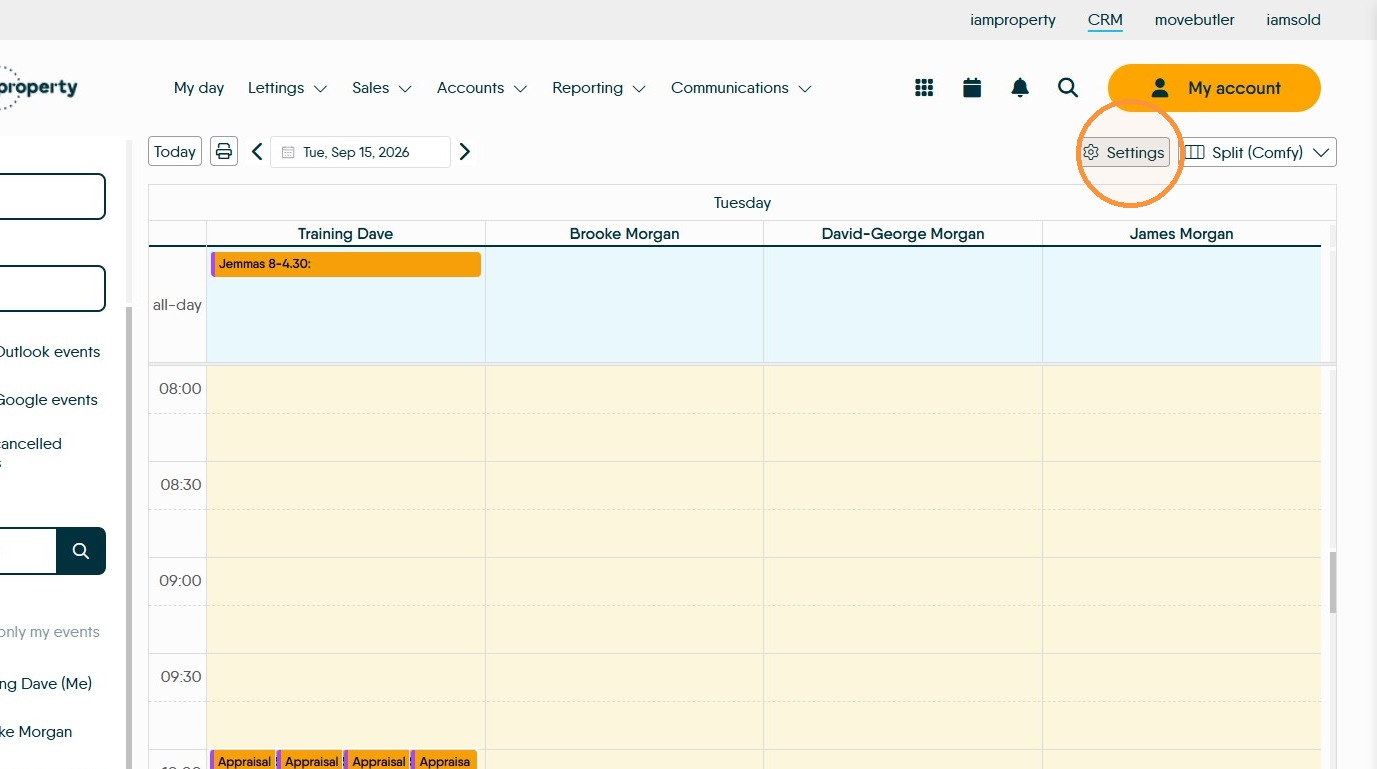
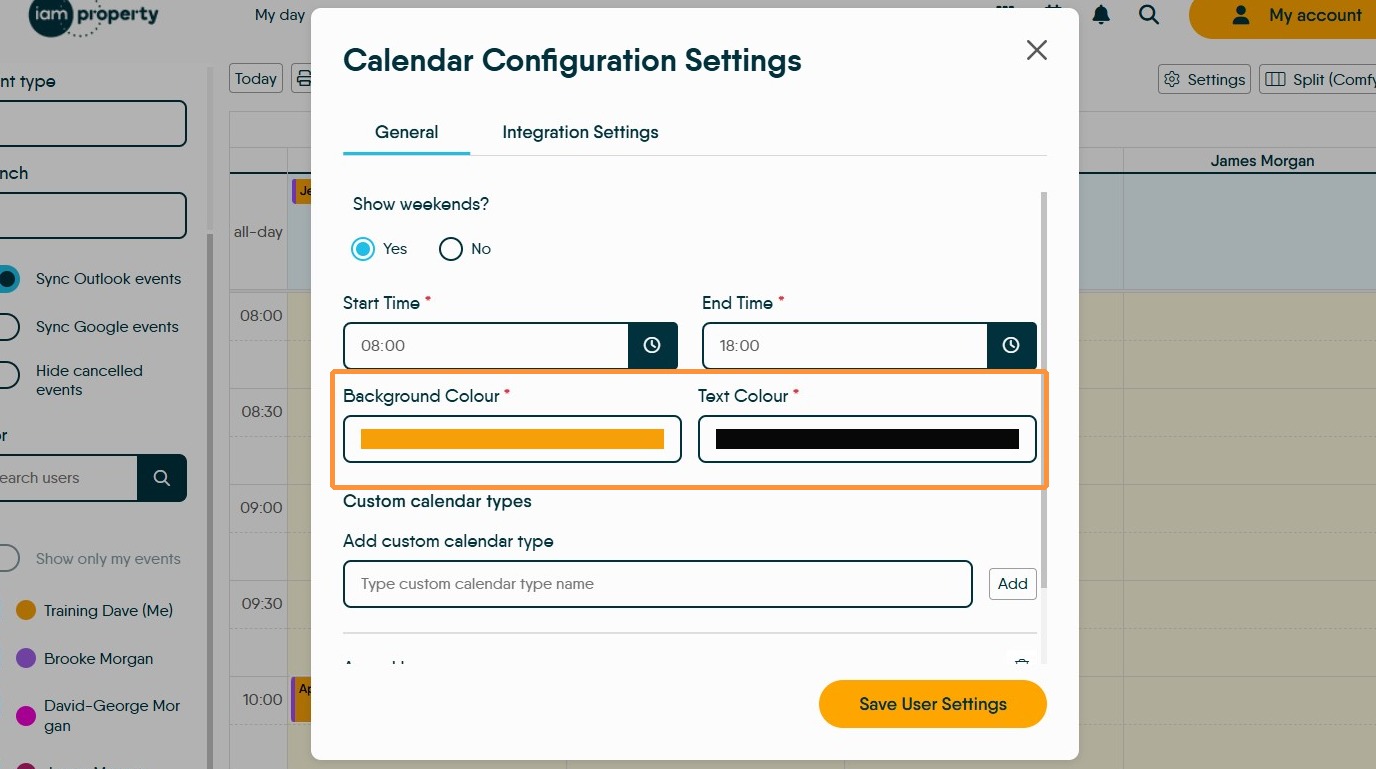
13. Click "Settings" this will give various options, if you need weekends to show in your calendar this can be enabled in this screen as can a change in working hours.
14. Each User is allocated a colour, if you want to change this colour. Click Background Colour this option allows the background colour of the user tile to be changed. Text Colour allows the colour of the text on the tile to be changed.
N.B. If a light background colour is selected, make sure the text colour is dark so it is easily read and the same if background is dark use a light colour text.
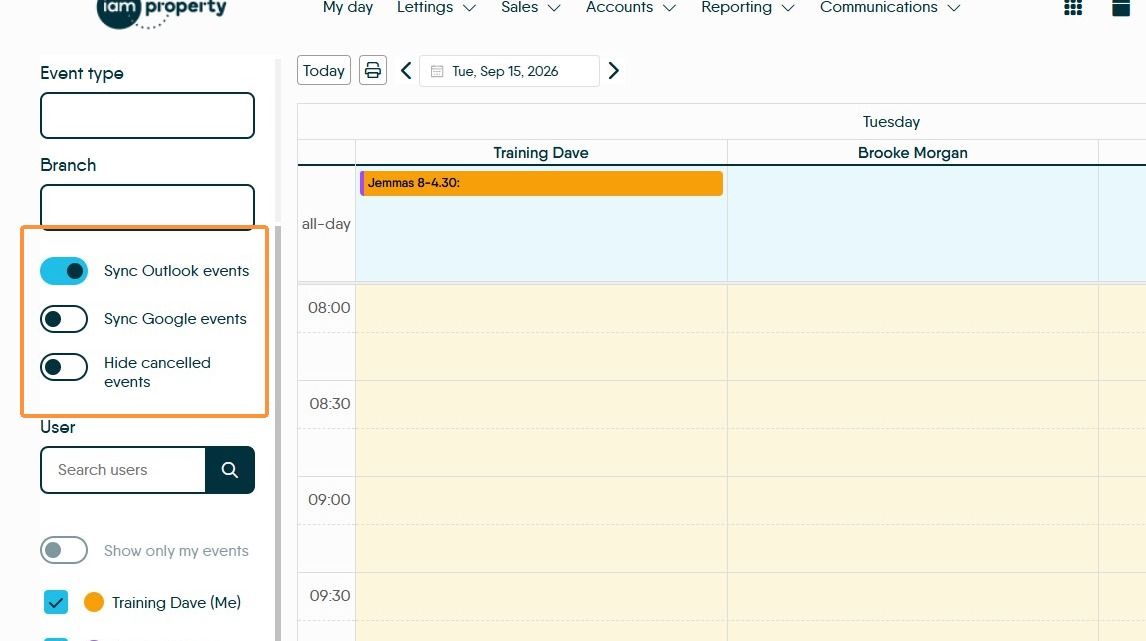
15. Your Outlook or Google Calendars can also be shown in the CRM calendar and your CRM calendar shown in Outlook/Google calendars.
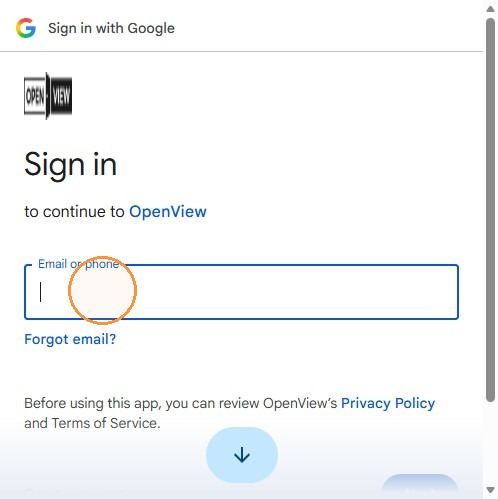
Enabling the option, by sliding the toggle will show a login screen, successful completion of the login will enable your calendars to sync.