This guide provides a step-by-step process for generating landlord statements using the Statement Merge feature. By following the outlined steps, users can efficiently create and send customised statements, ensuring accurate communication with landlords.
1. Navigate to https://crm.iamproperty.com/Dashboards/Accounts
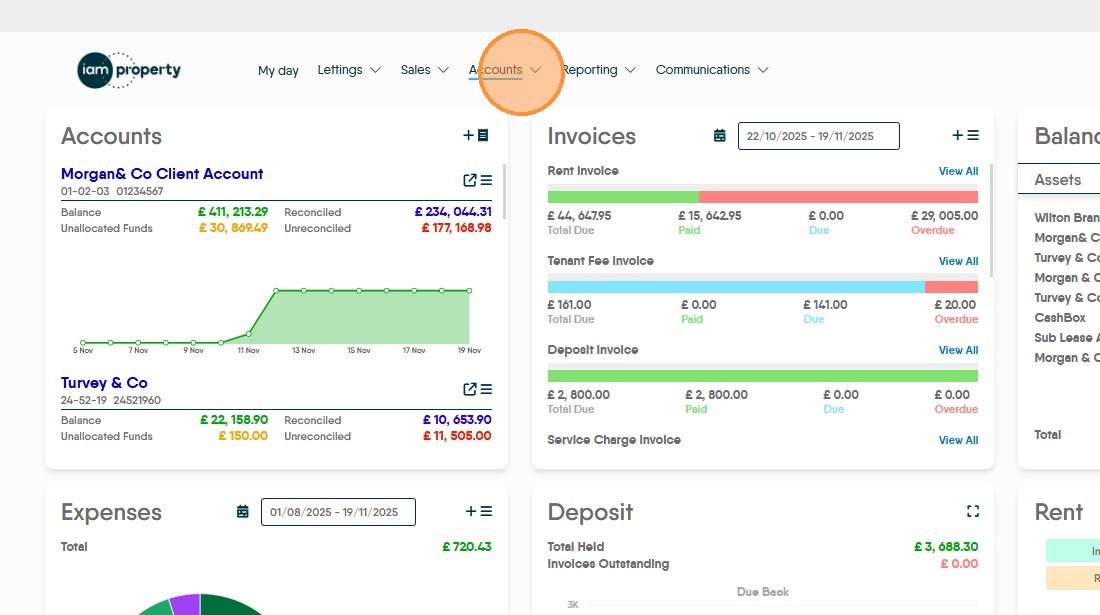
2. Click "Accounts"
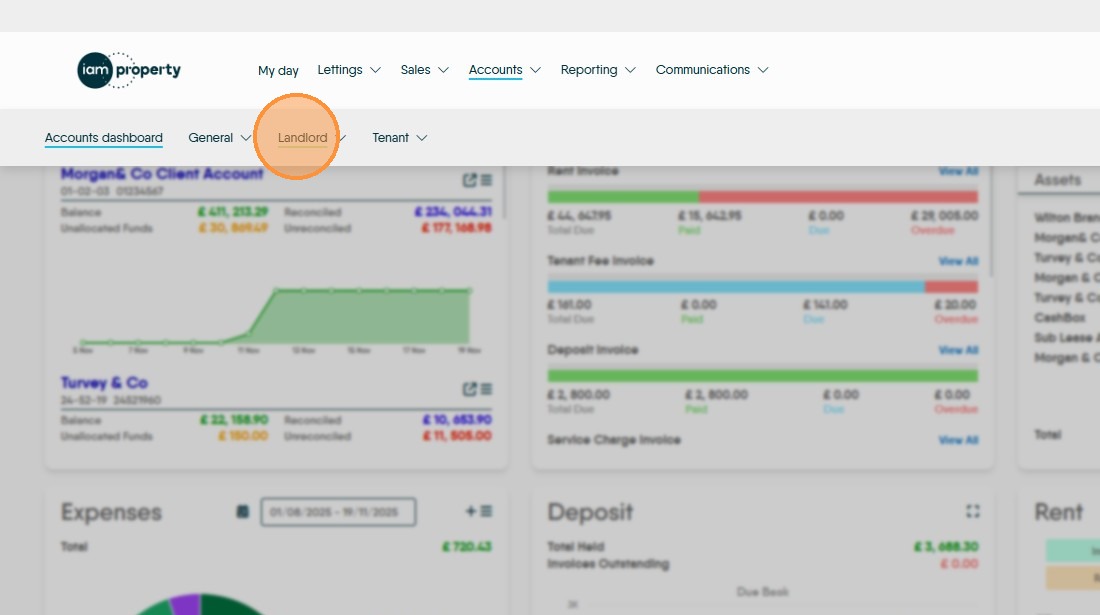
3. Click "Landlord"
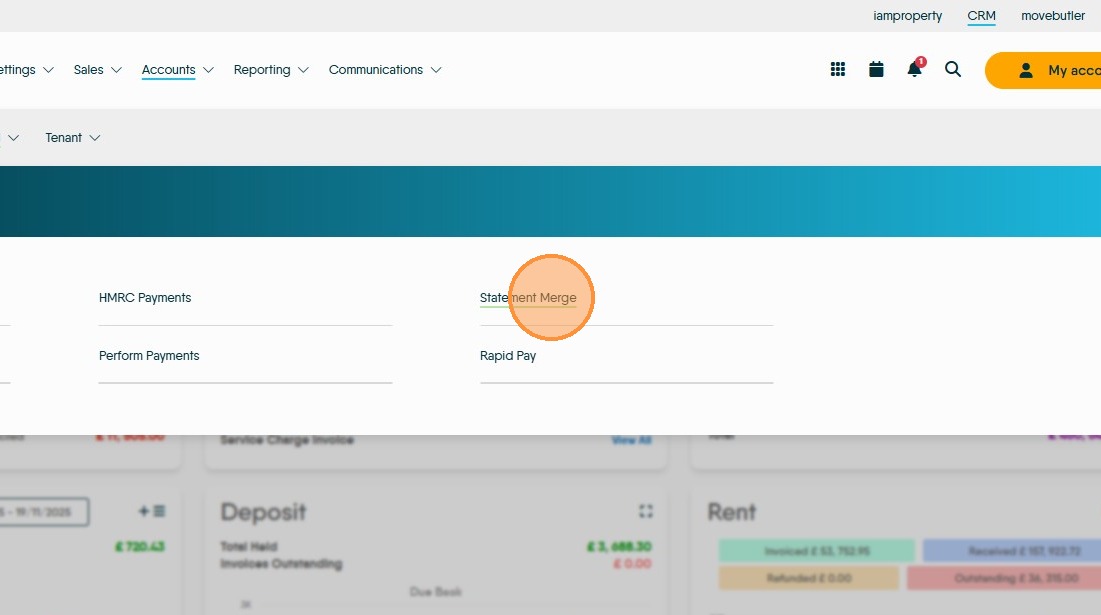
4. Click "Statement Merge"
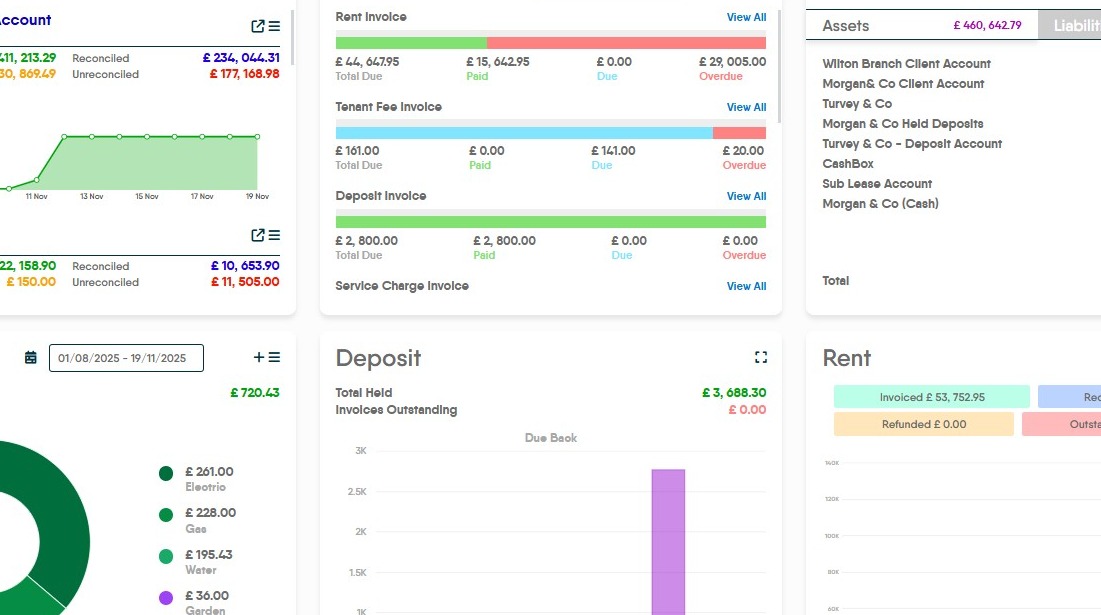
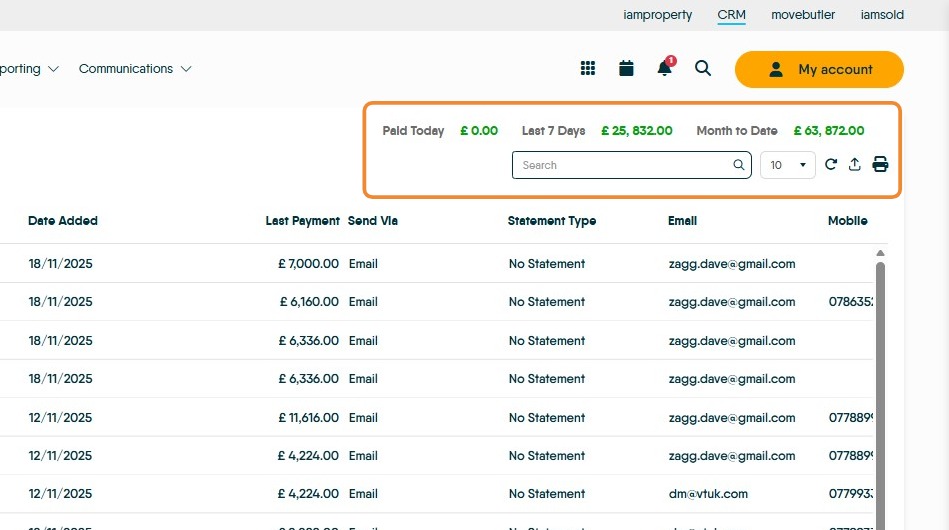
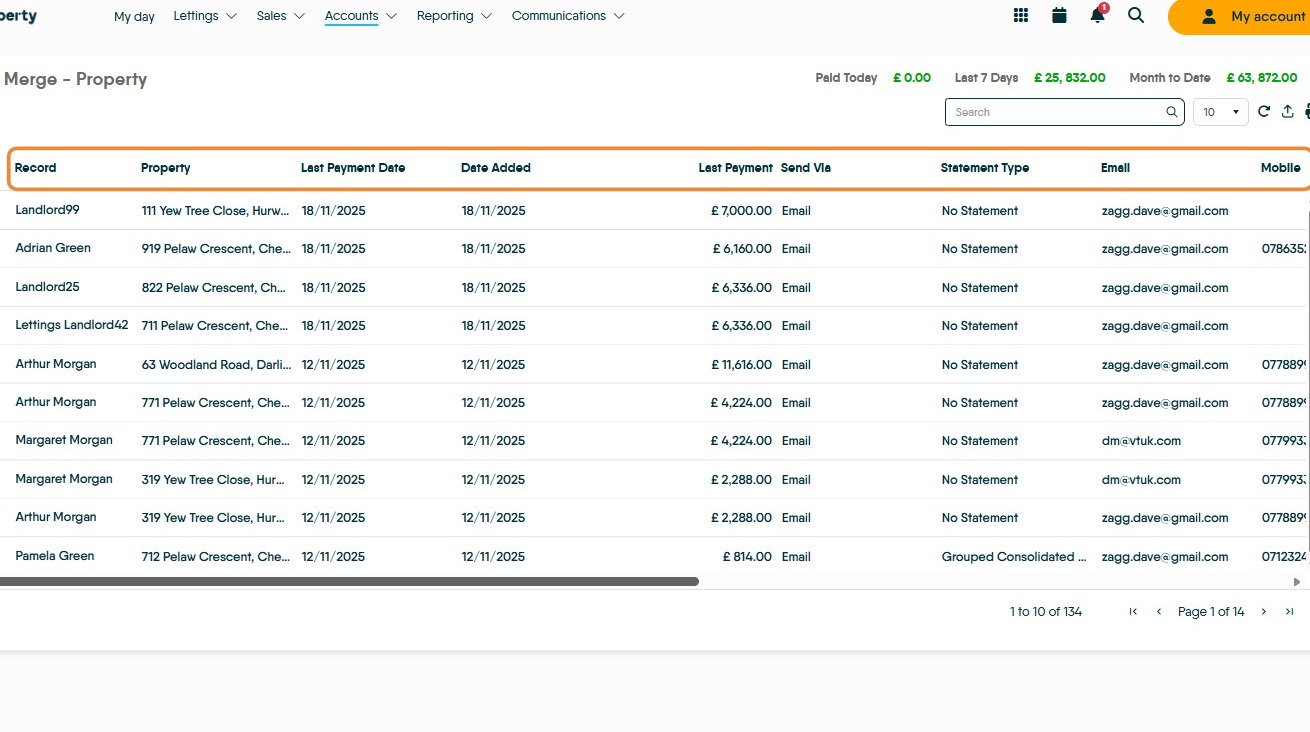
5. At the top of this screen there is information on how much has been paid out 'Today', in the 'Last 7 Days and 'Month to Date'. There is also the option to export the data in this screen to a .csv file or print to pdf.
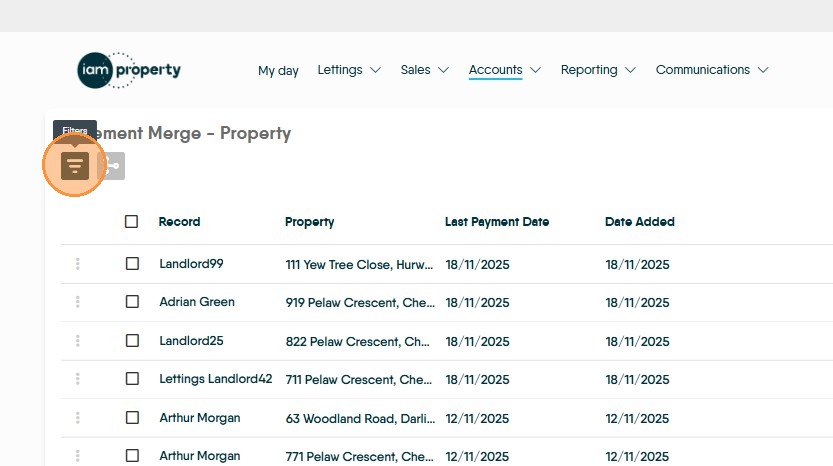
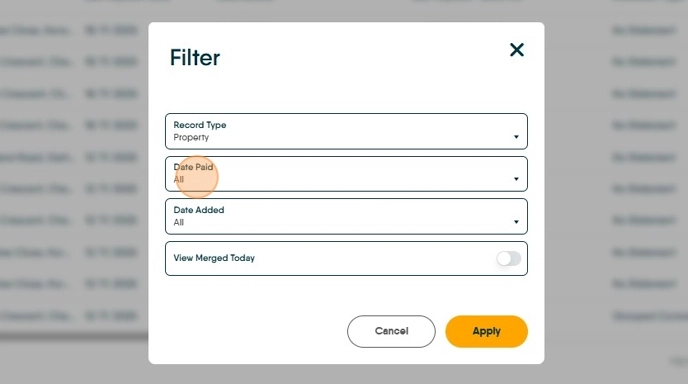
6. Click "Filter" to filter the list, there are a number of options
7. Click "Record Type" There is the options of "Property", "Portfolio", "Landlord" and "Contractor" selecting any of these will show only those records on the screen.
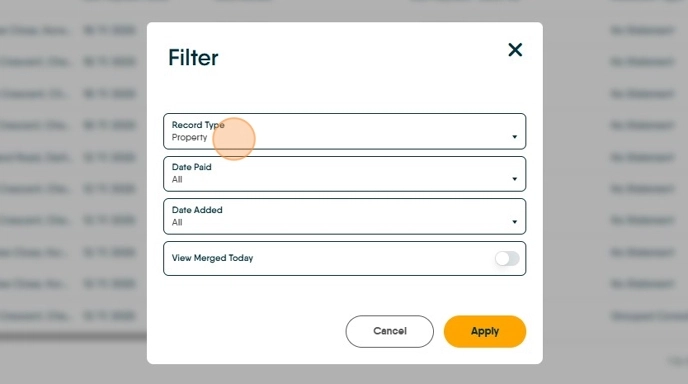
8. Click "Date Paid" you will have the option of "All", "Paid Today", "Paid in Last 7 Days" and "Paid this month".
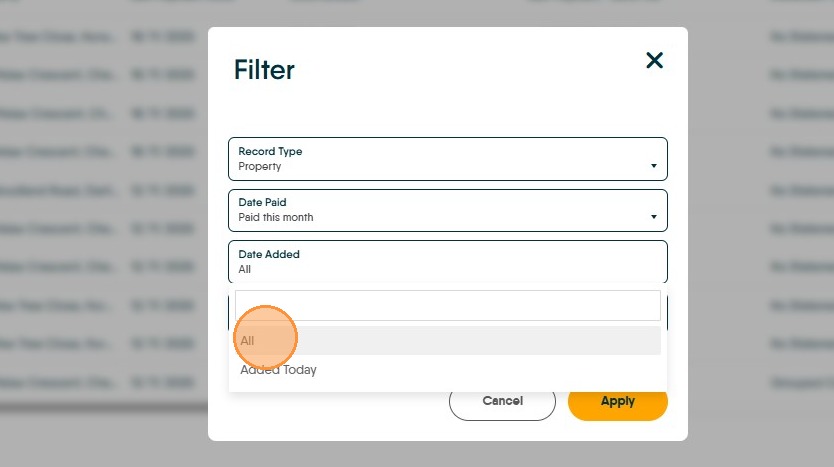
9. Click "Date Added" here there are 2 options "All" and "Added Today"
To be sure of not missing a opportunity to send a statement, we recommend "All" be selected and use the check boxes to control who a statement is sent to.
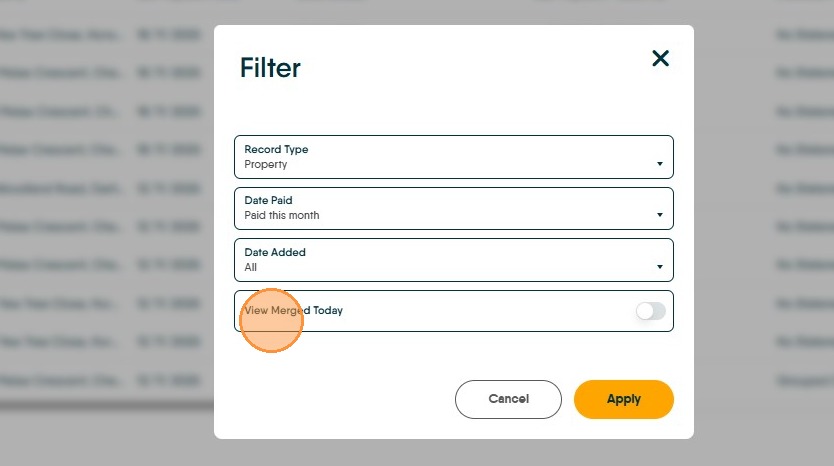
10. Click "View Merged Today" to only show records created on the day you are creating the Statements.
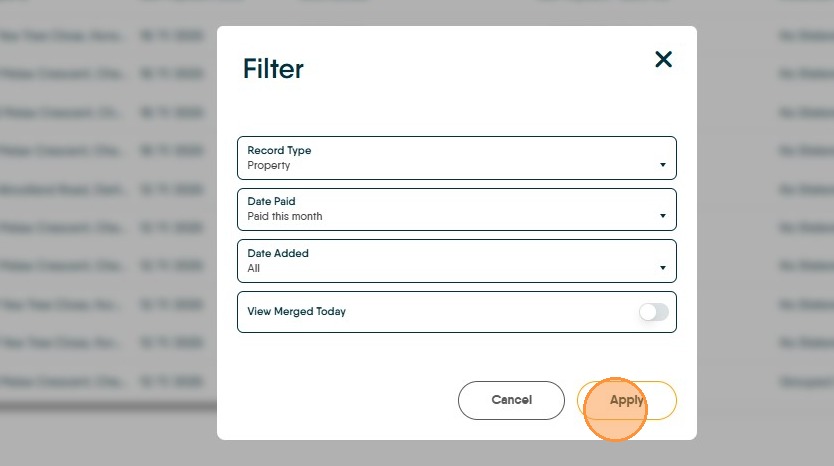
11. Click "Apply"
12. The "Statement Merge" screen shows all the information about the statements. If you sort the list by "Send Via" (click on the 'send via' header) it will be obvious which clients want a posted statement, email etc. "Statement Type" shows what type of statement a client has requested, from here you can sort your list and send the statements in batches depending on the client requirements.
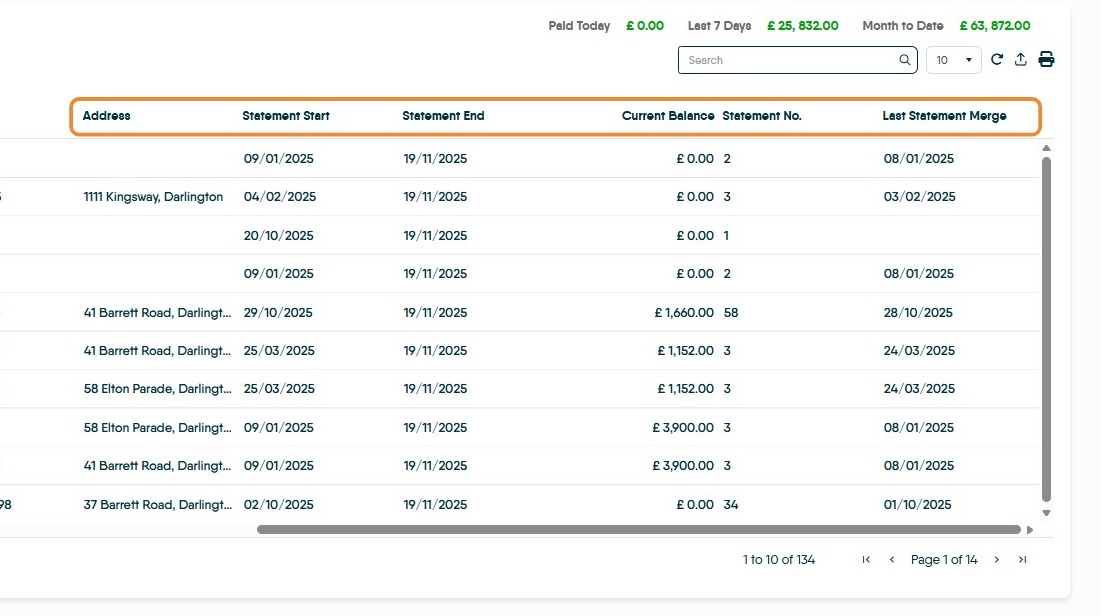
13. "Statement Start" "Statement End" shows the date range the statement that is to be sent will cover and is the date of the last statement to todays date. "Current Balance" is also shown as is the date of the last Statement merge for that Landlord/Contractor
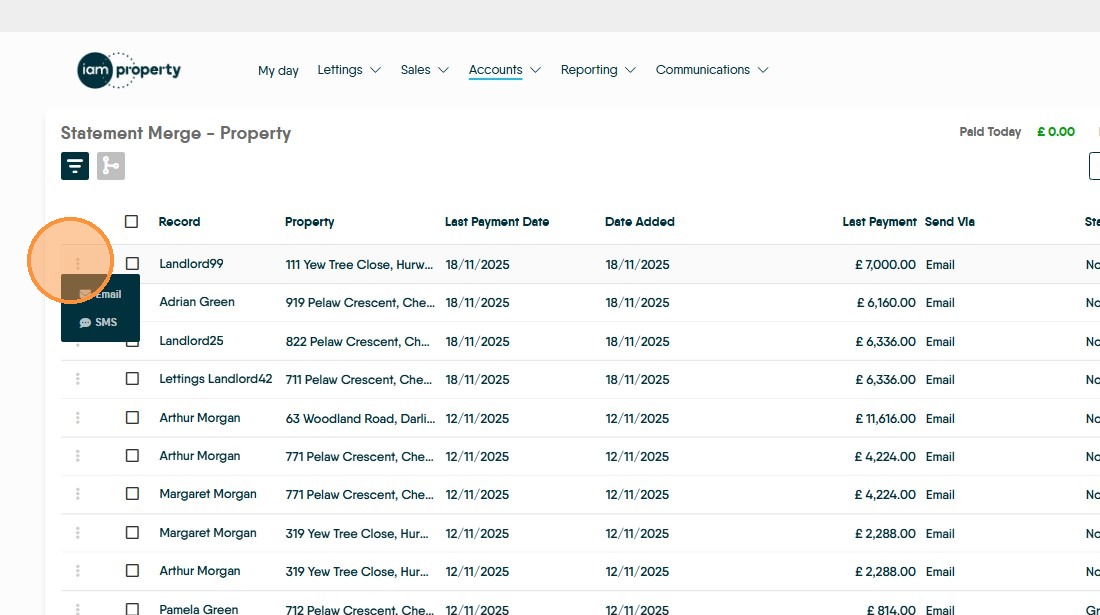
14. To send an individual statement merge. Click the 3-dot menu and select Email or SMS. Then follow the process shown below.
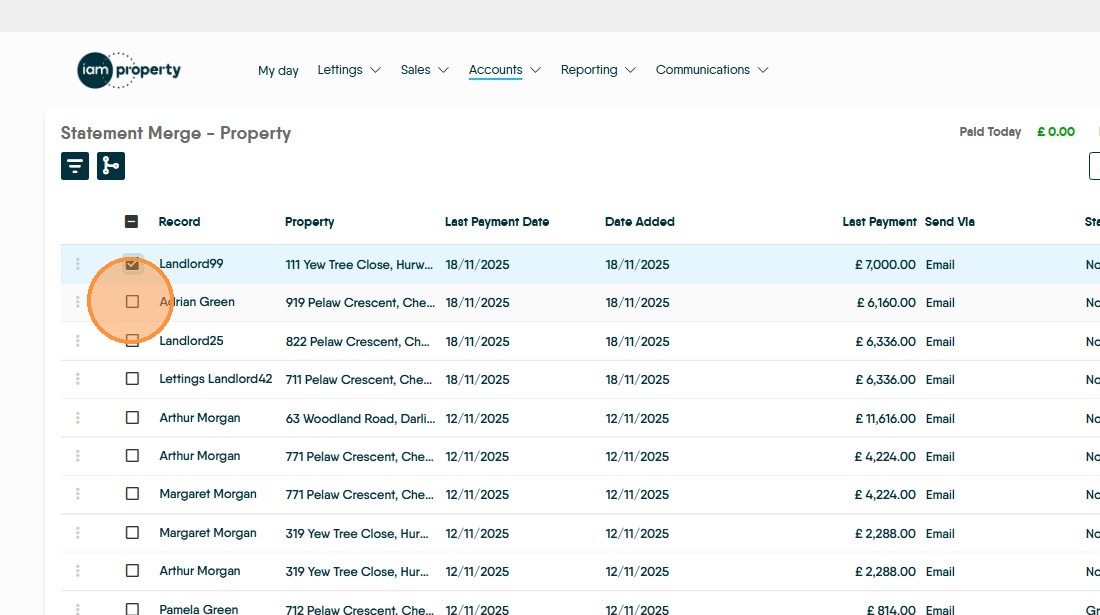
15. Click here to select all of the records in the list.
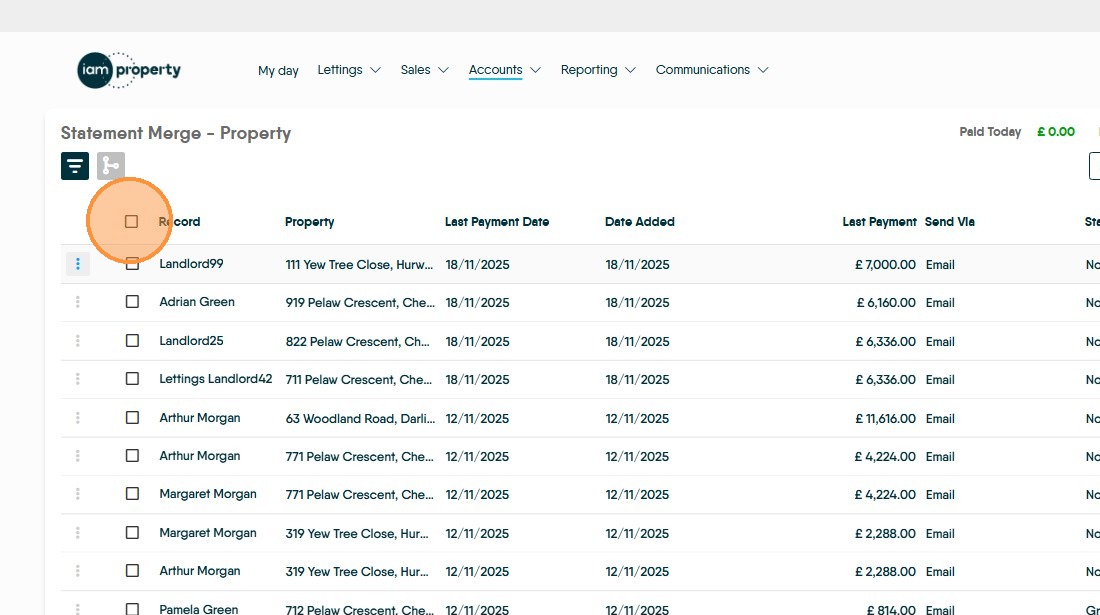
16. Click this checkbox to individually select (or deselect) records from the statement merge.
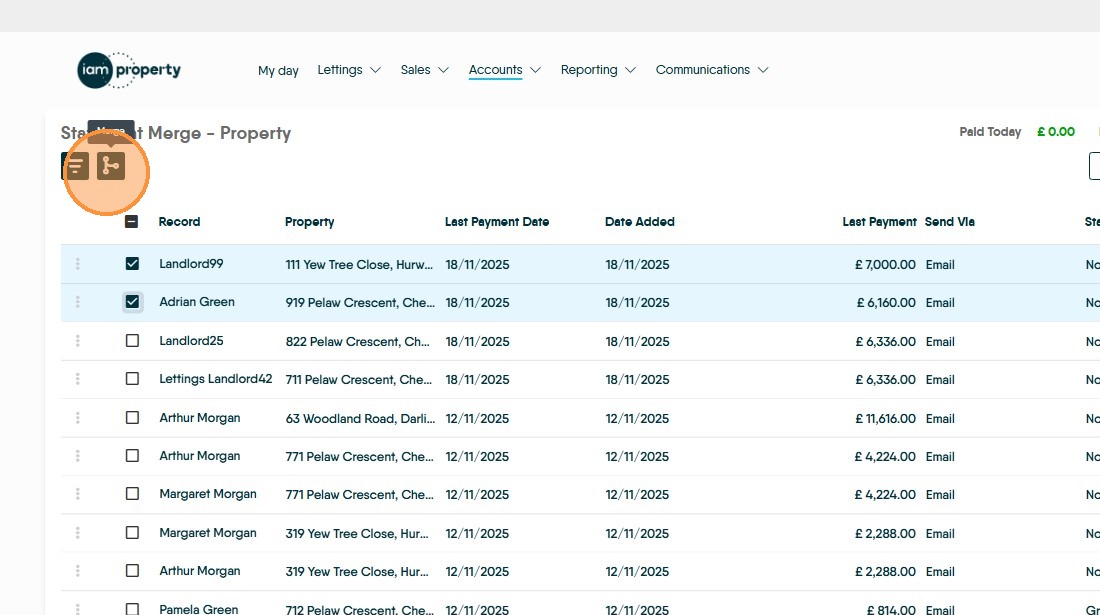
17. Click the "Merge".
18. Click "Select report file" and select the type of statement that is being used for the selected records. The list will show standard report types plus any bespoke options you have requested.
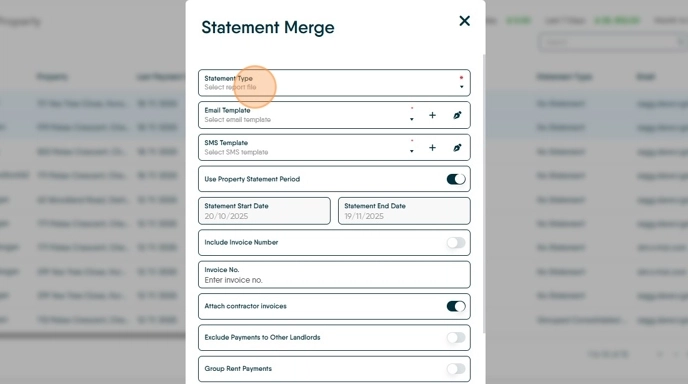
19. Click "Select email template" select the required template from the drop down menu. N.B. An email or SMS template MUST be added to send a statement merge to clients.
To create a new template click the '+' icon to edit a template select template to edit and click the 'pen' icon

20. Click "Use Property Statement Period" this option is a default option in config and will ensure that your clients are sent the correctly dated statements, from the last statement sent to the date you are producing the statement merge regardless if this is 1 day since the last statement or hundreds. We would advise this is left enabled by default and disabled only when specific circumstances require.
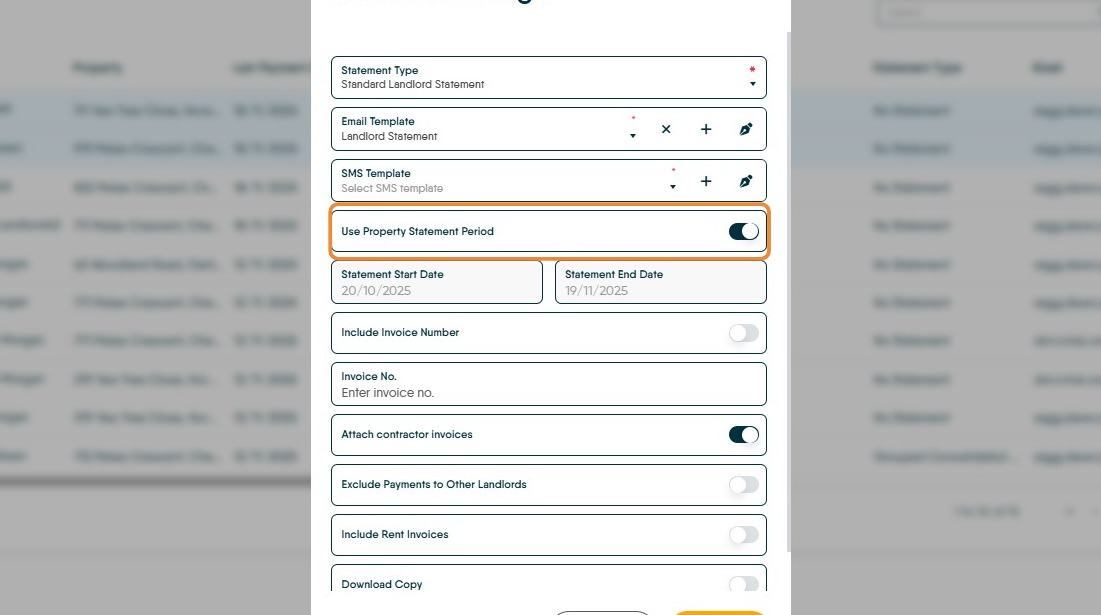
21. If you are sending statement for HMRC Making Tax Digital purposes ( e.g. monthly statements) Turn off the "Use Property Statement Period" option. Click "Statement Start Date" and edit to the first day of the month and "Statement End Date" to the last day of the month you are sending the statement for.
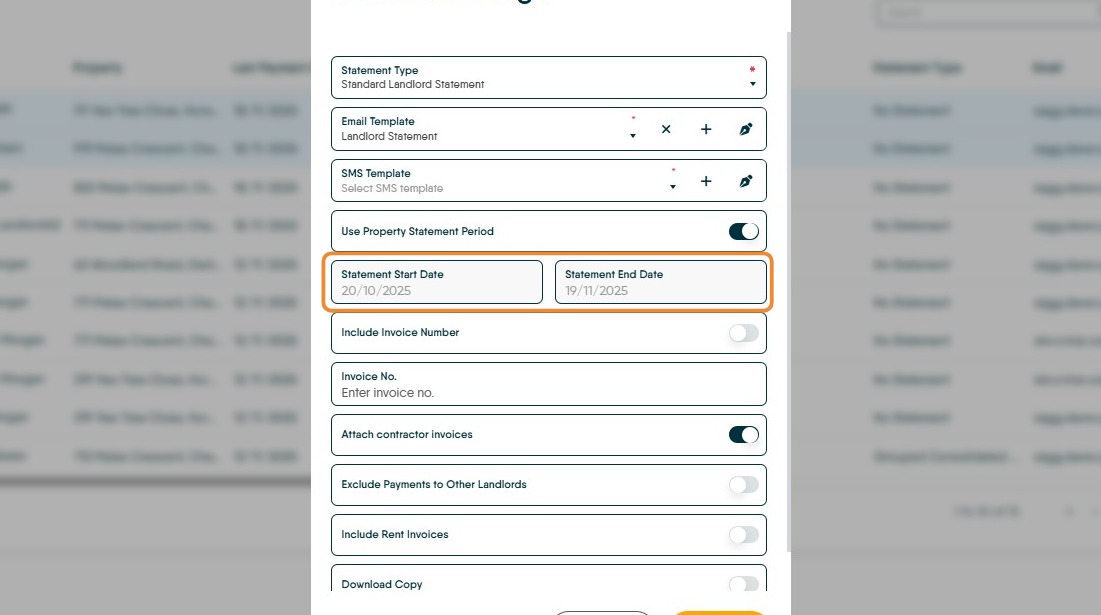
22. Click "Attach Contractor Invoices" this will include any contractor statements that where added to the Property Management module when the job was completed, or that where added in Accounts>Expenses when the job was invoiced to the Landlord.

23. Click "Merge"
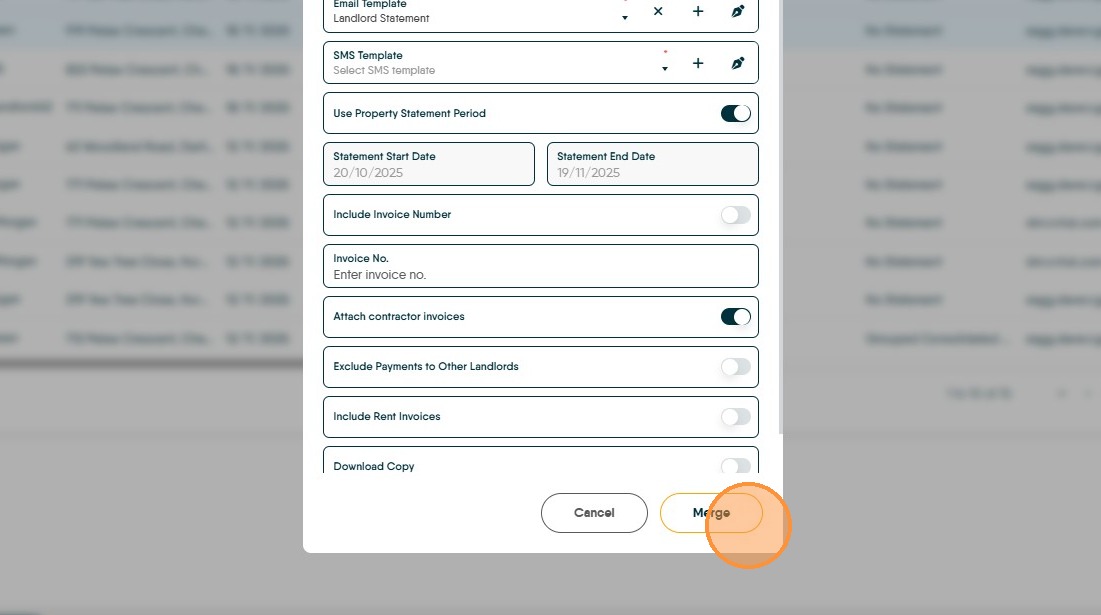
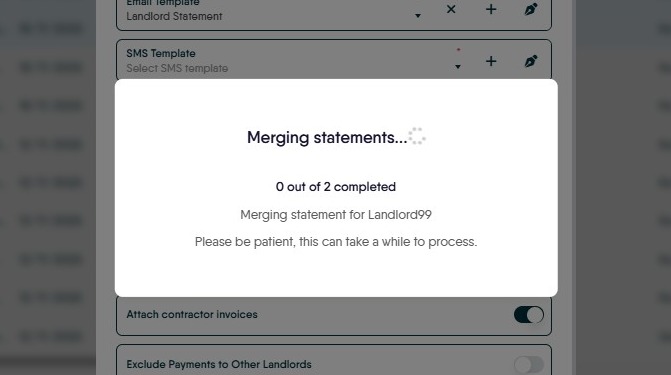
24. The statement will then be merged and emailed out with a status screen showing the progress. This can take a while as it depends on how much data is in the statements that are to be sent out and how many recipients there are.