This guide provides a step-by-step process for Estate Agents to generate monthly statements for landlords to assist with the requirements placed on Agents and Landlords by the HMRC Making Tax Digital platform. By following these instructions, Agents can assist landlords with their reporting, ensuring compliance and accurate financial tracking.
Tip: Tip! If you grant your Landlords access to the Landlord Portal they can use the Statements option in there to create a Landlord Statement for themselves.
1. There are 2 ways that a Landlord statement can be created. The one is via the 'Statement Merge' option in the Accounts - Landlord - Statement Merge menu. The other is via the Reports menu selecting the Accounts option then picking the report you want to create from the there.
We advise that you use a Consolidated Landlord Statement as this will provide all the information the landlord requires. One document will contain the required details for each property controlled by the Landlord.
Reports Menu
2. This is easiest place to create a report for a Landlord, unless your accounts processes fit with the the monthly statement requirement of the HMRC. A report can be created from here at anytime of the month and for any date range that CRM contains the data for.
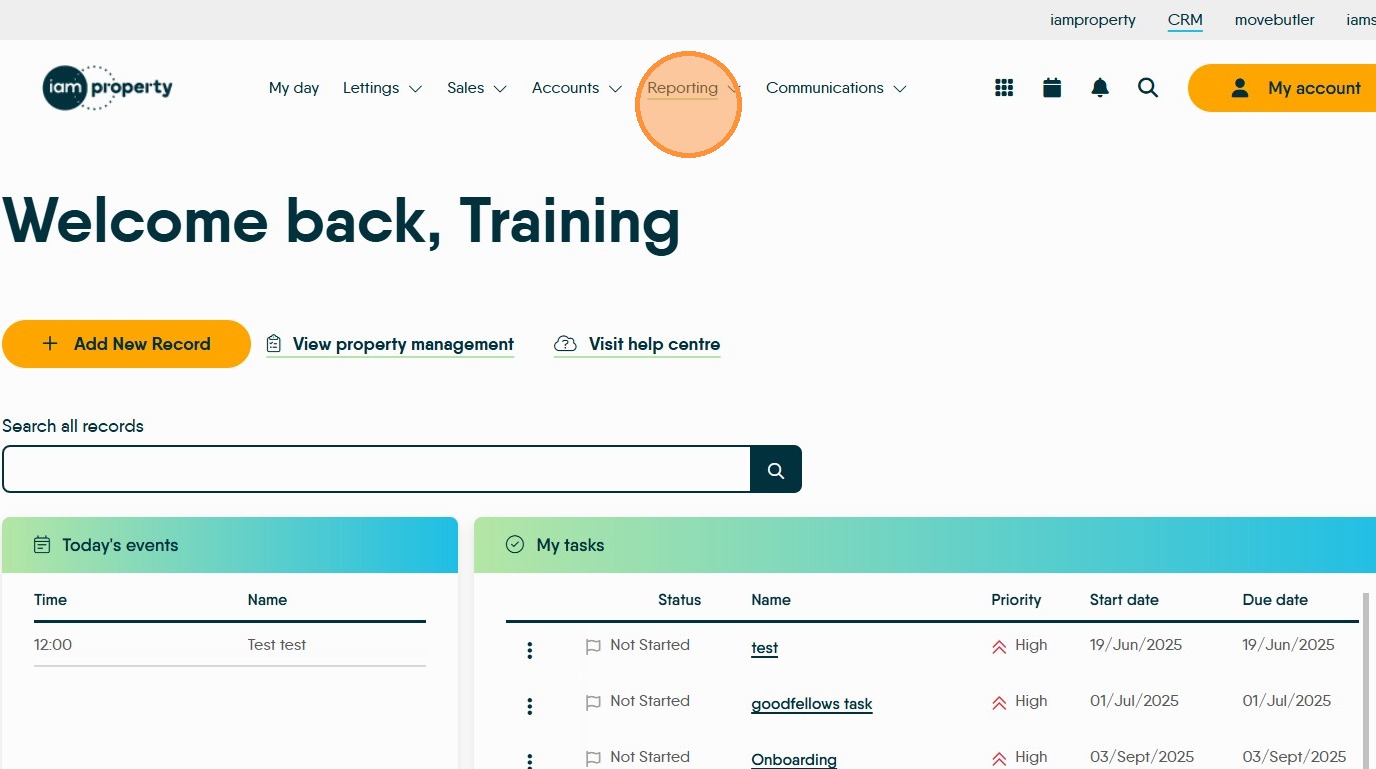
3. Click "Reporting"
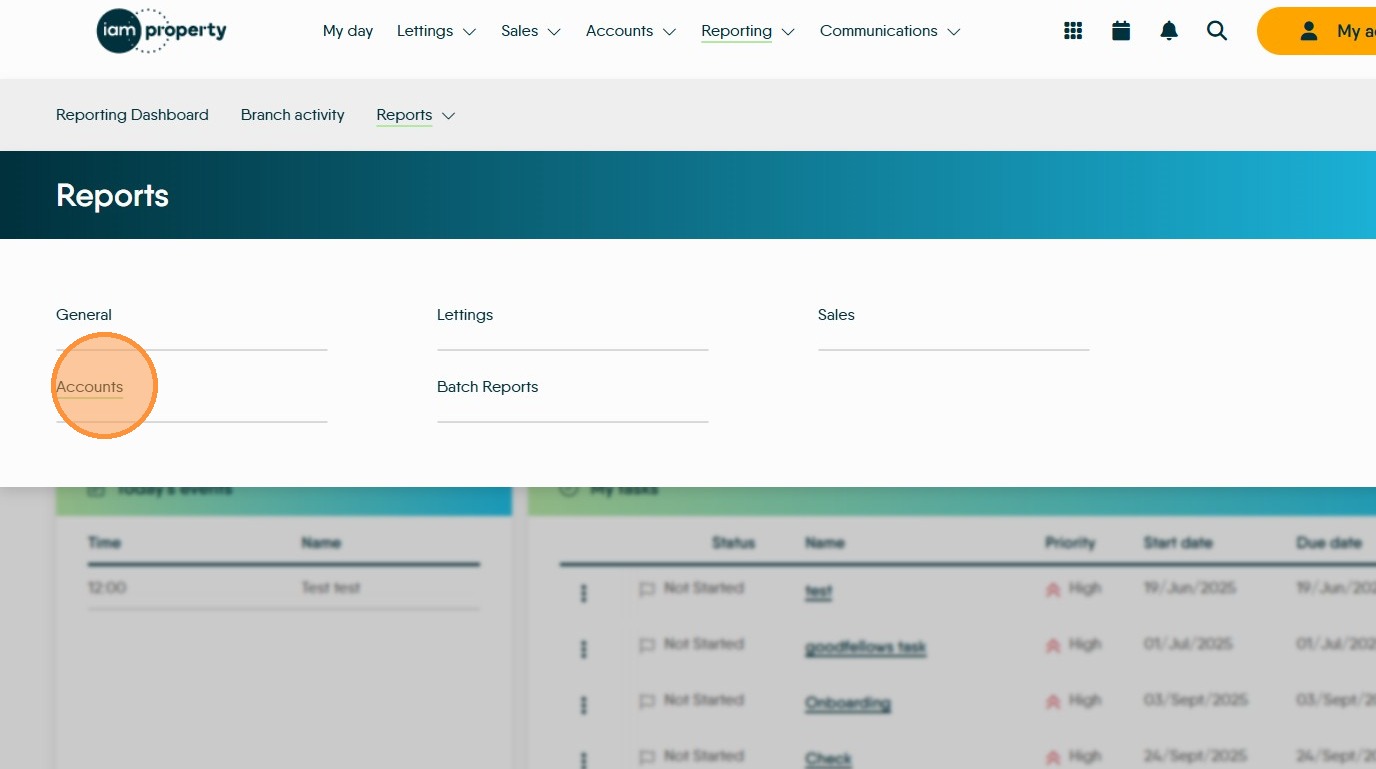
4. From the menu click "Reports"

5. Click "Accounts"
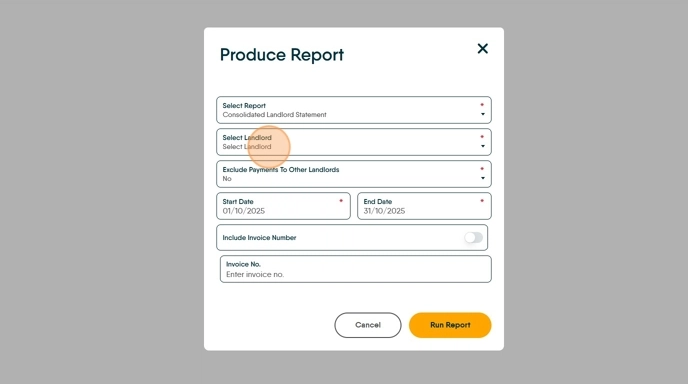
6. Click "Select Report" and from the drop down menu pick the report you want to send.
In this example we selected "Consolidated Landlord Statement"

7. Once the report is created you will be presented with some options. These will vary depending on the type of report to be created. We have selected "Consolidated Landlord Statement" the menu shown in the example below is for this type of report.
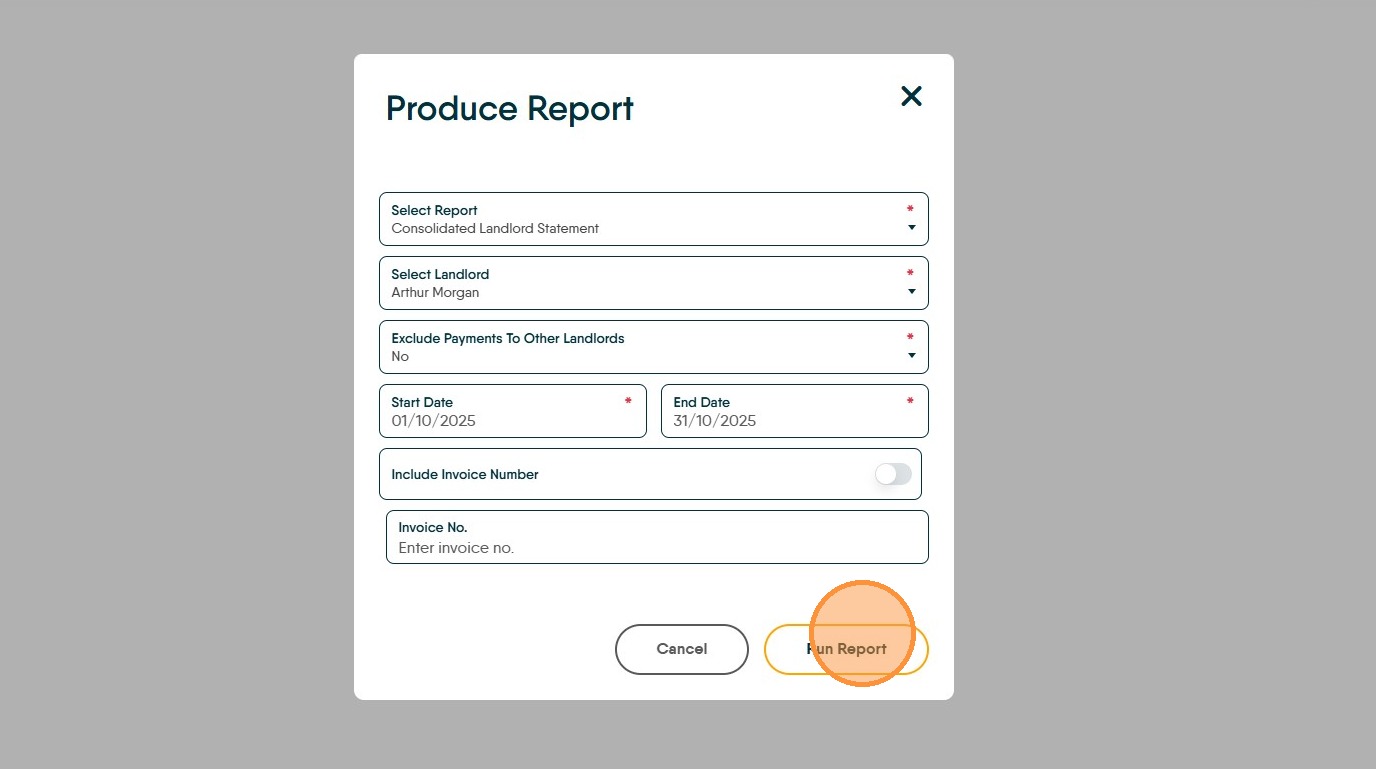
8. Click "Select Landlord" type the name of the landlord the report is being created for and click the name from the drop down list.
9. Click the "Start Date" field.
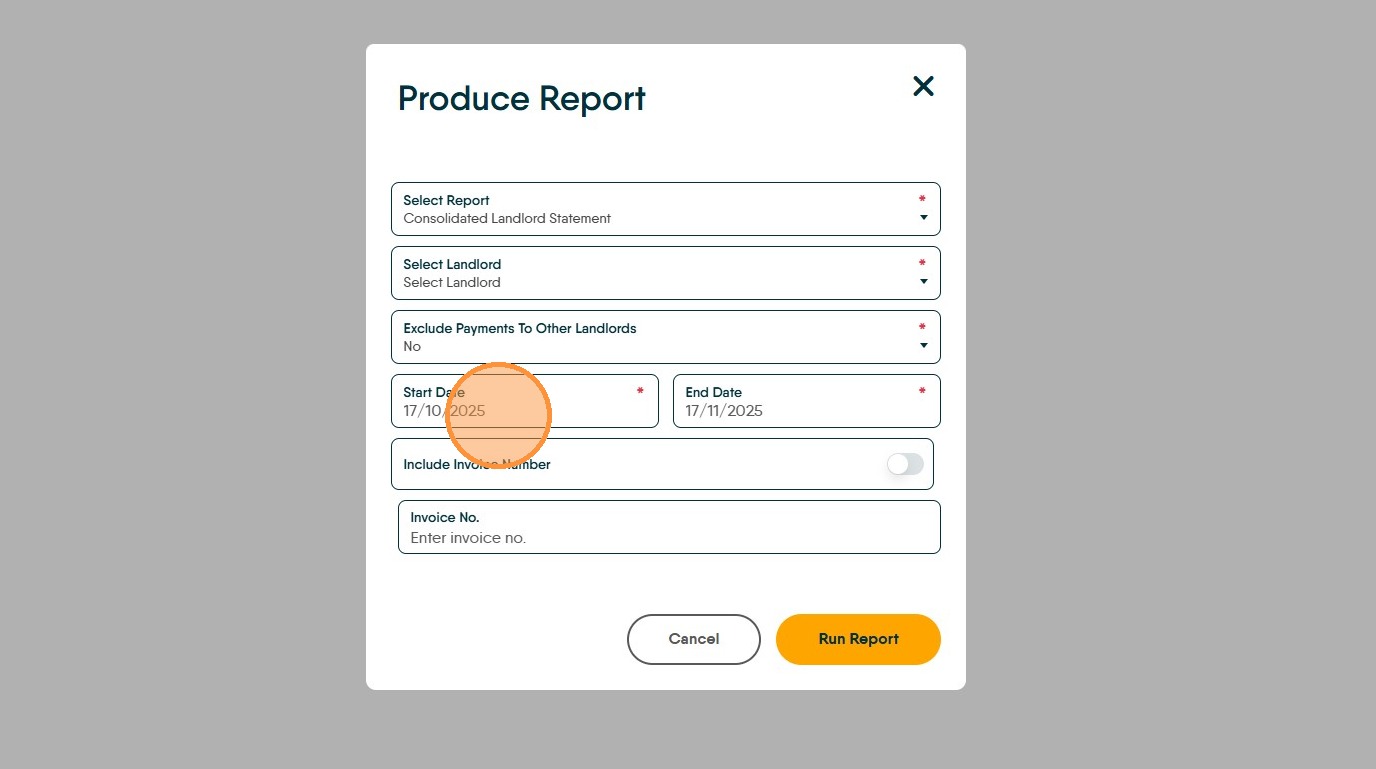
10. Select the "Start Date" for this type of report this will (most likely) be 1st of the month.
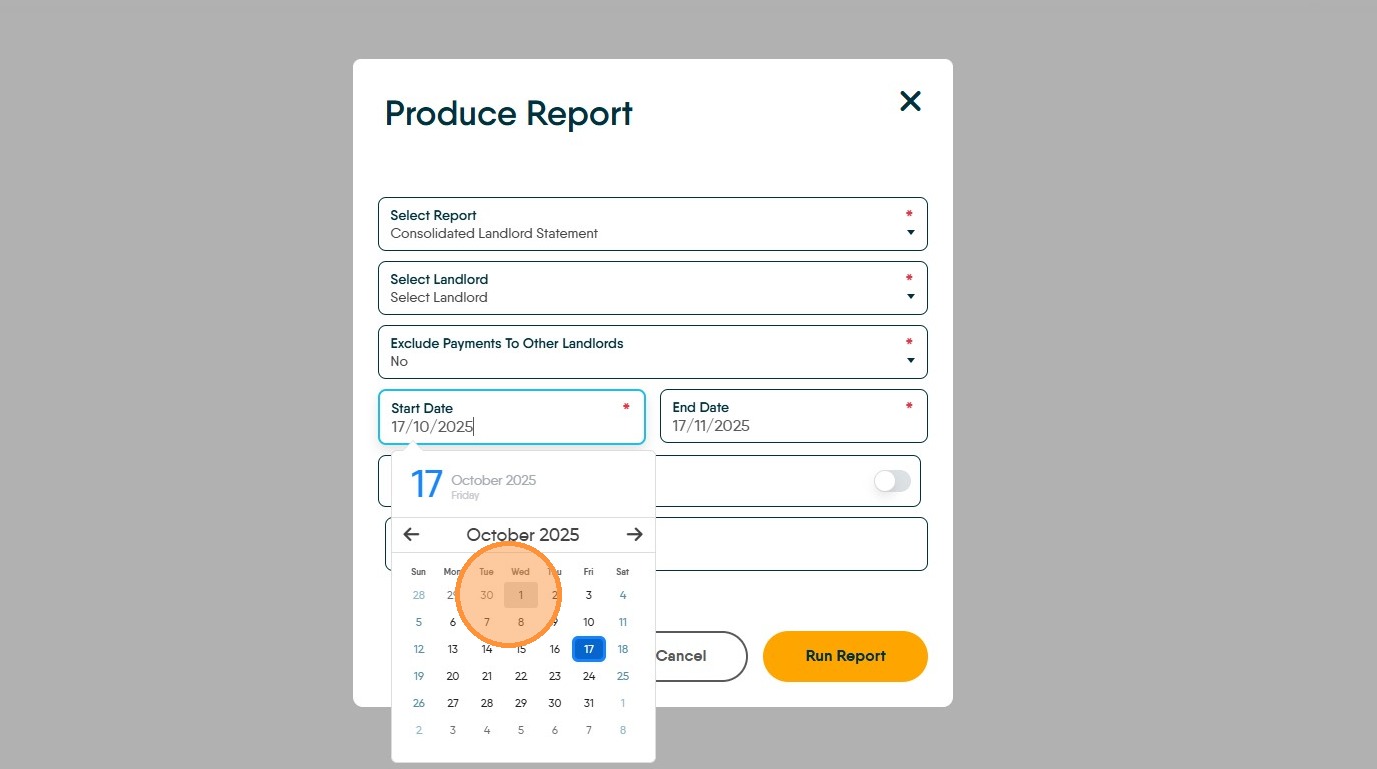
11. Click the "End Date" field.
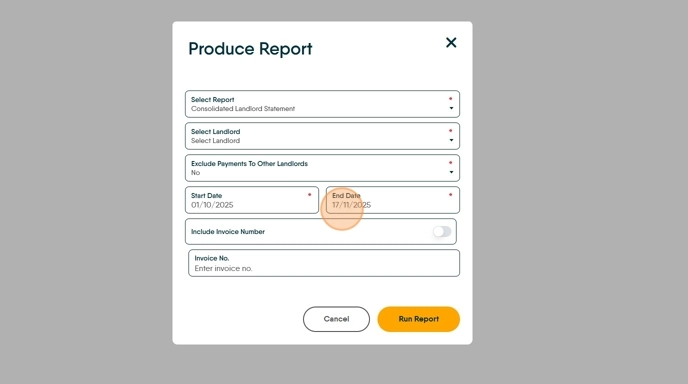
12. Click "Run Report"
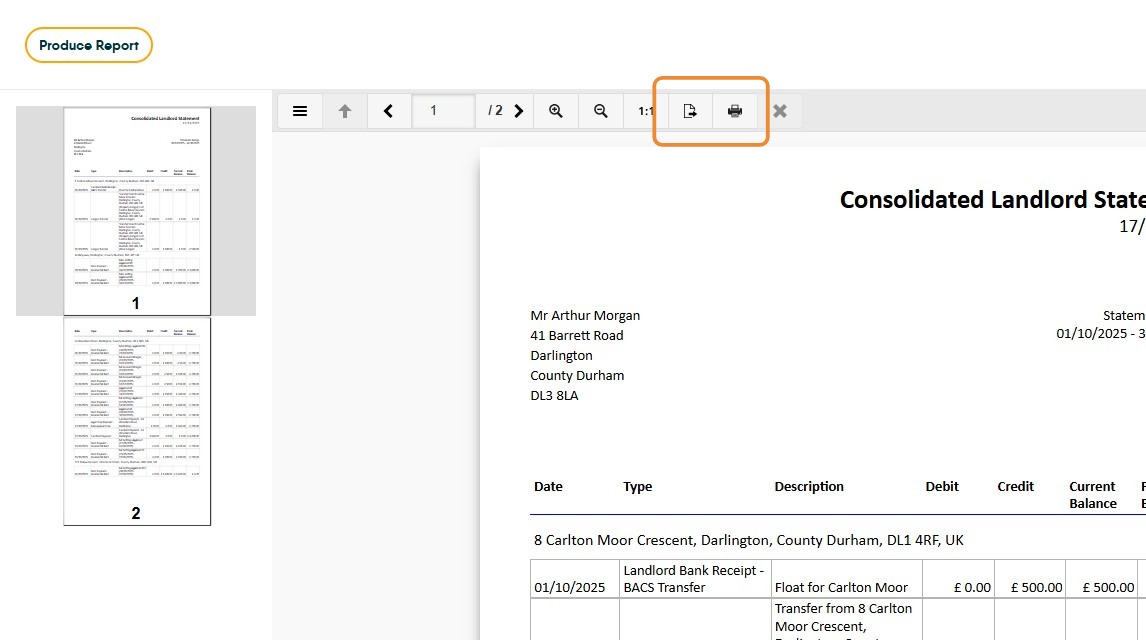
13. Click If you ant to export the report to Email or Print, select 1 of the 2 highlighted icons. Export (left icon) will allow the report to be exported in various formats inc PDF, Word etc. The right icon, allows the document to be Printed
Via Statement Merge
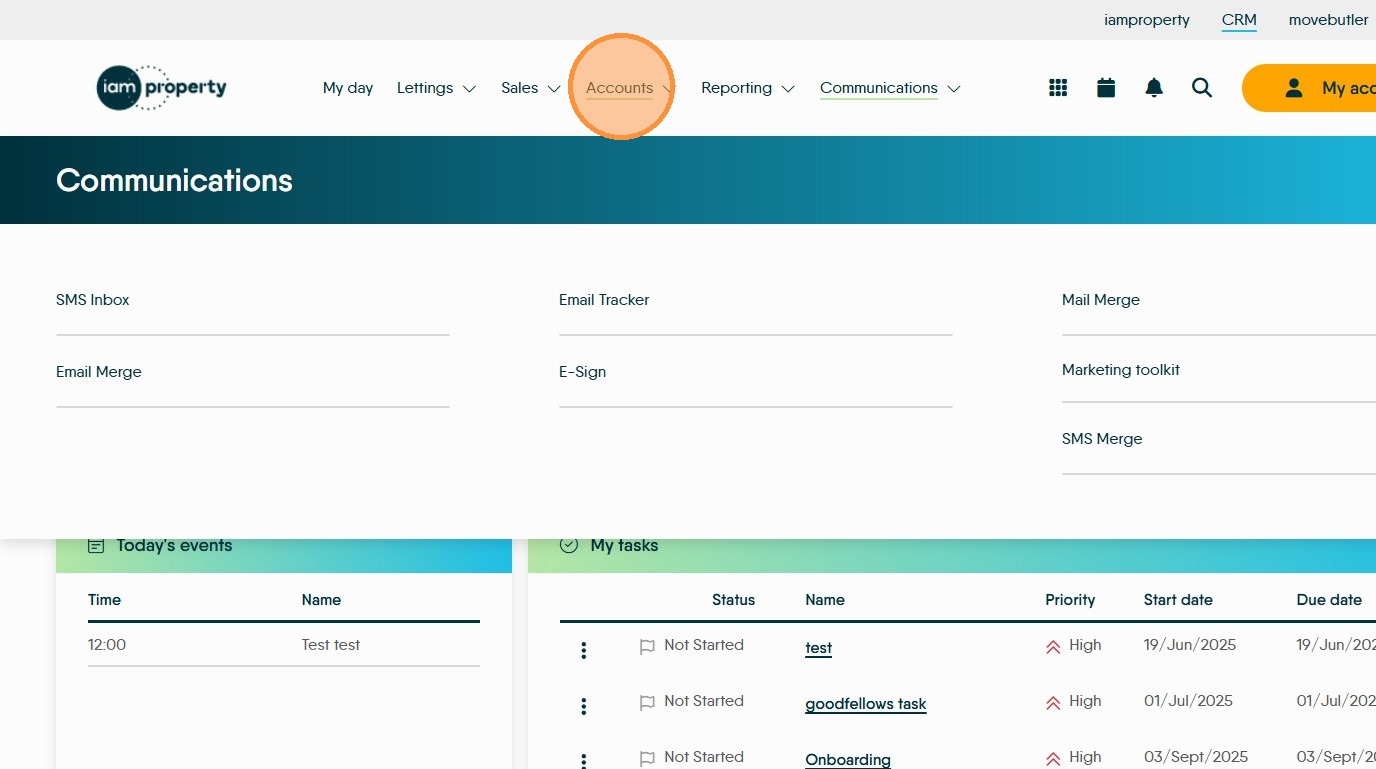
14. Click "Accounts"
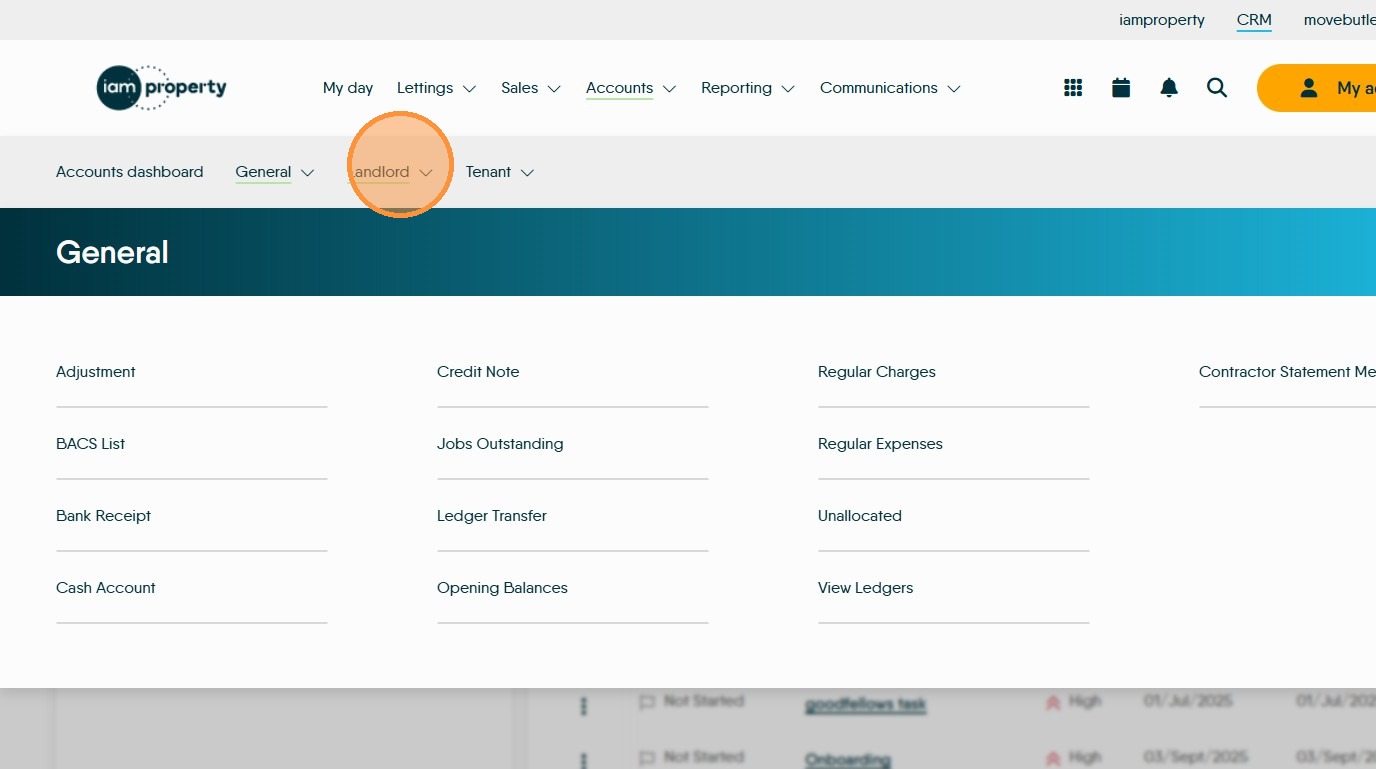
15. Click "Landlord"
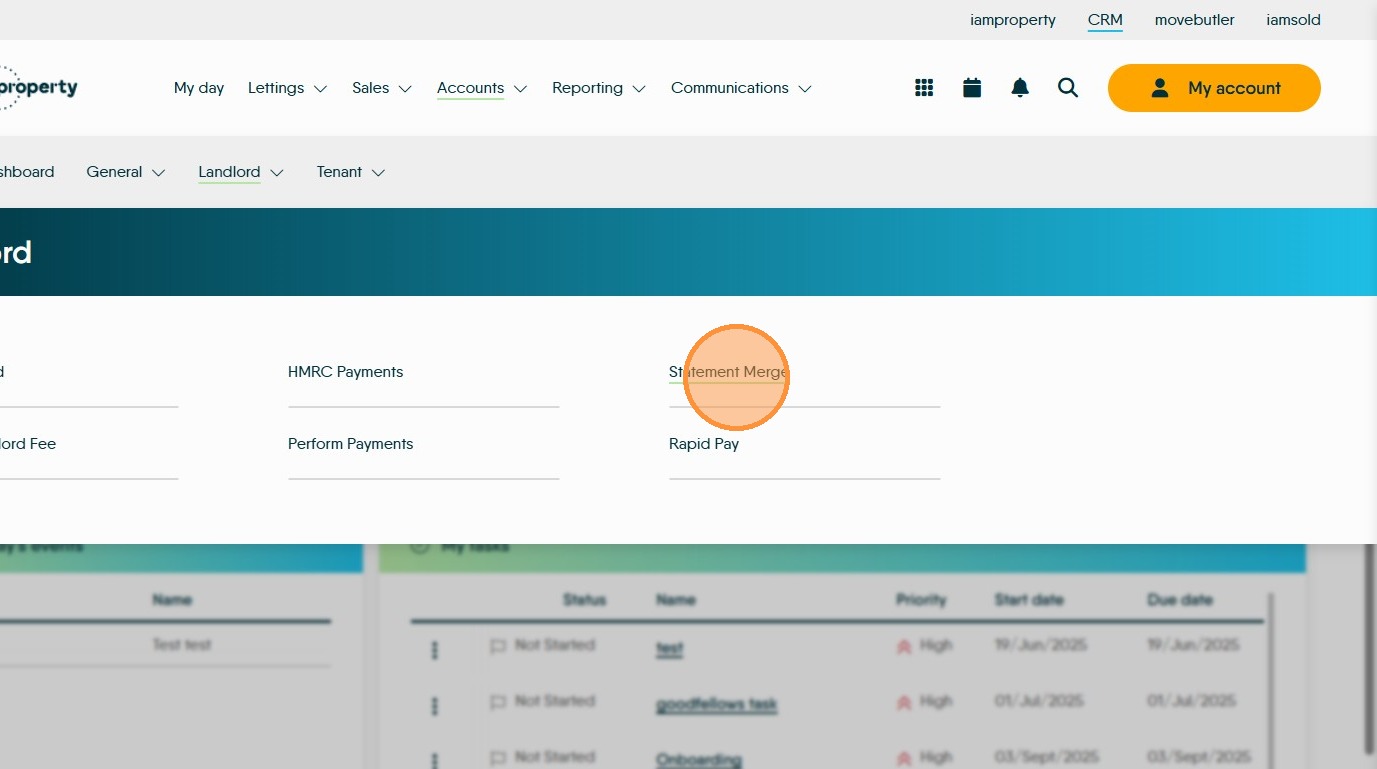
16. Click "Statement Merge". The Statement Merge screen would generally be used after you have paid your landlords via 'Perform Payments' rather than the regular way to send a statement to a landlord.
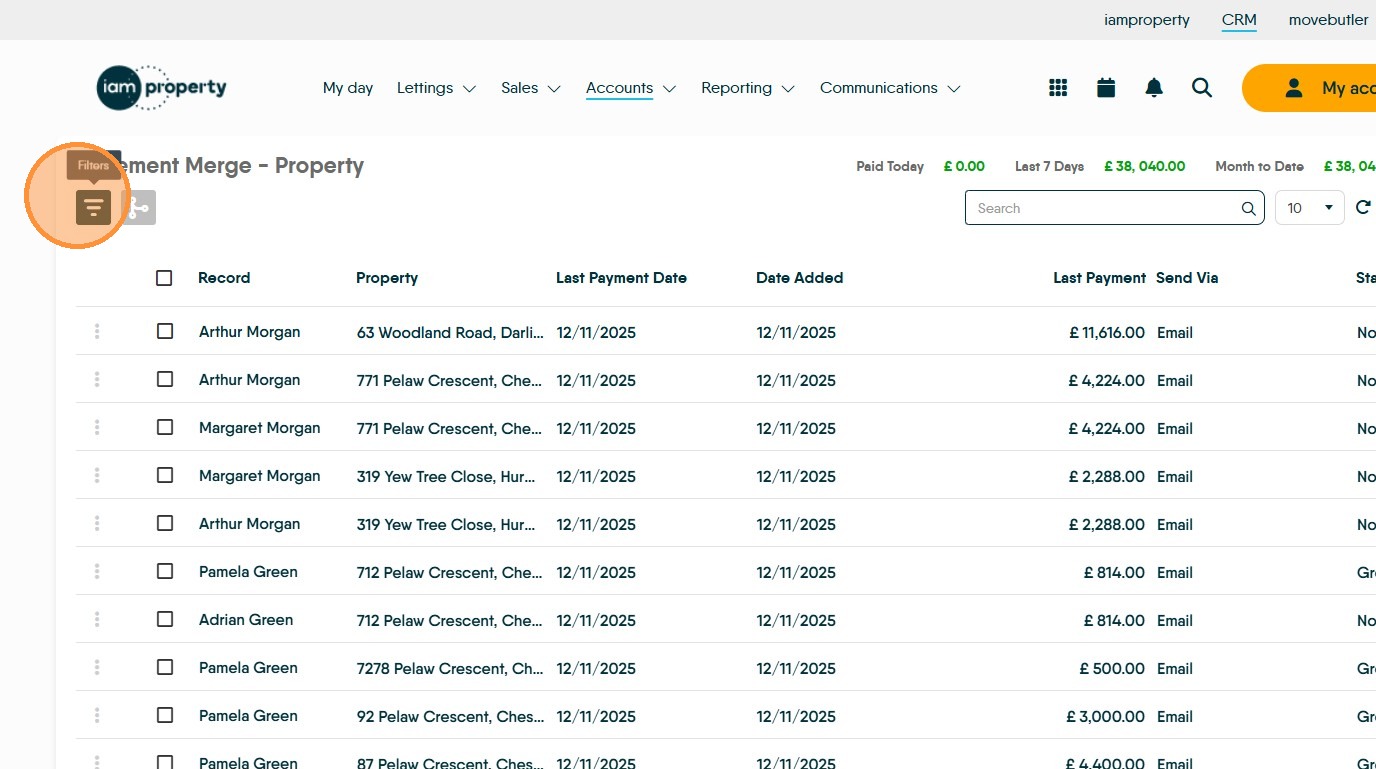
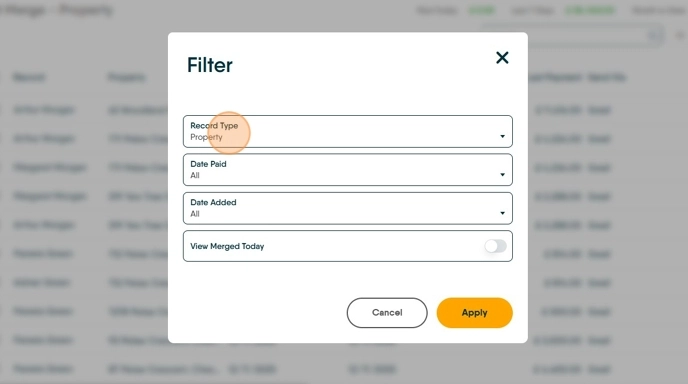
17. The Statement Merge screen can be filtered to just show specific information. Click here.
18. Click "Record Type" from the drop down menu select the option you are filtering by, in this case probably Landlord.
Click "Landlord"
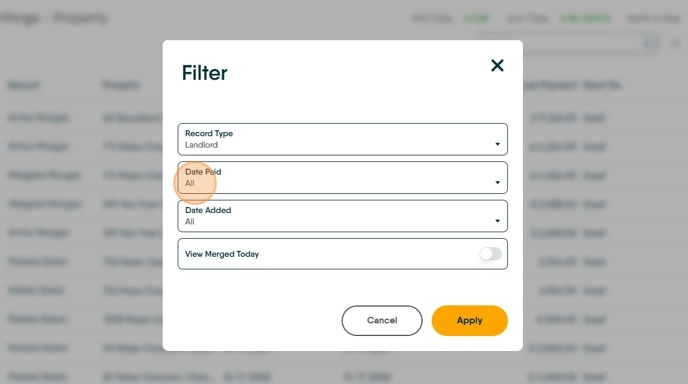
19. Click "Date Paid" to filter records by the last time they where paid. Select from the drop down menu.
Click "All"
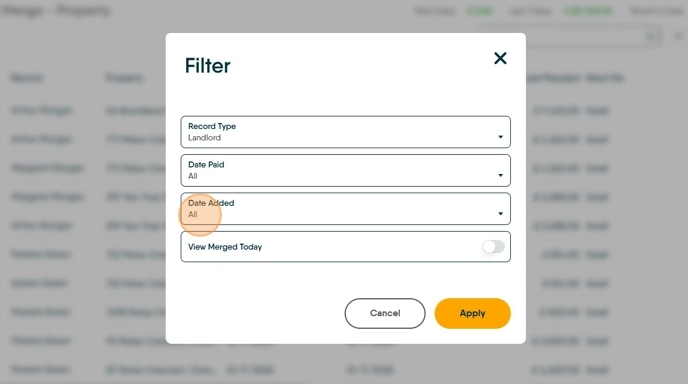
20. Click "Date Added" and select from the drop down menu
Click "All"
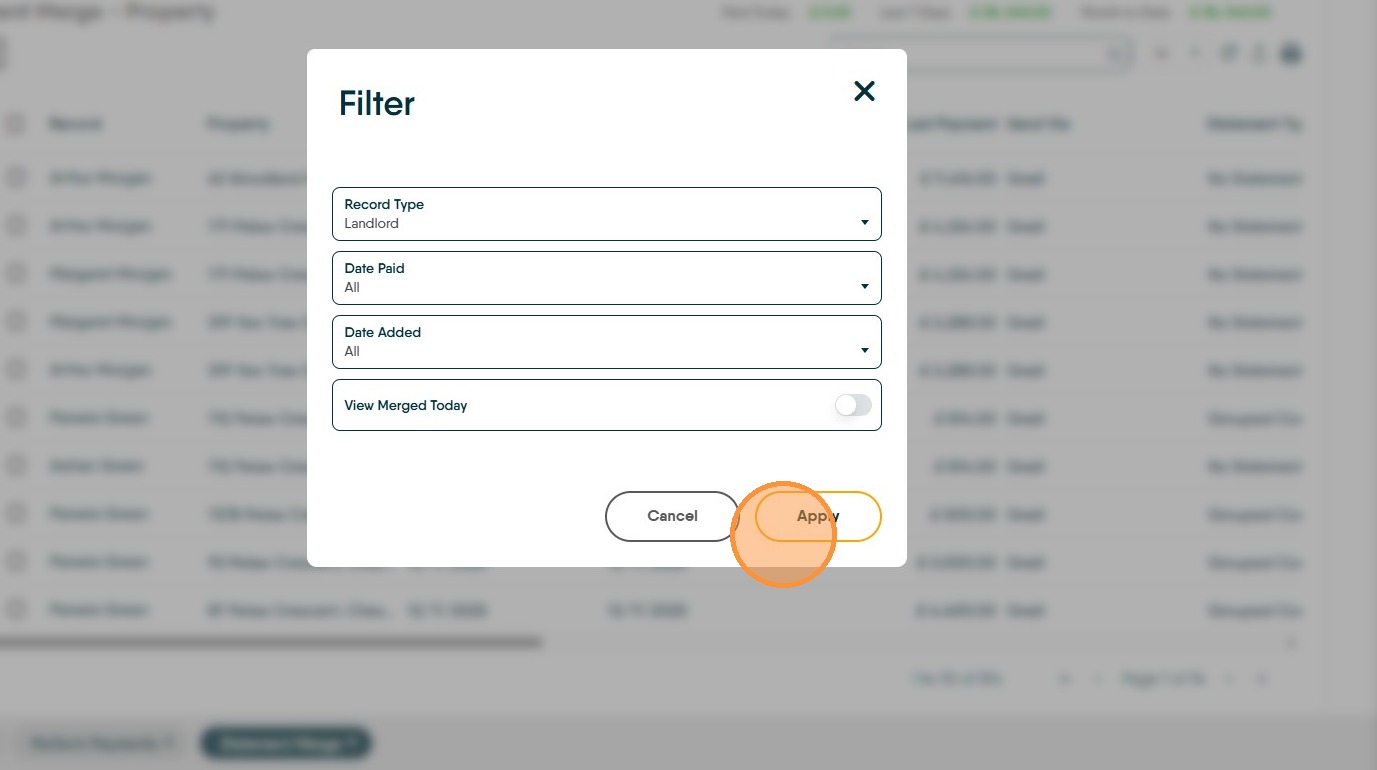
21. Click "Apply"
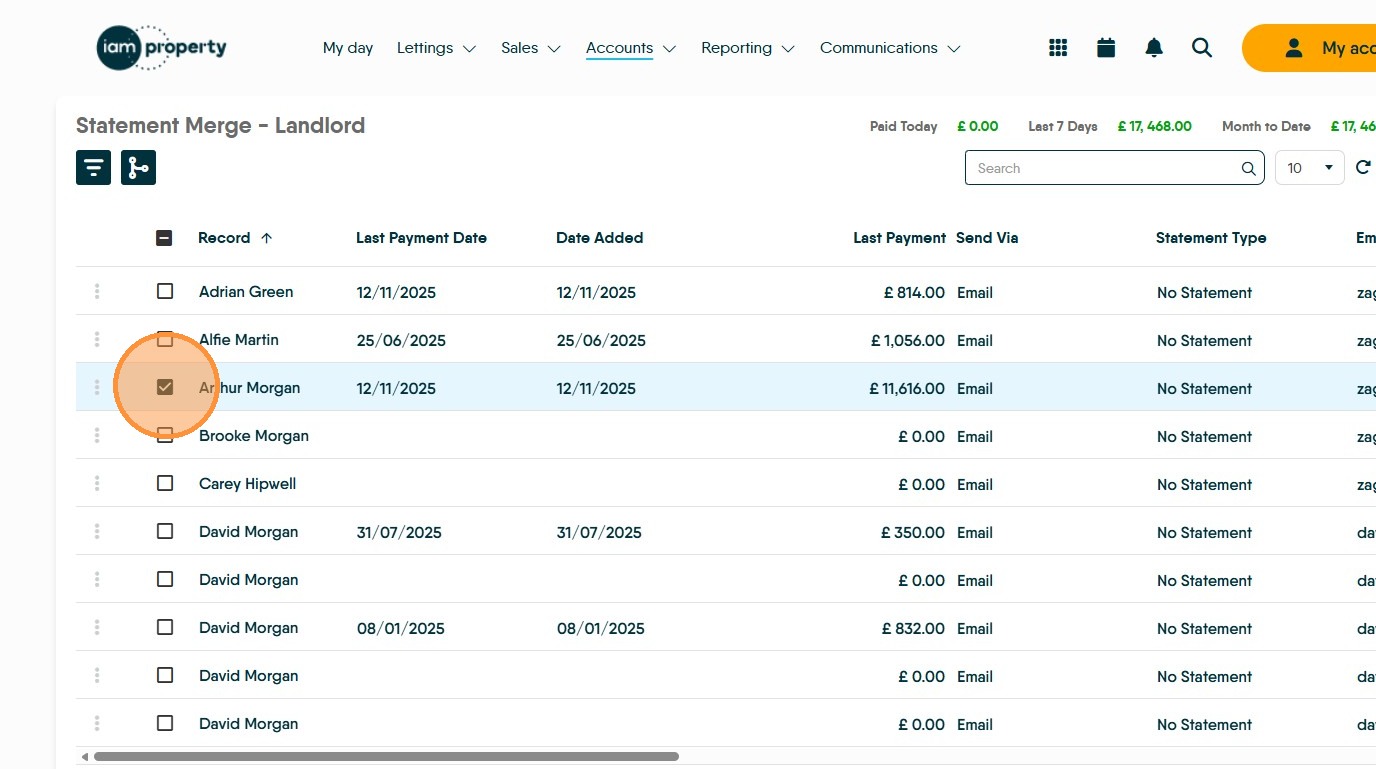
22. In this scenario we selected 'Landlord' as the filter. Select the Landlord you are sending the statement to.
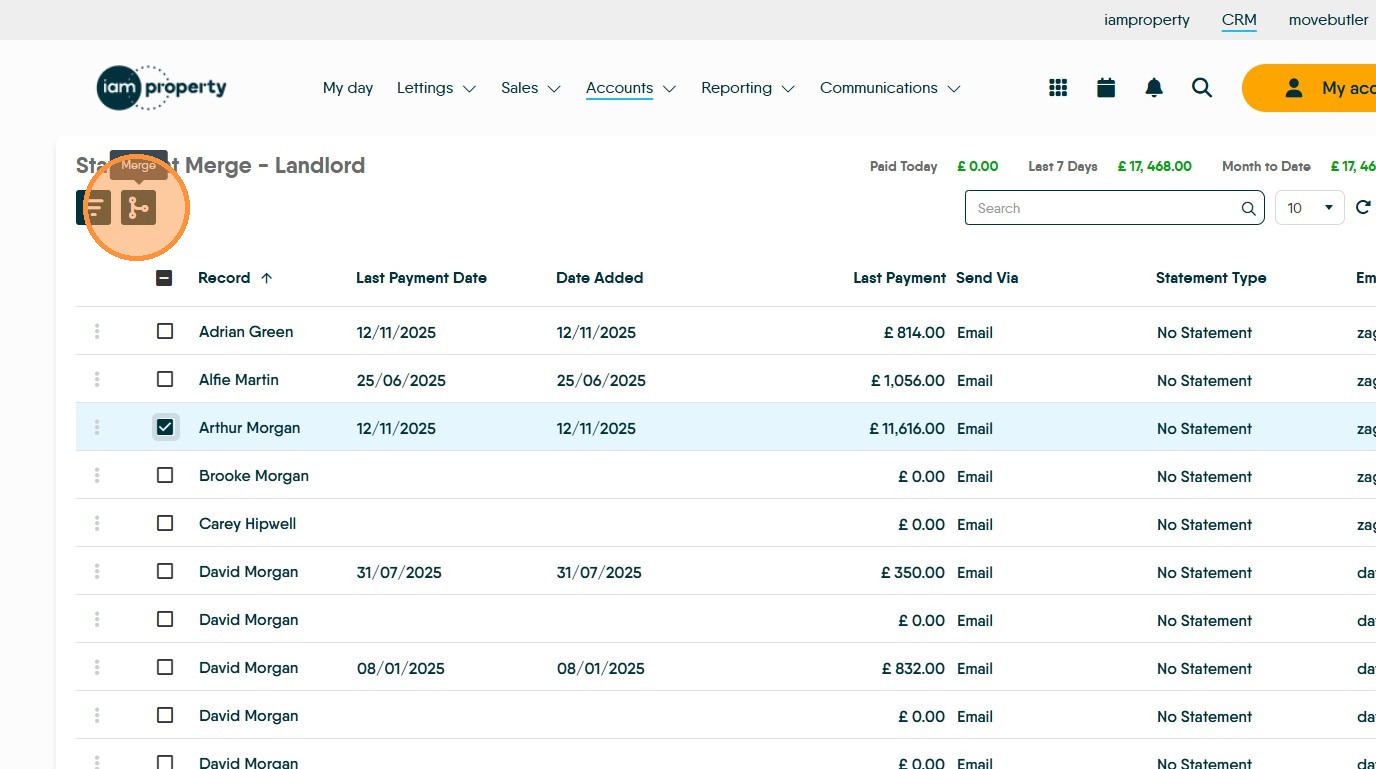
23. Click the "Merge" icon.
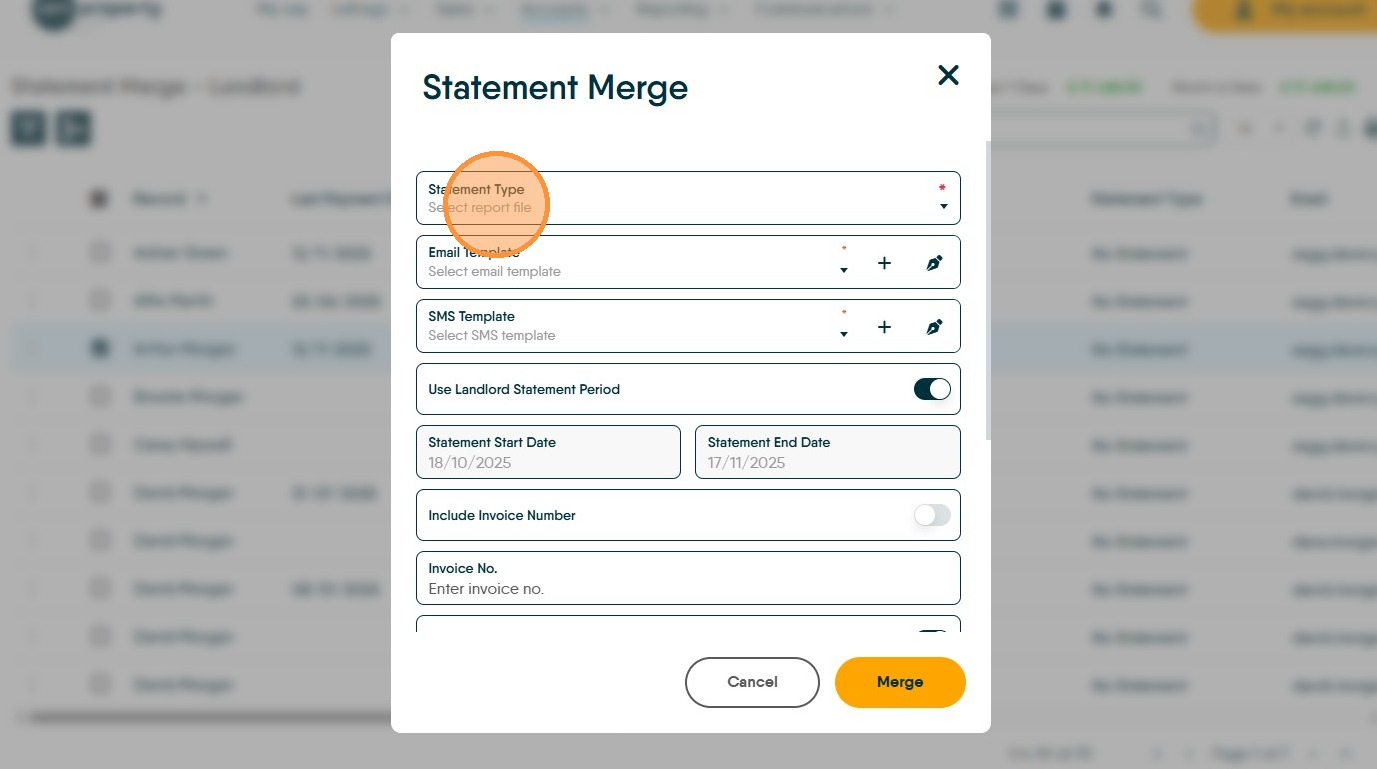
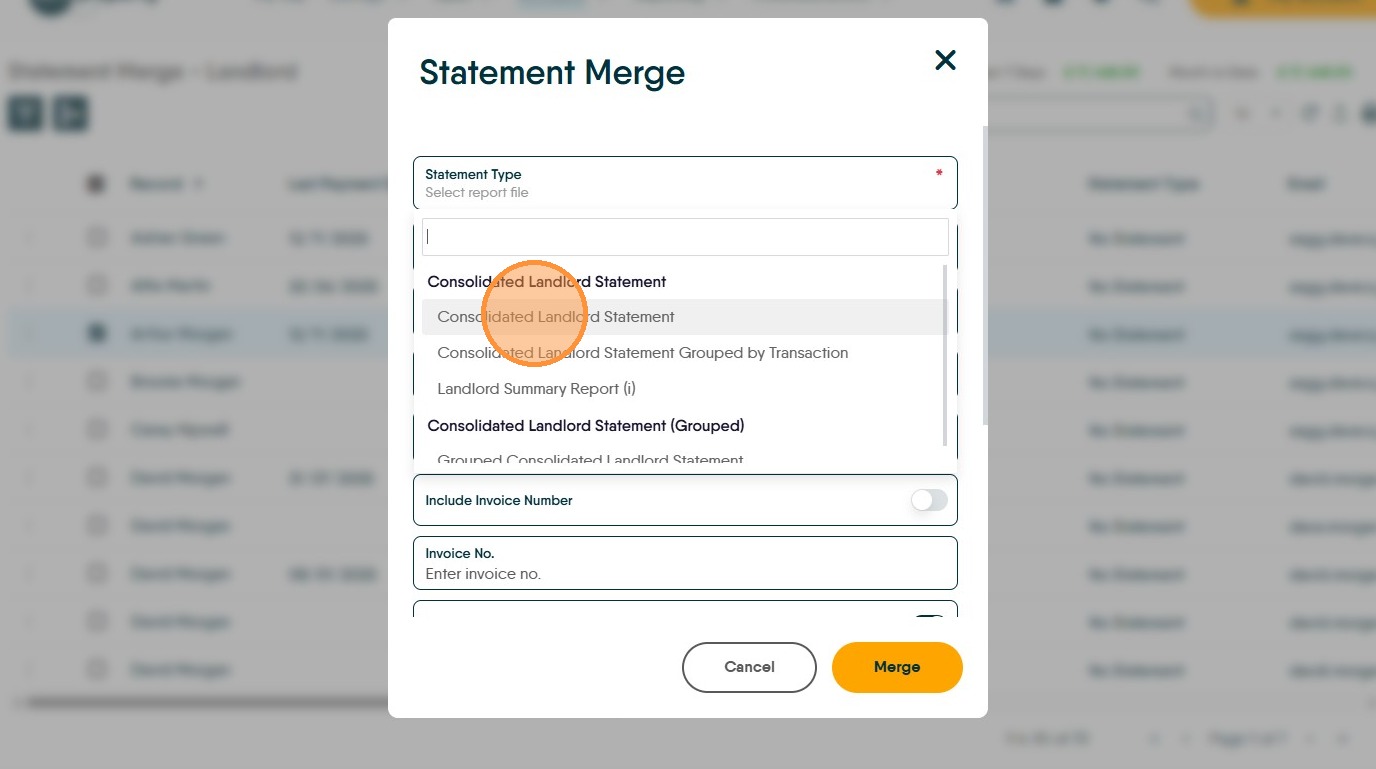
24. Click "Statement Type" and from the drop down menu select the type of statement you are sending to your landlord.
25. Click "Consolidated Landlord Statement"
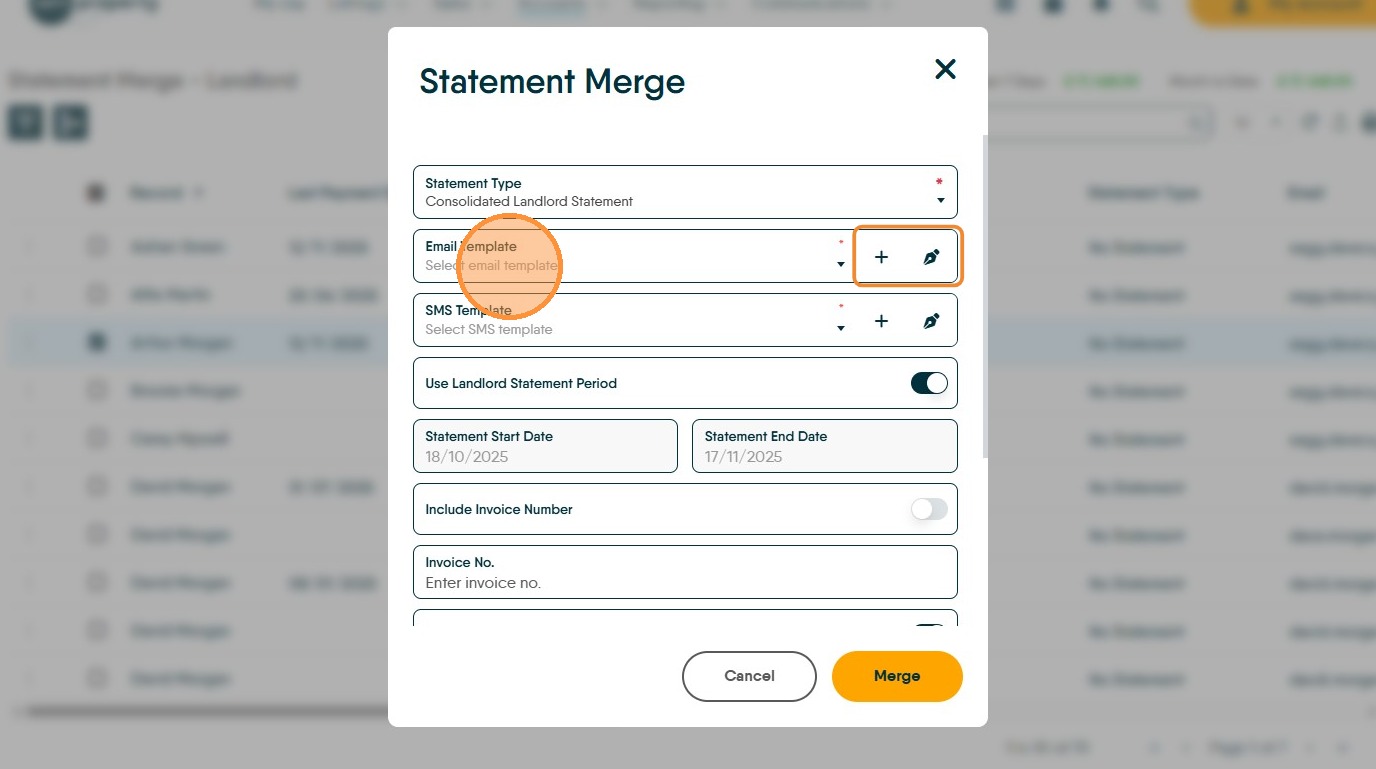
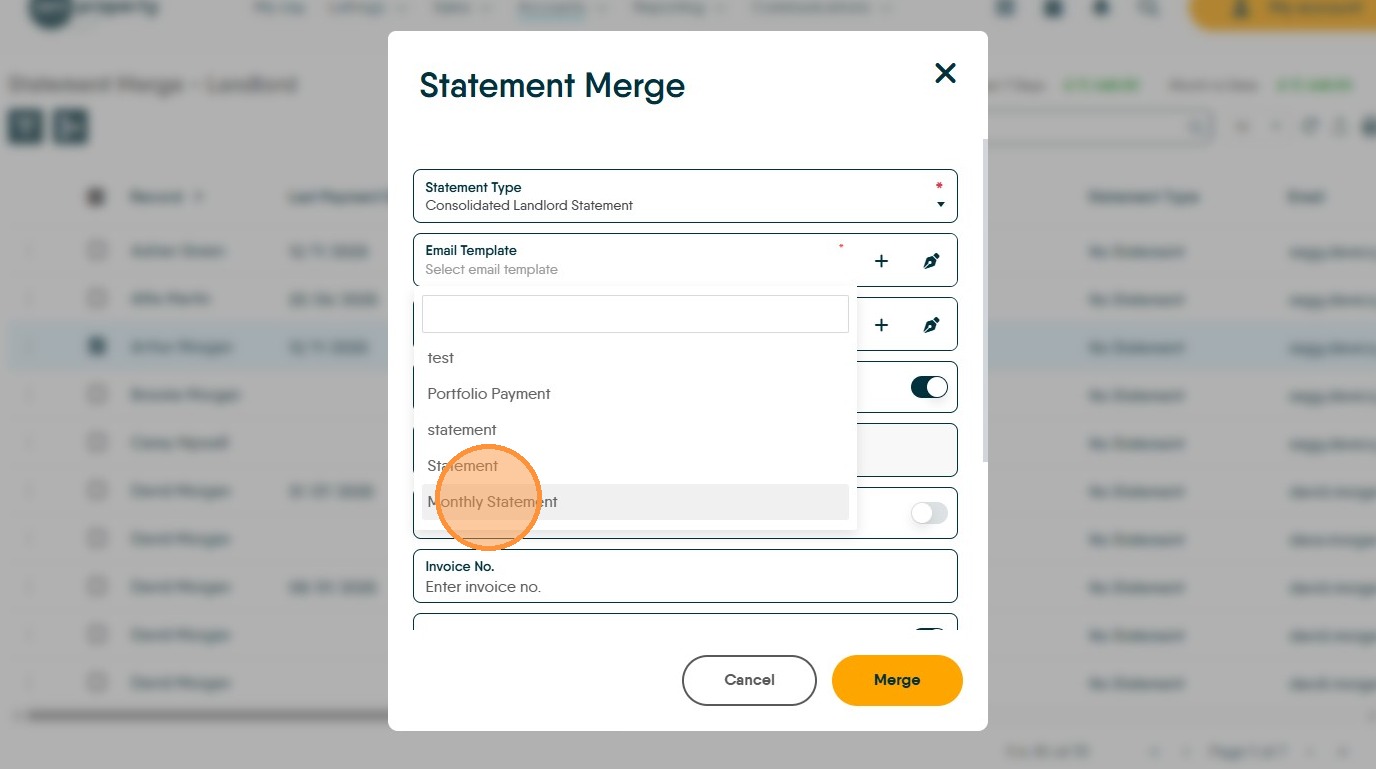
26. Click "Email template" select the email template you have previously created from the drop down list. Otherwise, create your new template by clicking the '+' or edit an existing template by clicking on the 'pen' icon (highlighted.)
27. Click "Monthly Statement"
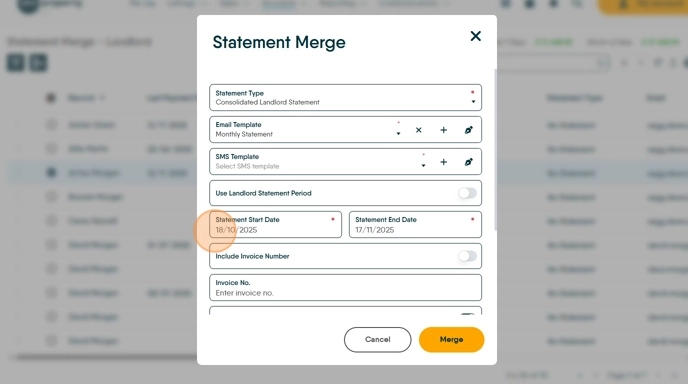
28. Click here and turn off the 'Use Landlord Statement Period' option this allows you to set your own end date.

29. Click the "Statement Start Date" field use the calendar options to select the start date for the statement.
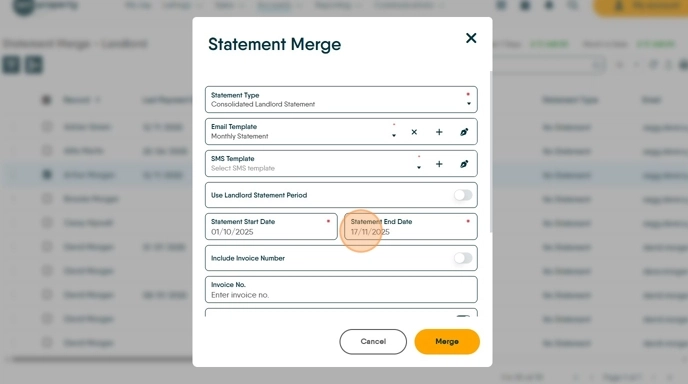
30. Click the "Statement End Date" field and set the end date for the statement you are creating. In this case it will be 30 days.
31. If required, turn off any other options that you have set.
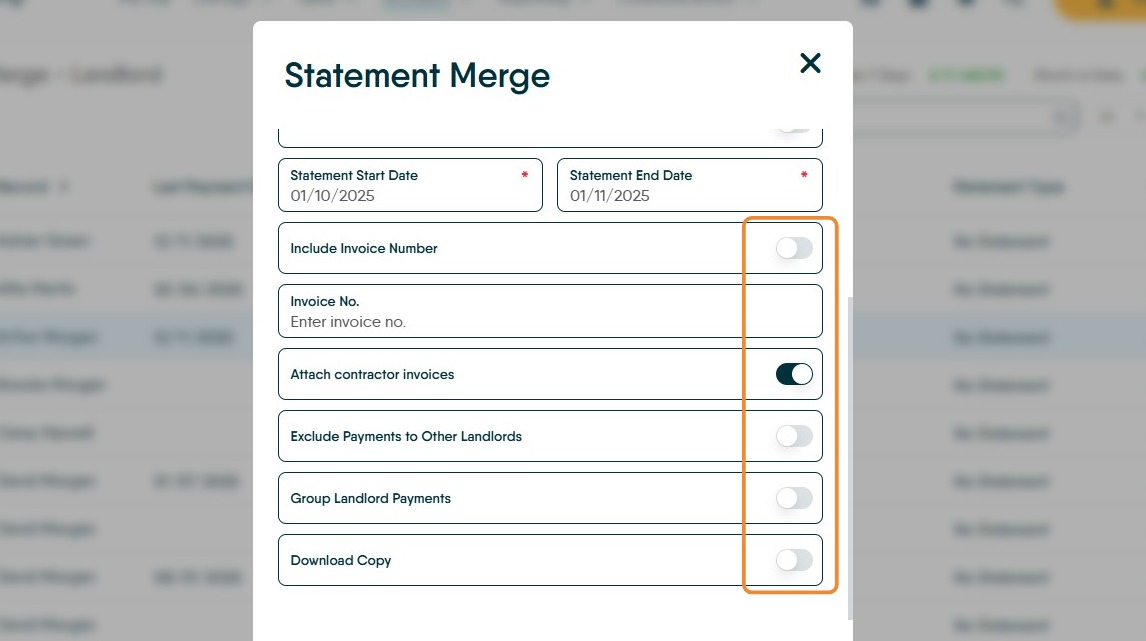
32. Click "Merge"

33. This will send all the selected landlords their Statements based on the date ranges selected.