This guide provides a step-by-step process for adding a sales offer and sending acceptance or rejection emails within iamproperty CRM. This process is the same for Sales and Lettings offers. It's essential for real estate professionals looking to streamline their offer management and communication with clients. By following these instructions, users can efficiently manage offers and maintain clear communication, ensuring a smoother transaction process.
An Offer can be made from either the Applicant or the Property Records, this guide will show both options.
Create an Offer in the Applicant Record
2. Navigate to the Applicant record you are creating the offer for.

3. Click "Offers"

4. Click "Add Offer"

5. Click here and search for the property the offer is being made for.

6. Click the property details from the drop down menu.

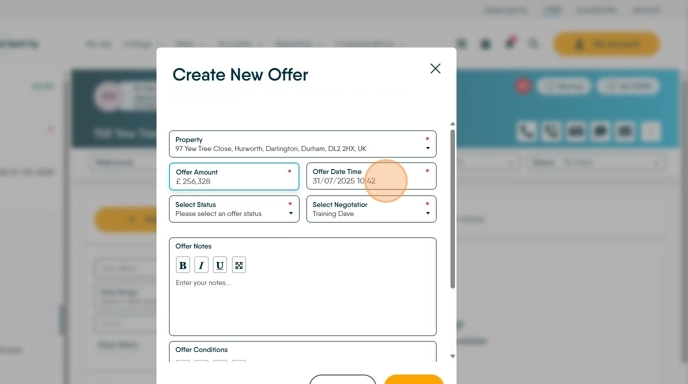
7. Click into 'Offer Amount' and add the amount of the offer being made.

8. Click here and set the Offer Date and Time.
9. Click "Select Status" and set the offer status from the drop down menu options

10. Click here and add any notes about the offer

11. Click here and add any conditions placed on the offer.

12. Click "Save"

13. The offer is now saved and will show in both the Property and the Applicant records
Create an Offer in the Property Record
14. Click "Offers"

15. Click "Add Offer"

16. Click here to search for and find your applicant.

17. Click here to add an additional applicant.
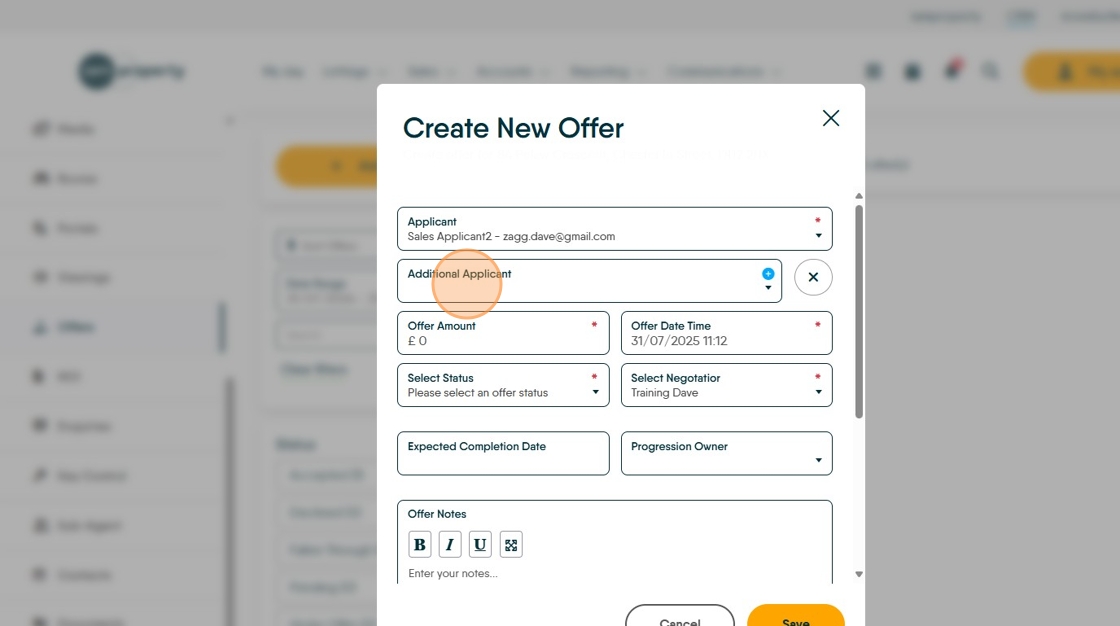
18. Click here and update the offer amount.

19. Click "Please select an offer status"

20. Click here and select the Offer Status e.g. "Under Offer"

21. Check the Negotiator details are correct and if required set the Expected Completion Date and Progression Owner details.

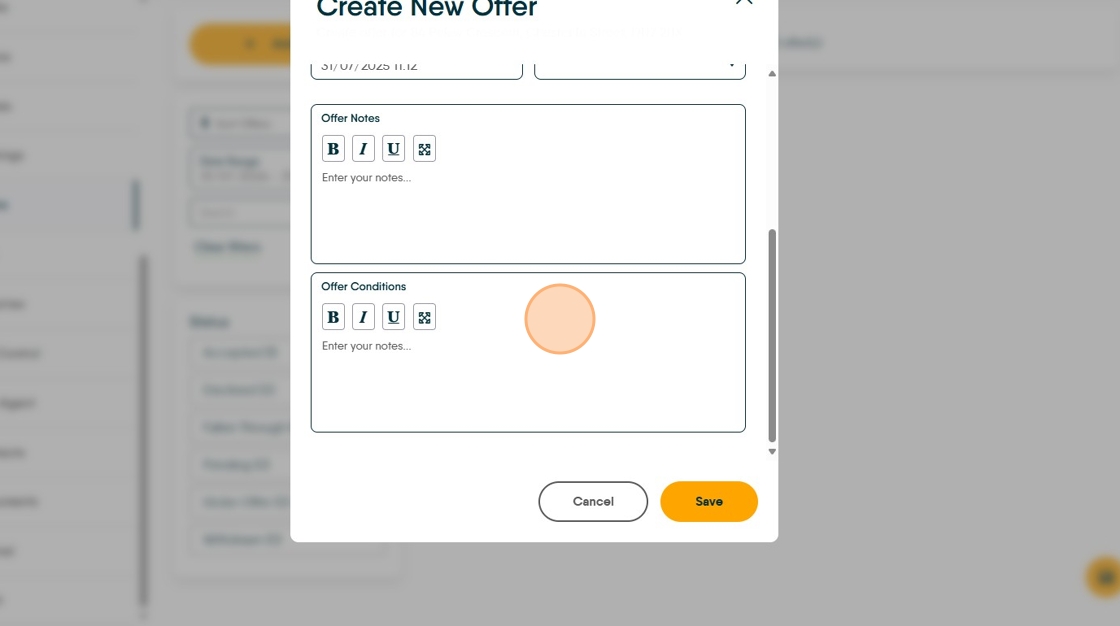
22. Click here to add any offer notes

23. Click here to add any offer conditions.
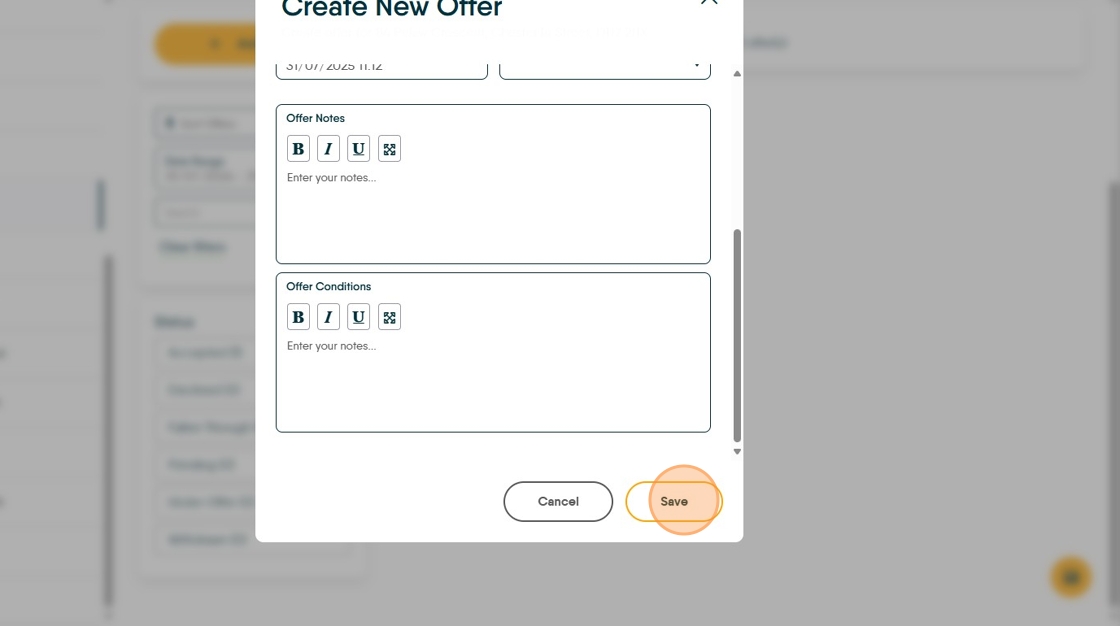
24. Click "Save"
25. The Offer will show in the Property Offers screen as well as the Applicants offer screen.

26. Click here to send notifications of the offer.

27. To Edit the offer, for example to change from Under Offer or Pending to Offer Accepted, click here.

28. Click here and select the Offer Status e.g. "Offer Accepted" update the other fields as necessary.

Sending Offer Notifications
Tip: Tip! This process can be automated by CRM, if you would like this process automated, please speak to your Account Manager.
This process is identical for both offers created in Applicant record and those created in Property records. Also it is the same for both Sales and Lettings property offers.
30. To send the formal offer notification to the Vendor/Applicant etc. Click here.

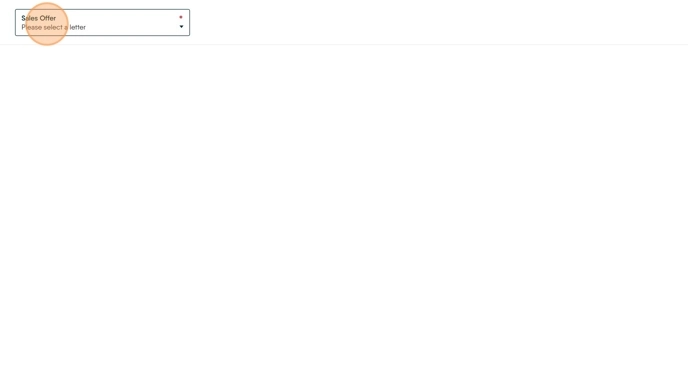
31. Click "Please select a letter" and from the drop down menu select the appropriate letter. in this case click "Sales Offer Acceptance"
32. Click "Generate"

33. On this screen you can check the details of the Vendor and Applicants are correct. Click "Applicants" to check the applicant details.

34. Click "Generate"

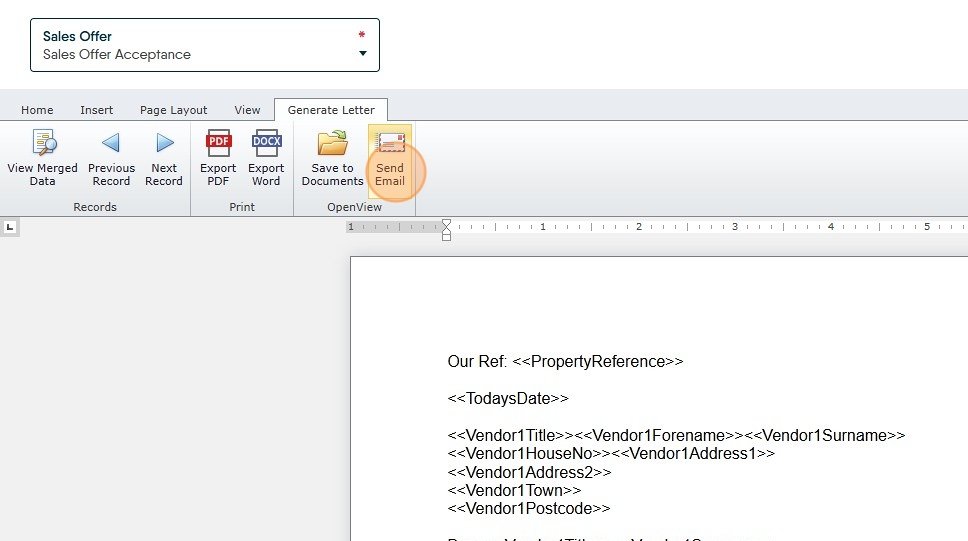
35. The letter will display on the screen. Click "Send Email"
36. Click "Select a Template" from the drop down menu (if your company has these created)

37. In this case we are selecting "Accepted Offer"

38. Click on the contact you are sending the document to

39. Click "Send Email"

40. Click here to close the letter screen.

41. Click here.

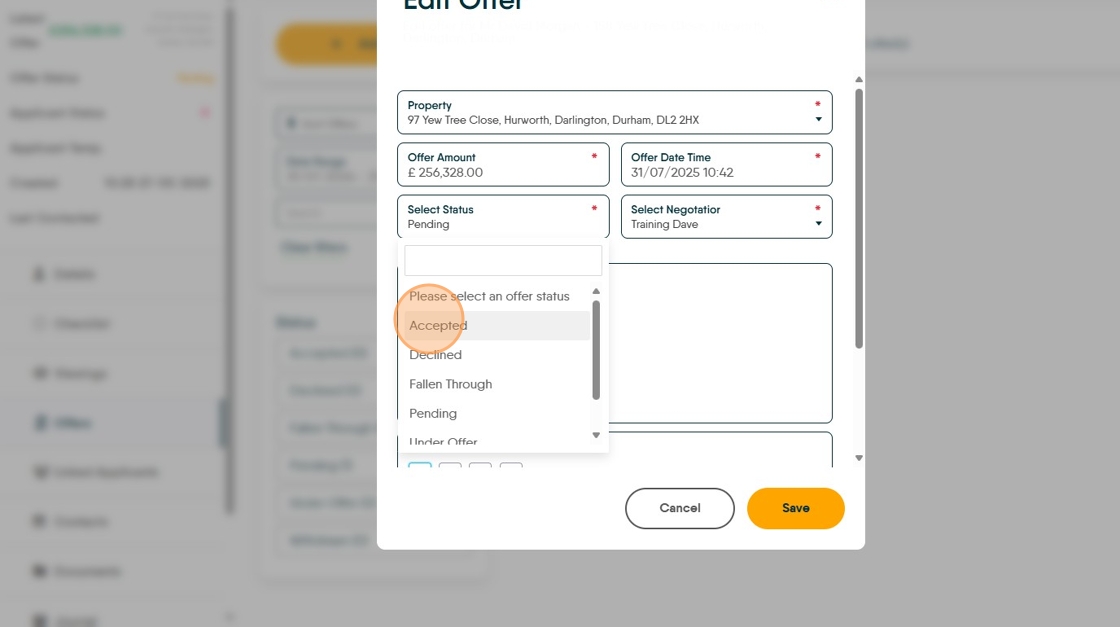
42. Click "Pending"

43. Click "Accepted"
44. Click "Save"
