This guide provides a step-by-step approach to transferring property data within the CRM system between negotiators and branches. It simplifies the process, ensuring that even those with minimal experience can follow along and successfully complete data transfers. By following the outlined steps, users can save time and reduce errors in their property management tasks.
2. Click "Data Transfer"

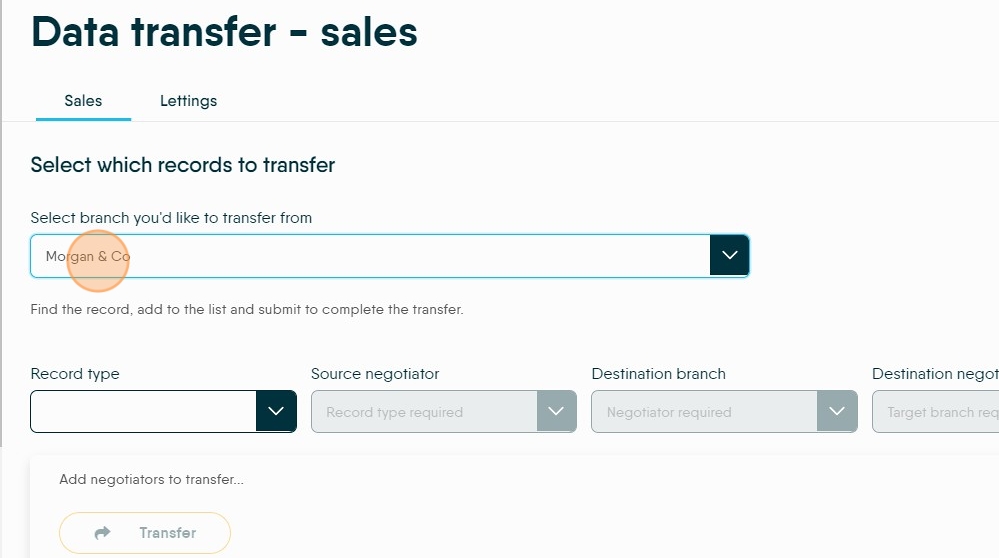
3. Click this dropdown.
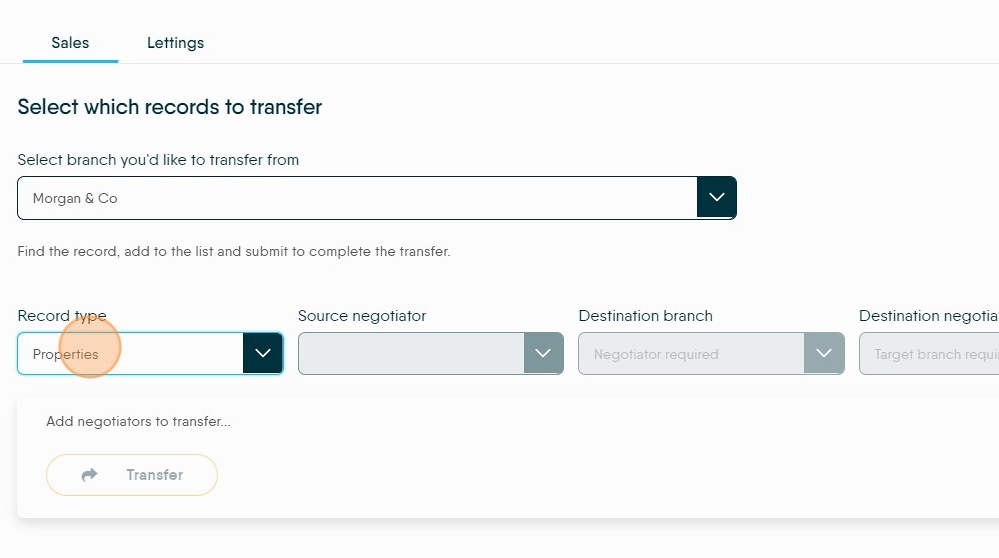
4. Select the "Properties" option.
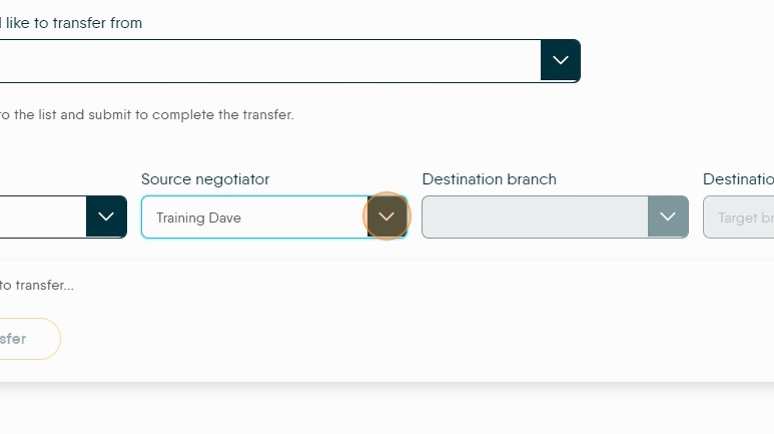
5. Select the Negotiator you are transferring the information from.

6. Select the "Destination Branch" from the drop down.

7. Click this drop down and select the name of the Negotiator you are transferring the data to.

8. Click here.

9. Click "Lettings"

10. Click this drop-down select the branch you are transferring the data from.

11. Click this drop-down and pick the record type you are transferring..

12. For example select the "Properties" option.

13. Select the "Source Negotiator" option.
14. Select the "Destination Branch" option.

15. Click this drop-down and select the destination Negotiator.

16. Click here to add the selection.

17. Click here to transfer the data.
