This guide provides a straightforward process for setting up and testing SMTP, ensuring your email communications are configured correctly.
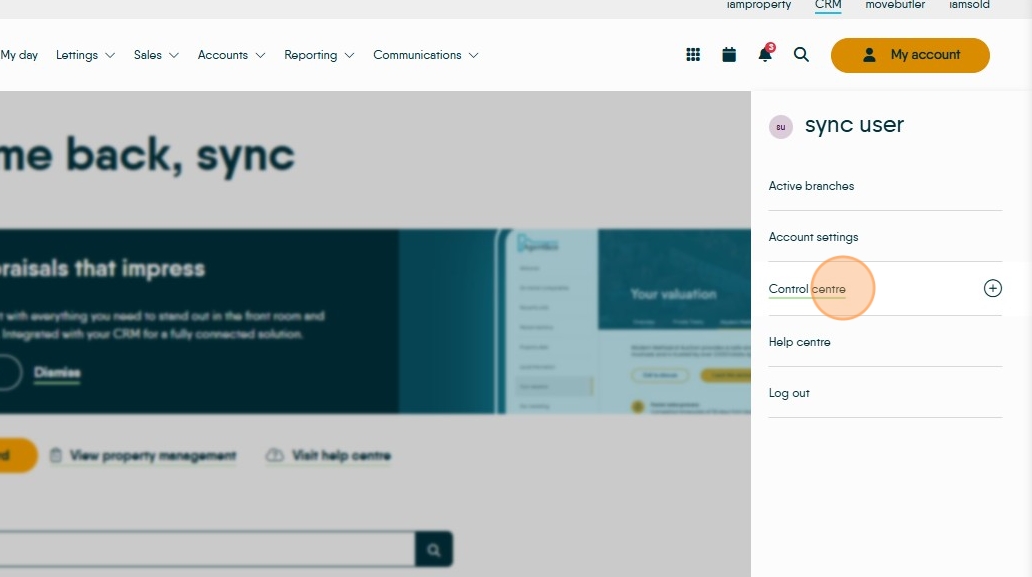
1. Click 'My Account'.

2. Click 'Control Centre'.
3. Click 'Configuration'.

4. On the left-hand menu, click SMTP.

5. Find your account and click Edit Settings.

6. Click the Provider dropdown and select from the list of standard email providers.

7. Here I select Office 365, which then auto-fills the SMTP Host and Port with the correct information.

Tip: If your email provider is not on the list, then the SMTP Host and Port will need entering manually.
8. Enter your email password.

9. If the emails are to be sent from your username, then leave 'Email From' blank.

10. If you use your email address to log in but actually want emails sent to show from a generic team email (lettings@, maintenance@ etc) enter that address in 'Email From'.

11. Once all information is entered, click the switch to make the SMTP account active.
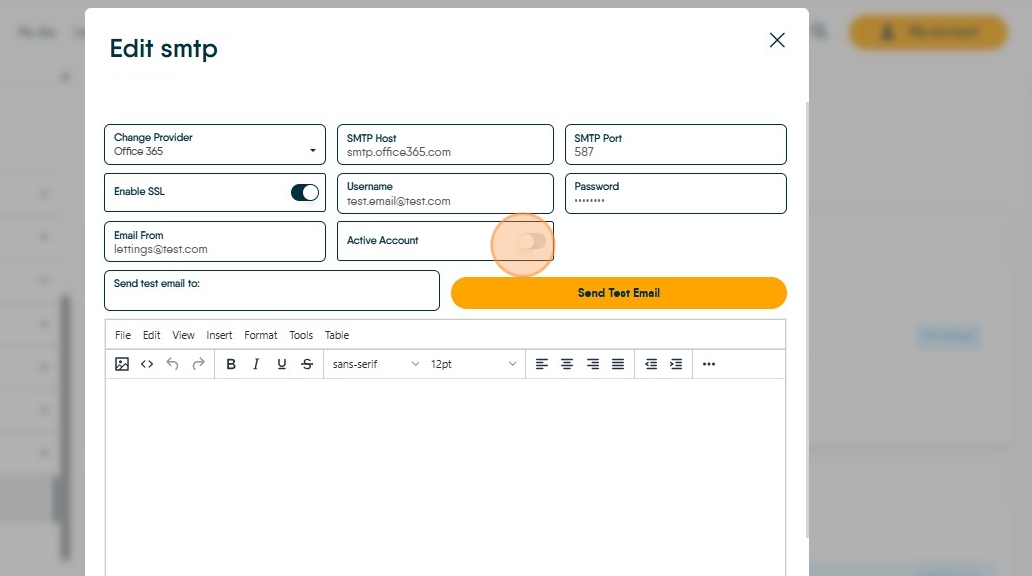
12. To test the settings are correct, enter a colleague's email address in the test email box and click 'Send'. You should see a green 'Success' message in the top-right, and your colleague will receive a blank email shortly after.

13. Click "Save" once confident everything is working.

Alert: These steps will only work if you have a standard email setup. If you had advanced email security through two-factor authentication or an SMTP relay, then we will need different information, like a third party app password, or relay information.
Please speak to your IT as they should have all the additional information needed.