1. Login to your TextAnywhere account

2. From the side menu, click "Sender Setting"

3. Click "Add sender"

4. In the "Sender" field, enter either:
- Your purchased Inbound Number
- Or if you do not wish to receive responses, your desired Sender ID (11 characters max)

5. Enter your Agency details in the "Contact" and "Business" fields

6. You will need to complete a "Customer" form.
Click "Customer" to download the form.

7. On the form, complete the fields indicated in square brackets.
If you are setting up multiple Sender IDs (SIDs), you can include multiple on one form.

8. Upload your completed form on the "Add Sender" page

9. Agree to the Terms & Conditions

10. Click "Send"

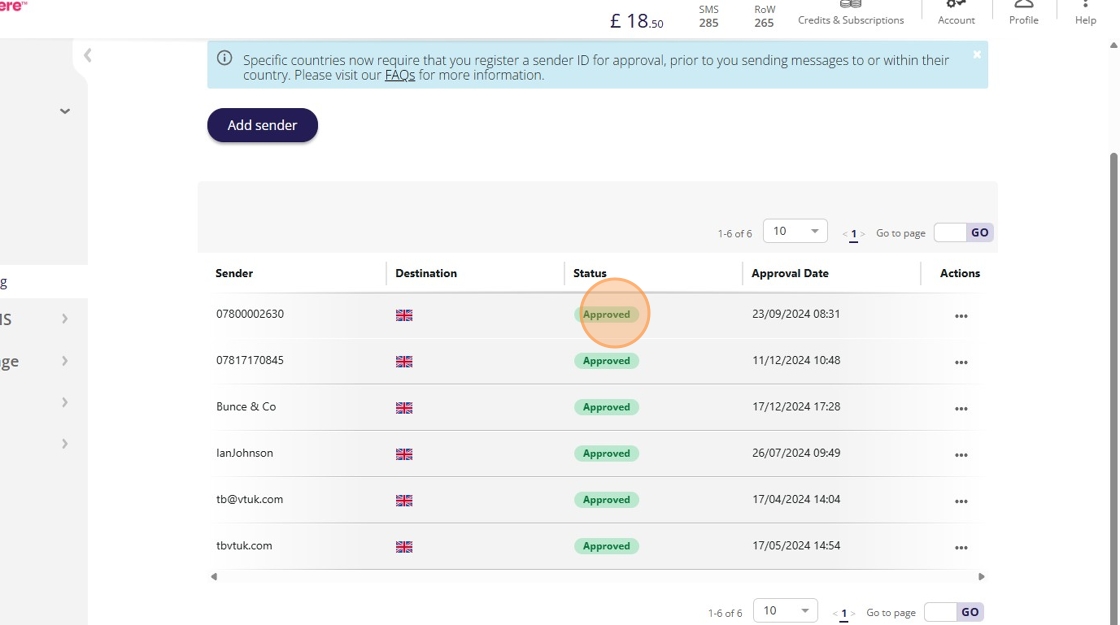
11. Your sender ID status will update to "Approved" within a few days.
Made with Scribe