This guide provides a step-by-step process for adding a multi-property viewing to your calendar in the CRM system, ensuring efficient scheduling . By following the instructions, users can seamlessly manage multiple property viewings in one place, enhancing organisation and productivity. It simplifies the booking process, making it easier for agents to coordinate with clients and streamline their sales or Lettings workflow.
1. Navigate to https://crm.iamproperty.com/MyDay
2. Click "Calendar"

Tip: Tip! There are 2 places/ways to add a viewing to a Calendar, this guide will show both.
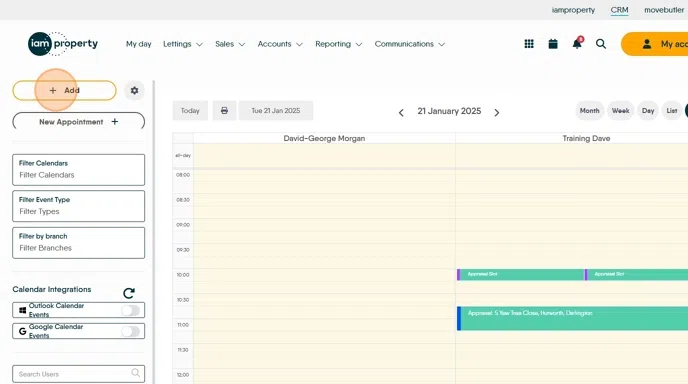
3. To create an appointment you can click "+ Add" and then click on the appropriate option. Depending on whether you are creating a new sales or lettings viewing.
OR
Right-click on the calendar screen, usually on the time and date you are planning the visit. Click "Sales" or "Lettings". Click "Add Viewing"
Tip: From here the process is the same regardless of how you arrived at this 'Add New Viewing' page.
4. Click here to enable the ability to add multiple properties.

5. Click this text field and give the Viewing a more detailed title.

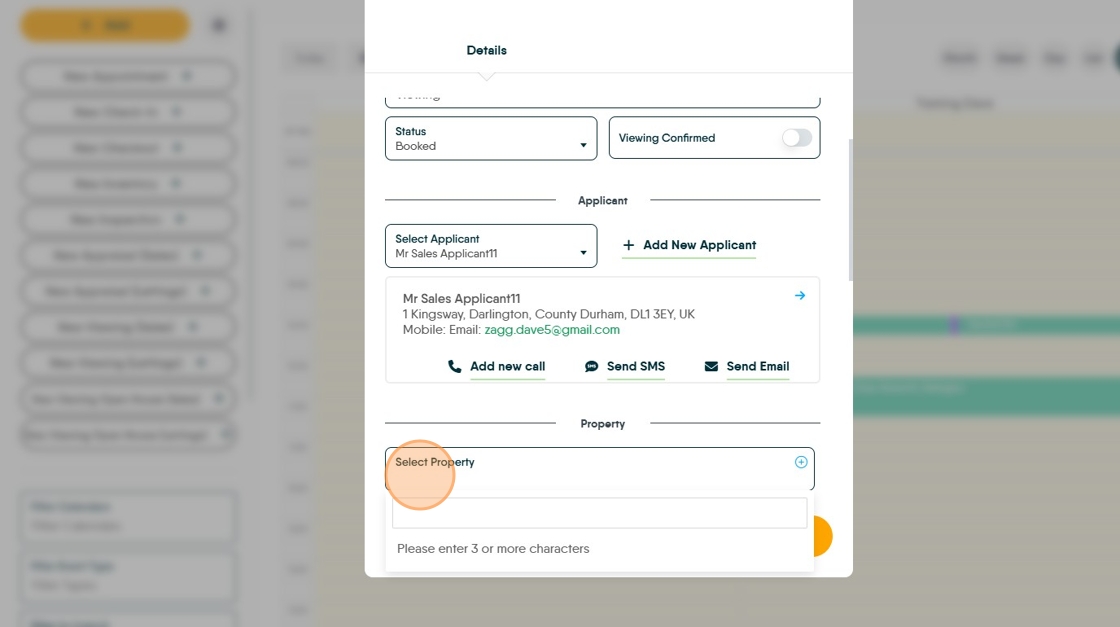
6. Click "Booked" or any other option (as appropriate) you have in this list.

7. If the viewing dates and times are confirmed click here. Otherwise select this option once all the appointments are confirmed.

8. Click here and add your applicant details, either search for an existing Applicant or use the option to add a new applicant.

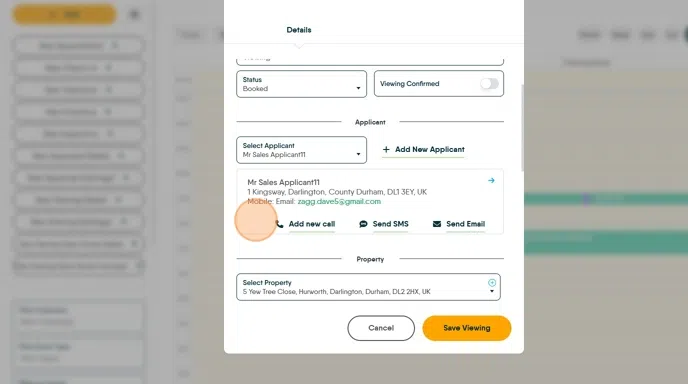
9. Click here to select the property to be viewed, or click the blue + to add a new property
10. Once the property is added click "Add"
11. Then repeat to add the next property and set the time for that next appointment

12. Click the "Select Time" field.

13. Click "Add"

Alert: If you are booking multiple appointments for the same day, make sure you extend the end time of the appointment to the expected end time of the day, otherwise you will not be able to add appointments once the end time is reached. E.G. if the day is planned for 10:00 - 15:00 you will not be able to add an appointment past 15:00 without changing the end time for the appointment.
14. continue adding properties until completed. If you have added the incorrect timing or not allowed for travel, click on the 'pencil' icon to the right to edit the appointment.

15. Click here to edit the time. Click Apply to set the time.

16. Click "Add"

17. Click this text field to extend the appointment time if required.

18. Once all the visits are set and timings corrected (if required) Click this search field and select the calendar you are adding the appointments to

19. Click to set a reminder for yourself (if required)

20. Click and select the users performing the viewing.

21. Check the Branch is correct, if the appointment is accompanied select that option and note where you are meeting the client. e.g. Click "Estate agents"

22. Click "Save Viewing" and the viewing will be added to the Calendar. The viewing will also show in the Property and the Applicant screens within the CRM.
