This guide provides a step-by-step process for efficiently referencing an applicant using the Vision+ platform, ensuring that all necessary checks and documentation are completed correctly. It simplifies the referencing procedure by outlining each action needed, making it accessible even for those who may not be familiar with the system. By following this guide, users can ensure a smooth application process, reducing potential errors and streamlining communication with applicants and guarantors.
Alert: Alert! In this guide we are using a demo setup. You will have a different set of product options in 'Select product type' and 'Select reference type'
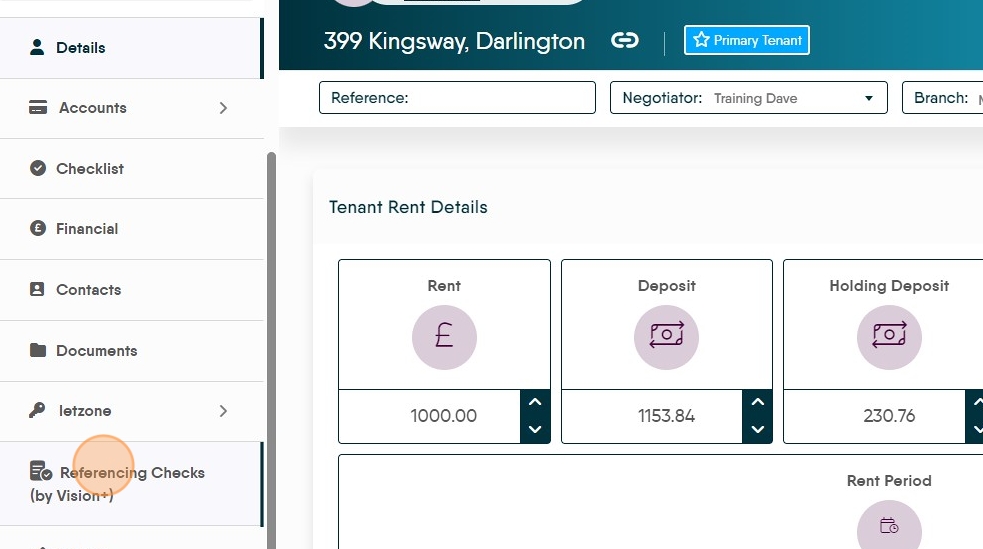
1. Navigate to https://crm.iamproperty.com/ then navigate to the Tenant you are referencing. Vision+ is also accessible via Letzone
2. Lettings Tenant Record. In the left menu, Click "Referencing Checks (by Vision+)"
3. Click "Add New Request"

4. Click the product type you want to use.
N.B. On screen options will vary depending on your company choices.

Alert: Alert! Some product types and reference types are not compatible, for example 'Express Reference' cannot be used with an 'Ultimate...' product type. For more information speak with Vision+.
5. Click the Reference type you want to use.
N.B. On screen options will vary depending on your company choices.

6. Click "Next" to move on or click '+Add Another Tenant/Applicant' this is pulled in from the record that you are accessing the Vision+ service from.

7. If you need to add an additional tenant Click "Add Another Tenant / Applicant"
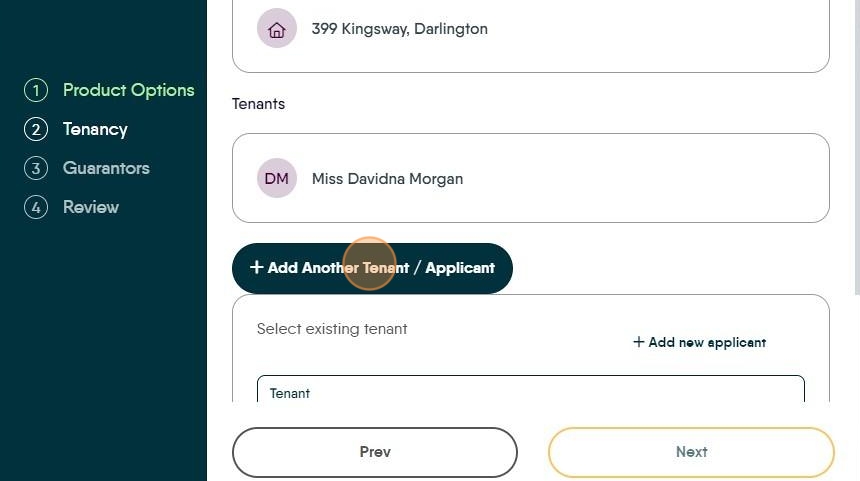
8. Either Click "Select tenant" and search for an existing record or select '+Add New Applicant'

9. Click "Add Tenant To Request"
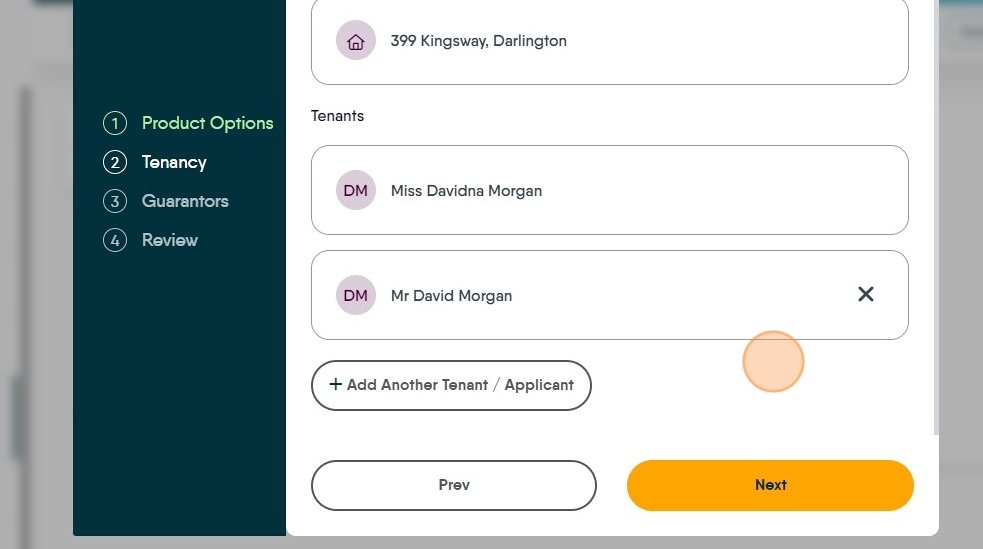
10. Either keep adding new entries or, click "Next".

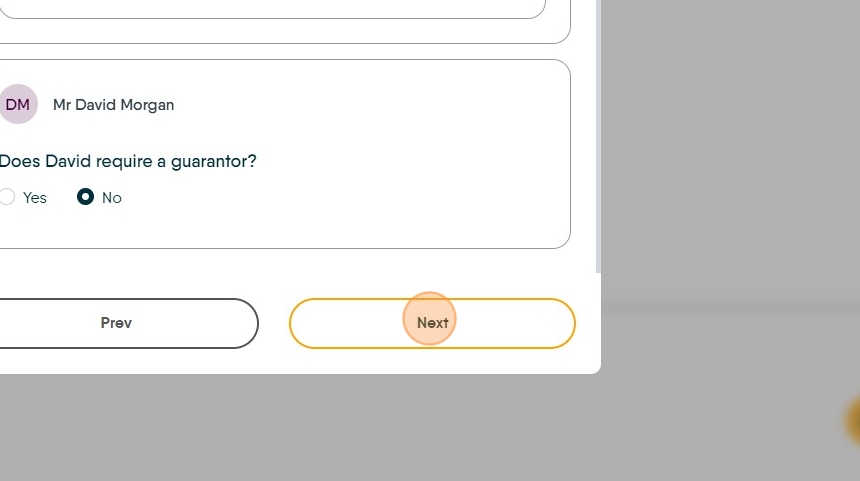
11. This screen will ask if any person needs a guarantor, if so Click "Yes"

12. Then either search for (if you have already added the Guarantor details) or add the new Guarantor Click "Select guarantor"

13. Click "Add new guarantor" If adding a new Guarantor, follow the following screens. To keep the process flowing, we recommend completing as much information in the Guarantor records as you can.
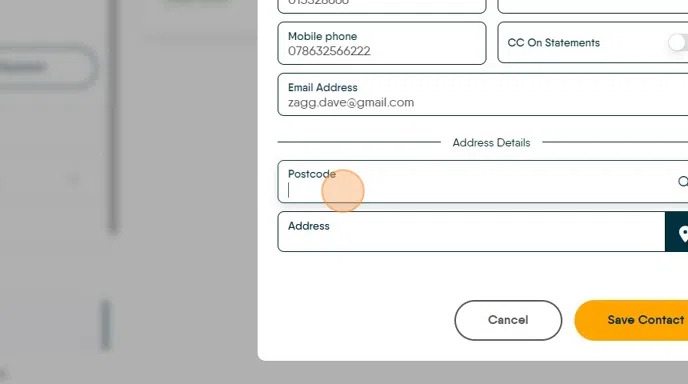
14. Click this text field. Type the Postcode and click the search icon, select the address from the list and edit if required.
Click "Save Contact"
15. Return to the Vision+ screen Click "Select guarantor" and search for Guarantor.
Do this for all records that require a guarantor.

16. When complete. Click "Next"
17. Click the "Rent Share" field and share the rent between the Tenants.
If you have multiple tenants remember to share the rent across the tenants if they are paying a portion each. It can negatively effect the referencing if one Tenant is allocated all the rent .

18. Click "Submit"

19. You may see an error message if there has been an issue. Read the error and repair the issue.

What the Applicants receive
20. Your Applicants will receive an email with a link to access the Let Alliance portal

21. If a response isn't received this is chased after one week.

Alert: Alert! At this point it is up to your client to respond to the email and complete the referencing request. Vision+ will send out reminders to chase a response.
You can track responses from within the Tenant Record and the vision+ screen