This guide provides a step-by-step process for efficiently adding a new lettings applicant to the CRM system, ensuring that all necessary details are captured accurately. By following these instructions, users can streamline their workflow, minimise errors, and enhance their data management practices. It is particularly beneficial for property management professionals looking to maintain organised records of applicants and tenants. Overall, this guide simplifies the process of referencing.
Alert! When creating an applicant record for a tenancy where there are 2 joint applicants, it is best practice to add them as 2 separate records and then link the 2 records.
This allows checking of documents and referencing to be done easily and quickly from within the CRM and Letzone, credit checks using 'Vision+' can also be done without needing to re key data.
For a sales record linking records (rather than one Mr&Mrs record) allows movebutler to quickly gather the applicant information to run the compliance checks with less re keying of data.
1. Navigate to https://crm.iamproperty.com/MyDay
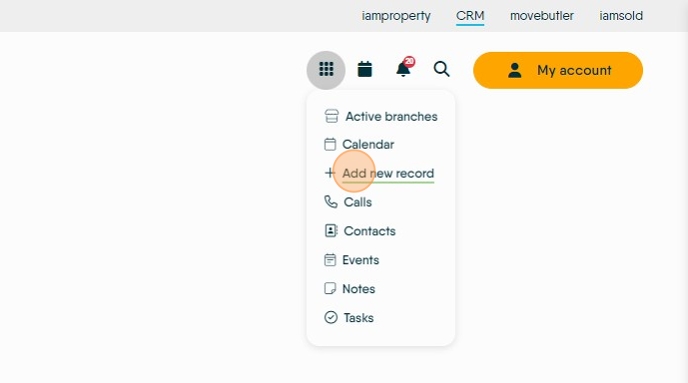
Tip: Tip! You can perform this process from anywhere within the CRM, the menu icon (aka bento menu) is available from any page in the CRM system.
2. Click the "menu" icon (n.b. this icon is often known as a 'Bento' menu)

3. From the dropdown menu Click "Add new record"
Tip: Tip! This process is the same if you are creating a Sales Applicant or a Lettings Applicant. Here we are using a Lettings Applicant.
4. Click "Lettings Applicant"

Tip: Tip! If you press and hold the 'Ctrl' key on your keyboard as you click onto the Lettings Applicant option (or other option) the screen will open a in a new tab and you wont lose where you are in the CRM.
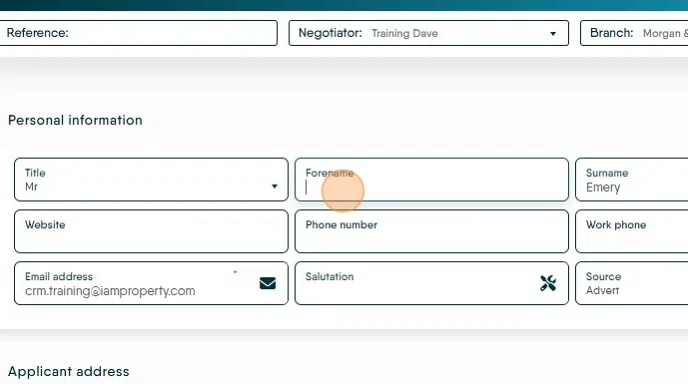
5. Click the "Surname" field. Add in the contact details for your Applicant. The minimum you need to add is the Surname and an email address.

6. Click the "Email Address" field. If the email address has been used before (in either a Live or Archived record) a warning message will show and allow you to use or merge the original data, saving the duplication of entries and work.

Tip: Tip! For Lettings. If you are using Letzone to manage the Pre Booked process, you can save the record here. Navigate to Letzone, create the Tenancy and send the Letzone welcome message from Letzone. The applicant will be able to update all of their own personal data from within the Letzone portal screen.
If not using Letzone or this is a Sales Applicant, continue on.
7. Complete the remaining Applicant information.

8. Add Title

9. Add the applicant Forename.
Add Phone Numbers. If the Applicant only has a mobile phone number, add it to the Phone Number field as well as the Mobile number field.
Tip! use ctrl+c to copy the number from one field and ctrl+v to paste to another
Adding a Mobile number into here allows SMS messages to be sent to the Applicant.
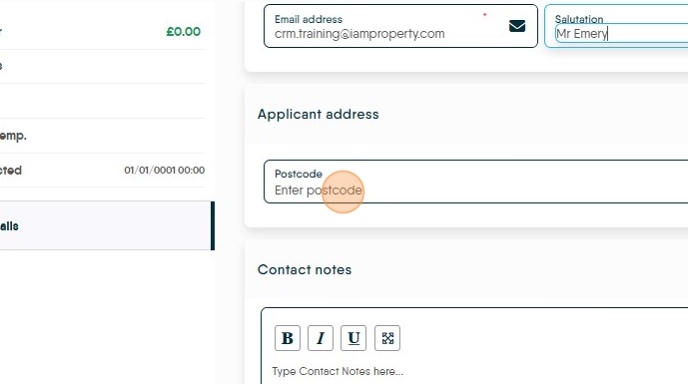
Click on the tools icon to create the Salutation, this will show the Applicants title and Surname (e.g. Mr Emery). It is good practice to create this field.
n.b. If this step is not done and you use the 'Salutation' template tag in a SMS or email template, when sent there will be an empty space in your message.
10. Click the "Enter postcode" field, add the Postcode for the Applicants current address.
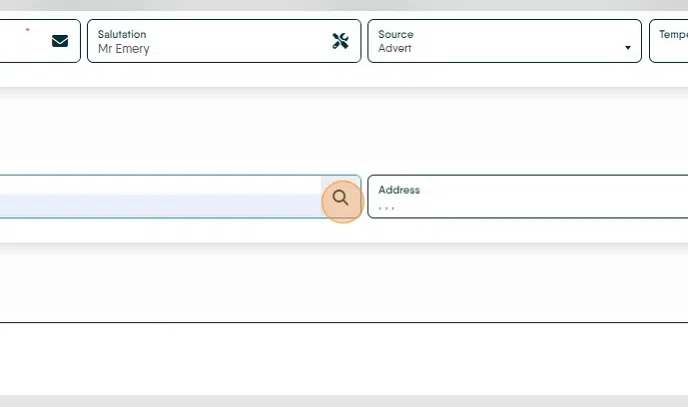
11. Click here to search for the Property details
Select the Property from the list.
If the Property doesn't show, select the closest address match and then use the 'Edit Manually' option to update the information. Click "Edit manually"
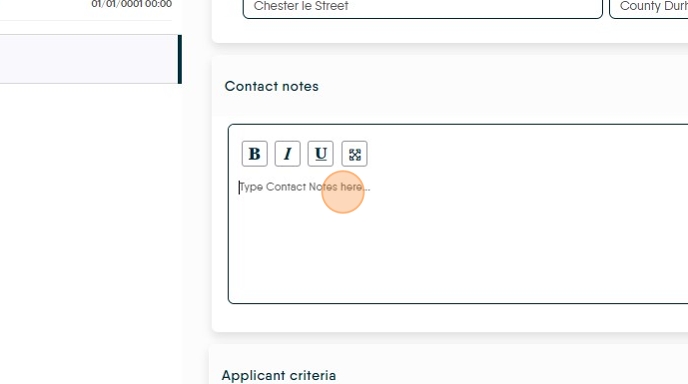
12. Contact Notes, this box can be used to take a record of any contact request the Applicant has made. Possibly they work nights, or can only be contacted by mobile phone etc.
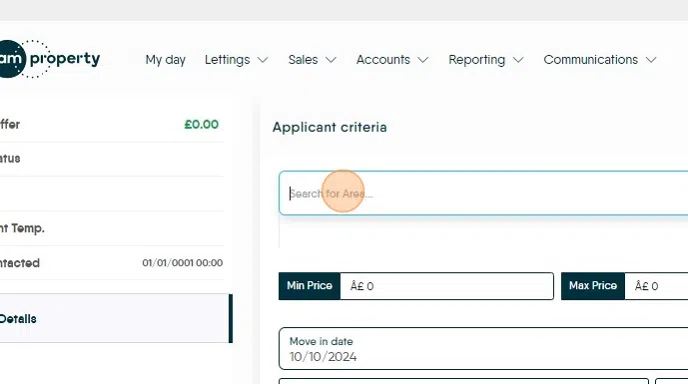
13. Next add the Applicant Criteria. This criteria supports the accurate matching of properties to applicants and vice versa.
Click the "Search for Area..." field and add in the specific areas that the Applicant is looking to live in. This can be a for example a Town, Postcode, or Street Name.
Then set a radius around that area that you want to search within. For example, click "1/4 Mile" to search an area of up to a quarter of a mile outside of the area specified.
FYI if a town/city is used, the radius is of the postal area of that town, in the example here an area up to a quarter of a mile outside the postal area of Witney will be searched
Click "Add Area" to set the search area.
Set the price range your applicant is looking for.
Click the "Move In Date" field to set a target date to move in. (if required)
The 'Property...' and other criteria areas are customisable to your requirements in the configuration menu. These all help with matching your applicant to the properties on your database. The more accurate the information (on both property and applicant) the better the matches are going to be.
14. Click "Additional Information" to add any further information you want to add about the applicant requirements.

15. Remember to Save your entries. Best practice is to save after each section.

Tip: Tip! This is the basic Applicant Record created, for either Sales or Lettings applicants. The following options is dependent on settings that you have set for your agency, based on decisions that you have made.
16. Once saved there will be a range of other options appear on the left side of the screen.

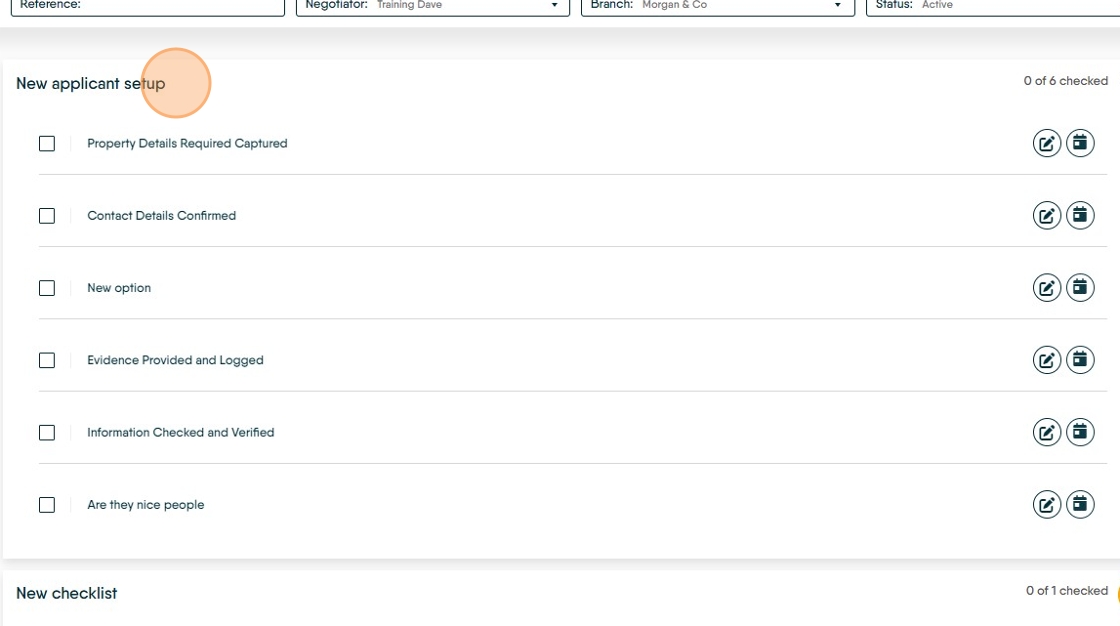
17. Click "Checklist". Checklists allow you to create an electronic version of a checklist that you use to check that processes are being followed.

18. There can be multiple checklists per record. The items in a checklist can be 'ticked off' and a note of the date/time and the name of the person that completed that check is recorded. Notes and Completion dates can also be added, if a completion date is added, the checklist will also show on the appropriate dashboard.
19. "Documents" is where all documents that relate to that record can be added.

20. Don't forget to save as you go!

21. Complete all of the other screens as required.
22. To add a second applicant, for example a Partner. Click "Linked Applicants"

23. Click "Link Applicant"

24. Click "Add New Applicant" to add a new applicant to the CRM or 'Use Existing...' to pick a record from within your CRM database.

Tip: Tip! Make sure that when you do this, the applicant you are searching for is added to the same branch or, you have all your companies branches enabled in your configuration. To check this, click on the 'Bento menu' and select the 'Active Branches' option.
25. Adding New Applicant. Click "Choose Title" and then complete all the fields as required.

26. Set the '...Contact type' so the CRM can identify what the relationship is between the applicants.

27. For example click "Partner"

28. If the address is the same as Applicant 1 Click "Use same address as current applicant" if not, add the postcode and search as shown above.

29. Click "Link" to link the two applicants.

30. Click "Yes" to confirm that you want to link the two records.

31. If you click onto the search icon and search, you will find that the 2 applicants are now showing in CRM.
