This guide provides a step-by-step process for adding a new landlord record in the CRM system, ensuring users can efficiently manage client information. It emphasises best practices, such as merging records to avoid duplication and creating necessary fields like salutation for personalised communication. By following this guide, users can streamline their data entry processes and enhance their interactions with landlords, ultimately improving their property management efficiency.
1. Navigate to https://crm.iamproperty.com/MyDay
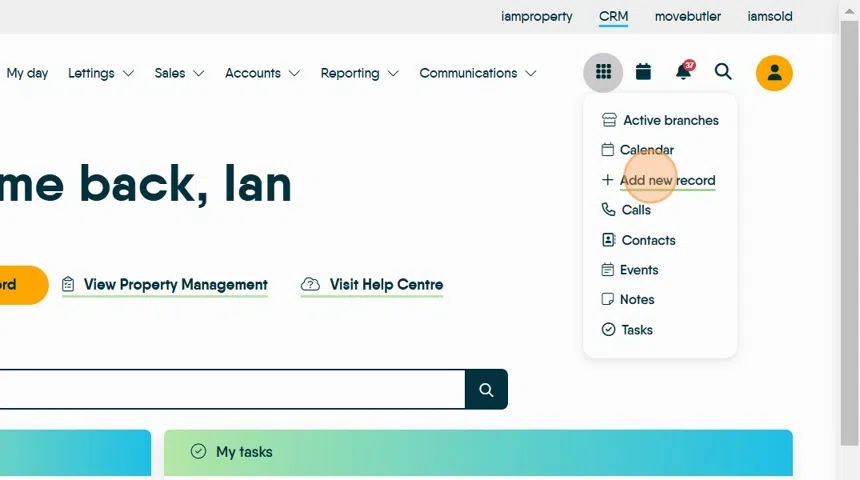
2. Click the "Bento" menu, or Add New Record.

3. Click "Add new record"
Click "Landlord"
Tip: Tip! From the next screens complete all the fields that you have information for.
The minimum to add is a SURNAME and EMAIL address.
If you use an email that has been used before then a warning message will show and there will be an option to use the original record (for example the user is an existing Landlord) or Merge the 2 records (for example if the prospect is already a Vendor/Applicant etc)
Personal Details
4. Click "Title" to add the title from the drop down menu. This menu can be updated in configuration and new items added.

Alert! If you have a 'Mr and Mrs' Landlord record, you have the option to create 1 record. However, it is Best Practice and to make the use of movebutler (or any other area of CRM) easier, you should create 2 records, a Mr. and a separate Mrs.
5. Click the "Forename" field and add the clients first name.

6. Click the "Surname" field and add the clients last name.

7. Click the "Mobile phone" field and add the clients mobile number.
N.B. If the client does not have a landline number, best practice within the CRM is to copy the mobile number to the Phone Number field as well as mobile number
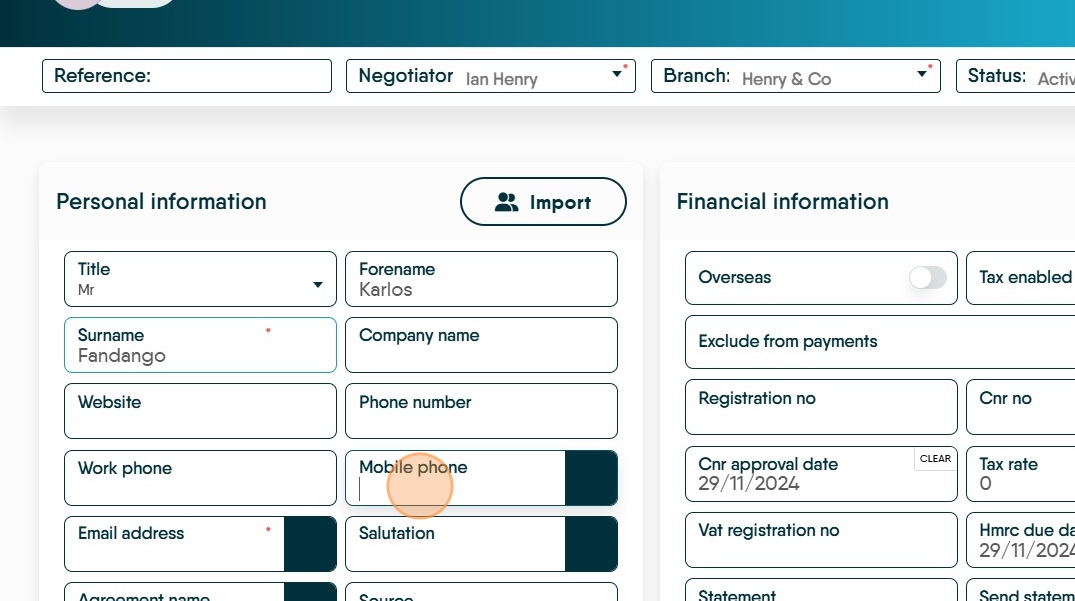
8. Click the "Email Address" field.
If the email address has been used previously in the CRM (e.g. a Vendor), then you will be given the option to 'merge/use' the 2 records to save on data entry.

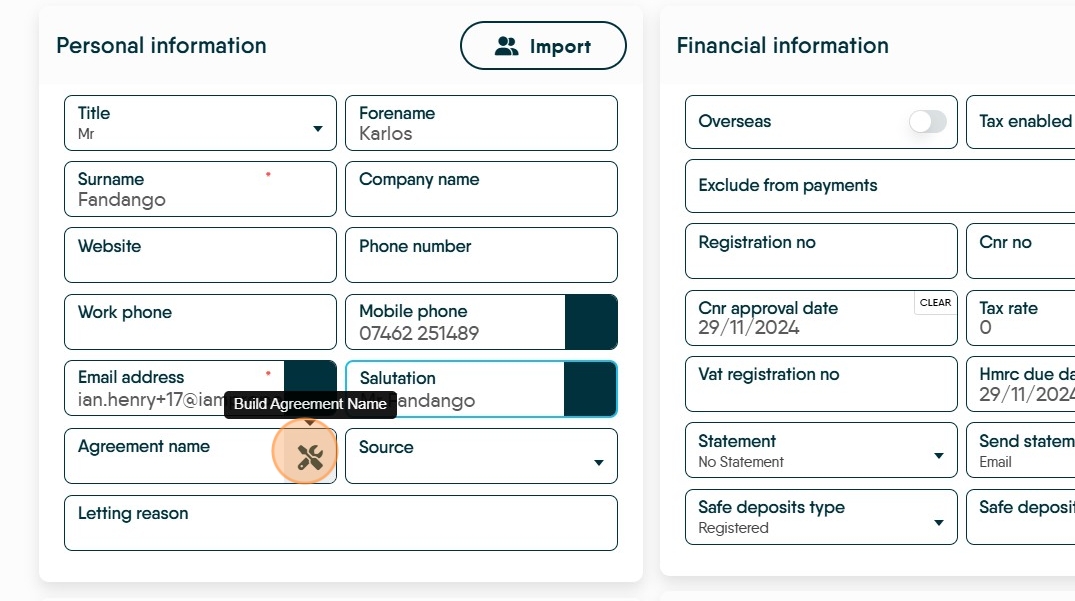
9. Click here to build the Salutation.
It is important to create this, there are email and letter merge tags for 'Salutation' and if the salutation is not created these areas will be left blank.

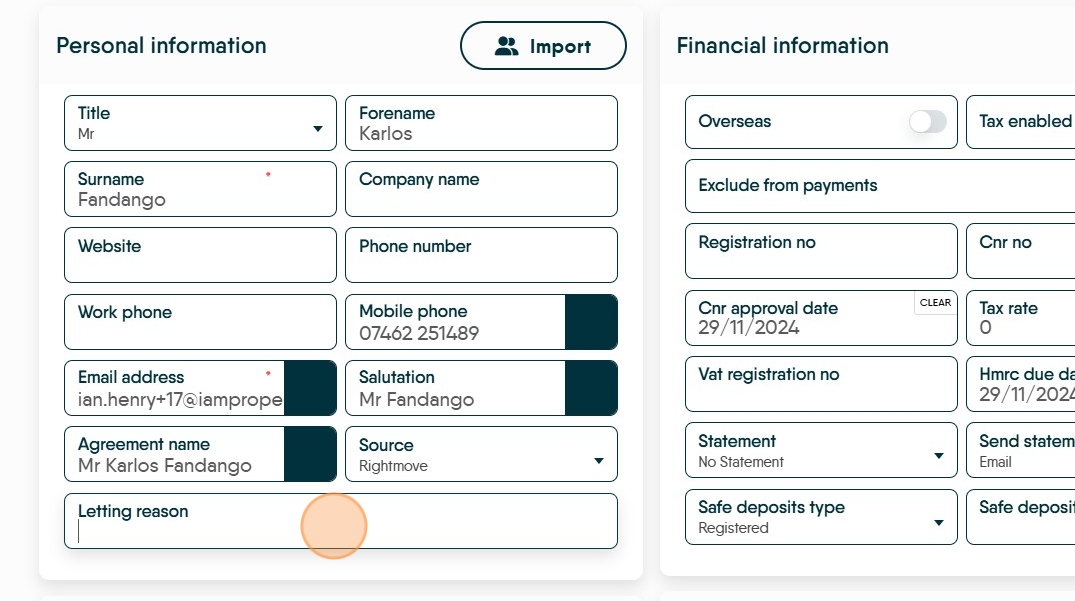
10. Click here to create an 'Agreement Name'. This text can be edited if required.
11. Click here to set the source of the record e.g. Rightmove, Advert, Friend Recommendation etc.

12. Click this text field and add a Letting reason, if required.
Financial Information
13. Click here and note if the Landlord is an Overseas Landlord, this will cause this landlord to show in the Tax Ledger.
Click here. Tax Enabled will drive the CRM to retain the tax at the rate shown in the 'Tax Rate' box. If the Landlord has a CNR number, switch this option off.
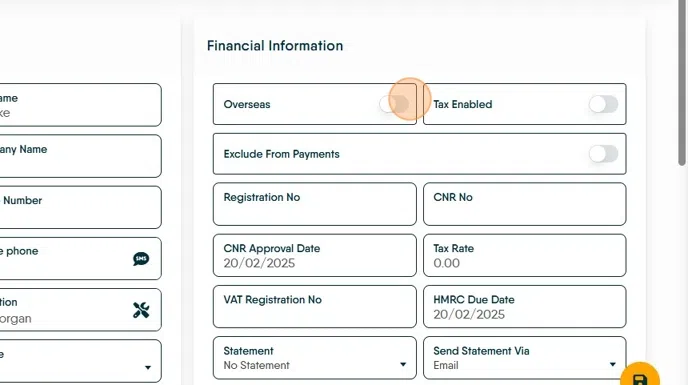
14. Enabling 'Exclude from payments' will stop the CRM from paying out to the landlord. If this option is enabled, then the Landlord payment will be withheld until the option is disabled. Management fees are still taken and paid to Agent.

15. Click this text field.

16. Click this text field and add the Landlords CNR Number, if this is added part way through a year then the Tax report will have 2 lines, one before the CNR added, one after.

17. Click "CNR Approval Date" add the approval date here.

18. Add the Tax Rate for the Landlord here, if the Landlord has a CNR number make this rate 0.

19. Add the VAT Registration number here if required and the date the VAT is due.

20. Click into the Statement menu and select the statement type the Landlord requires.
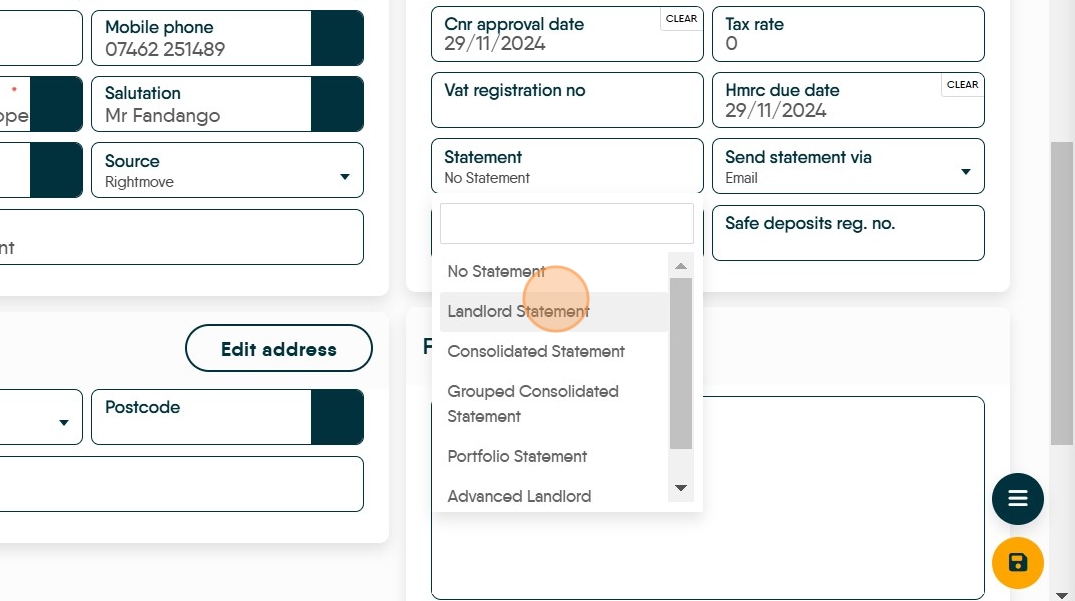
21. Click into the 'Send Statements Via' to set the landlords preference of how to send their statement.

22. Click here to set the 'Safe deposits type' pick from the drop down menu and add the Safe Deposits Reg No. into the the relevant box.

23. Click here and add in the address for the Landlord. There are 3 options, Contact, Correspondence and Official. There can only be 1 address set in total.
Type the postcode into the Postcode field and click the search icon, select the address from the menu, use 'Edit Address' to edit if required.

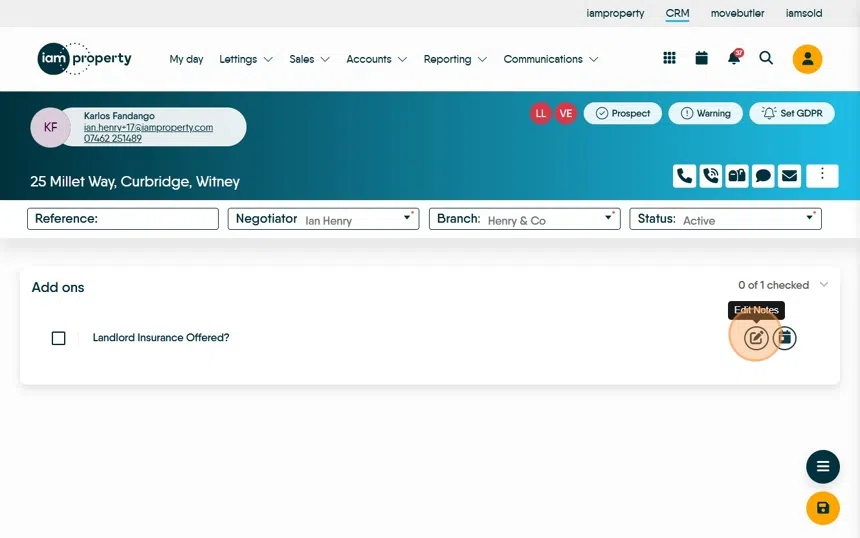
24. Click "Checklist" and complete any checklists that have been set.

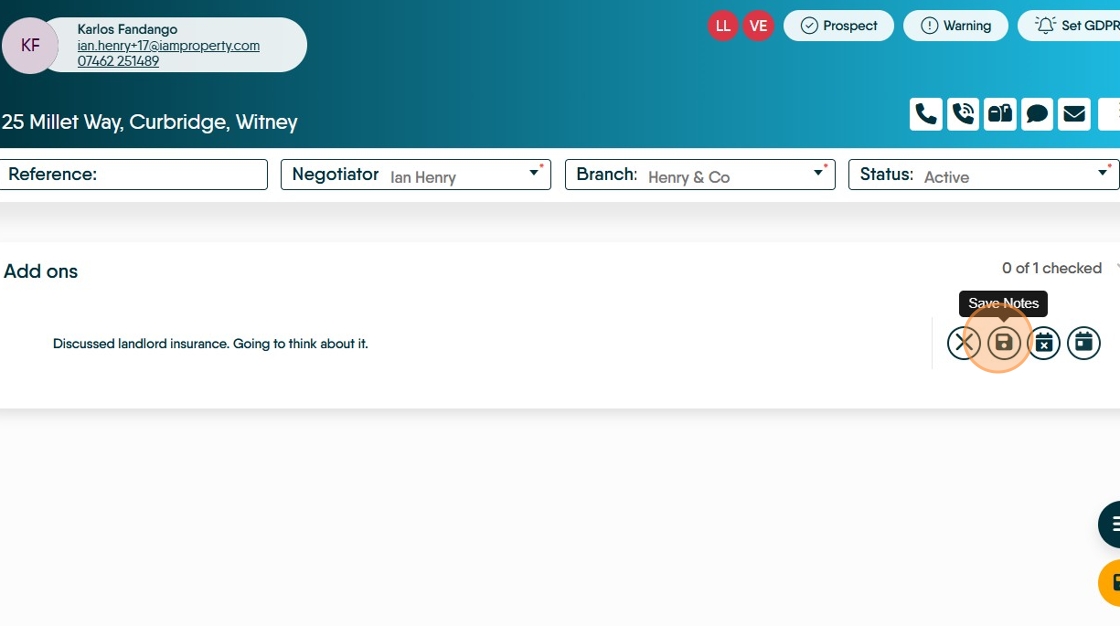
25. Click here to add a note to the Checklist query.
To complete a checklist query, click here. The query will be struck through and the name of the person completing, plus date and time are added also.
26. Click 'Date Required' to add a date that the task will be complete. This will then show in the Activity list as a reminder.

27. Click here to save the notes.
28. Click here to save.

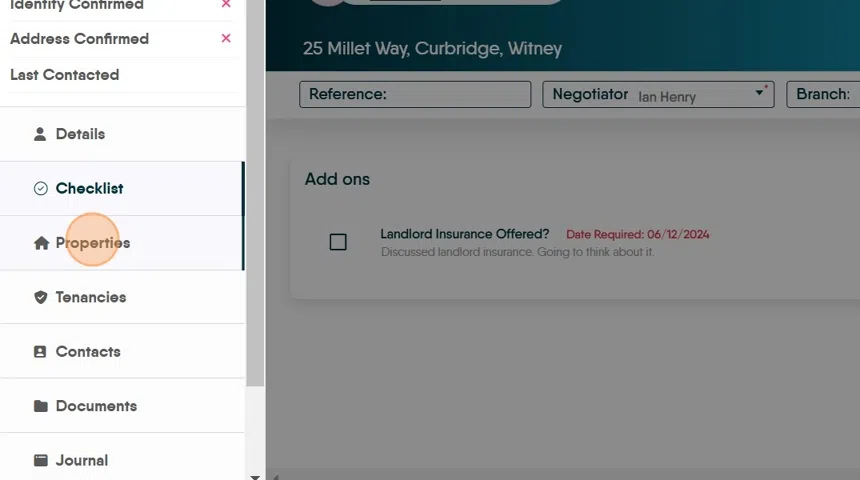
29. Click "Properties" this screen will show all of the properties that are controlled by this landlord. It is also a good place to add a new property from.
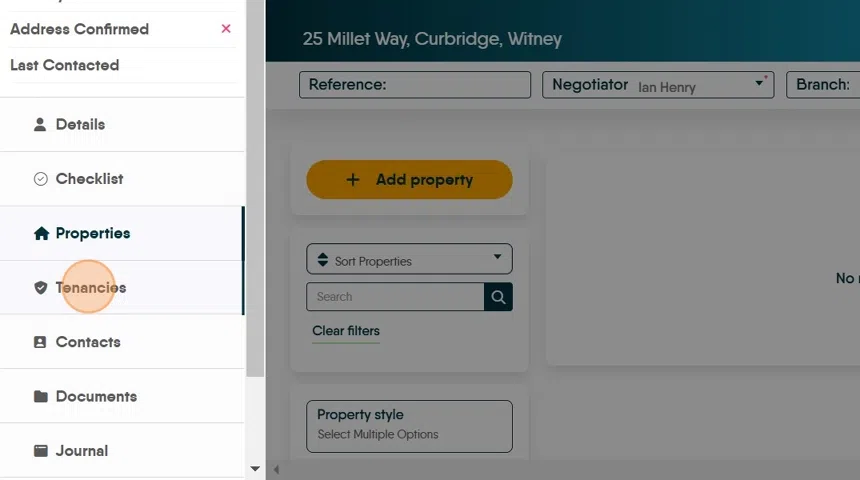
30. Click "Tenancies" this will show all of the tenancies in the Landlords properties. Live, Pre Booked or Archived. will show here.
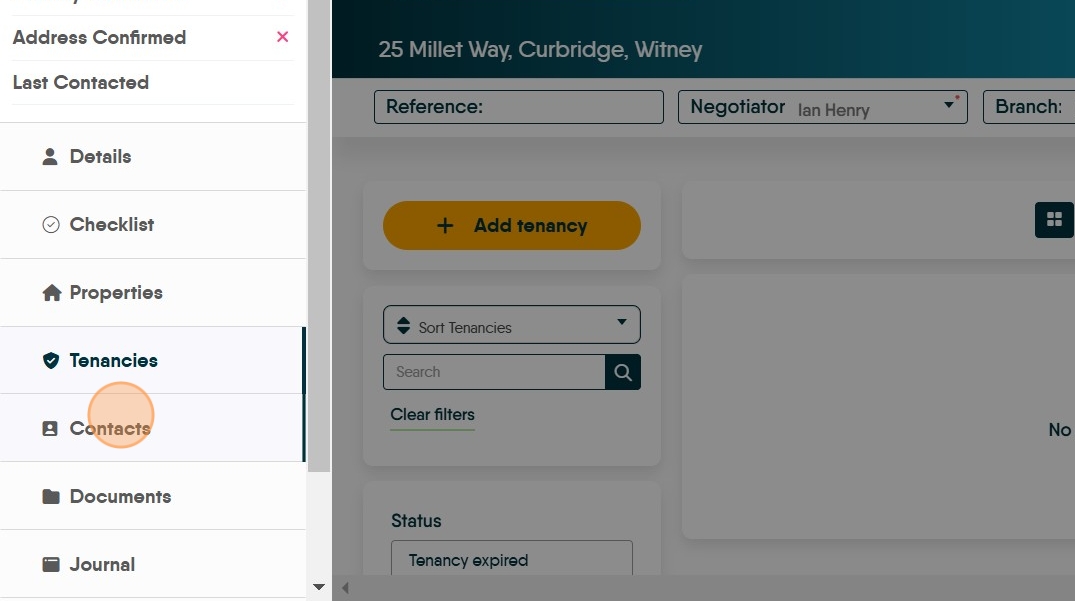
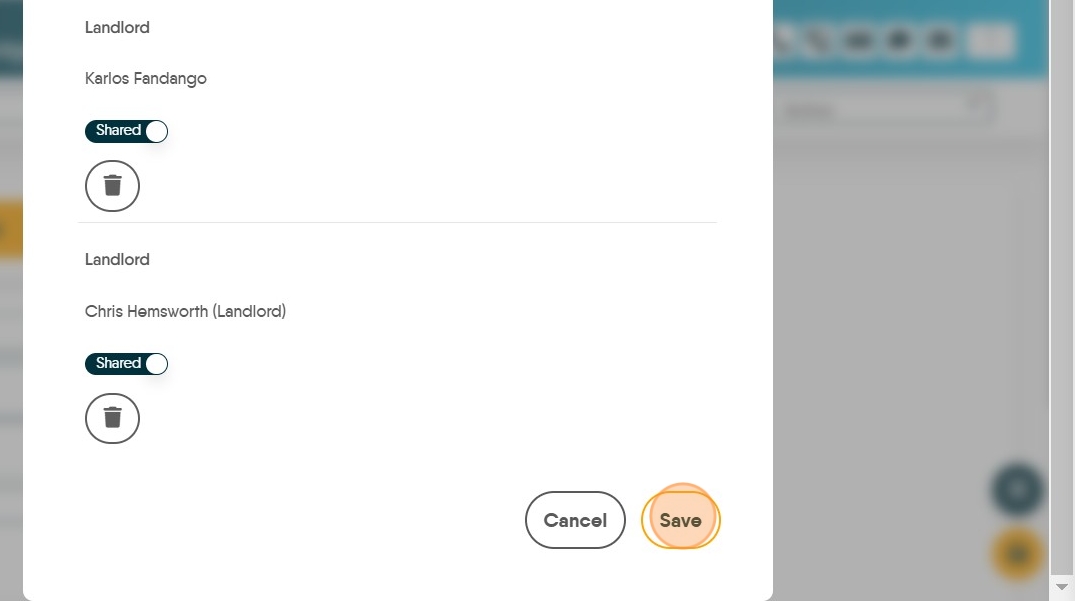
31. Click "Contacts" to see all the Landlords Contacts.
32. Click "Documents" to view or/and upload new documents to the record.

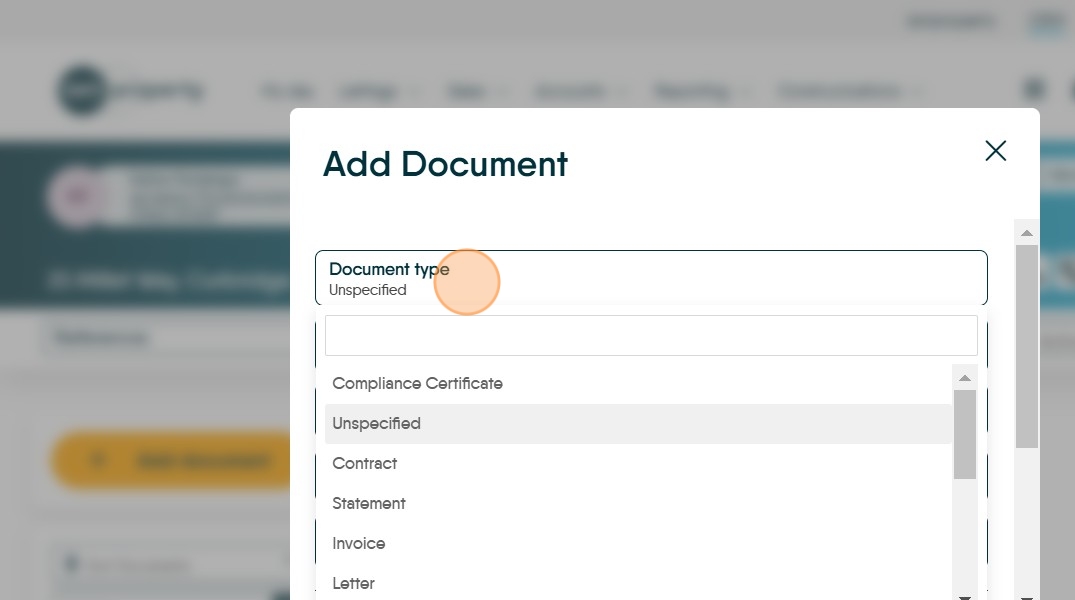
33. To upload a document. Click "Add Document"

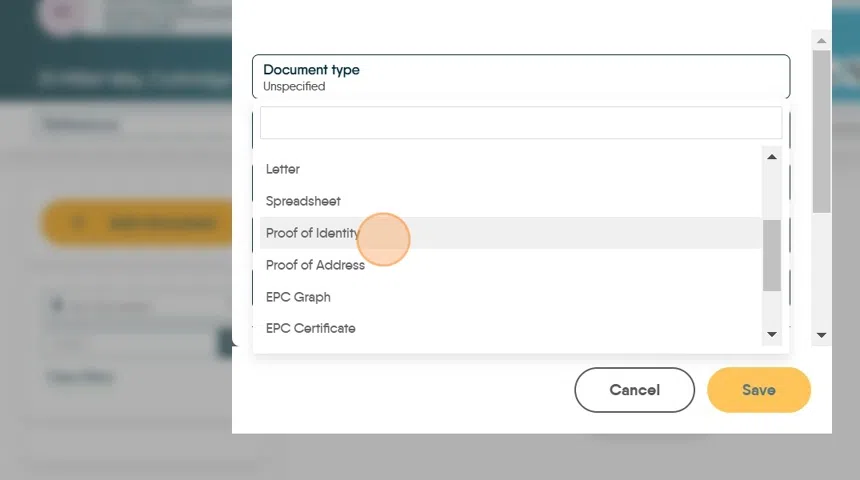
34. Set the document type from the menu
35. If you add a 'Proof of Identity' or 'Proof of Address' the Proof of Identity/Address icons at the top of the Landlord screen will update to ticks.
36. Click the "File Name" field. Add a filename, it is not necessary to do this as the filename will be populated with the name of the file you use.

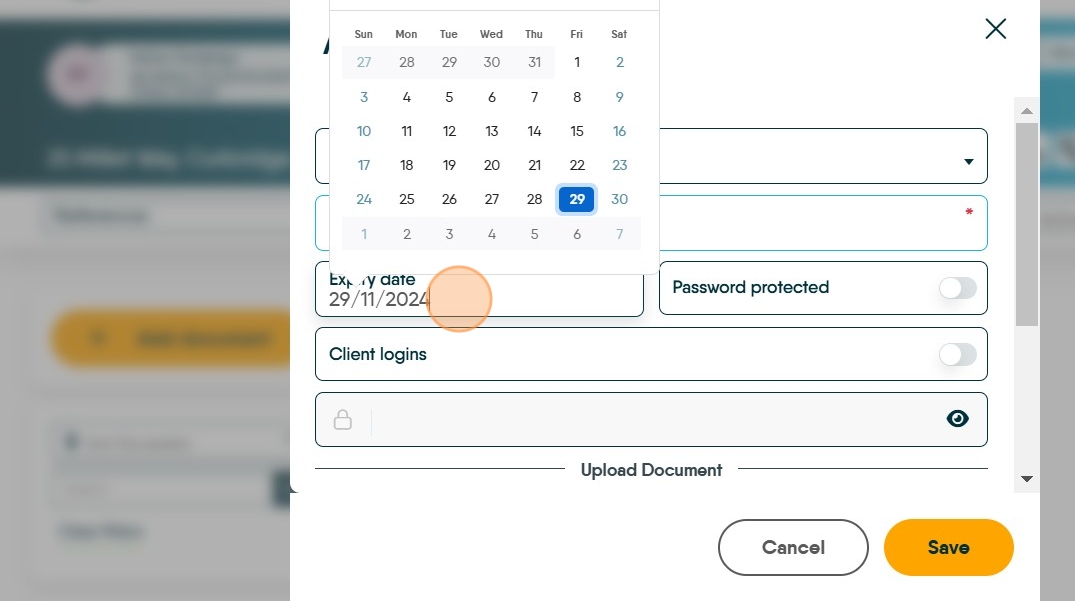
37. Click the "Expiry date" field.
This is optional and will enable you to be notified when the document expires e.g. Right to Rent document.
The other options on this screen are -
Password Protected; allows you to set a password to stop unauthorised access to the document.
Client Logins; this enables the document to be viewed in the appropriate Client Portals (in this case Landlord portal).
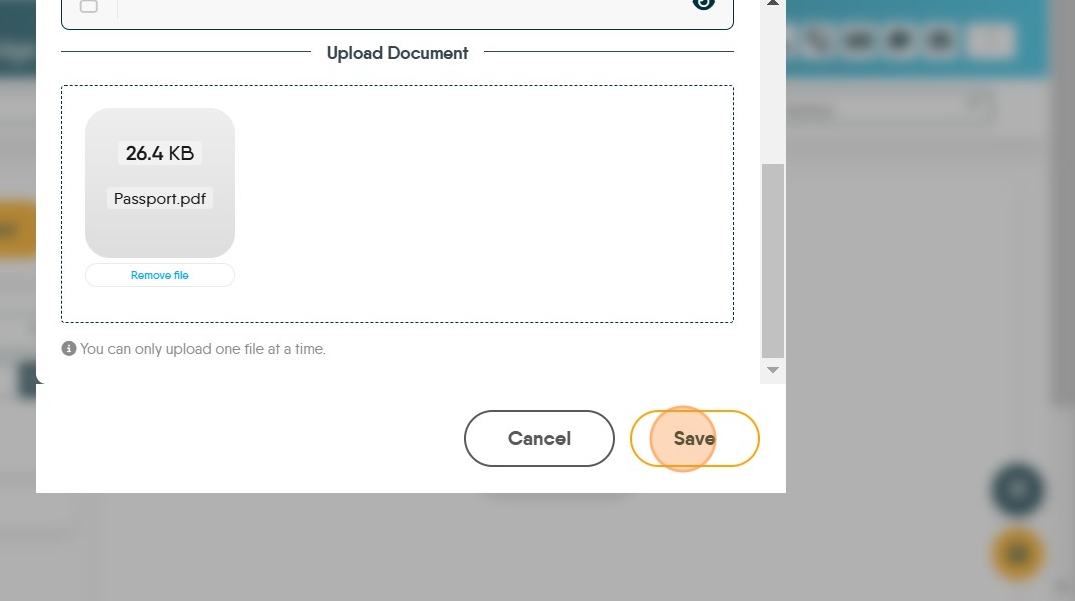
38. Click here to search for and select the document.

39. Click "Save"
40. Click "Journal"

Adding Journal Entries
41. Click "New Journal"

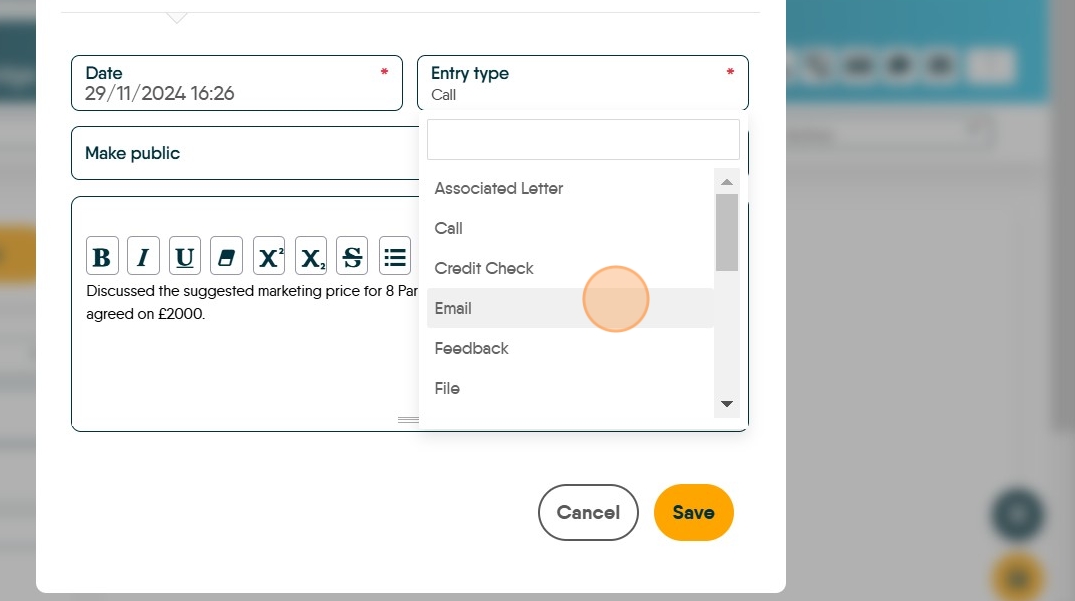
42. Click "Select a Journal entry type"

43. For example. Click "Call"
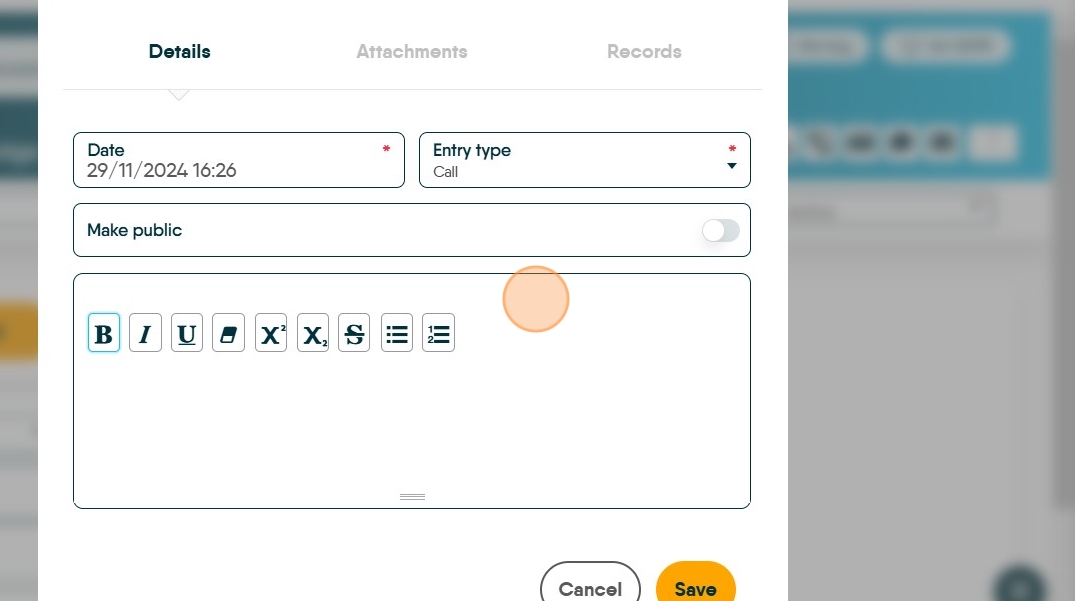
44. Click here and add the text of your Journal entry.

45. Be as descriptive as possible, click make public to make the journal visible in Client Portals. Then click 'Save' if the journal entry is complete.

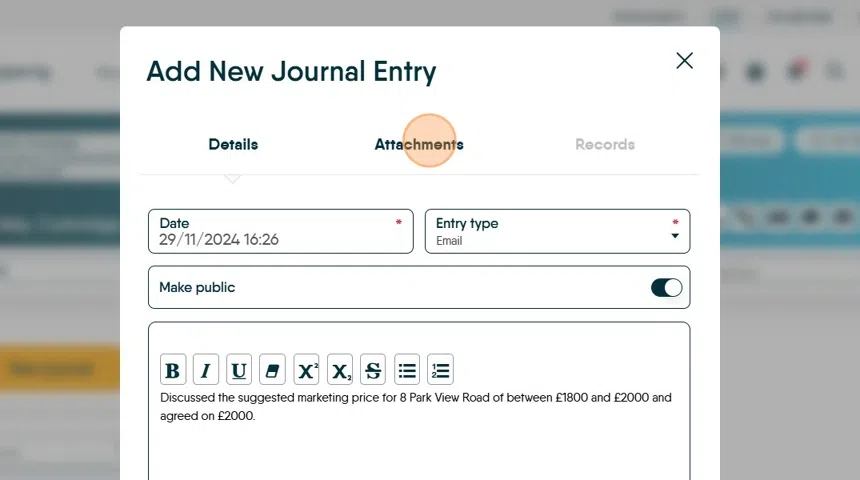
46. To add a copy of an email to a journal. Click "Email" in the entry type menu.
Add a description of your email in the first screen.
47. Click "ATTACHMENTS"
and then drag the email from your email software (e.g. Outlook). If your journal entry is complete click 'Save'
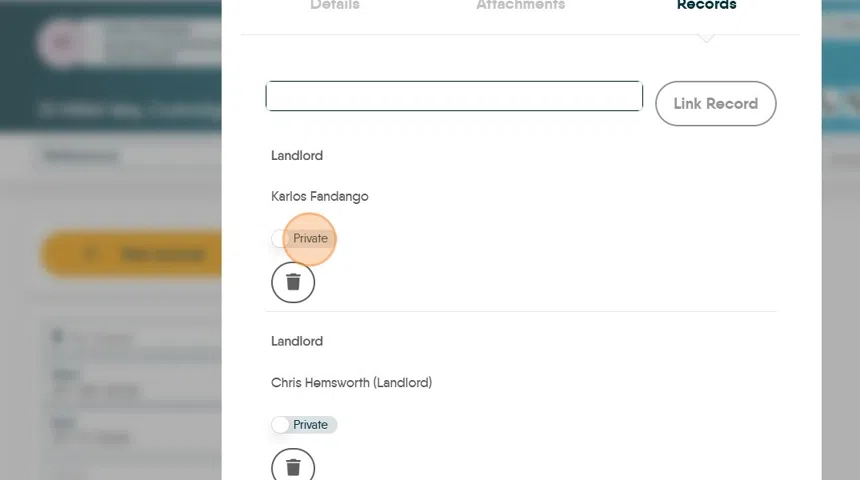
48. To link this Journal to another record in CRM, a property or another record. Click "RECORDS" Click this text field.

49. Type the name of the person or property you are linking to and select them from the list.

50. Click "Link Record"
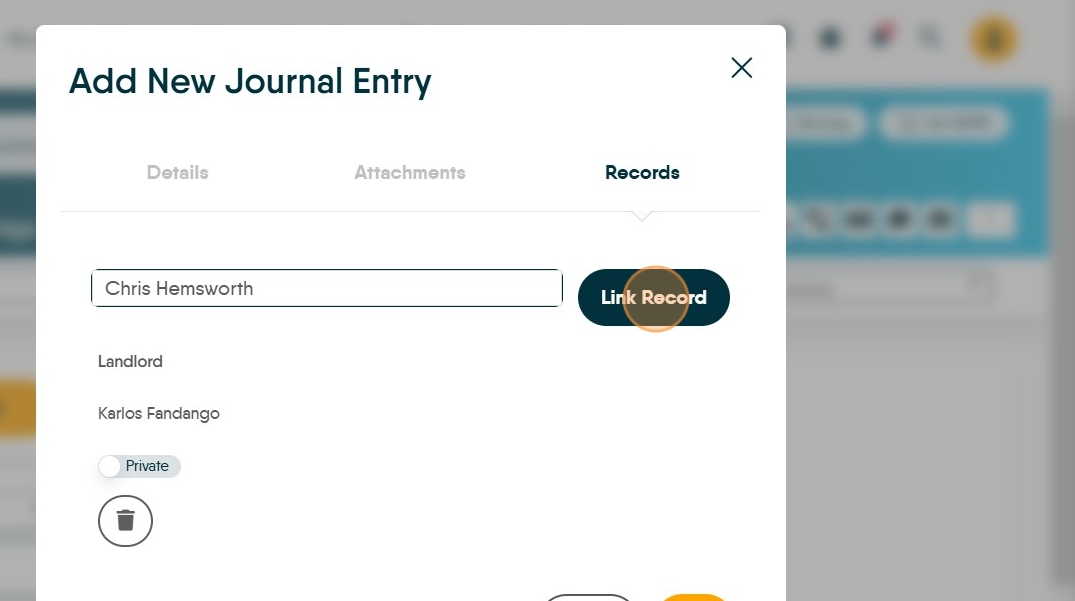
51. Click "Private" to make the Journal entry visible to both records and Client Portals
52. Click "Save"
53. Click "E-Sign" to see any documents that have been sent via E-sign.

54. This screen will allow you to track progress for E-sign letters sent in relation to this record. Any completed E-sign documents will come back and show in here.

Audit
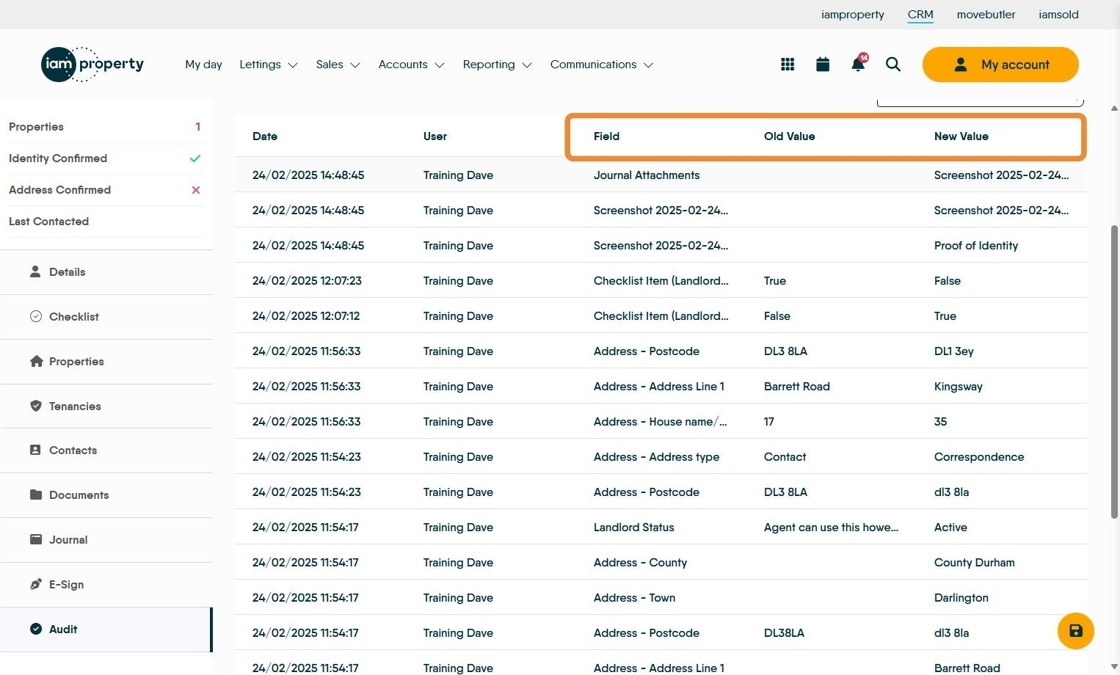
55. The Audit screen has a full list of all the 'clicks' made in the record since it was created. Click "Audit"

56. The screen shows the Date the change was made and the User that made the change.

57. Field shows what was changed in the record e.g. Address Postcode.
The 'Old Value' is what the entry was, 'New Value' is what the option was changed to. These could be a blank space or it could be 'False' which could show a checklist item was not selected or 'True' which could show that a checklist item was selected.
Top of the Screen
58. Reference is for your Internal Reference, it is your decision how to use this.
Negotiator and Branch are the who and where the record is allocated. For example CRM will show any Portal Enquiries against the name of the Negotiator registered to a property.
Status is an information field it has no control, although can be reported against.
