Learn how to efficiently upload property images and floorplans to your CRM records. This guide also covers essential editing tools like sharpening and assigning media to specific rooms to ensure your property listings look professional.
Media Upload
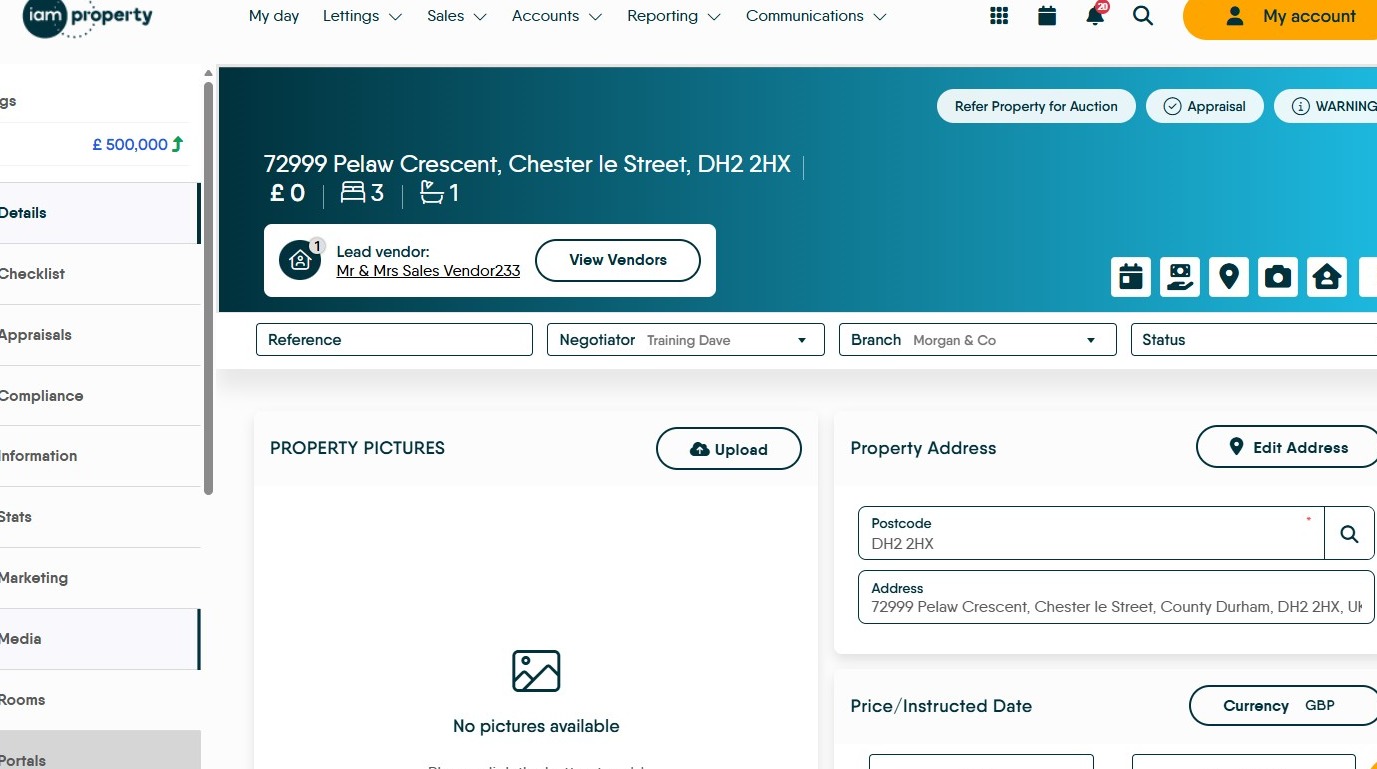
1. Navigate to the Property record you are adding the images to.
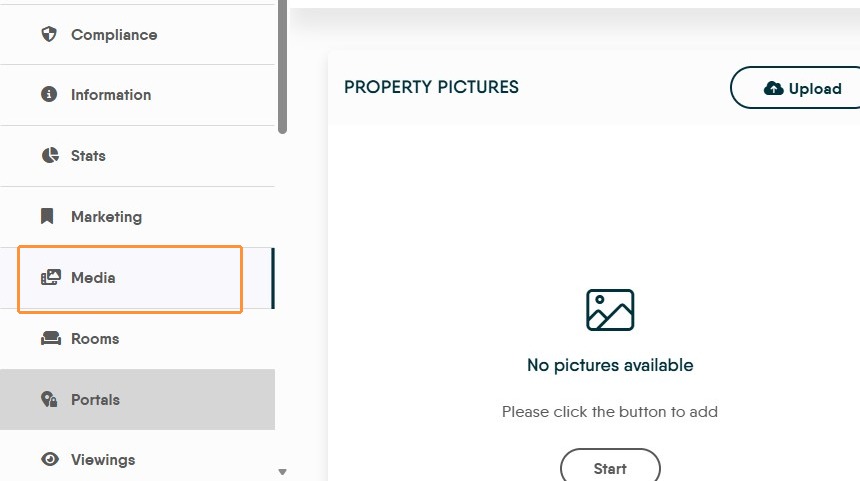
2. Select 'Media' from the side menu.
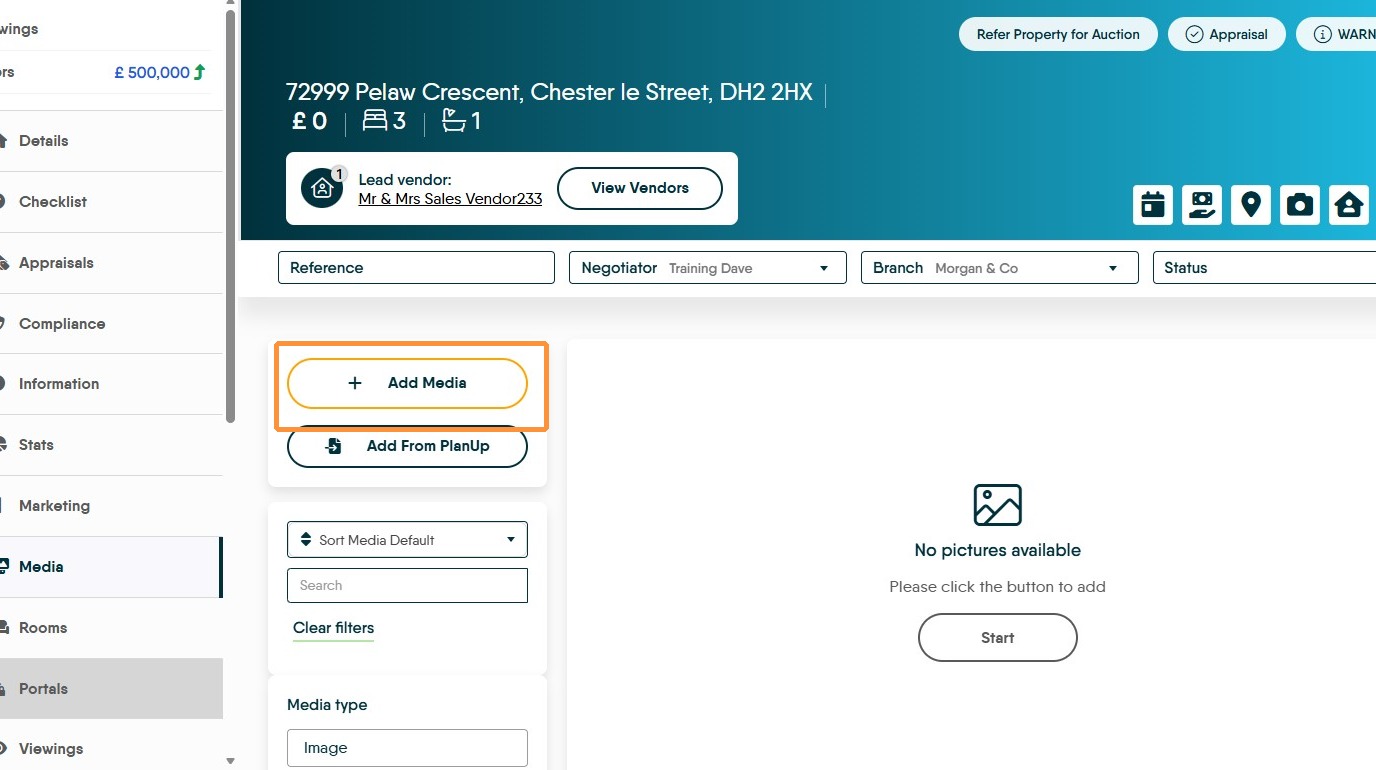
3. Click "Add Media"
4. Click the upload area to select media files. This will open a Search screen where you can search the files and folders on your computer to find the images. Alternatively, you can drag and drop images from a folder or email to this screen.
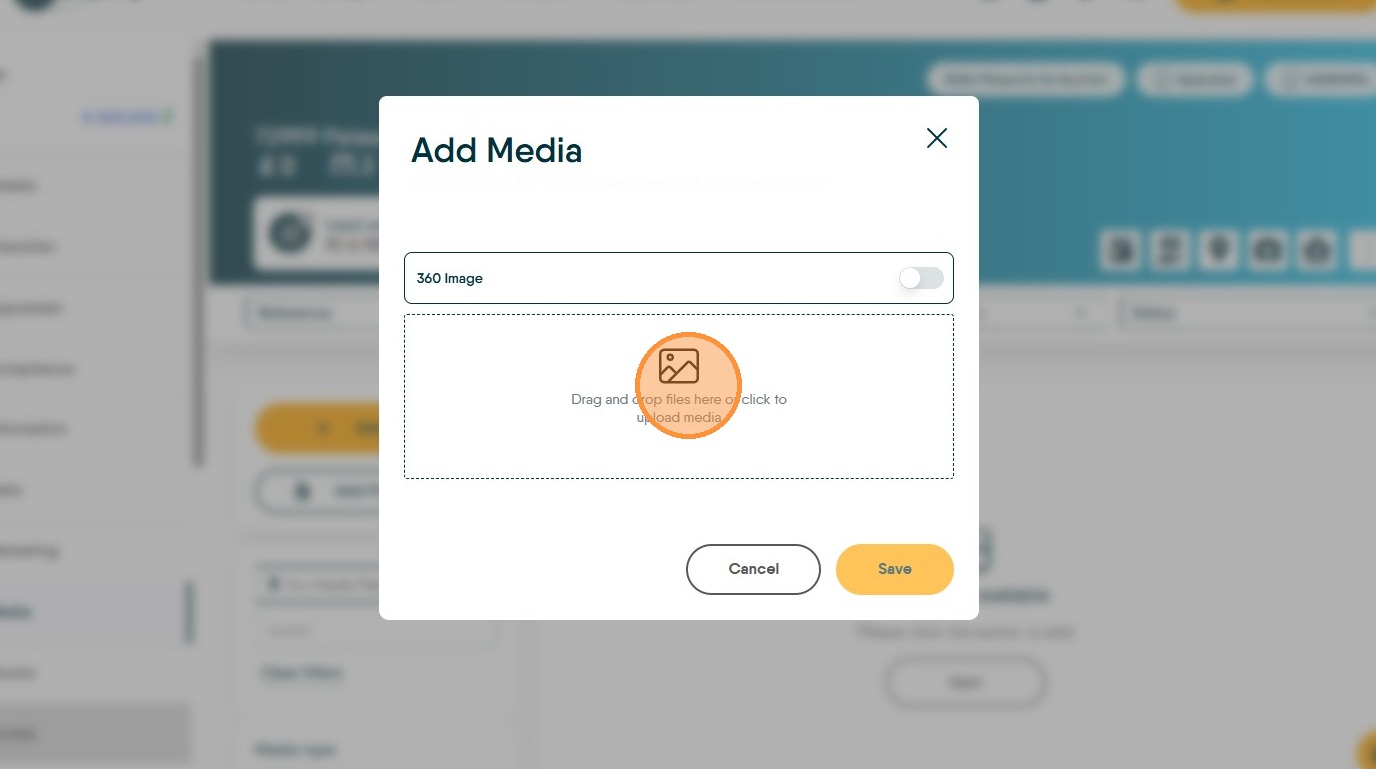
Alert: Alert! If the upload fails, try uploading less images per upload, extremely large images may exceed the upload limit, if this happens upload fewer images at a time to the media library.
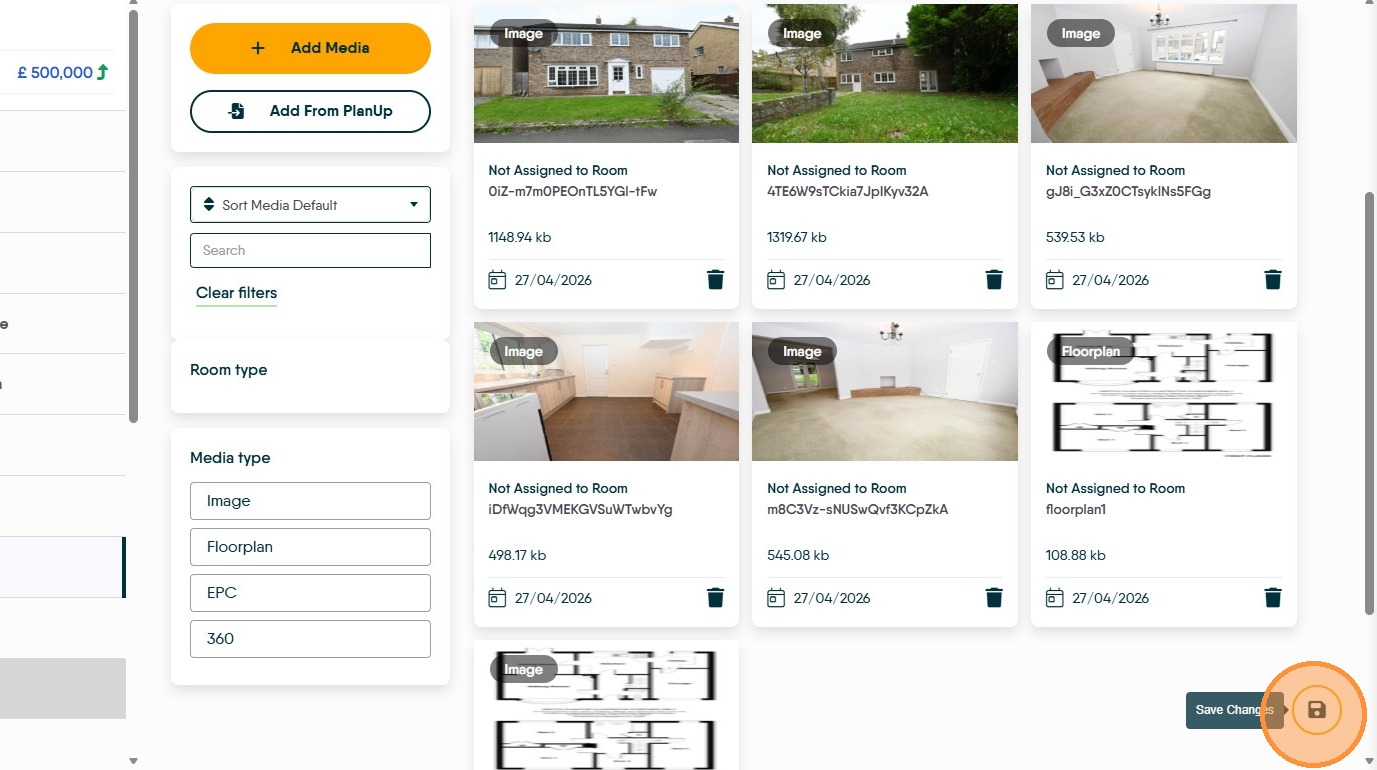
5. The Images will all show o the screen.
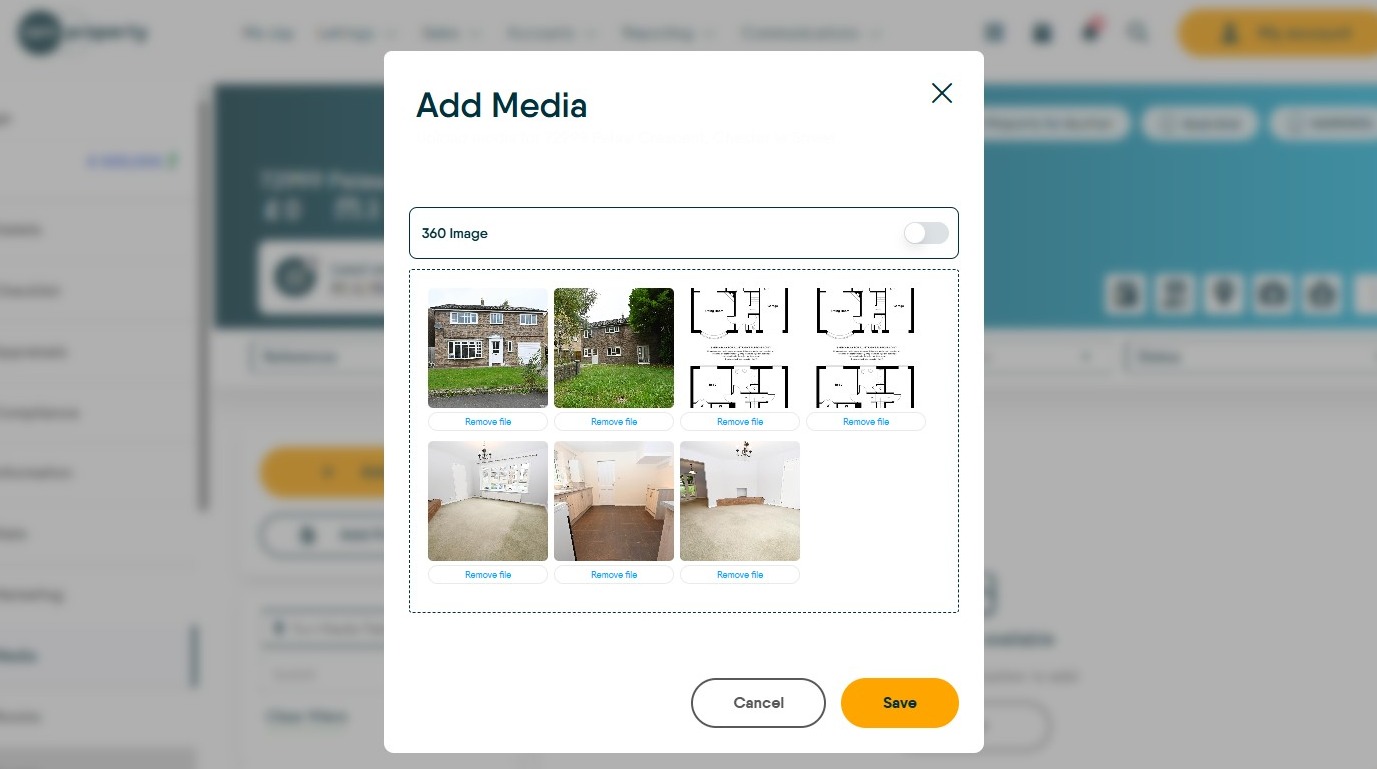
Media Categorization
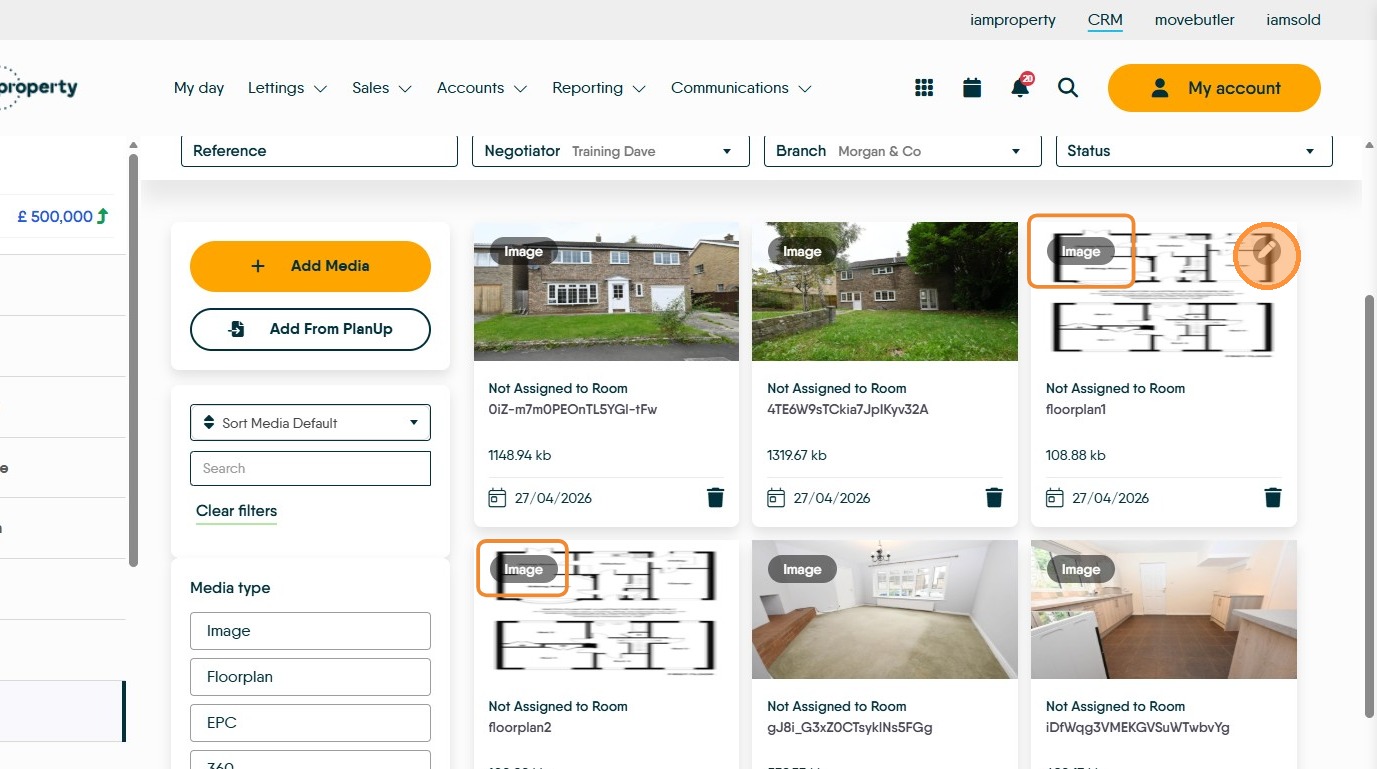
6. If you upload a floorplan (or possibly and EPC) as an image file and in the top left corner of the image it shows 'Image'. Click on the 'pencil' icon to edit its properties.
7. Change the 'Media Type' to 'Floorplan'.

8. If required, you can update the caption and click 'Save'.

Image Editing
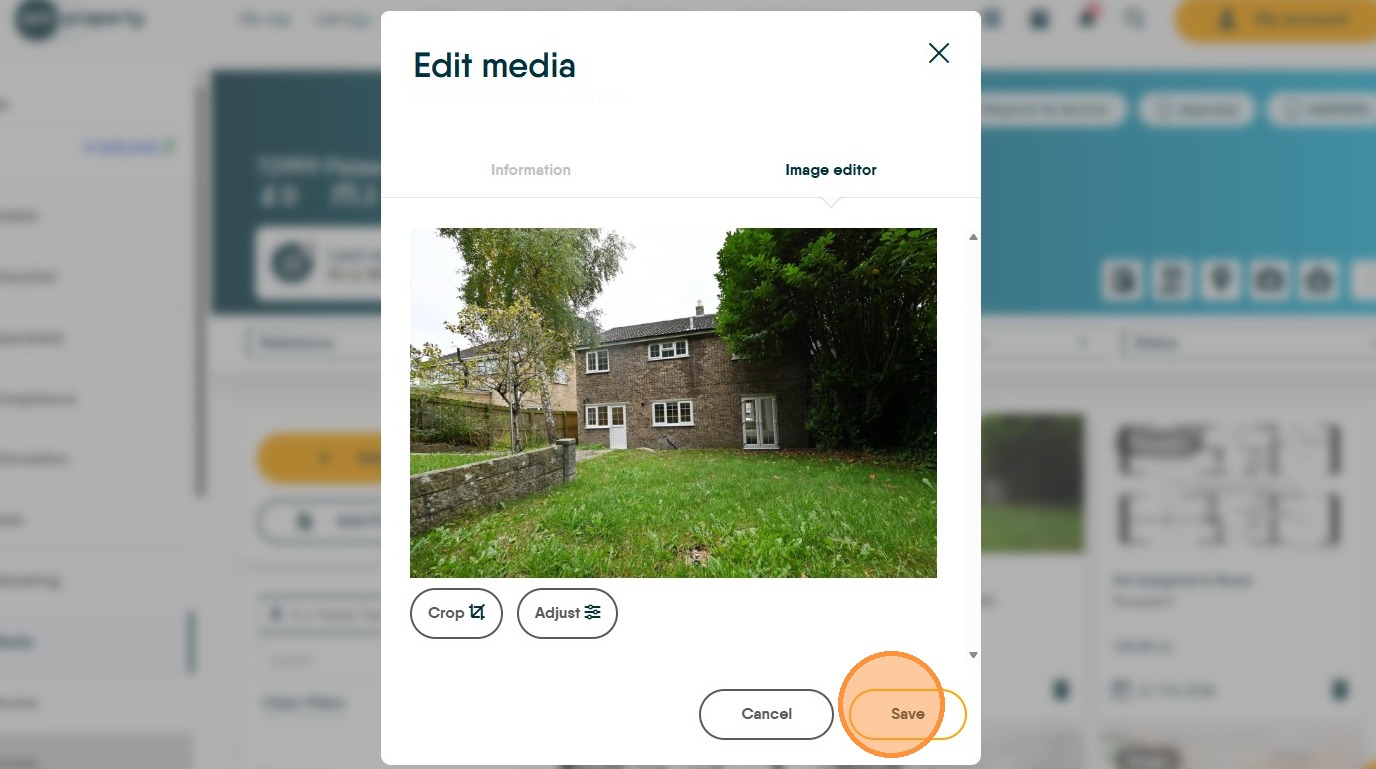
9. To edit images, click on the 'Pencil' icon. Navigate to the 'Image editor' tab.
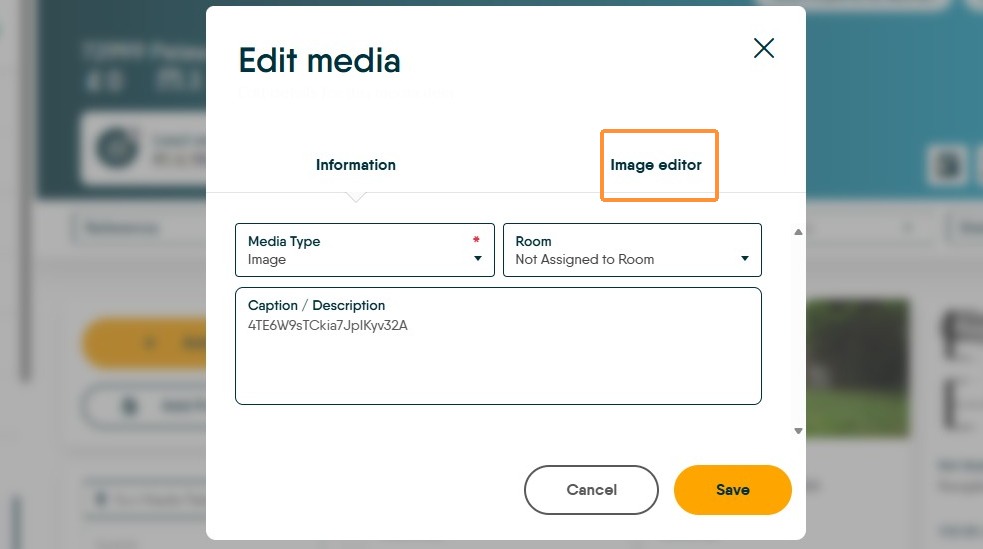
10. Click 'Adjust' to access image enhancement tools.
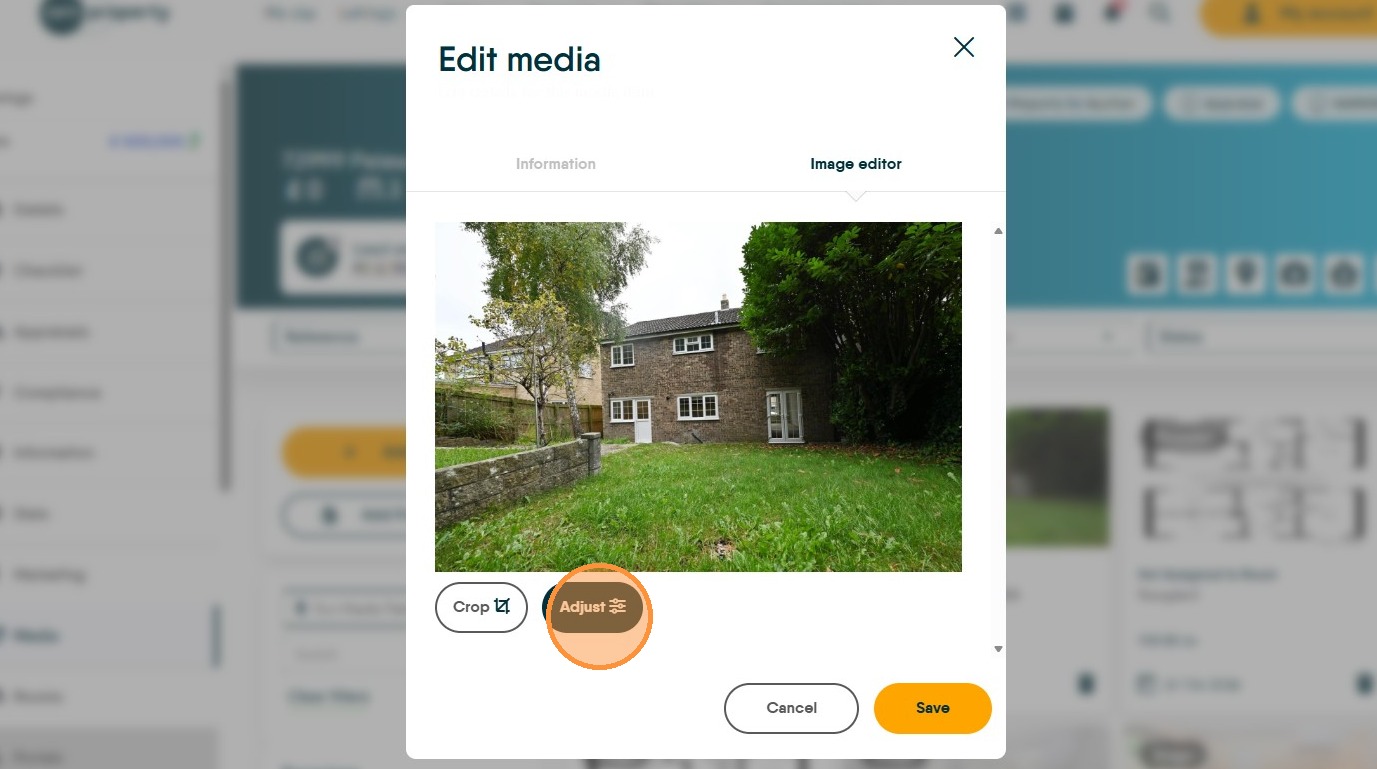
11. You have these options.
- Brightness
- Vibrance
- Contrast
- Sharpen
Click on the 'tick' icon to select the edits that have been made.
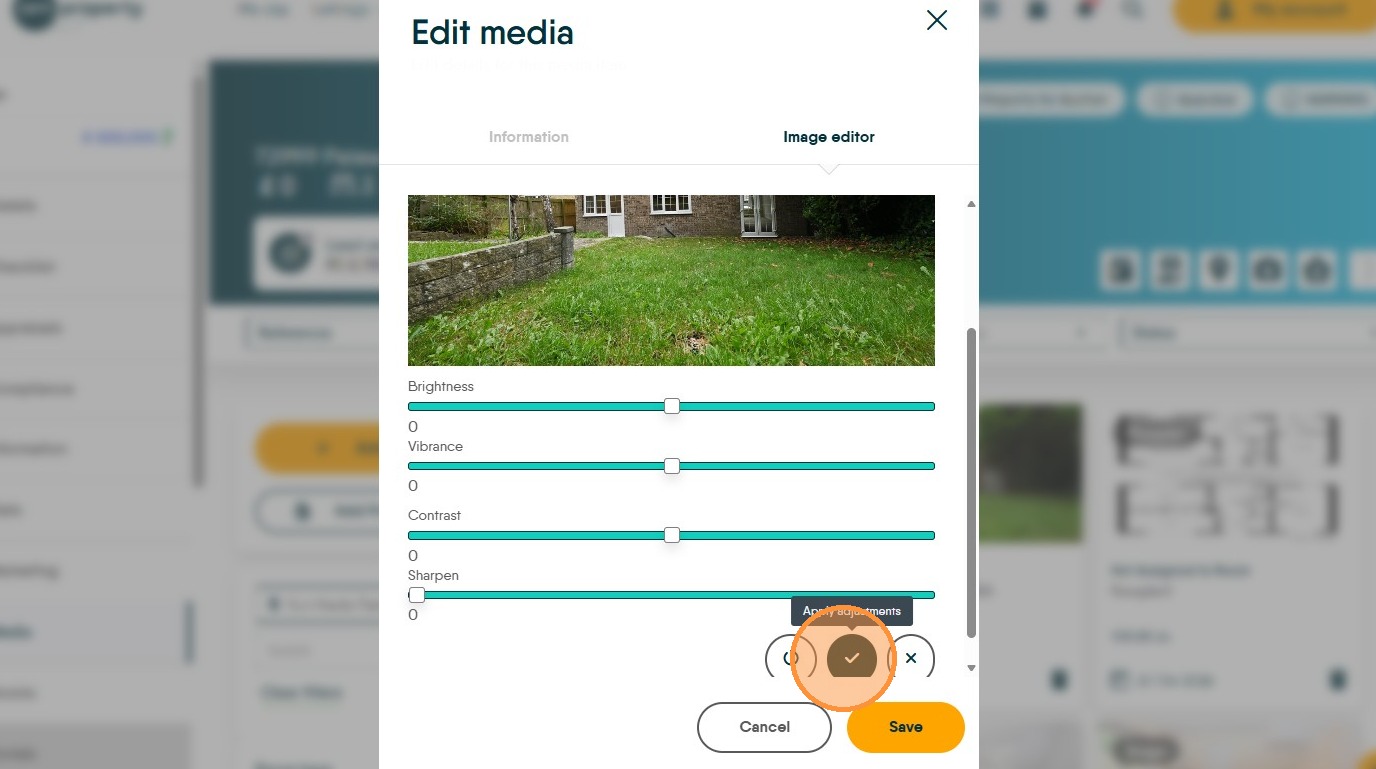
12. Click 'Save' to confirm image edits.
13. Image order can be changed by dragging the images to the required order. Click 'Save Changes' to finalize property media.