
Learn how to associate contractors with specific properties and Landlords within the CRM system. Also adding Warranty details to a property record so they show in property management. This guide covers adding contractor details, managing warranties, and efficiently assigning jobs via email to ensure property issues are resolved quickly.
Alert: Alert! You need to have created a Contractor record in CRM before making them an Associated Contractor to do that click here
Property Navigation
1. Navigate to the property you need to add Warranties or Contractors to.
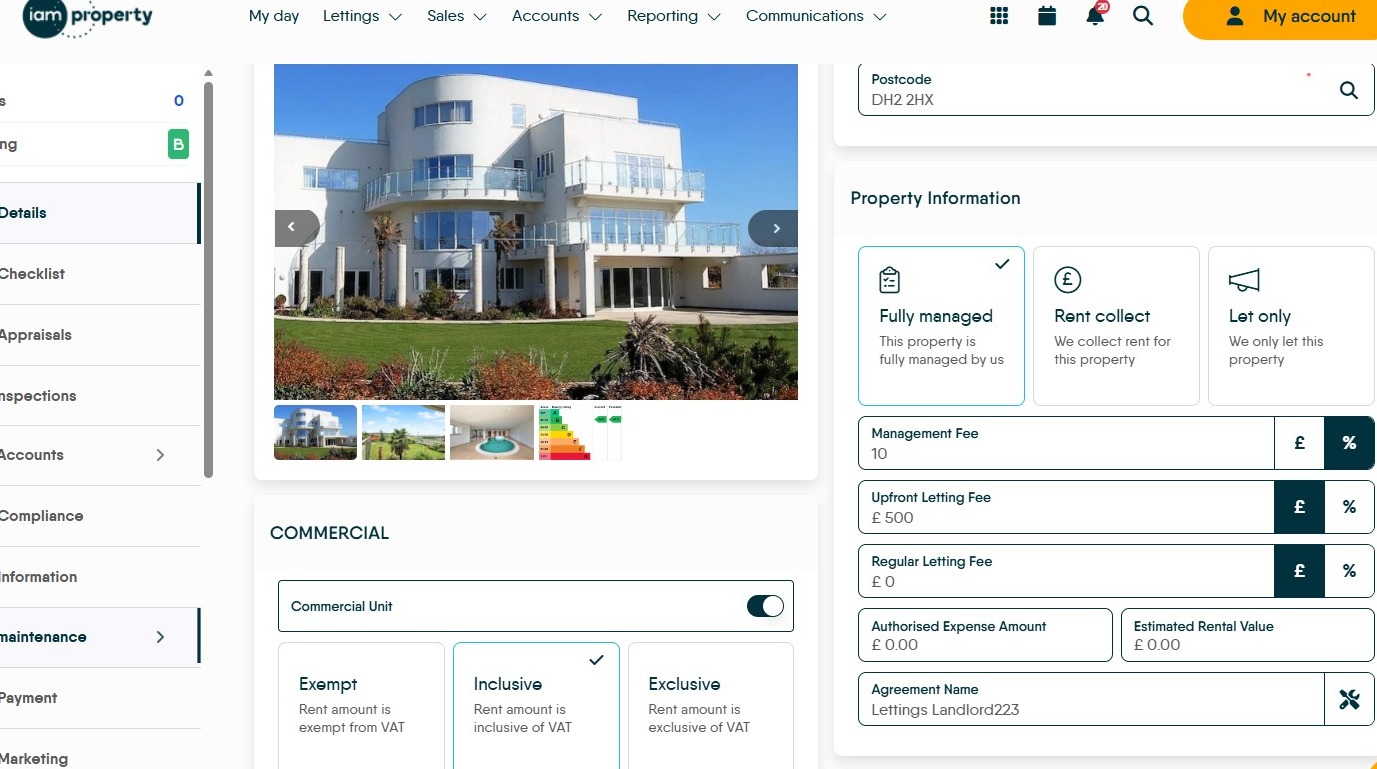
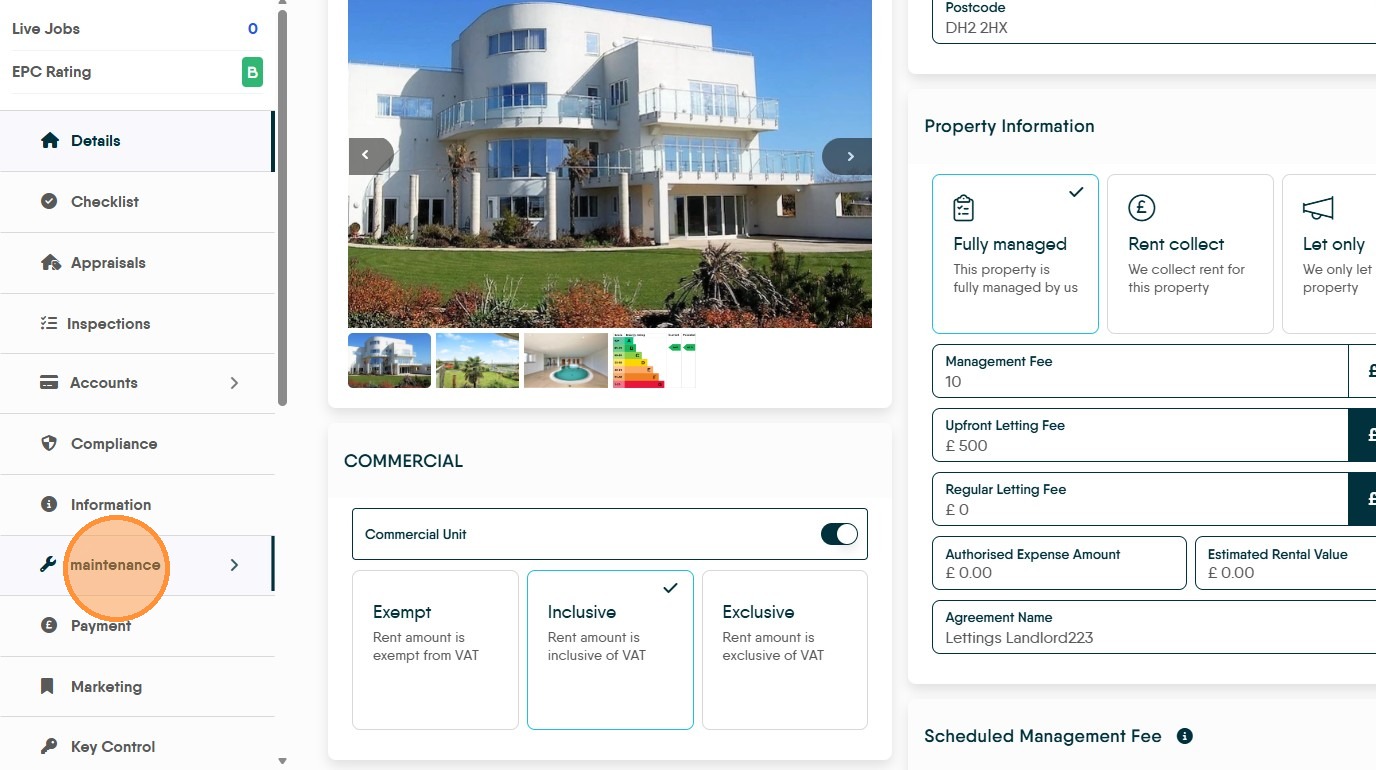
2. Click "Maintenance" in the left navigation menu.
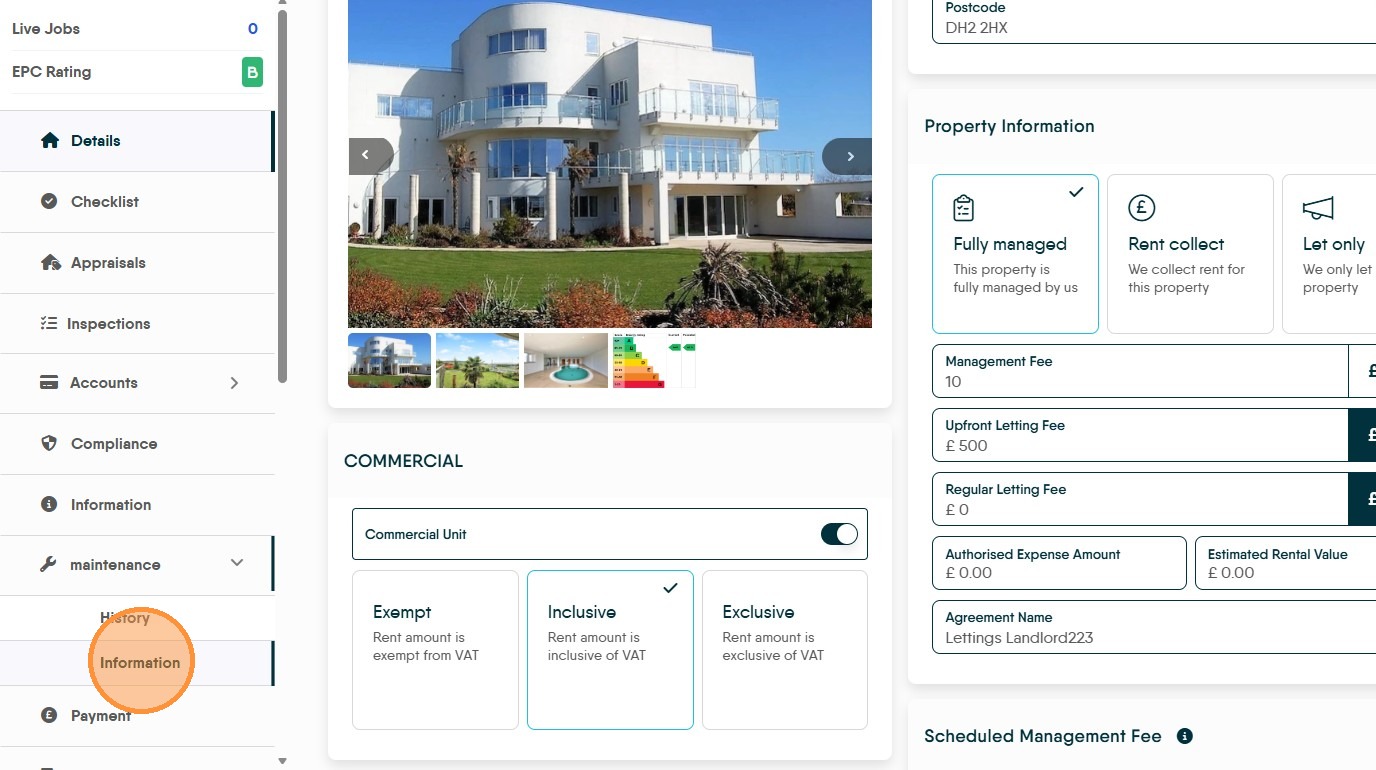
3. Click "Information".
Contractor Association
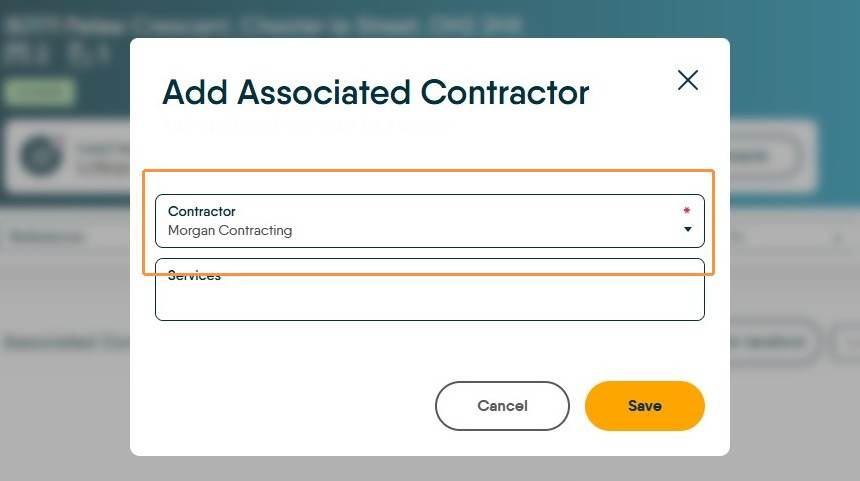
4. Click "Add associated contractor"

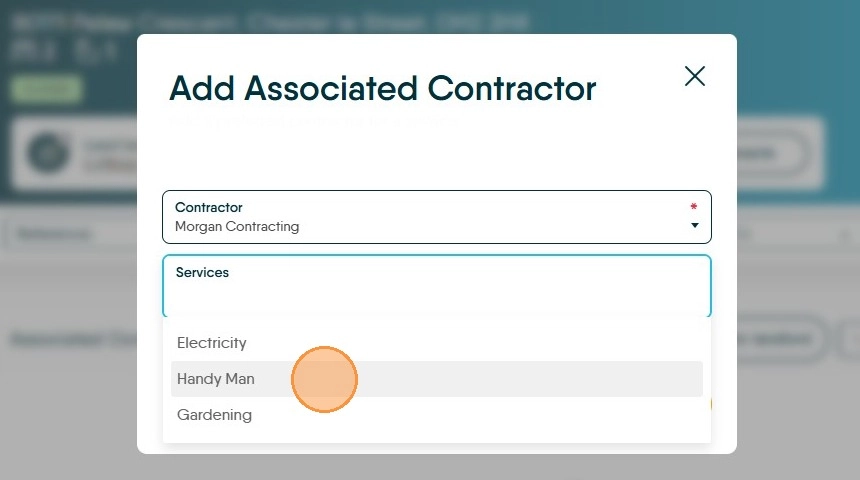
5. Select the desired contractor from the dropdown menu.
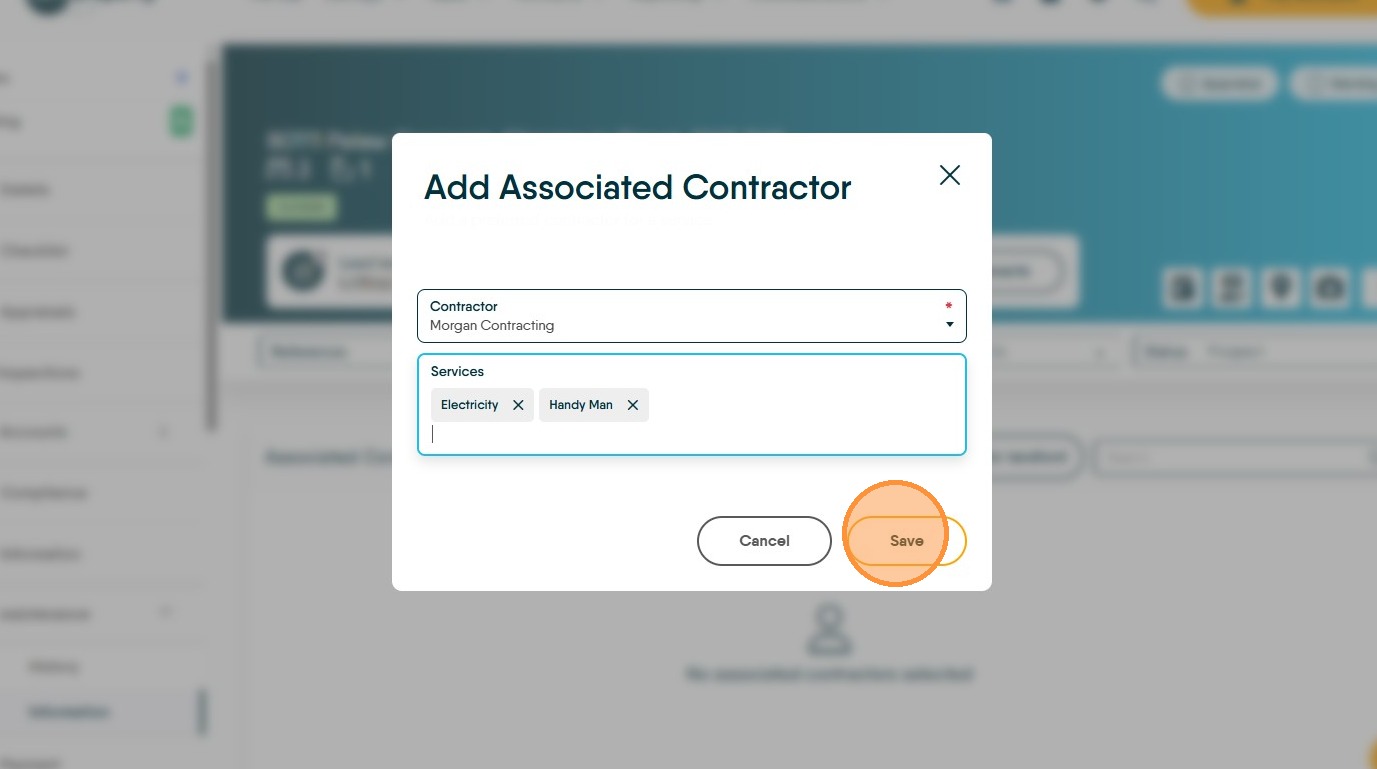
6. Then from the 'Services' menu, select the services that Contractor supplies for that property. Click "Handy Man"
Click "Electricity"
7. Click "Save"
Contractor Synchronization
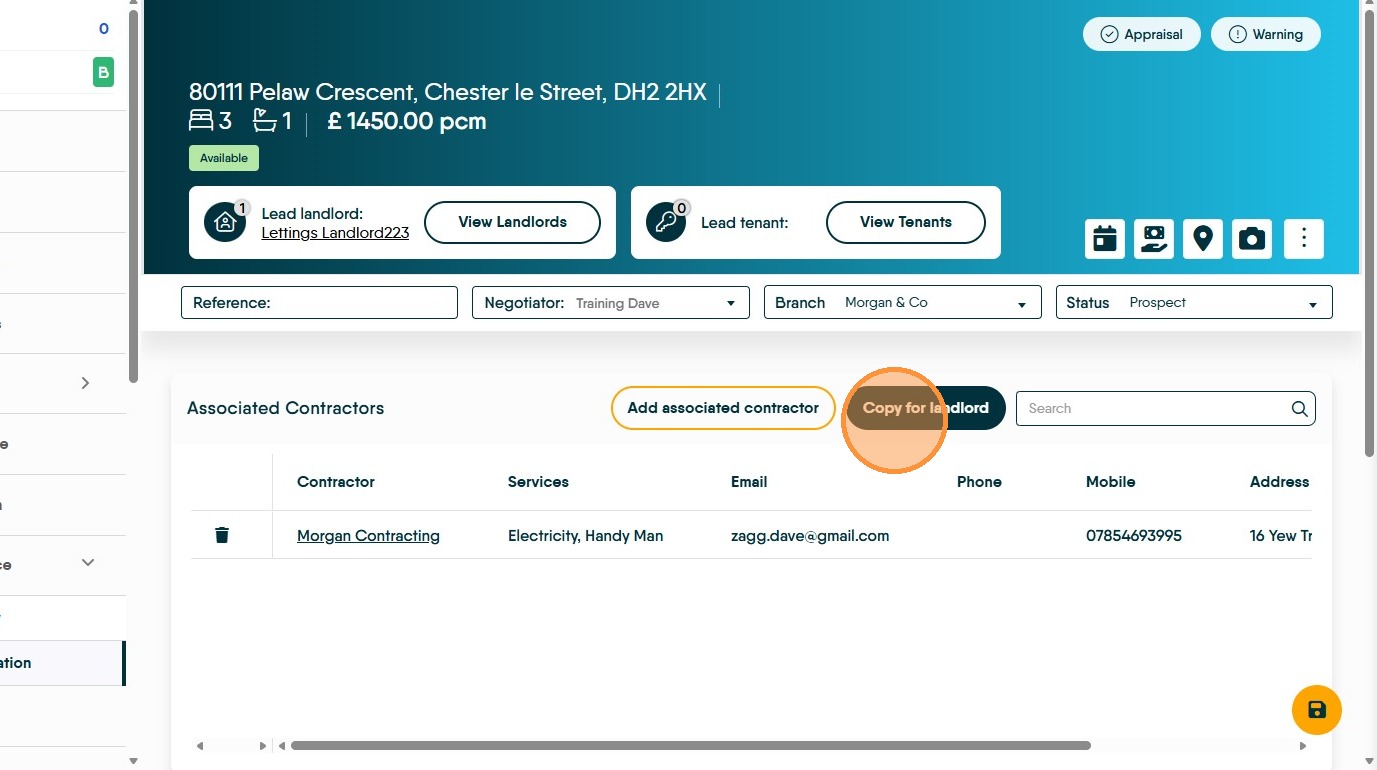
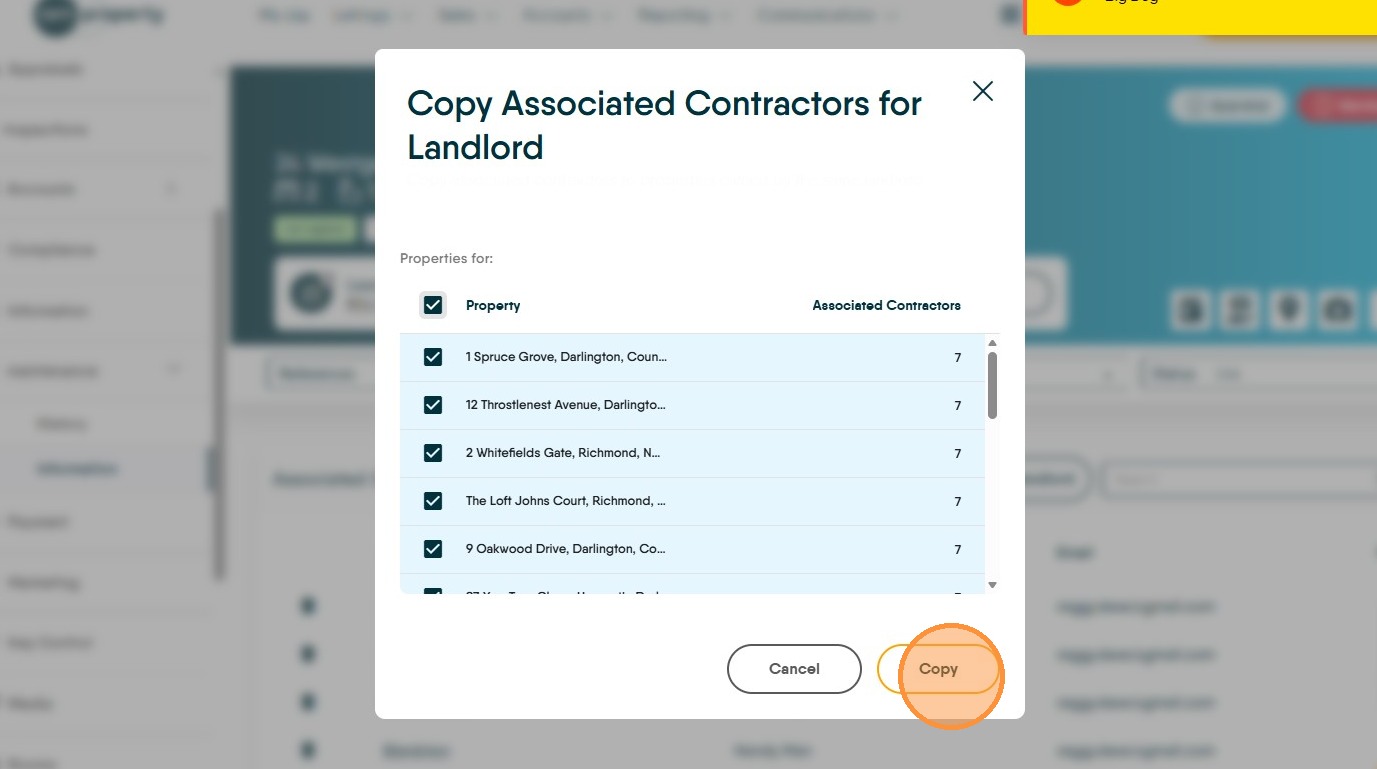
8. Click "Copy for landlord" to duplicate associated contractors to other properties controlled by that Landlord.
9. Select the checkbox to choose all listed properties. Or, select the individual properties.
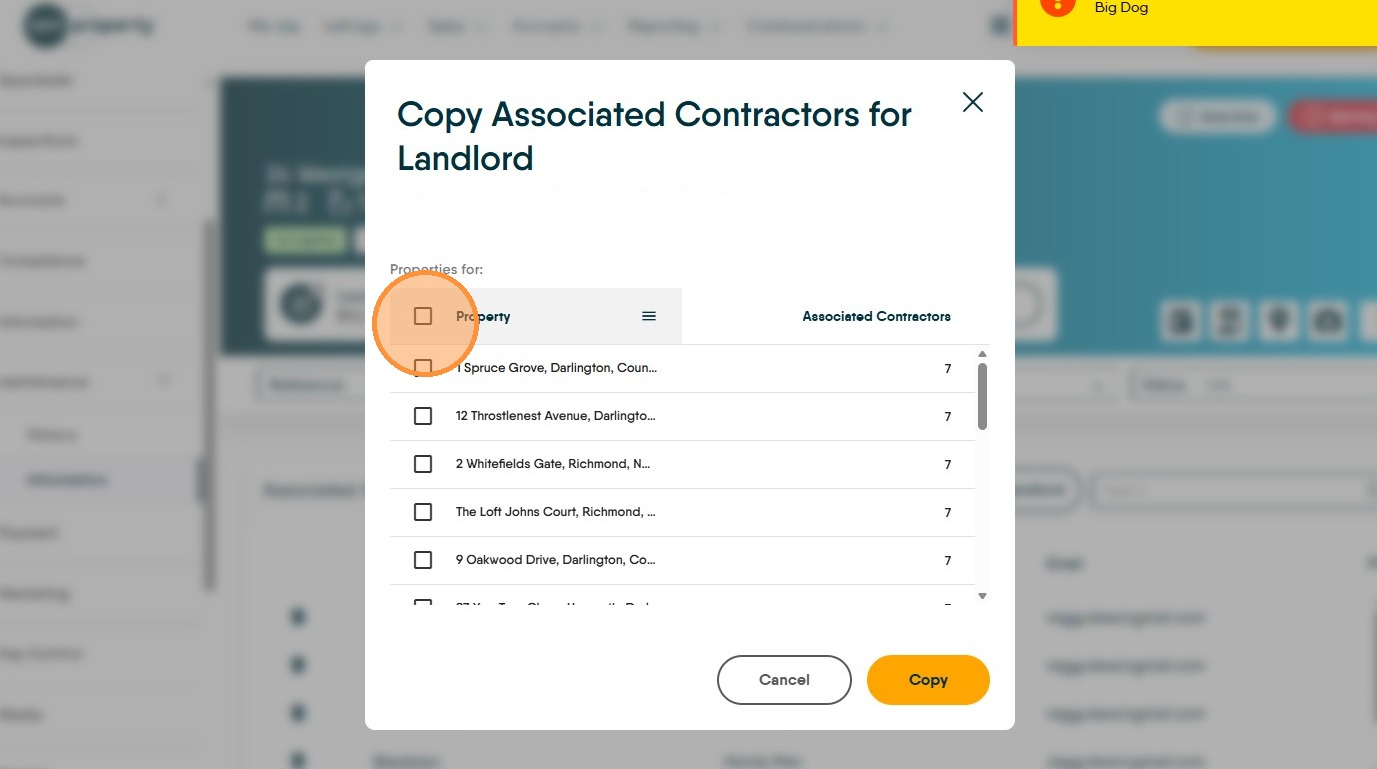
10. Click "Copy"
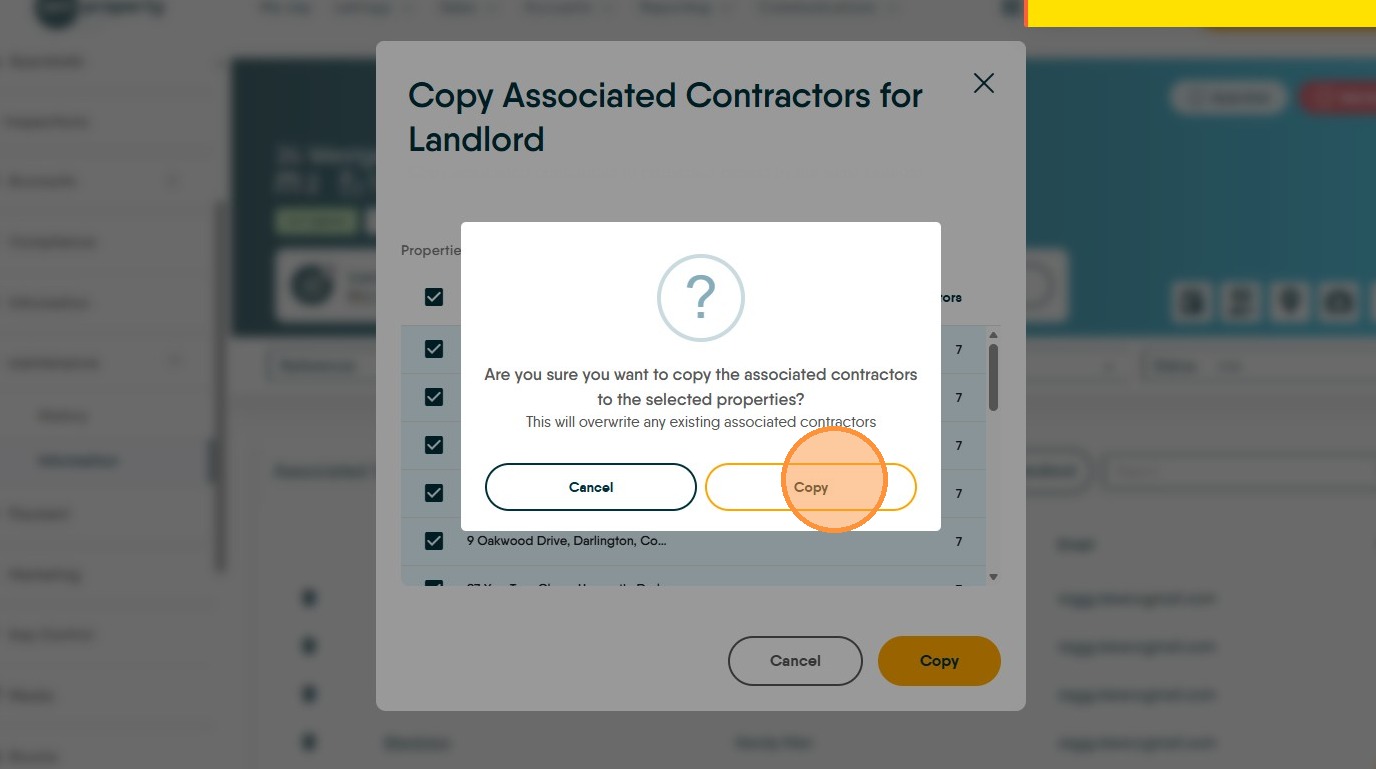
11. Click "Copy" on the confirmation prompt to finish the synchronization.
Warranty Management
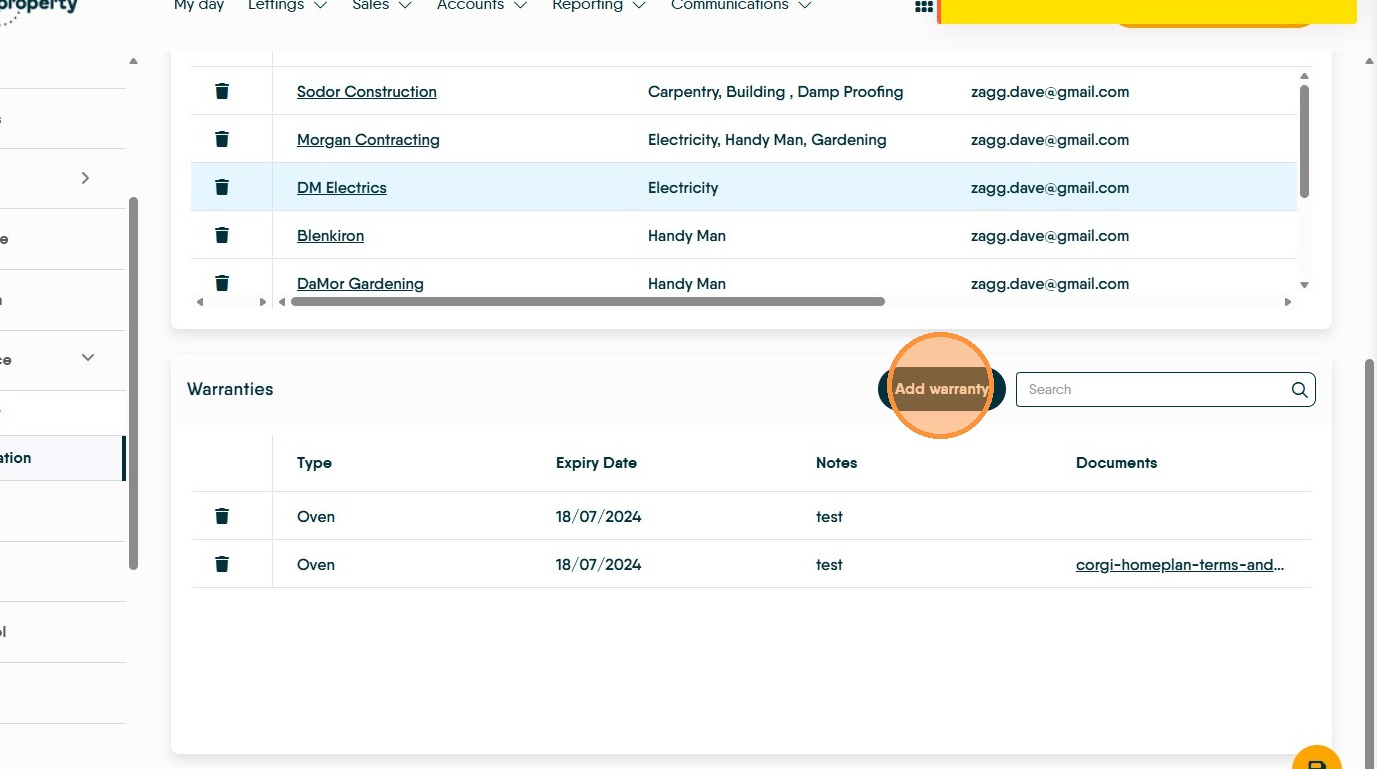
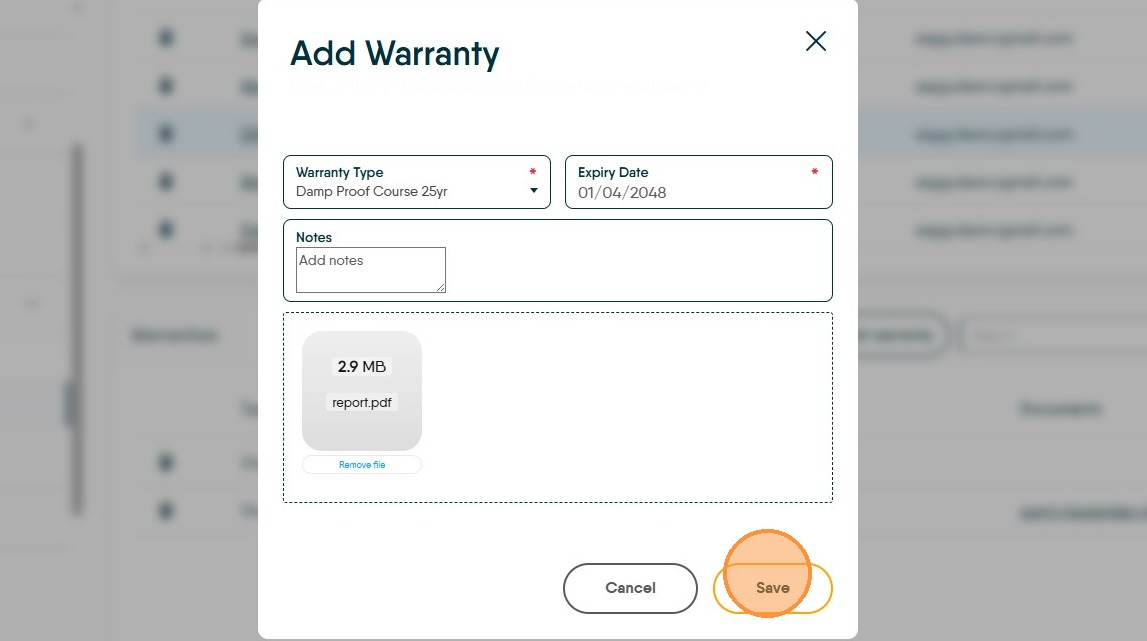
12. To add Warranty information scroll down the screen from where you added the contractors. Click "Add warranty"
13. Select the "Warranty Type" from the dropdown list. This list is a 'lookup' and can be added to, to learn how click here
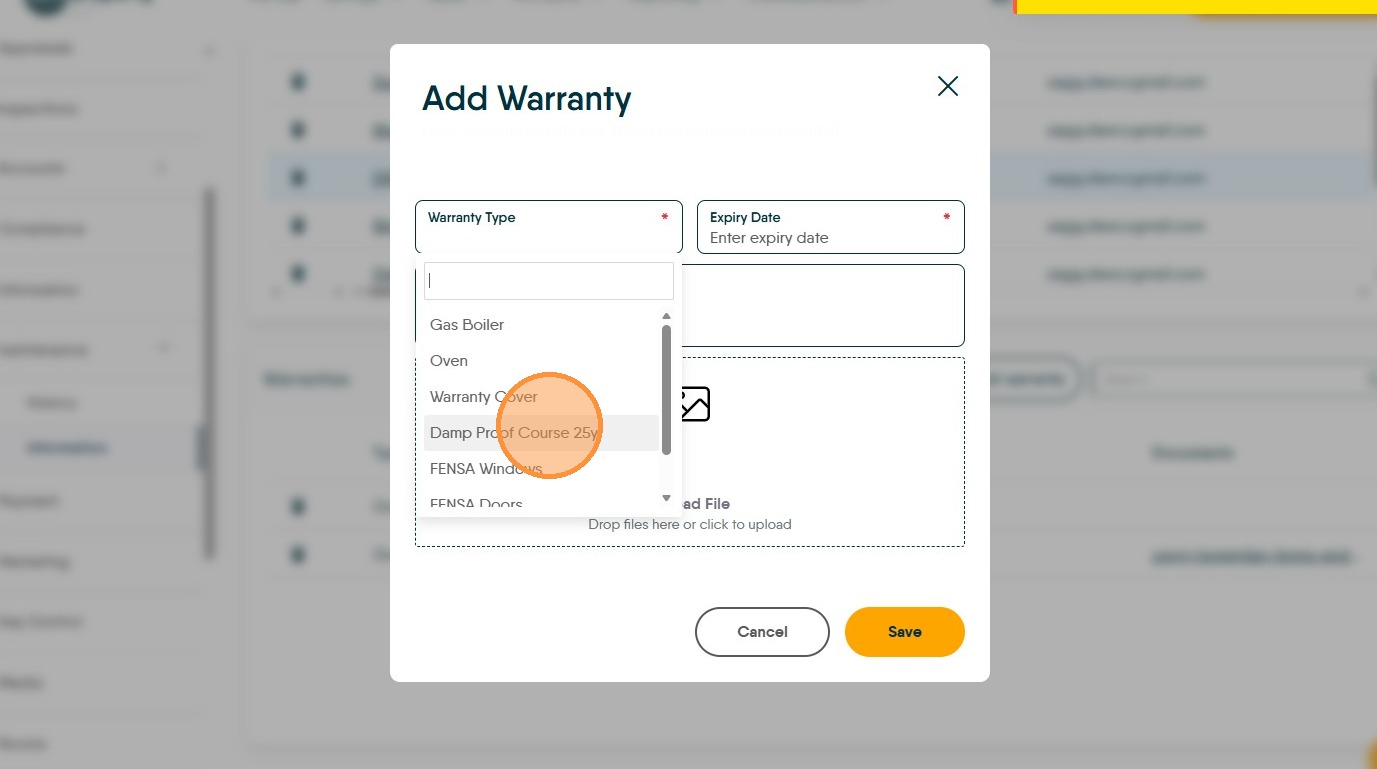
14. Enter the "Expiry Date" and click "Save".
Where does this Information Show?
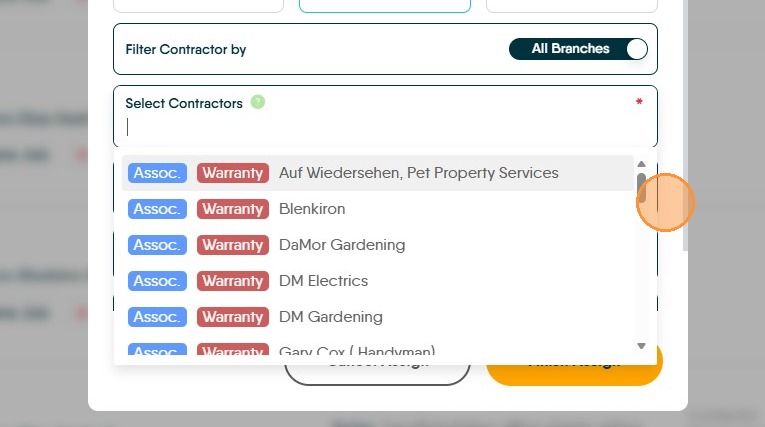
15. When the 'Assign Task' option is selected in Property Management and the 'Select Contractors' field is selected.
All the contractors will show in the list; 'Assoc' will show if the contractor is linked to the property in blue to the left side. If a 'Warranty' is noted on the property then warranty will show in red. If a contractor is not an 'Assoc' contractor they will show with either nothing beside them or 'Warranty' if a warranty is noted.
Comments
0 comments
Please sign in to leave a comment.