This guide provides a straightforward method for adding a new contractor record in the CRM system, ensuring that users can efficiently manage contractor information. By following the step-by-step instructions, users can easily navigate through the CRM interface and input essential details like company name and contact information. Viewing this guide will streamline the process, saving time and minimising errors when updating contractor records.
Tip: There are 2 main ways to add a contractor record. From the My Day screen and from the 'Bento' Menu, adding the record is the same from either way.
1. Navigate to https://crm.iamproperty.com/MyDay
From the MyDay screen
2. Click "Add New Record"

3. Click "Contractor"
If this is the process you used continue here [[https://scribehow.com/shared/How_to_Add_a_New_Contractor_Record_in_CRM__NmXk_NmVSYCpjQvBe56AMQ#7a01e615]]

From the Bento Menu
4. Click On the 'Bento' menu

5. Click "Add new record"
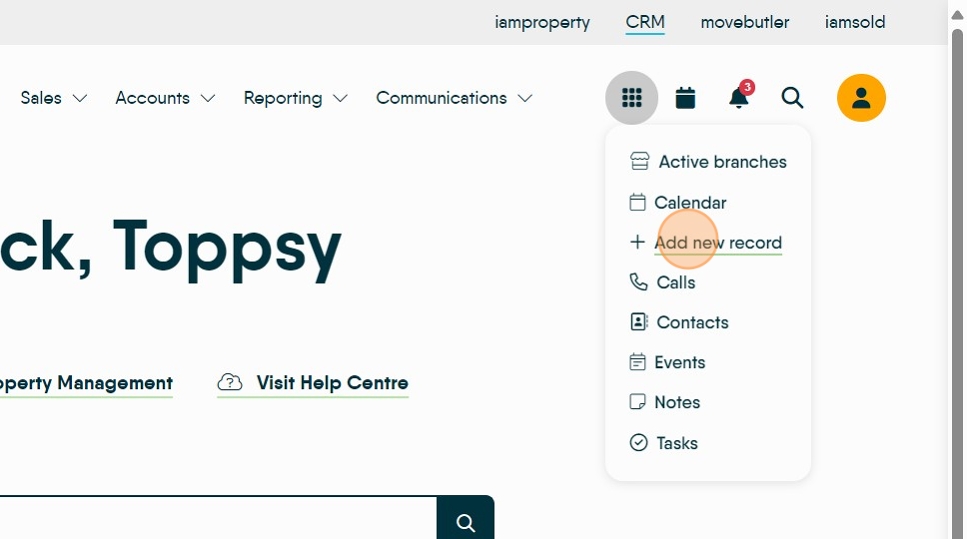
6. Scroll down to the "Contractor"

Creating the Contractor Record
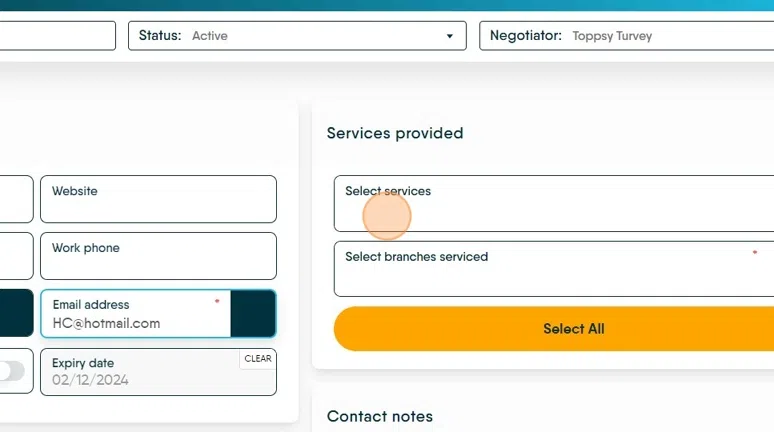
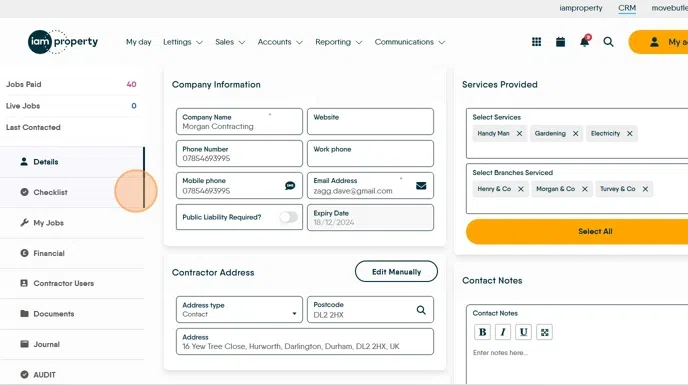
7. Scroll down to the company information area and fill in the info as required (minimum 2 mandatory fields) but fill in as much as you have.

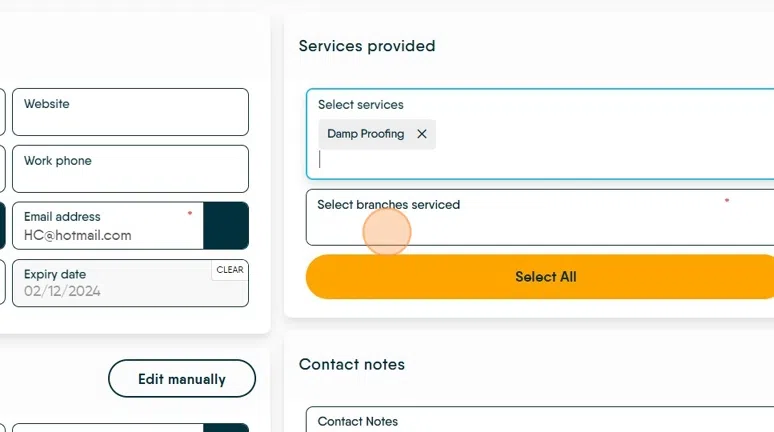
8. Click this search field and fill in the services that they provide
9. Click this search field and look at the branch they will be servicing
for example Click "Turvey & Co"
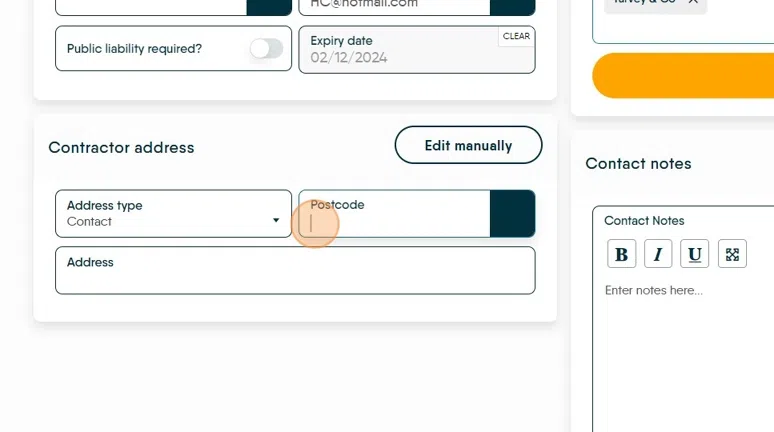
10. Click this text field and add the contractors address. Add the Postcode and then click the magnifying glass icon.
Then select the address from the menu, or the closest address and use the edit option to edit the address.
11. Click here to save the data and move on with the Contractor setup.

Tip: Tip! to the left side of the screen you will now see more menu options, work down and complete as much of these as possible.
12. Click "Checklist". If enabled this will show the checklist for a Contractor record.
Click here.
13. Click "My Jobs" this will display a list of the Jobs allocated to that contractor, the details and if they have been paid or not.
At the top left of the screen you can also see how many jobs have been paid and how many Live jobs the contractor currently has assigned.

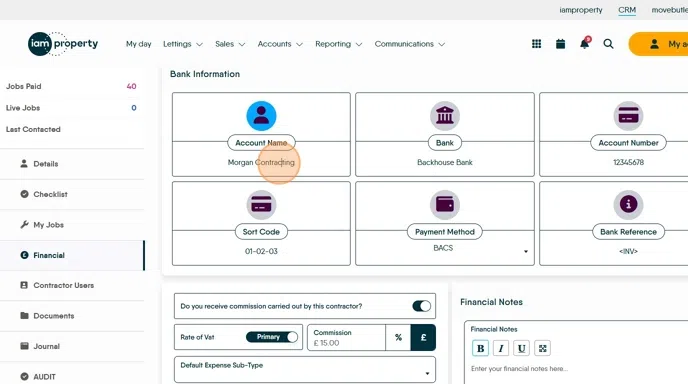
14. Click "Financial" this will allow you to add the payment details for your contractors

15. In the Financial screen add the "Account Name", the "Bank Name", the "Account Number", the "Sort Code", the "Payment Method" e.g."BACS", the "Bank reference" adding <INV> into this field adds the Contractor invoice number to the payment for easy identification of payments.
If you are NOT paying your contractor via BACS select the appropriate method e.g. cheque, bank transfer etc as this will create the correct payment method in the CRM Accounts module.
16. If you receive a commission, or a payment for allocating work to your contractor. Click here and note the amounts, this will link to the Expenses module in accounts and then ensure that the correct amounts are taken and paid to the Contractor and yourselves.

17. Click "Documents" to add any documents, e.g. qualifications, Insurances etc.
