Learn how to efficiently add a new property appraisal to your CRM system. This guide provides a clear walkthrough to help you input property details, assign team members, and schedule appointments seamlessly.
New Appraisal Setup
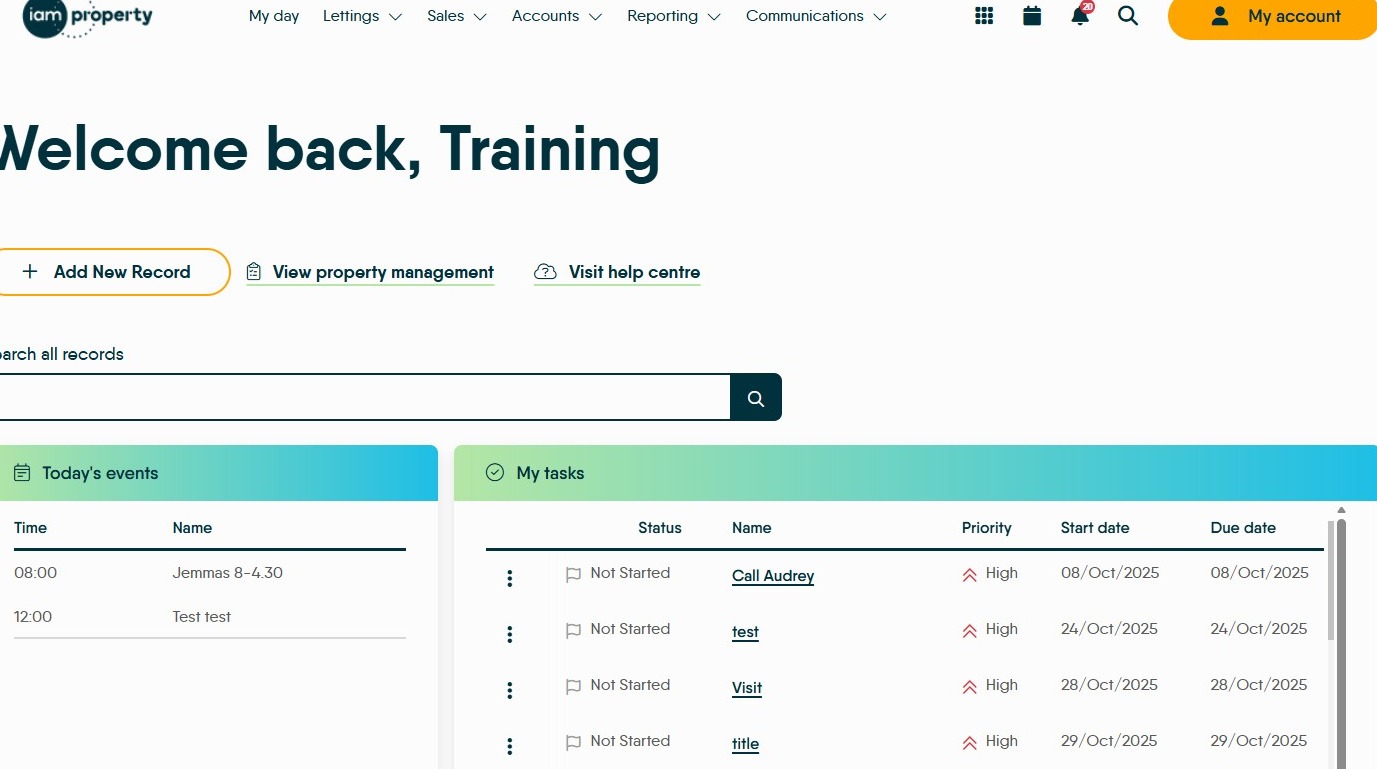
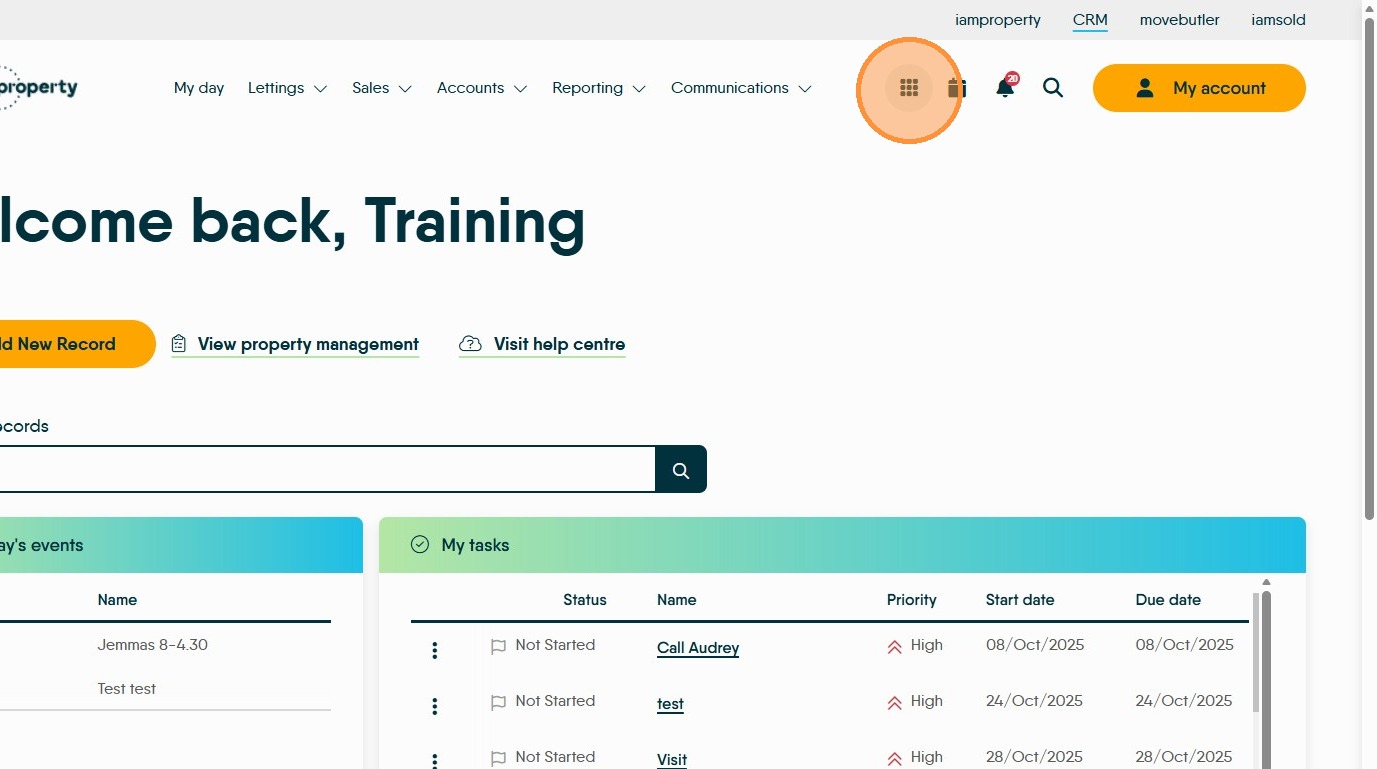
1. Navigate to https://crm.iamproperty.com/MyDay
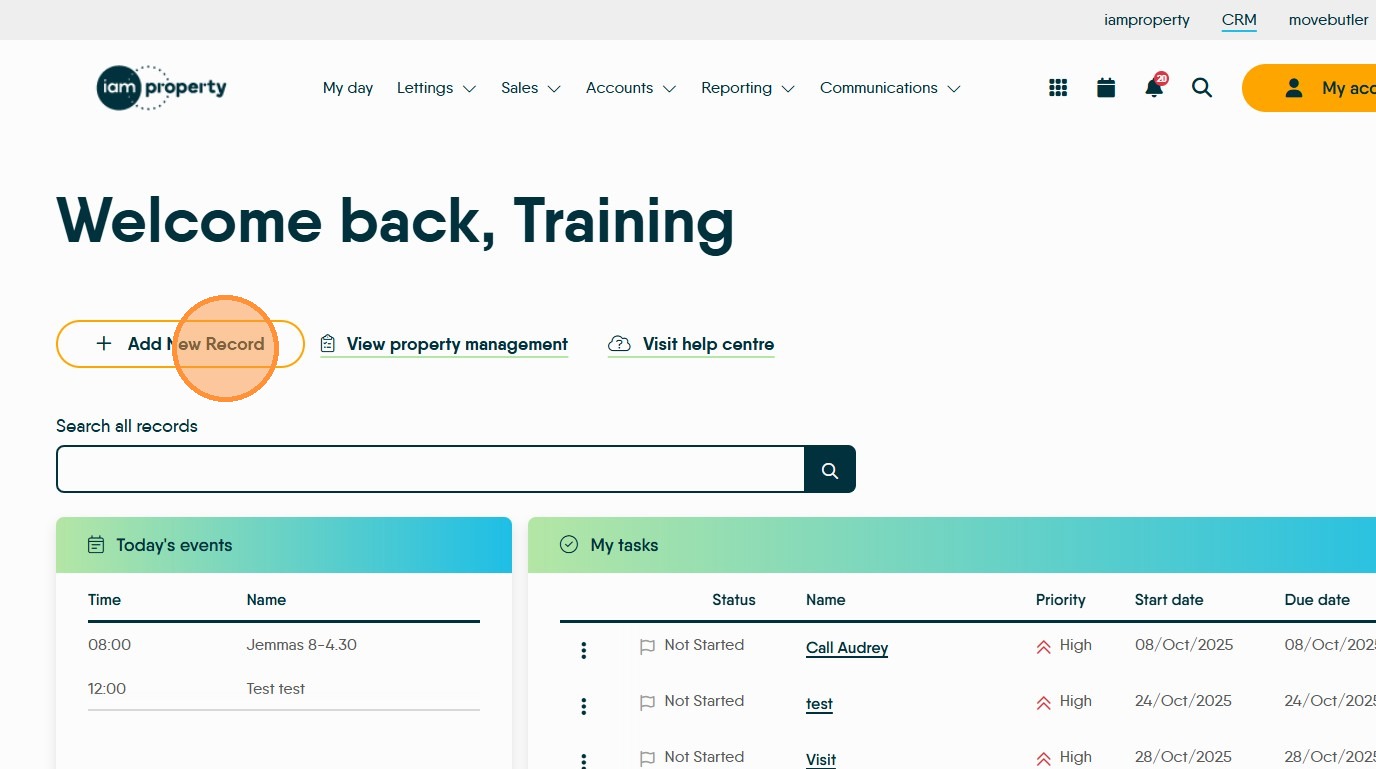
2. Click "Add New Record"
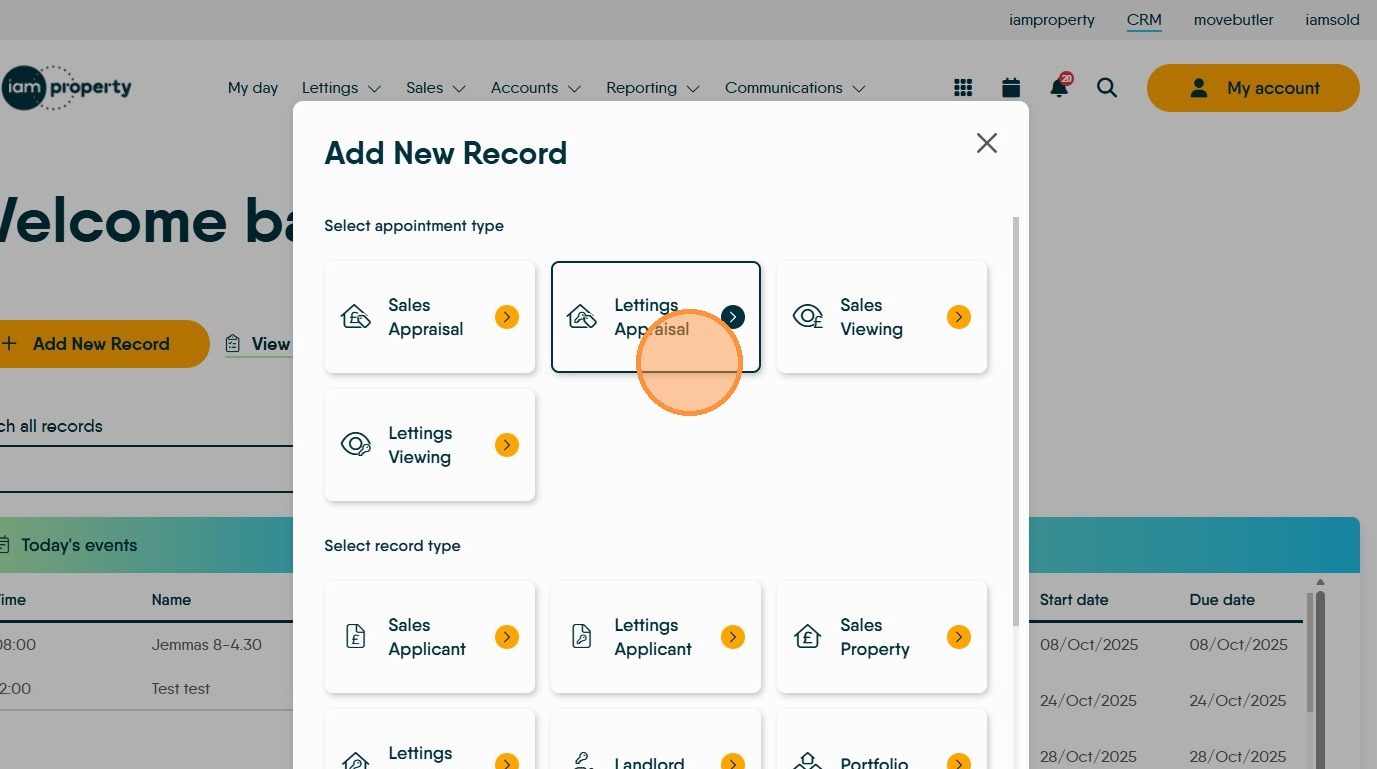
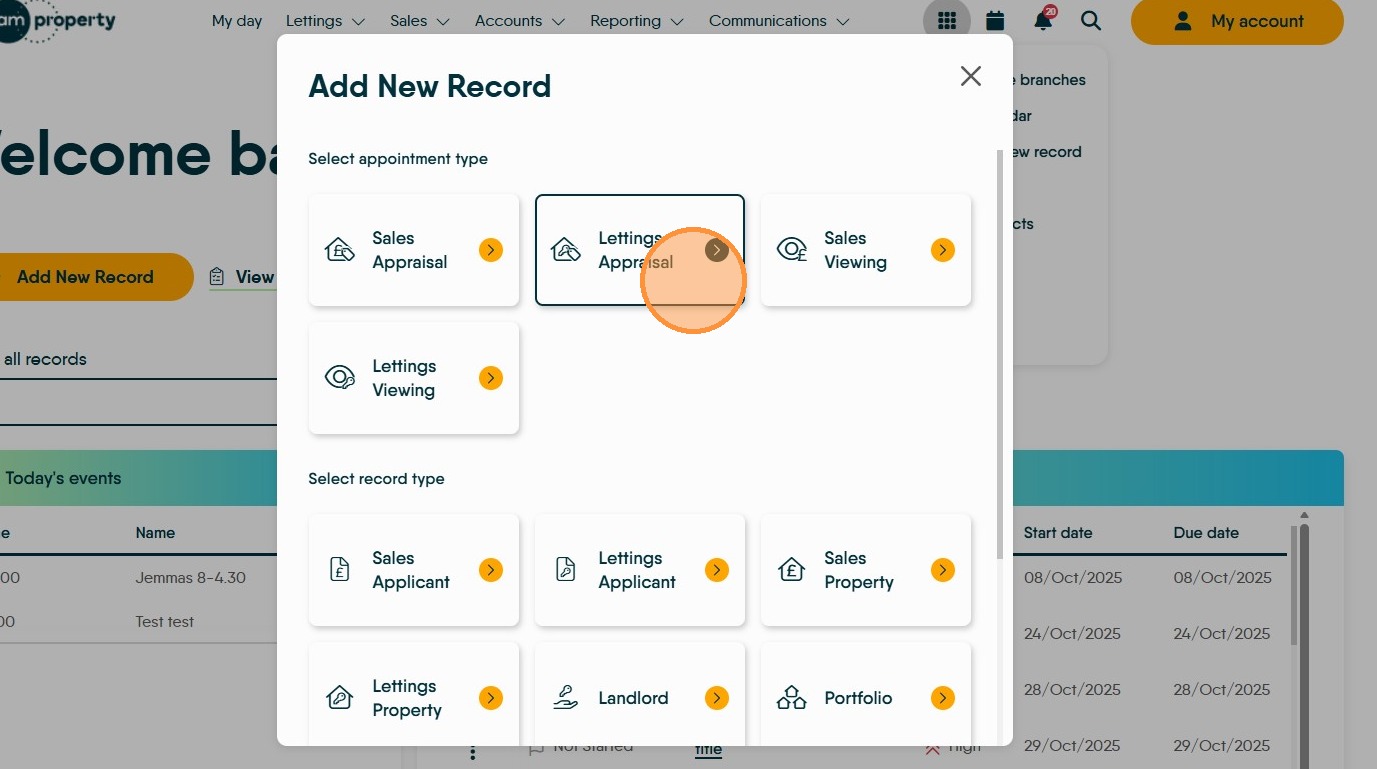
3. Select "Lettings Appraisal" from the appointment type options.
4. If you are not in the My Day screen you can add a new Appraisal from the 'quick access' menu
5. Click "More actions"
6. Click "Add new record"

7. Click here.
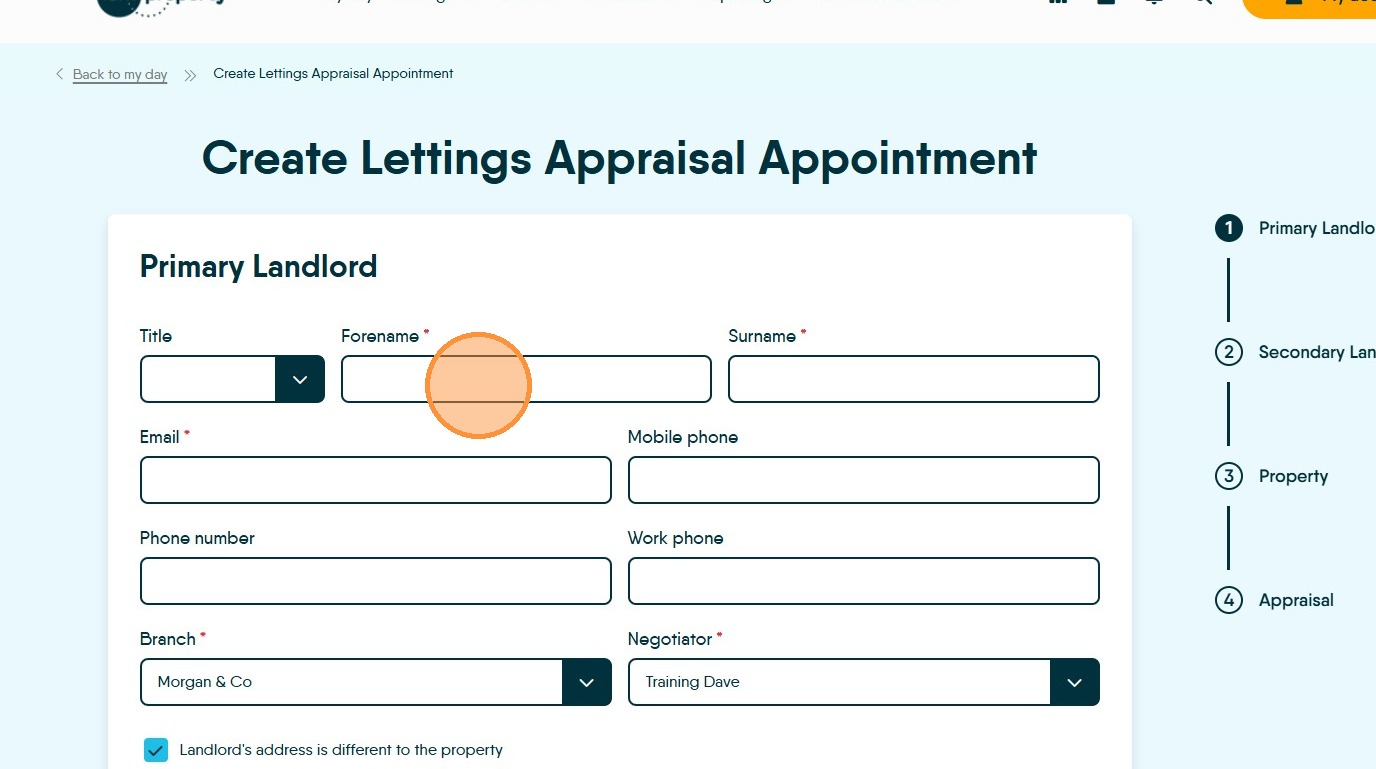
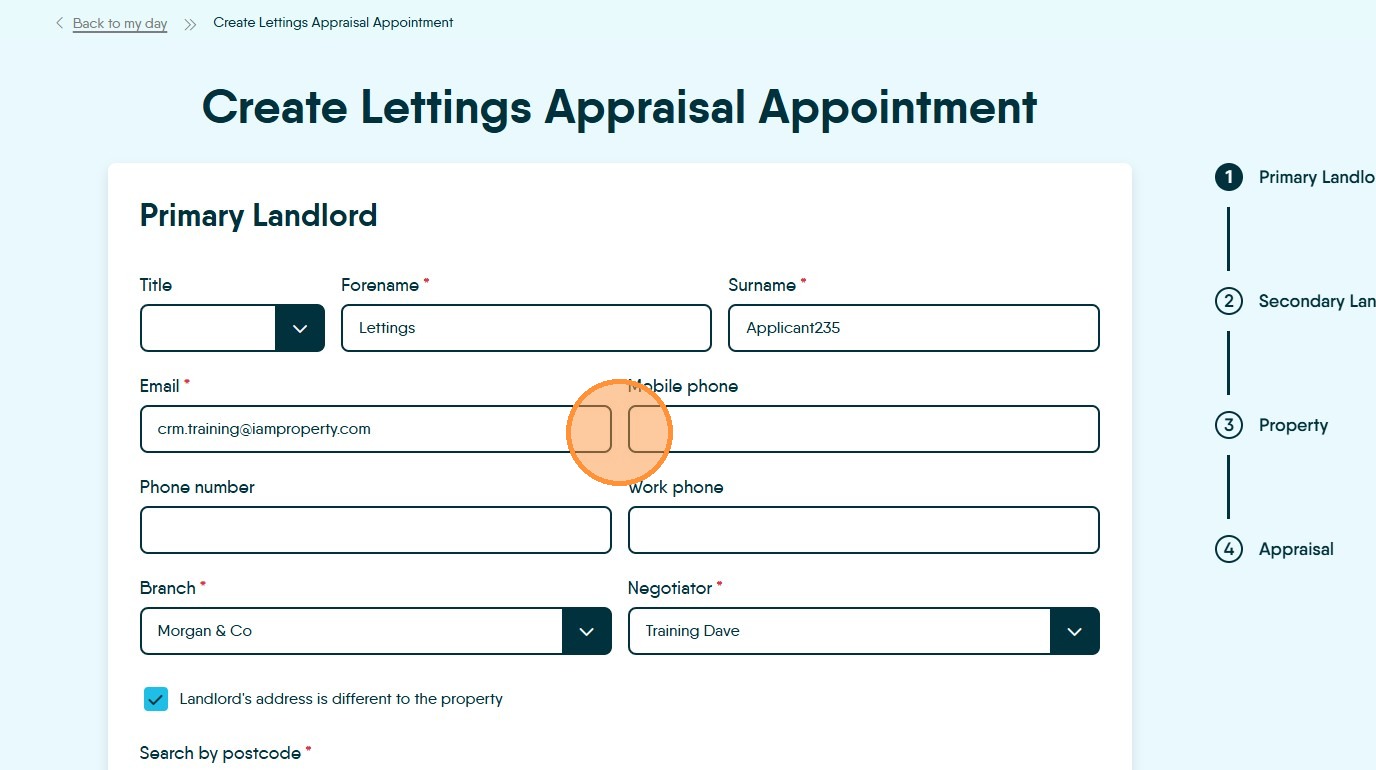
Landlord Information
8. Enter the Landlord's Forename, Surname and Email address.
These are mandatory records.
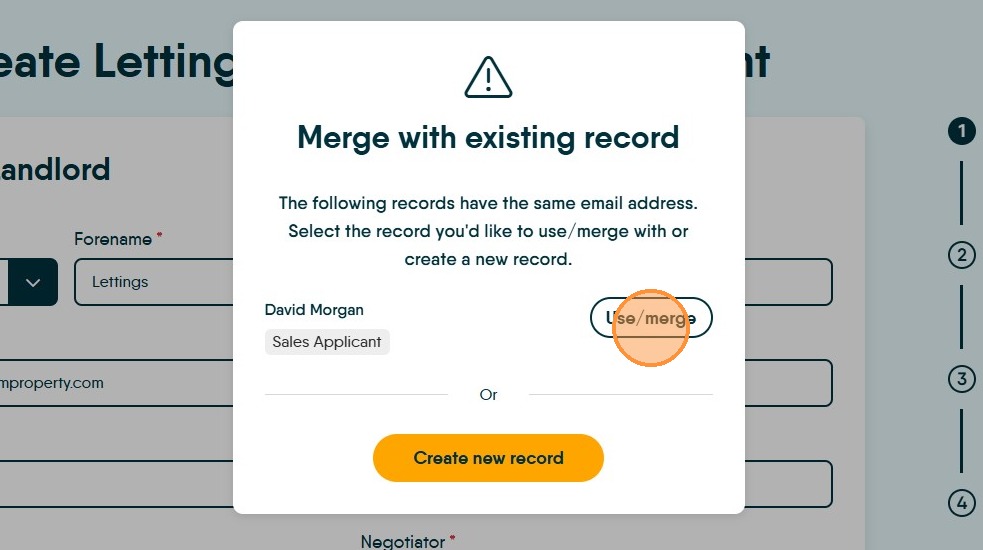
9. If a duplicate record warning appears this shows the email has been used before, you can use the 'Use/Merge' option to add the data from the previous record into the new one.
N.B. CRM uses a separate record for each record type, as in the example a sales applicant record has been created previously. This new record will be in addition to the sales applicant.
10. Enter the landlord's contact Email and Mobile phone number.
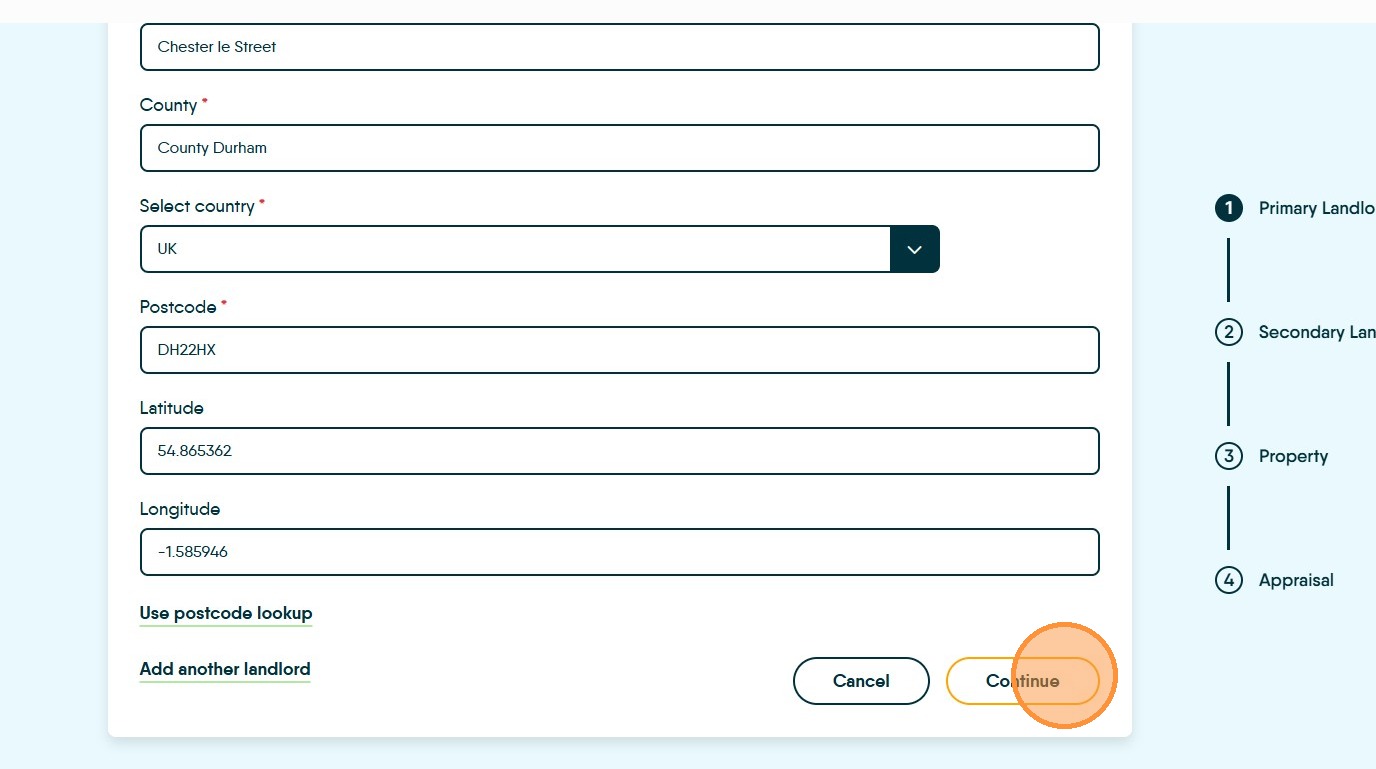
11. Search for and select the landlord's address by postcode. If require use the add address manually option to add or edit the address.
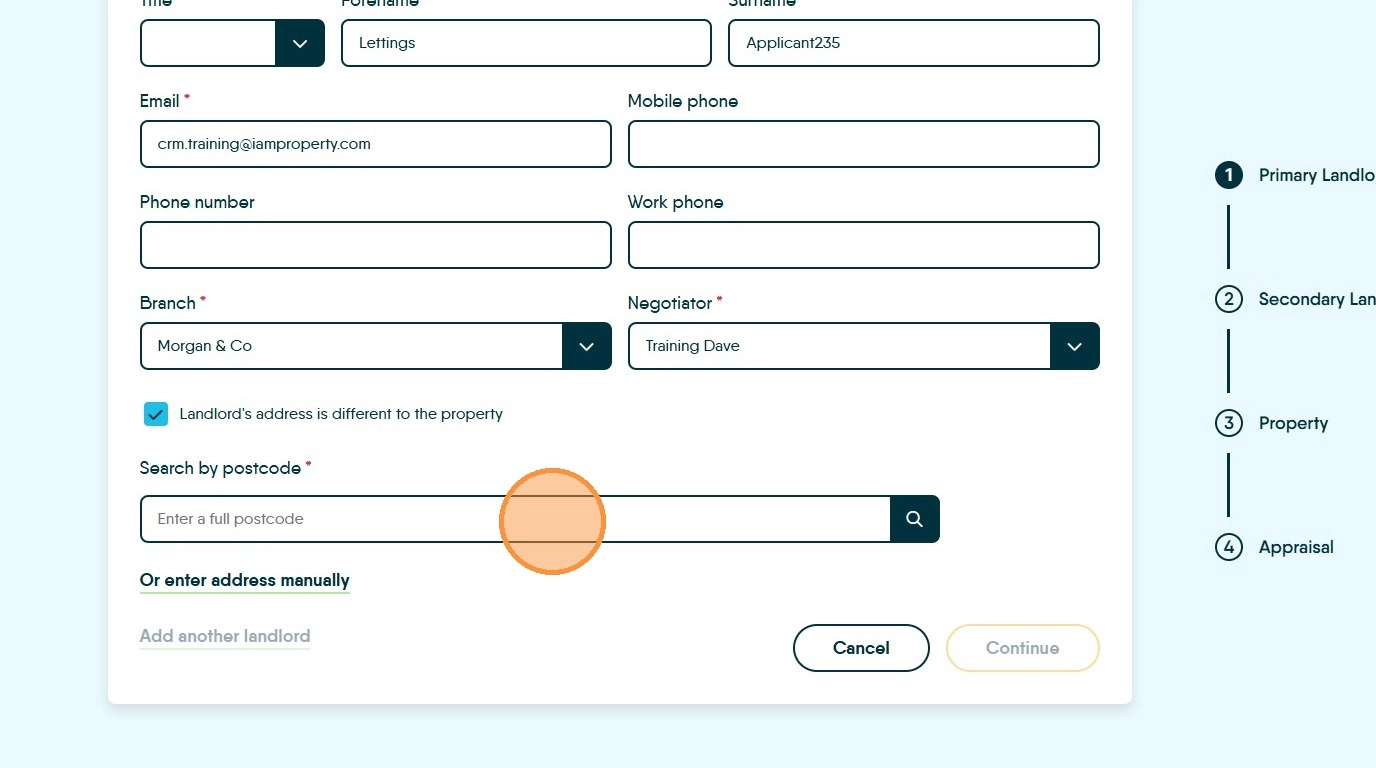
12. Click "Continue"
Property Details
13. Search for and select the property address by postcode.
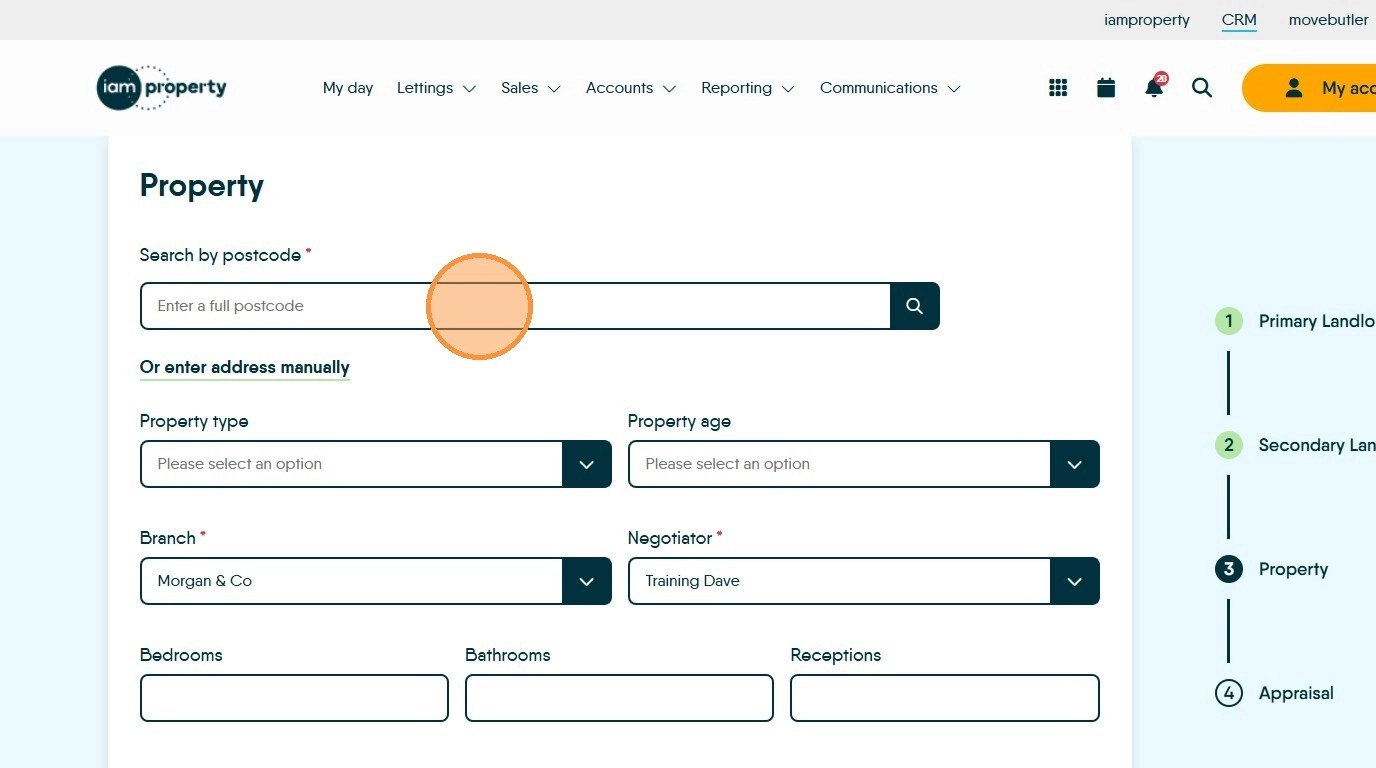
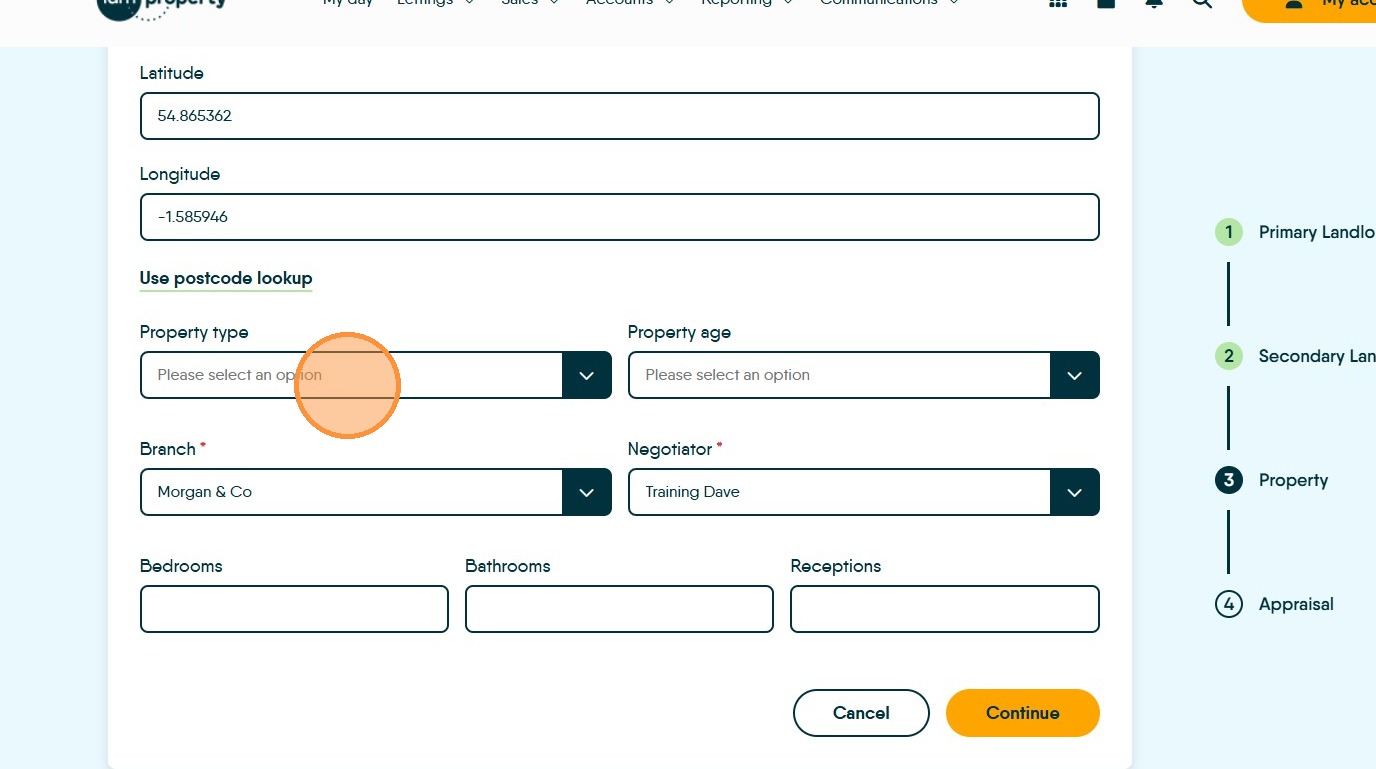
14. Click the "Property Type" field and select from the drop down menu.
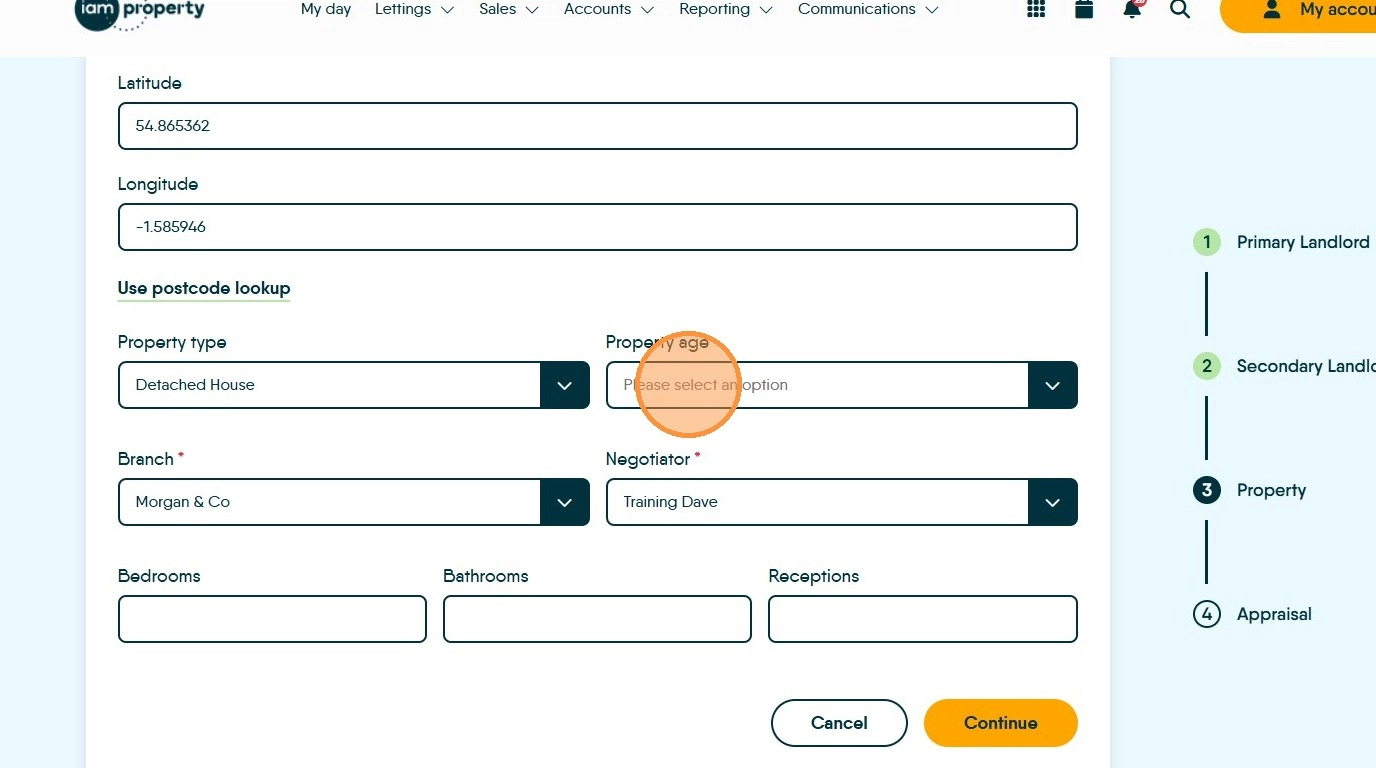
15. Select the Property age.
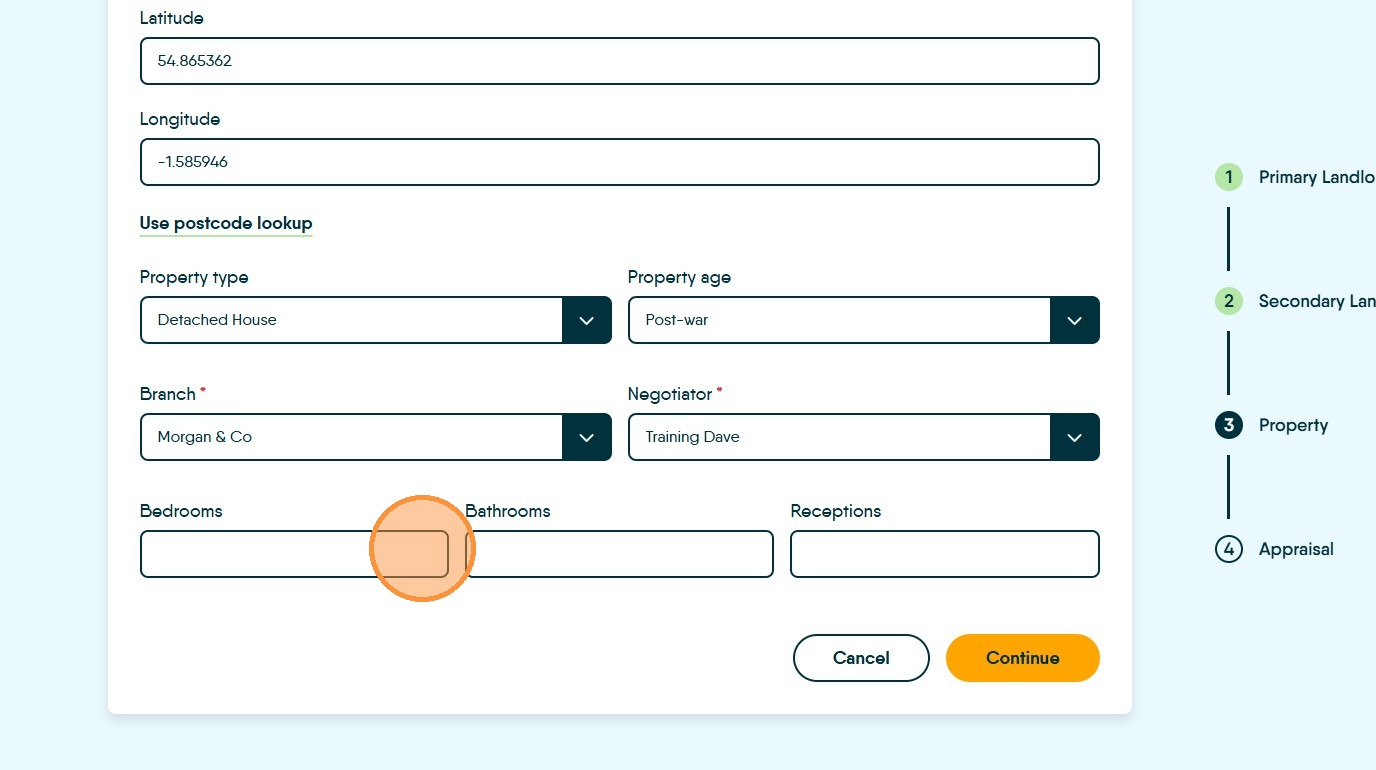
16. Add the number of Bedrooms
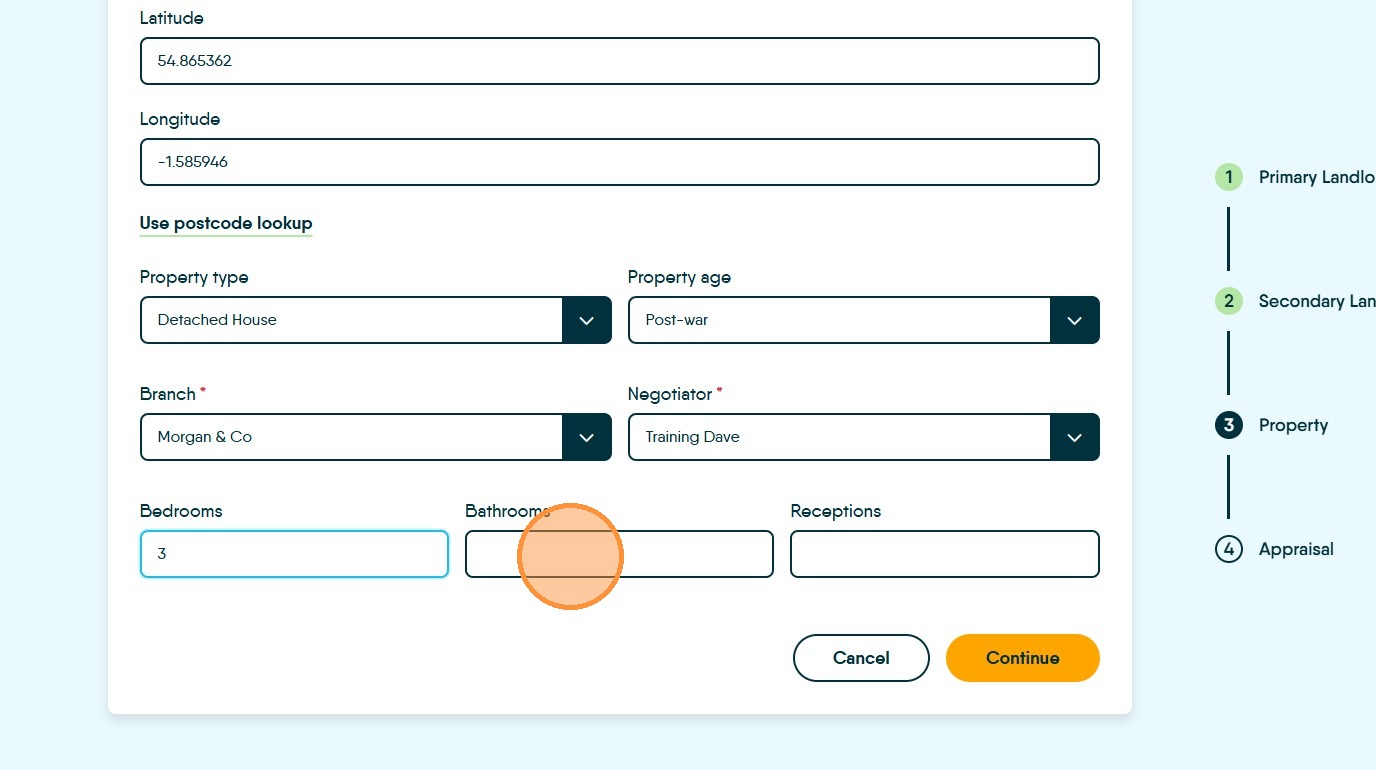
17. Enter the number of Bathrooms.
18. Enter the number of Reception rooms
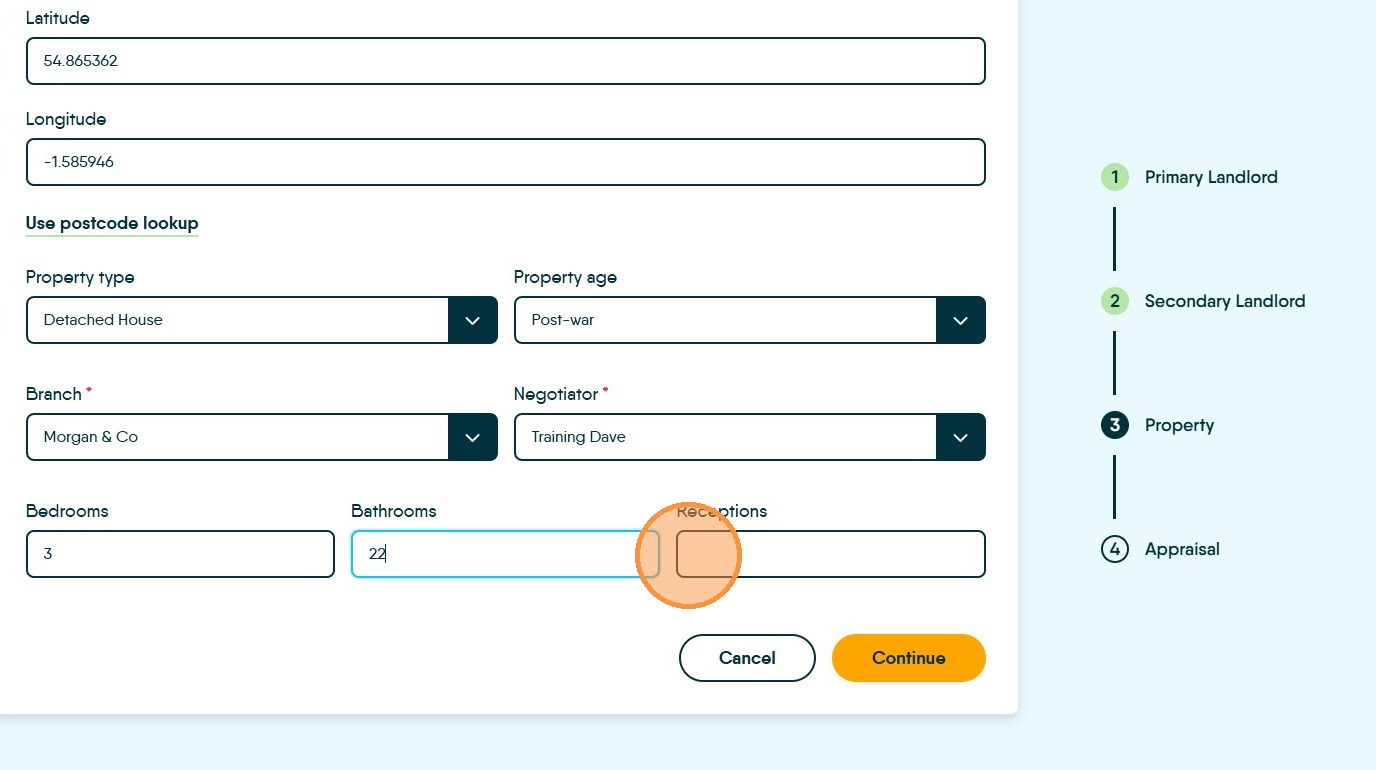
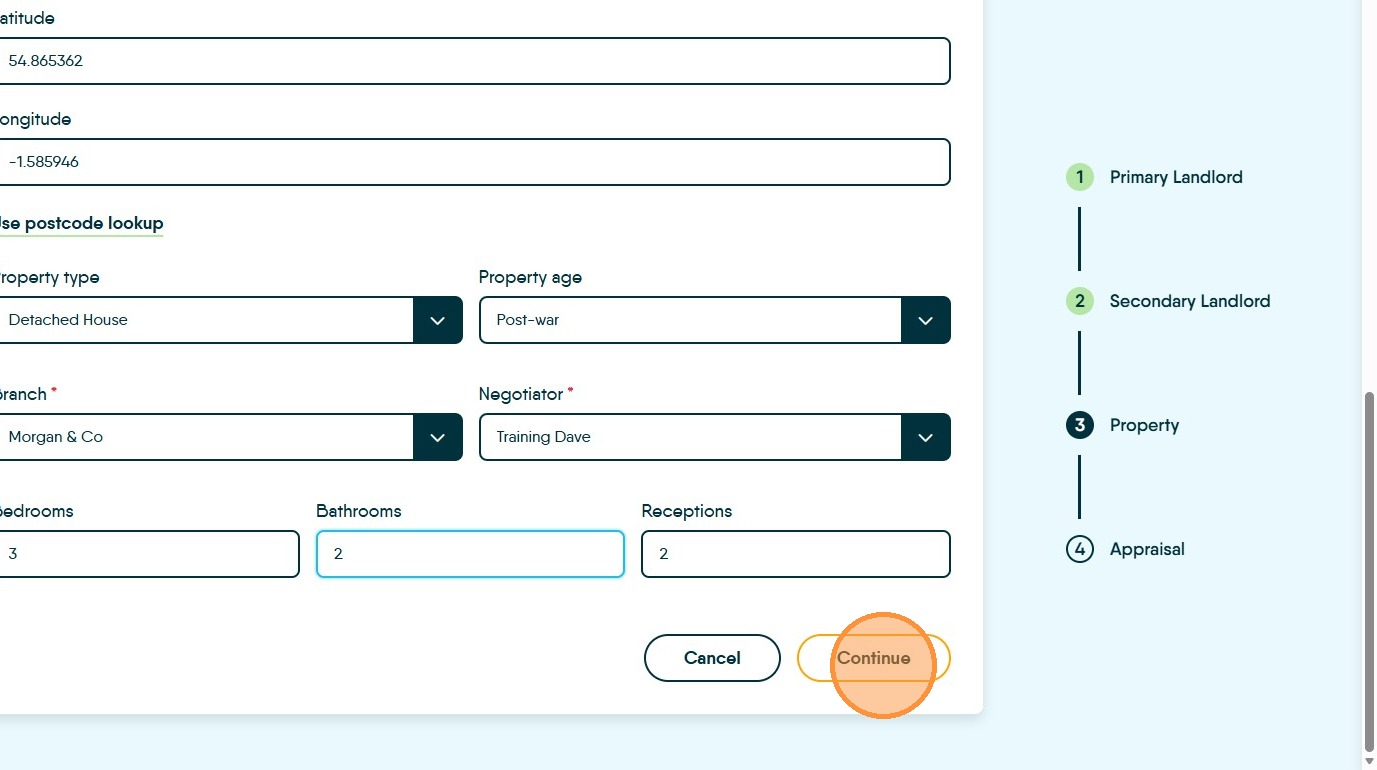
19. Click "Continue"
Scheduling and Confirmation
20. Select the negotiator to assign to this appointment.

21. Select the Date from the list. Set the "Start time *".
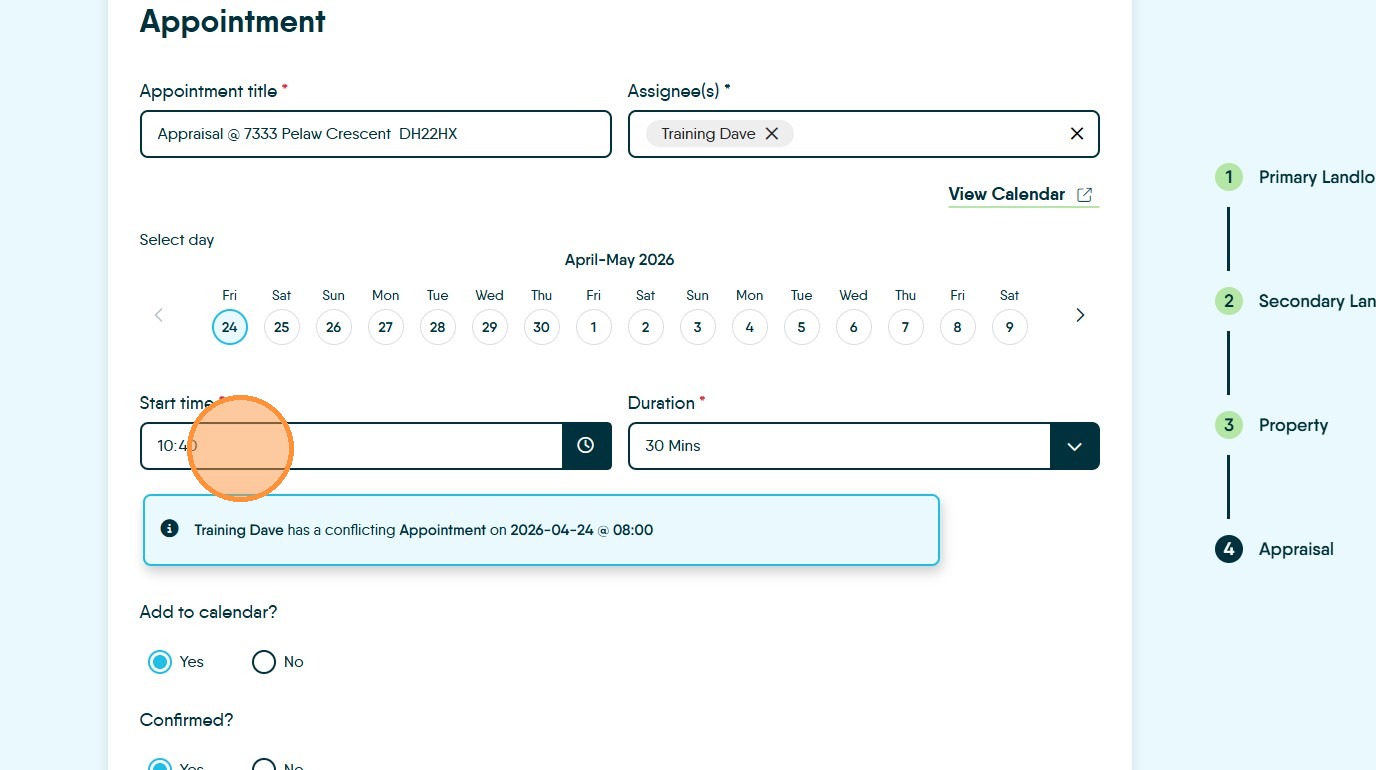
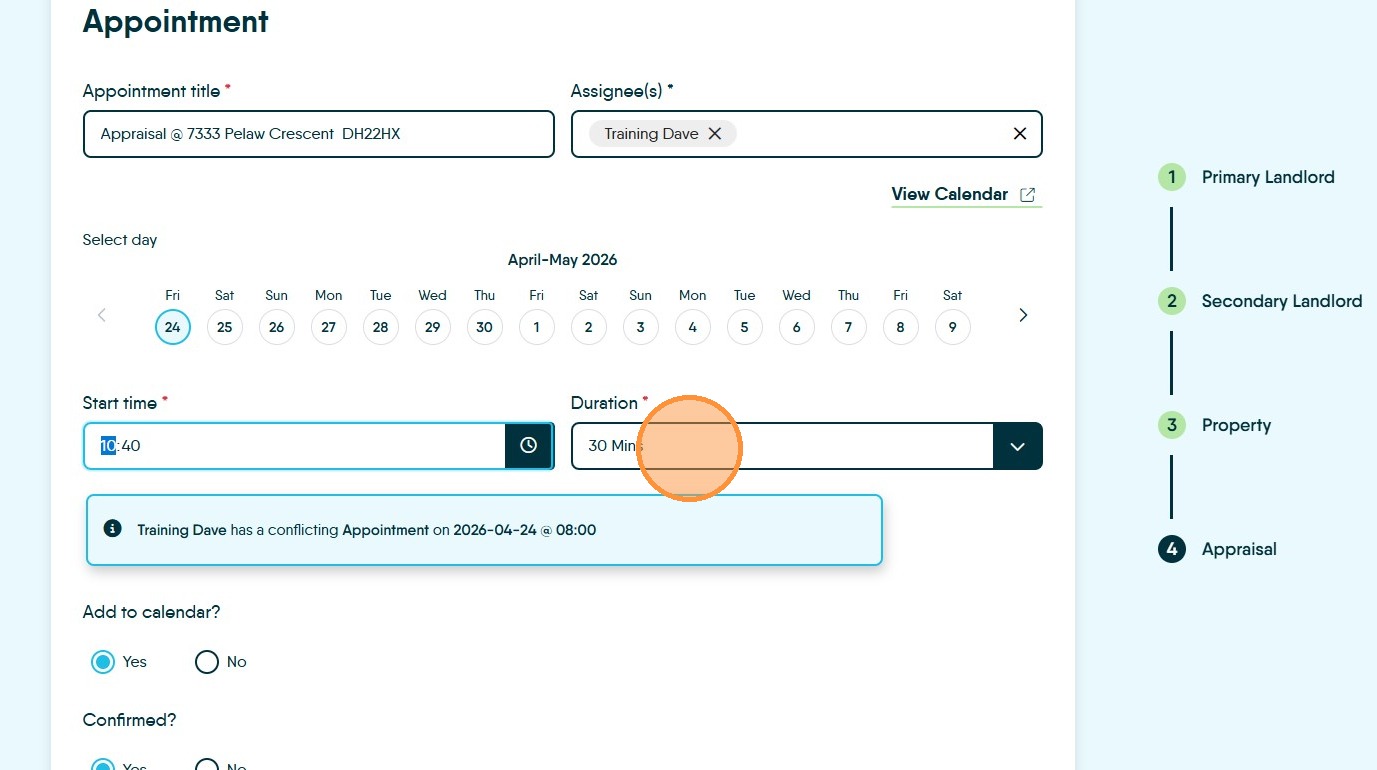
22. Click the "Duration" field and set the duration of the visit.
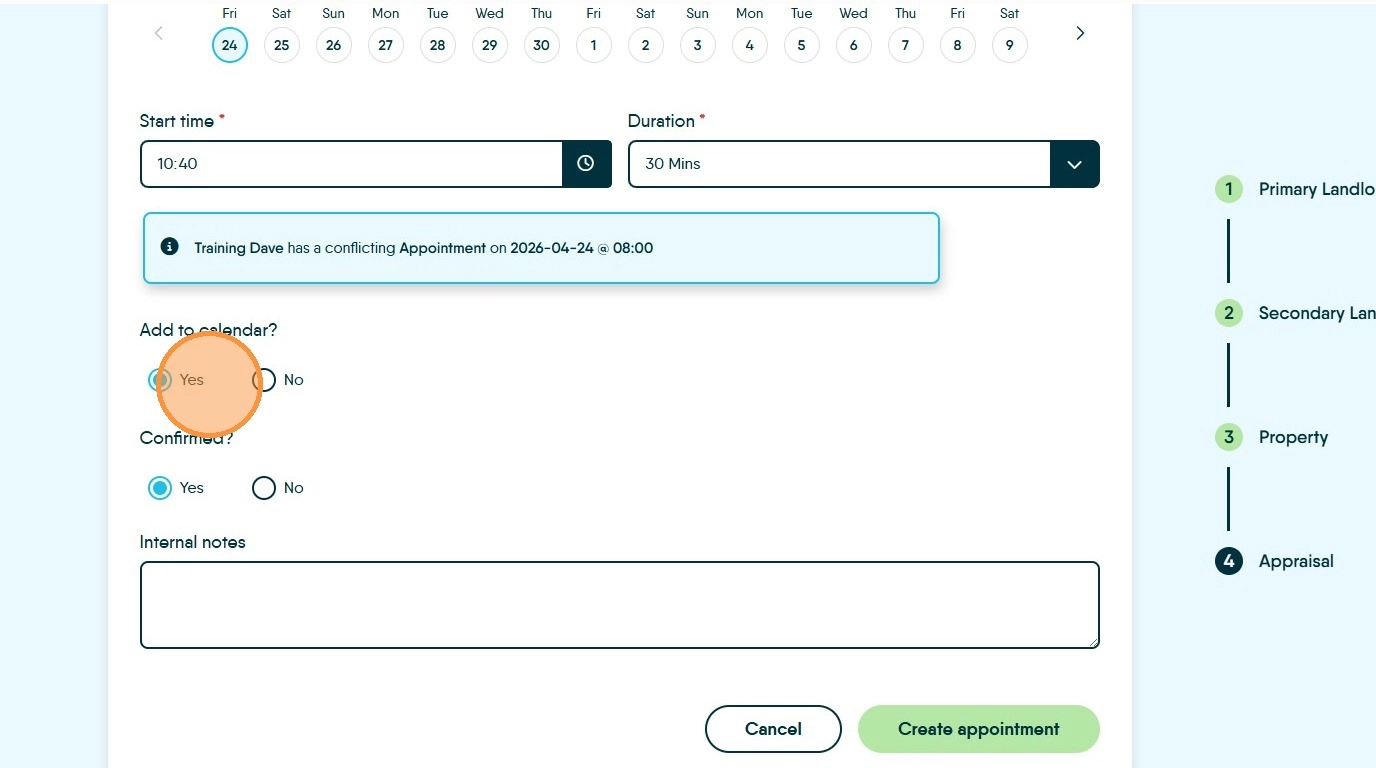
You will see a notification if the appointment clashes with another in the assigned users calendar. Use your judgement to asses if this is an problem or not. You can view the main calendar screen by c;licking on the 'View Calendar' option.
23. Confirm the "Add to calendar" and "Confirmed" status settings.
N.B. If the appointment is NOT confirmed then the confirmation email will not be sent until it is. Neither will any reminder notifications.
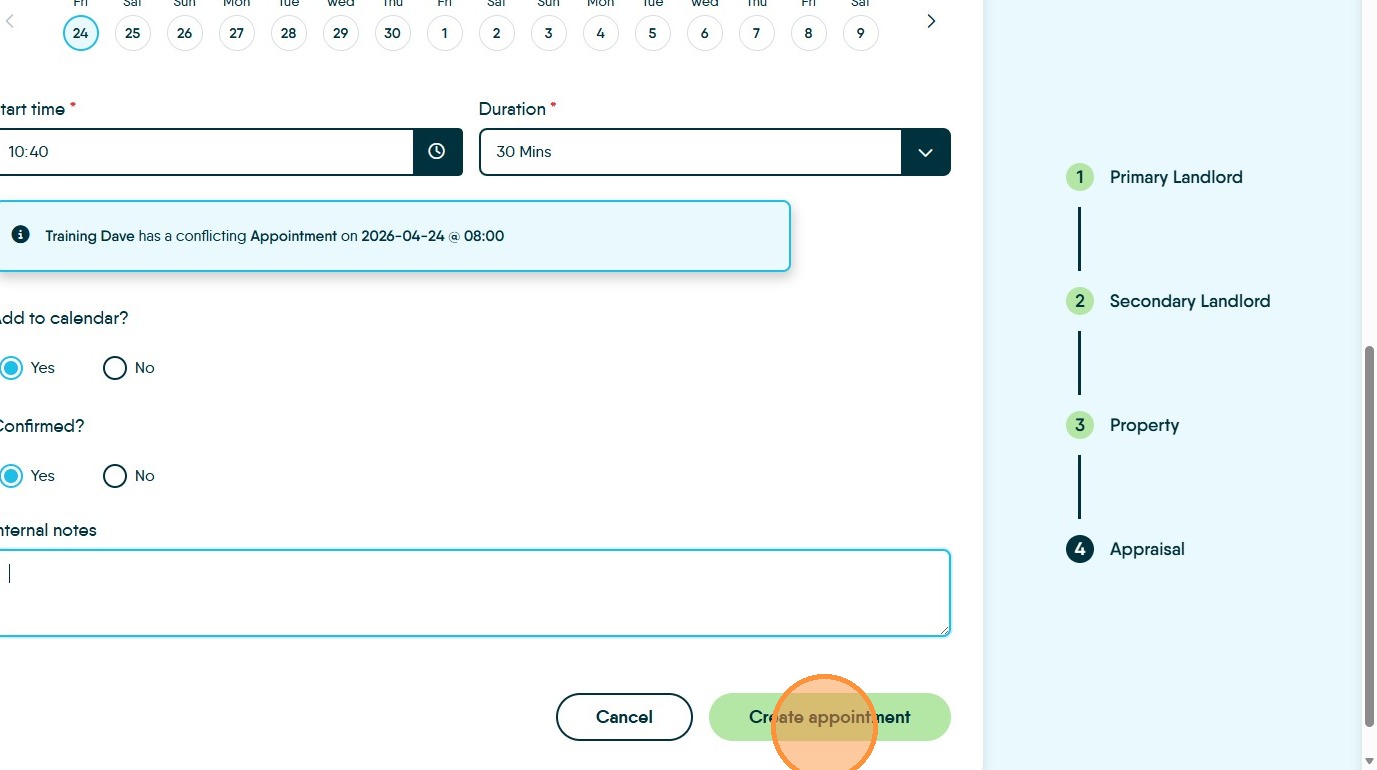
24. Click the "Internal notes" field to add any additional information for the appointment.

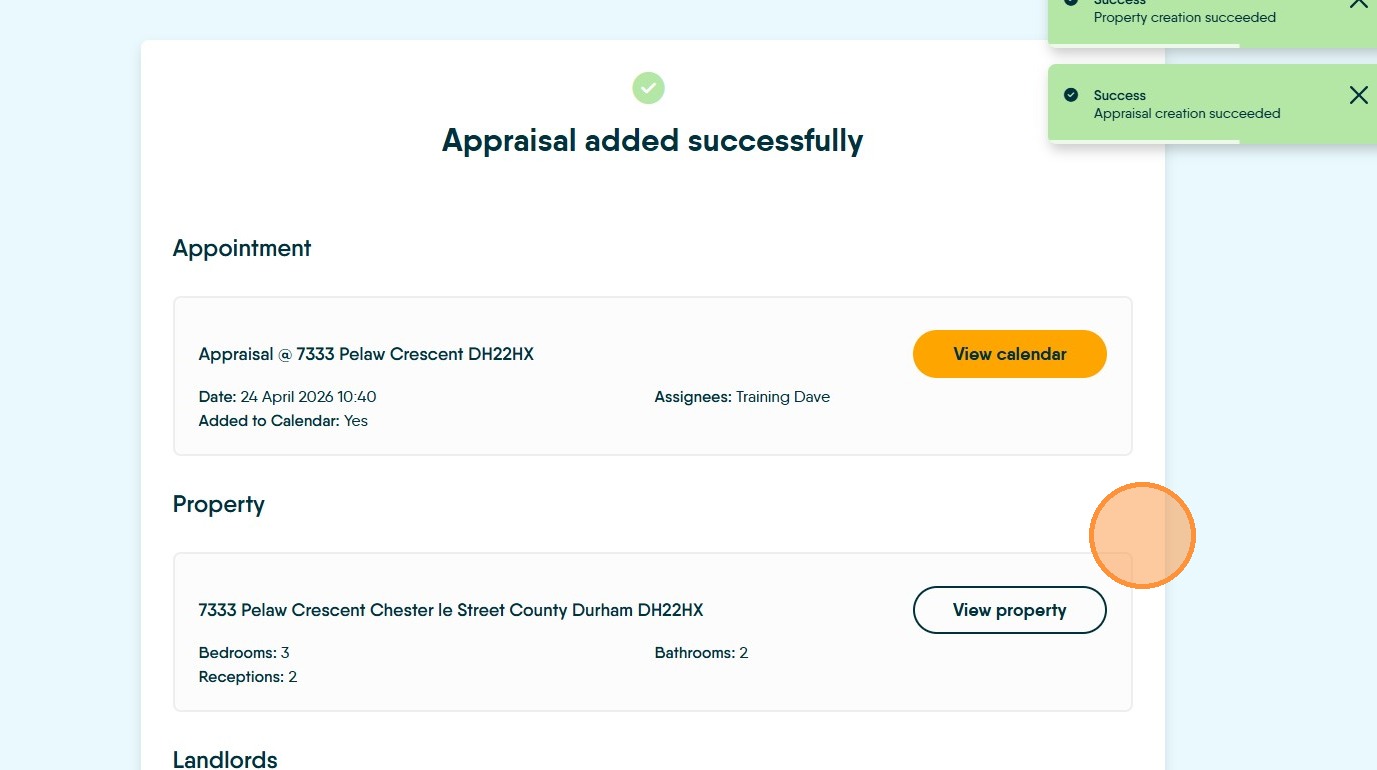
25. Click "Create appointment"
26. The details will show on the screen, as well as confirmation messages that the records have been created.
This is all the records you need to create to book an appraisal appointment and send the confirmation.