CRM allows customers to leave their own feedback on a Viewing they have attended. Learn how to efficiently manage and record this customer feedback in your CRM and transfer private notes to public fields. This guide streamlines the process of managing property viewing documentation to keep your records accurate.
Alert: Alert! This feature is enabled from the CRM Configuration menu. You can learn how to do this from here
This process is identical for both Sales and Lettings feedback.
Feedback Submission - Viewers Process
Alert: Alert! This section is purely for your information and to show what the Viewer will see in their email and how the Viewer leaves their feedback. This will help if you are asked to support a Viewer in leaving feedback.
The text, used in the email shown below, will be different to the text used in your email as this is for demonstration purposes only.
Your applicant will receive an email after the viewing (the timing of this is set in the configuration for the auto feedback email 1 hour+) This contains a link.
The Viewers process is shown below.
2. The viewer will receive an email similar to this in their inbox.
The name of the viewer and the address details are automatically entered when the email is sent.
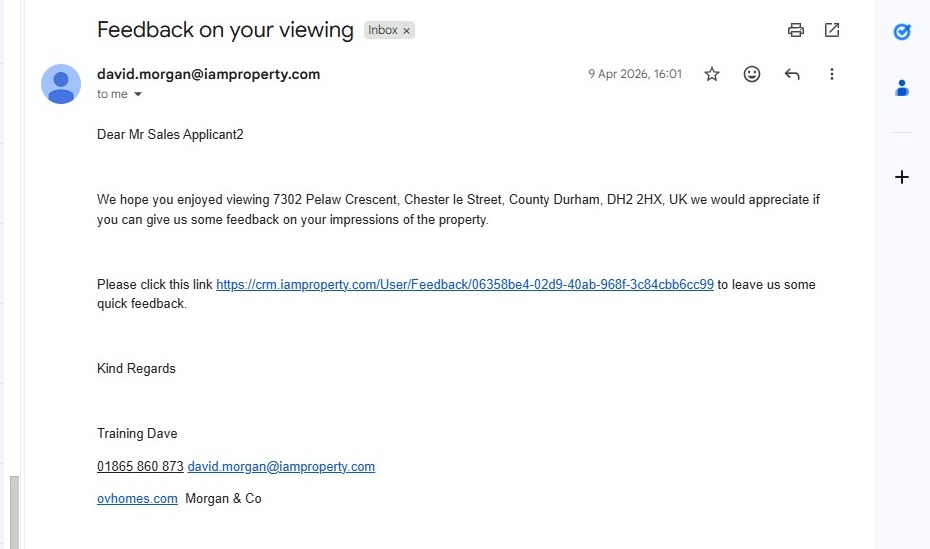
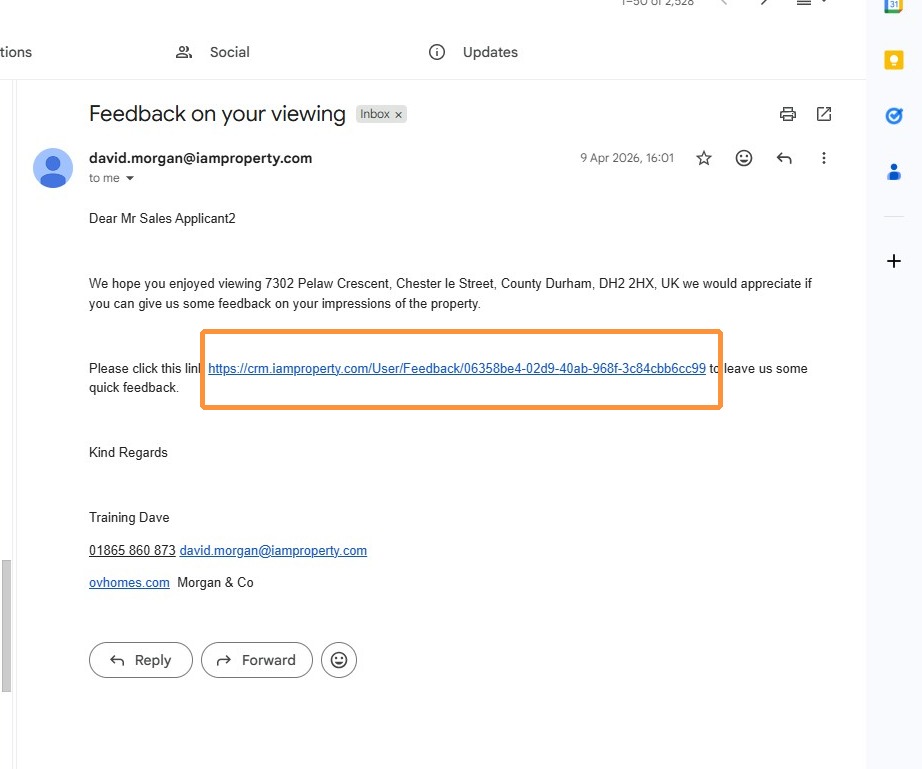
3. The Viewer clicks the 'feedback' link
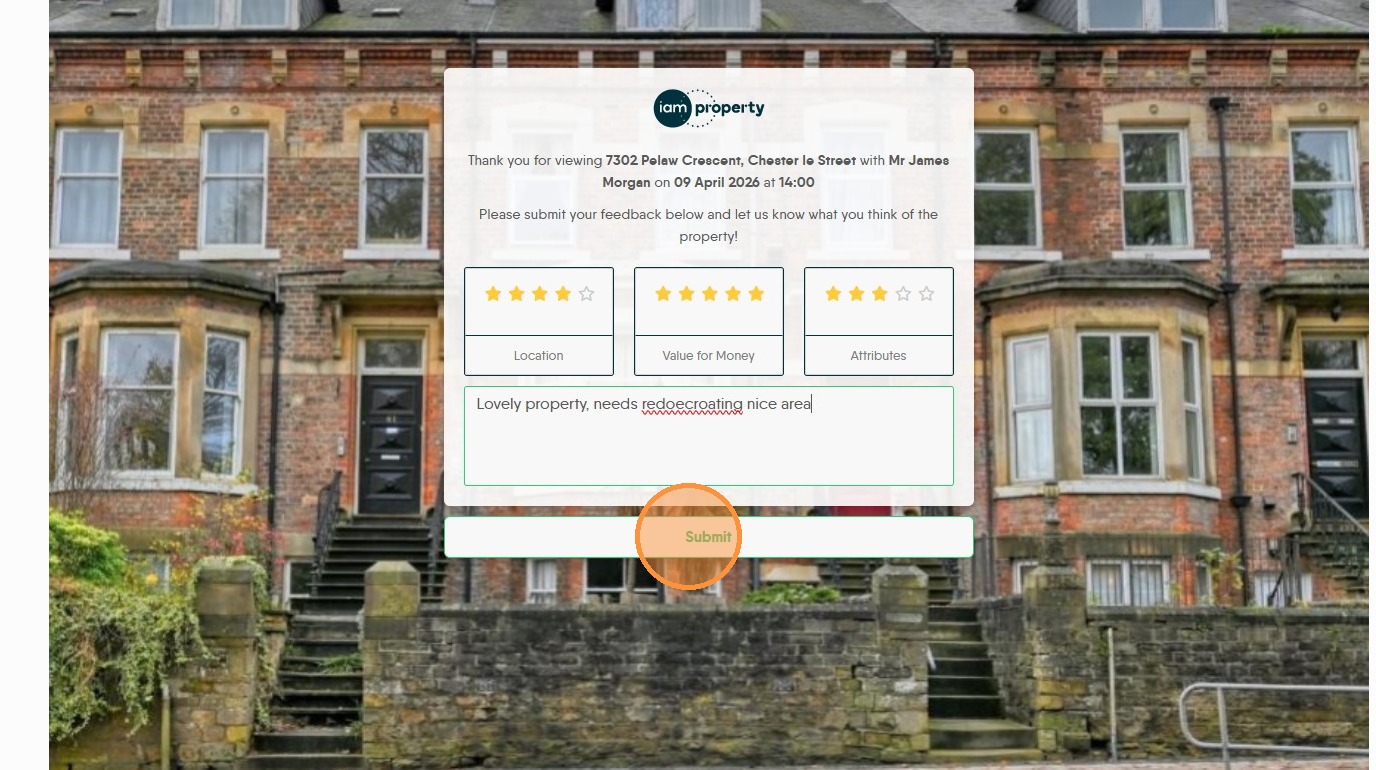
4. The Viewer provides star ratings for Location, Value for Money, and Attributes.

5. The Viewer types their comments into the feedback text field.

6. Click "Submit"
How does the Agent Manage the Feedback?
7. From the CRM dashboard. There will also be a notification in the 'Bell' at the top right of the screen.
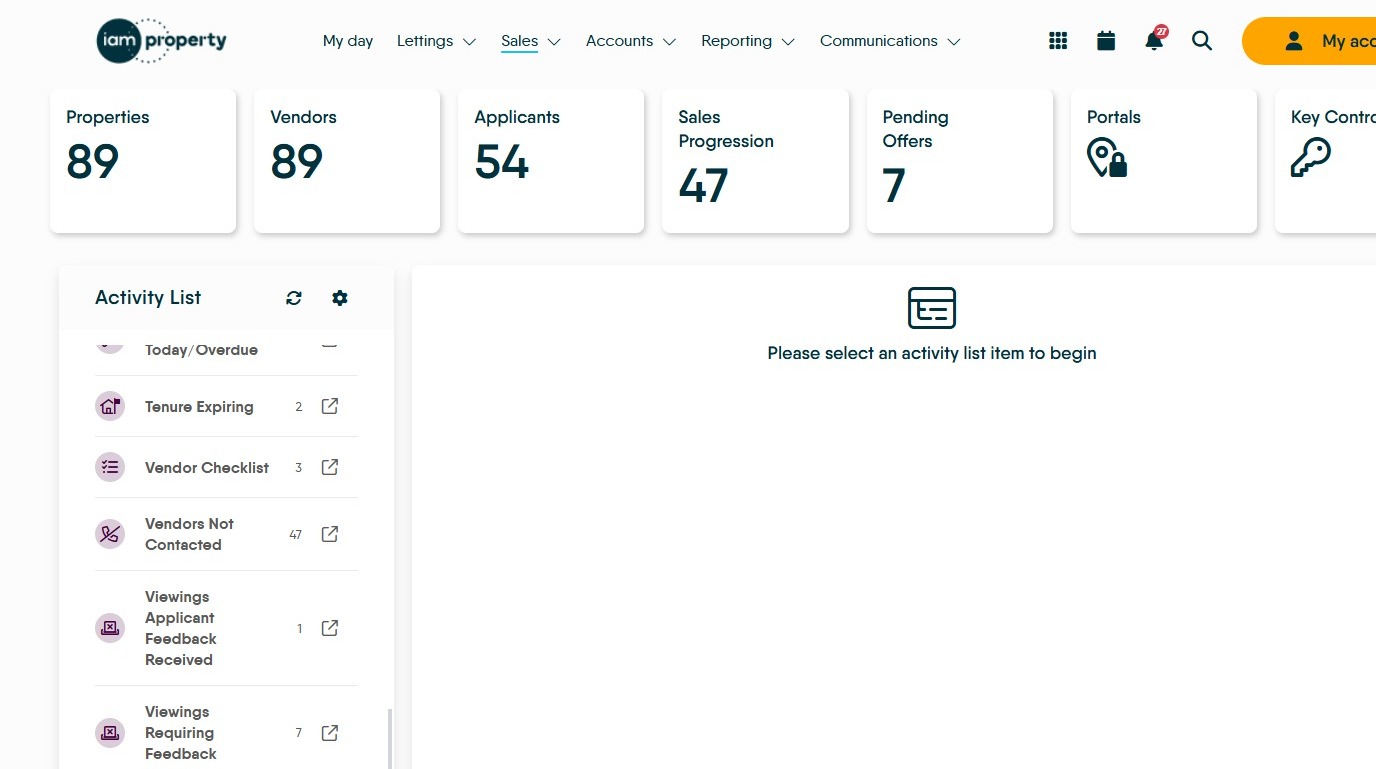
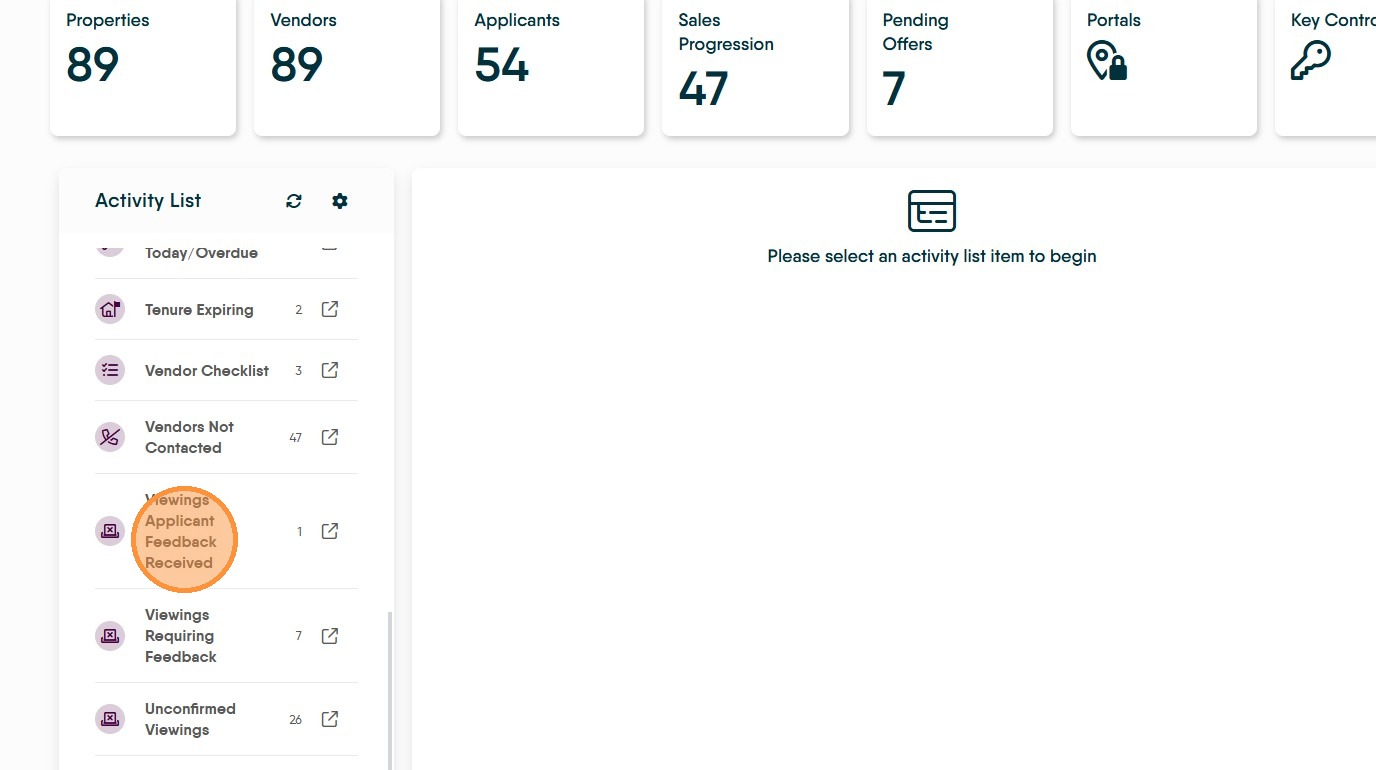
8. Click "Viewings Applicant Feedback Received" in the Activity List. This will show all the feedback that has been left by applicants. It is sorted by the person who booked/conducted the viewing.
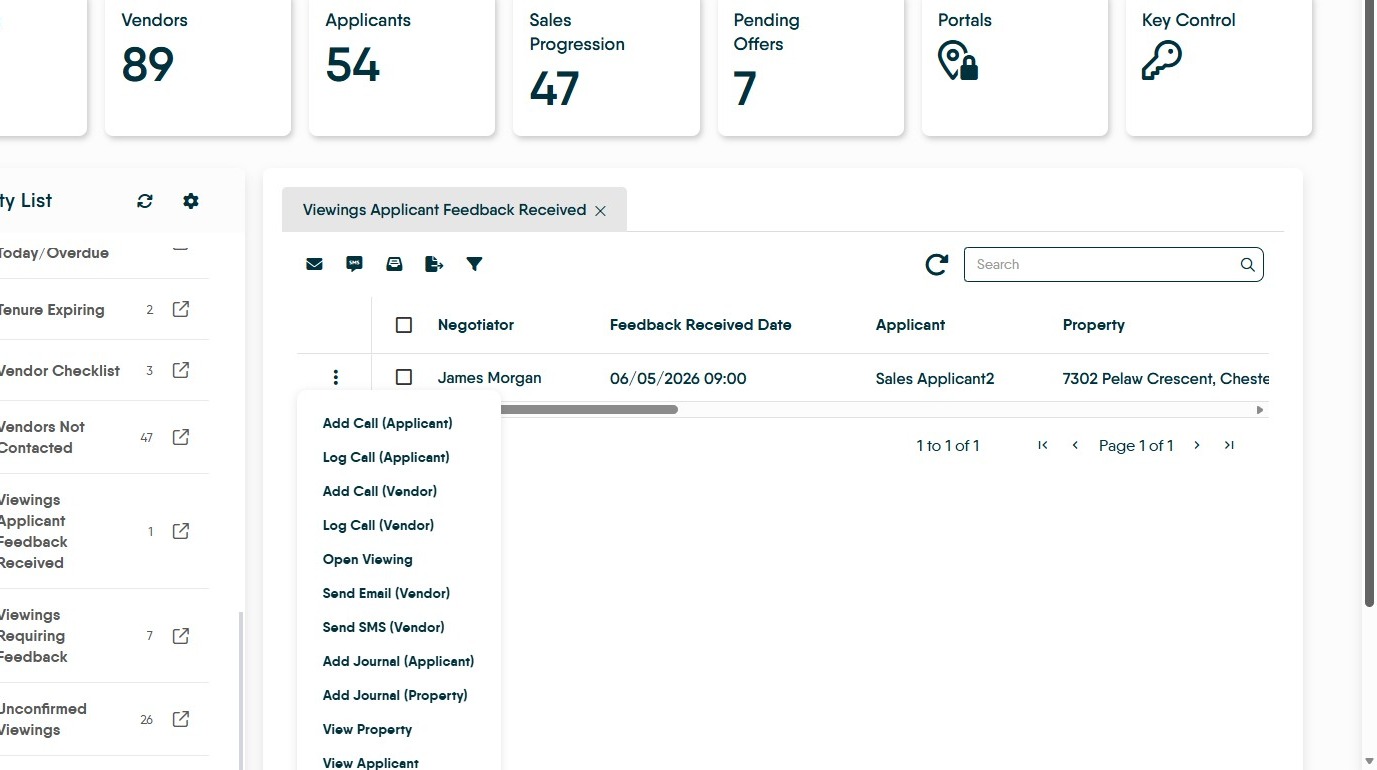
9. From this line you can see all the required detail about the viewing including Applicant details and Vendor details .
Click the actions menu icon (three dots) for the menu. There are various option in this list, you can very easily add journal records, send emails etc from here.
Feedback Review and Publication
10. Click "Open Viewing" this will take you to the viewing record.
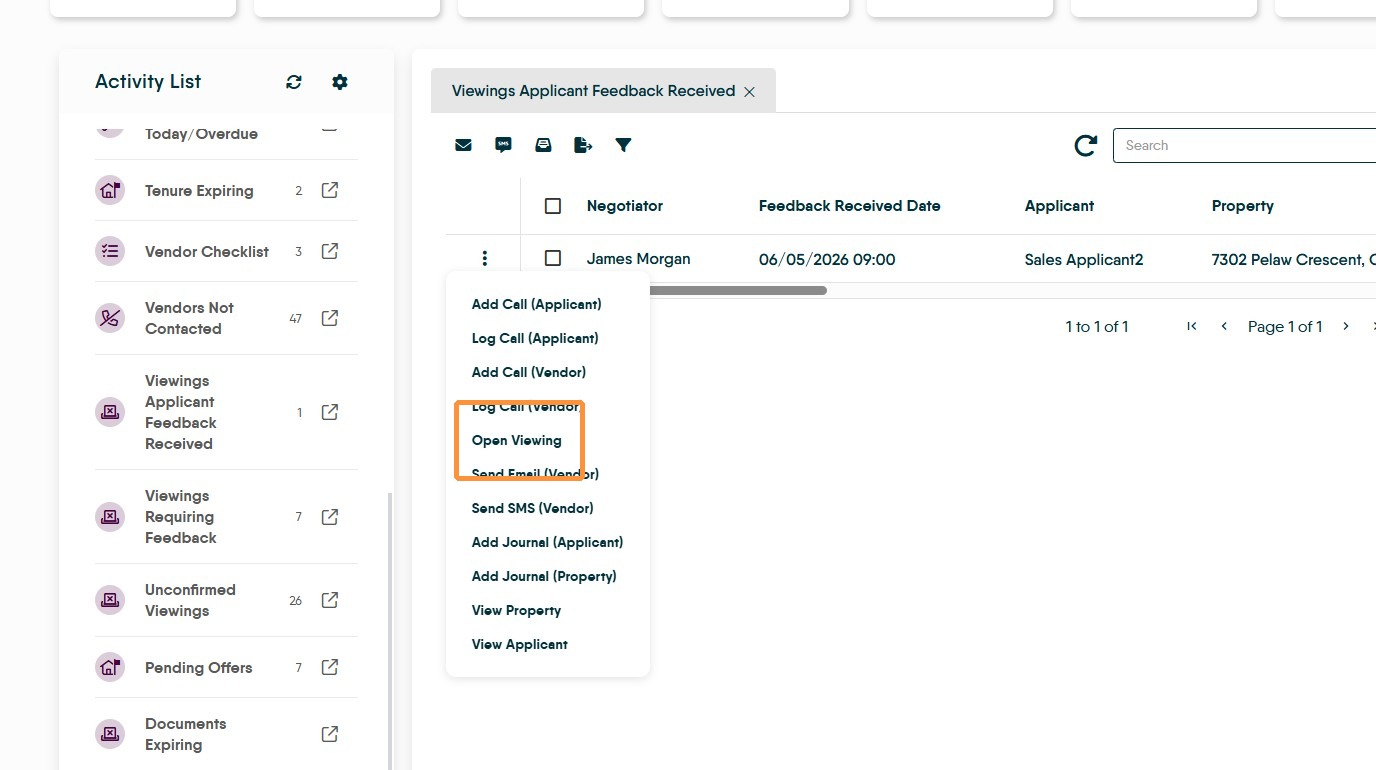
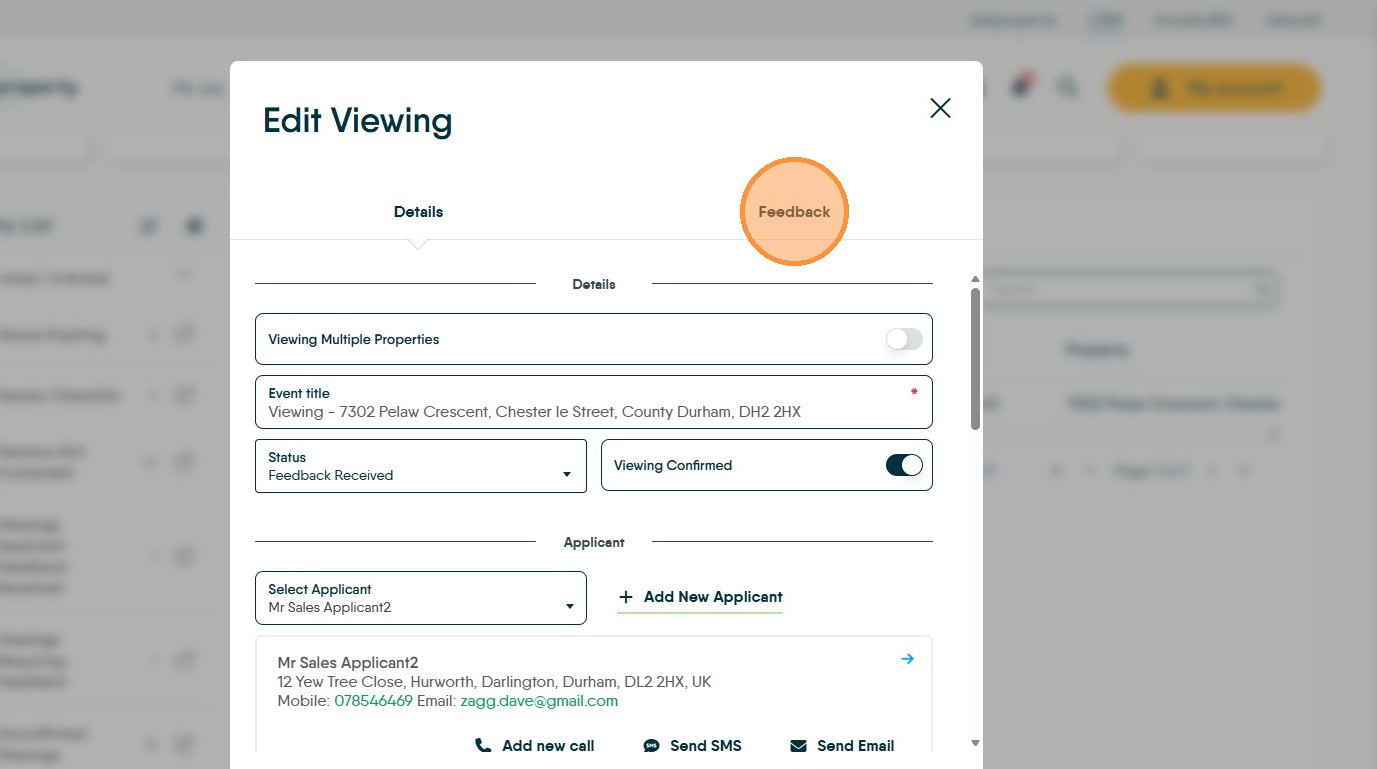
11. Navigate to the "Feedback" tab within the Viewing details.
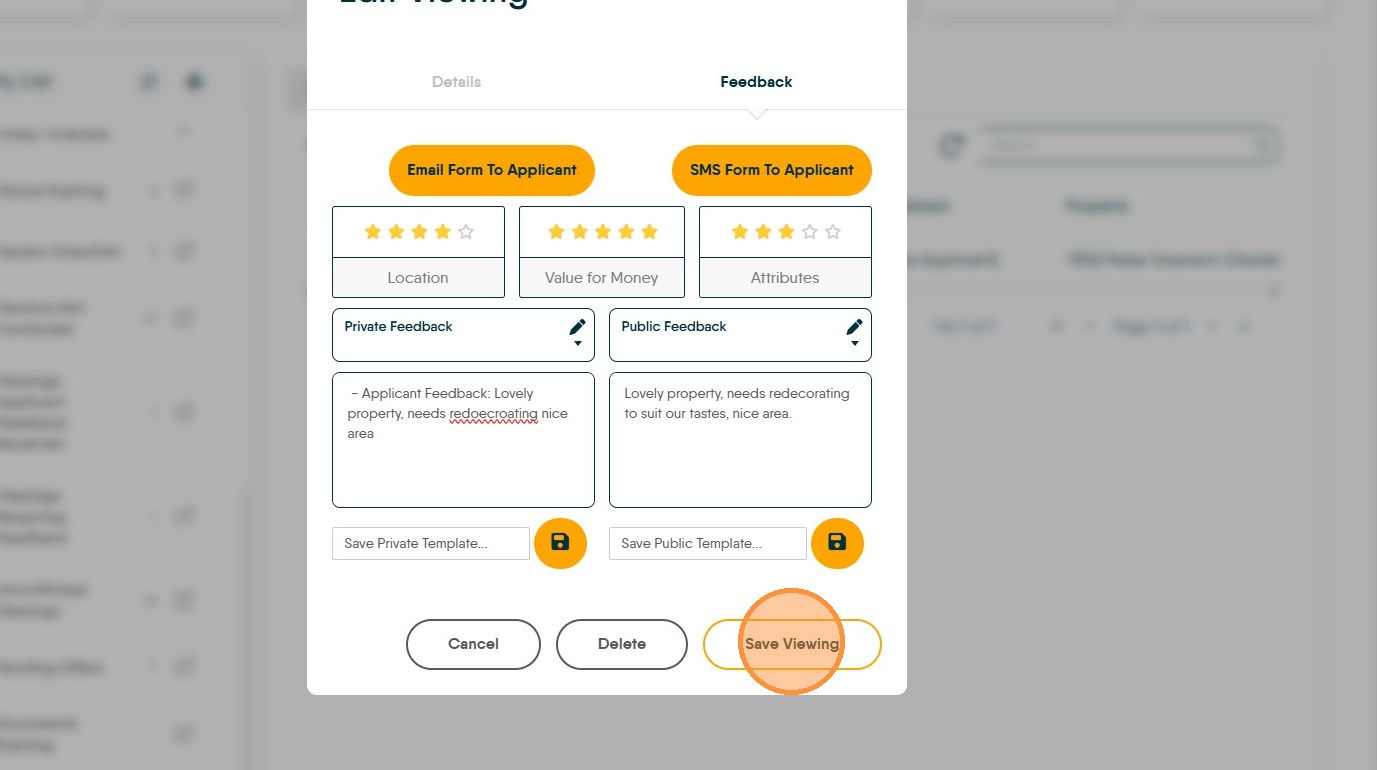

12. In here you can see all the feedback received from the Viewer. Highlight and copy the text from the Private Feedback field.

13. Paste the feedback text into the Public Feedback Notes field here you can moderate the feedback if required.
14. At this point you can contact the Vendor (or Landlord) and discuss the feedback received, any viewing notification (in Property or Applicant records) will show an 'Applicant Received' flag. If the Vendor or Landlord have access to their portals they can view the feedback in there
15. Click "Save Viewing" to apply and save changes.
The feedback will be marked as received as it does not require further chasing.