This guide is essential for anyone looking to ensure compliance in their CRM system is managed effectively. By following the straightforward steps outlined, users can easily add various compliance checks, including crucial inspections like Fixed Wiring and assessments. Streamlining compliance processes not only enhances operational efficiency but also helps maintain legal standards, safeguarding both agents and landlords.
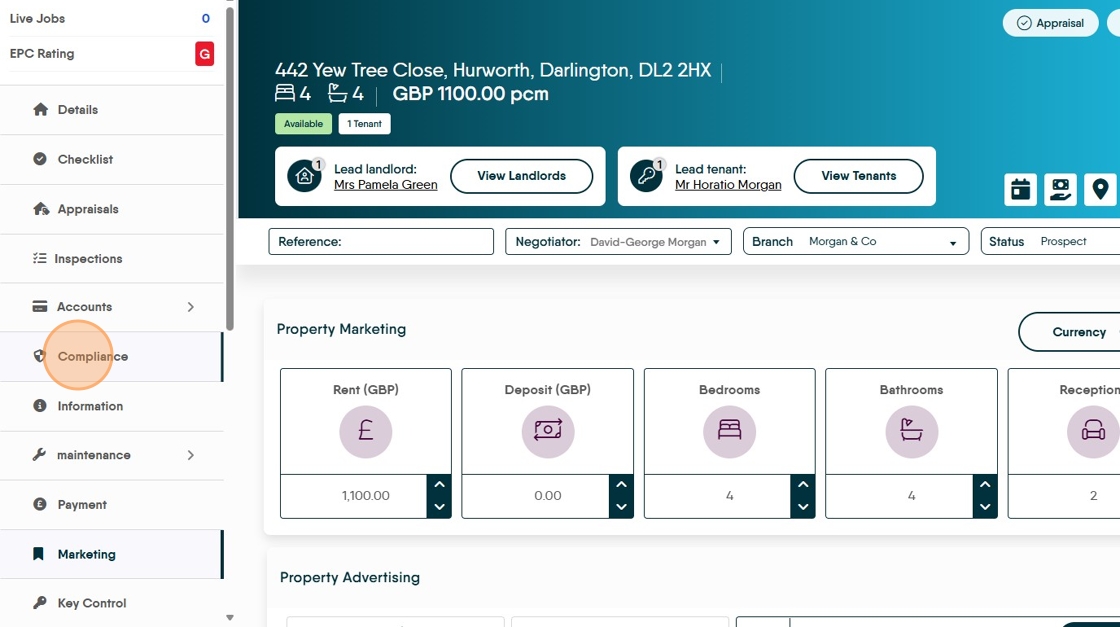
1. Navigate to the property you are adding the Compliance checks to.

2. Click "Compliance"
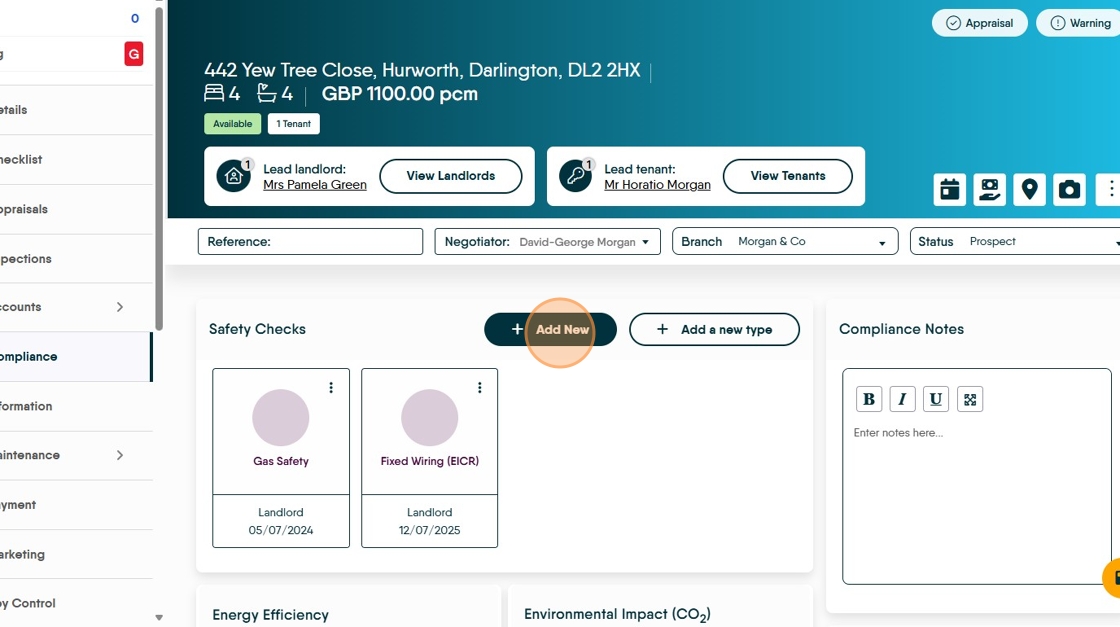
3. Click "Add New"

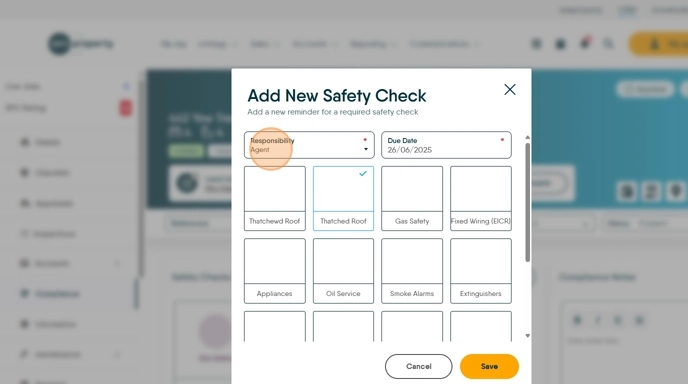
4. From the options on screen select the type of check you are adding e.g. Click the "Fixed Wiring (EICR)" field.

5. Click "Responsibility" from the menu and select who is responsible for the Safety checks completion. Options are Agent, Landlord, Contractor.

6. Click the "Select Date" field to set the date the check is next due. Doing this will add the expiry date to the record and will show in various Client Portals and be used in the Activity List to create the notifications.

7. Once complete. Click "Save"

Adding a New Compliance Type
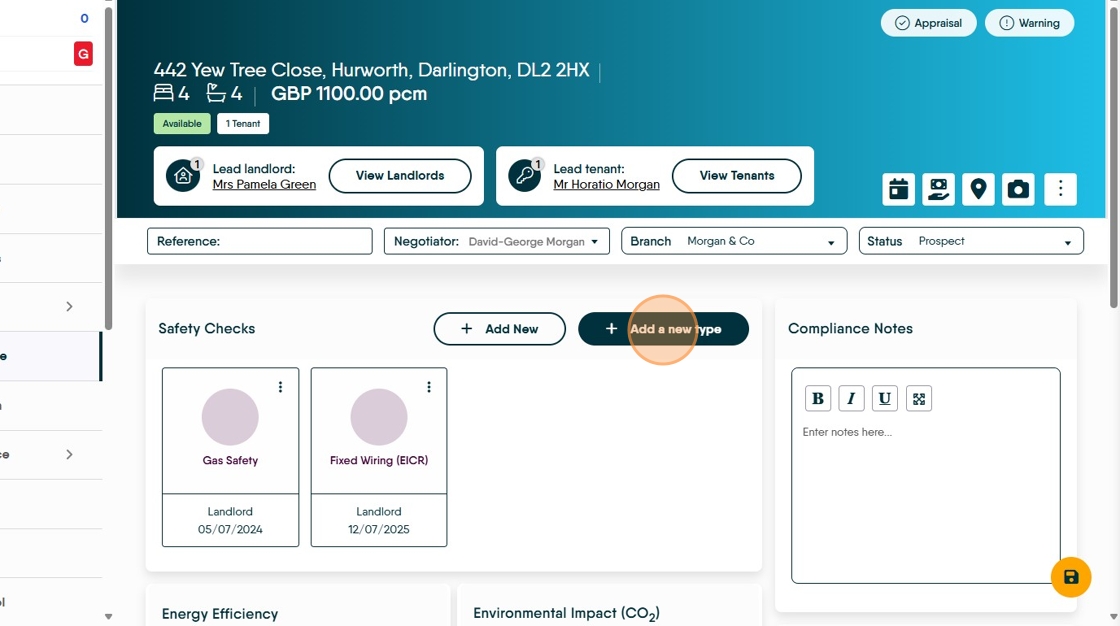
8. Click "Add a new type"
9. Click the "Enter check name" field. This is the name of your new compliance check.

10. Select an icon to use.

11. Click "Save" this is the new compliance created

12. Click "Add New" to select and set the new compliance
13. Click the new compliance option.

14. Click "Responsibility" to set who is responsible for the checks completion
15. Click the "Select Date" field and set the due date.

16. Click "Save"

Updating a Compliance Check
17. Click here.

18. Click "Edit"

19. Click here to mark the the check completed. The 'Completed By' field is completed automatically based on who has responsibility.

20. There will now be a new option to 'Schedule the Next Check' click this and for standard checks the 'Next Due Date' will be automatically set using the current legal limits. Click here.
To add the supporting documents/certificates click into the Documents field and find your document. This can also be done in the Documents folder for the property

21. Click "Save"

22. The date will show as updated on the tile and will update the Activity List.

23. Click "Enter notes here..."
