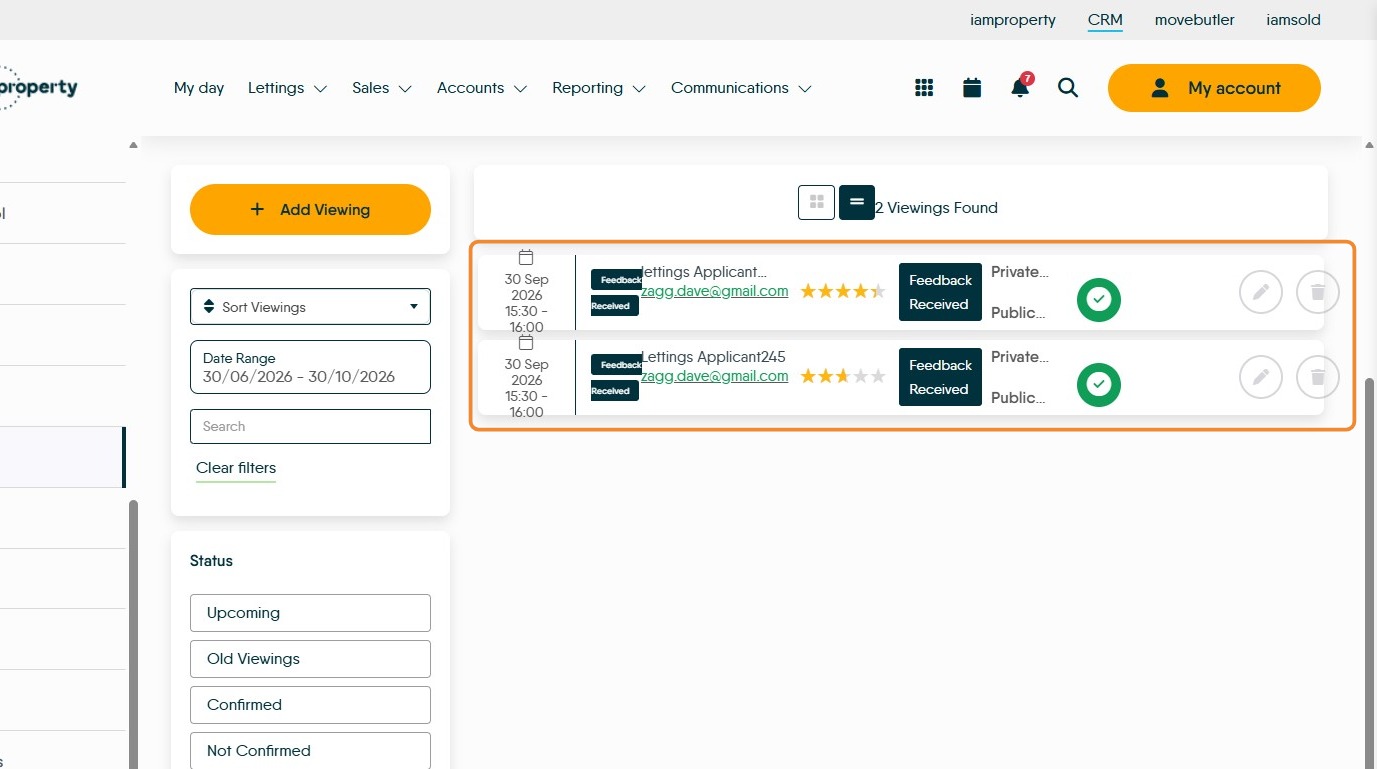
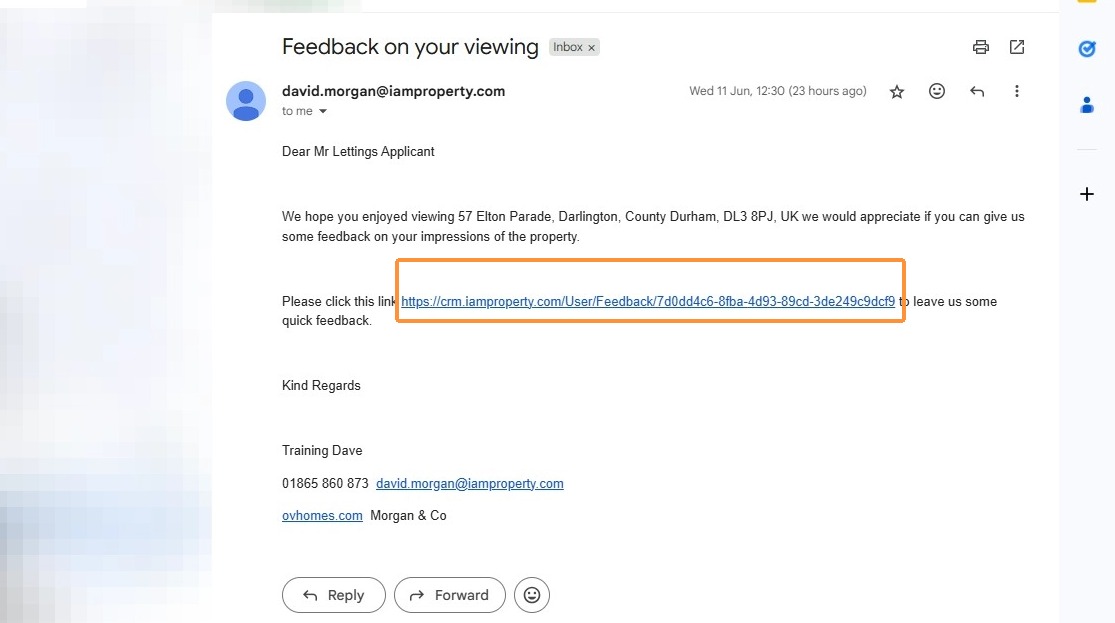
If you have enabled the Viewing Templates and set the Auto Send option your viewer will get the request for the feedback via email or SMS (as set by you).
The request can be manually pushed from the feedback section of the viewing record. In this guide we will look at feedback request sent via the Auto Send option.
The content of this email and the time delay (from the time of the viewing) is set by You, creating this is covered in another guide.
2. Click the link in the email
3. The Viewer will be taken to this screen where they can leave their feedback.
The star ratings are shown on the screen are shown as an average on the viewing tile once added.
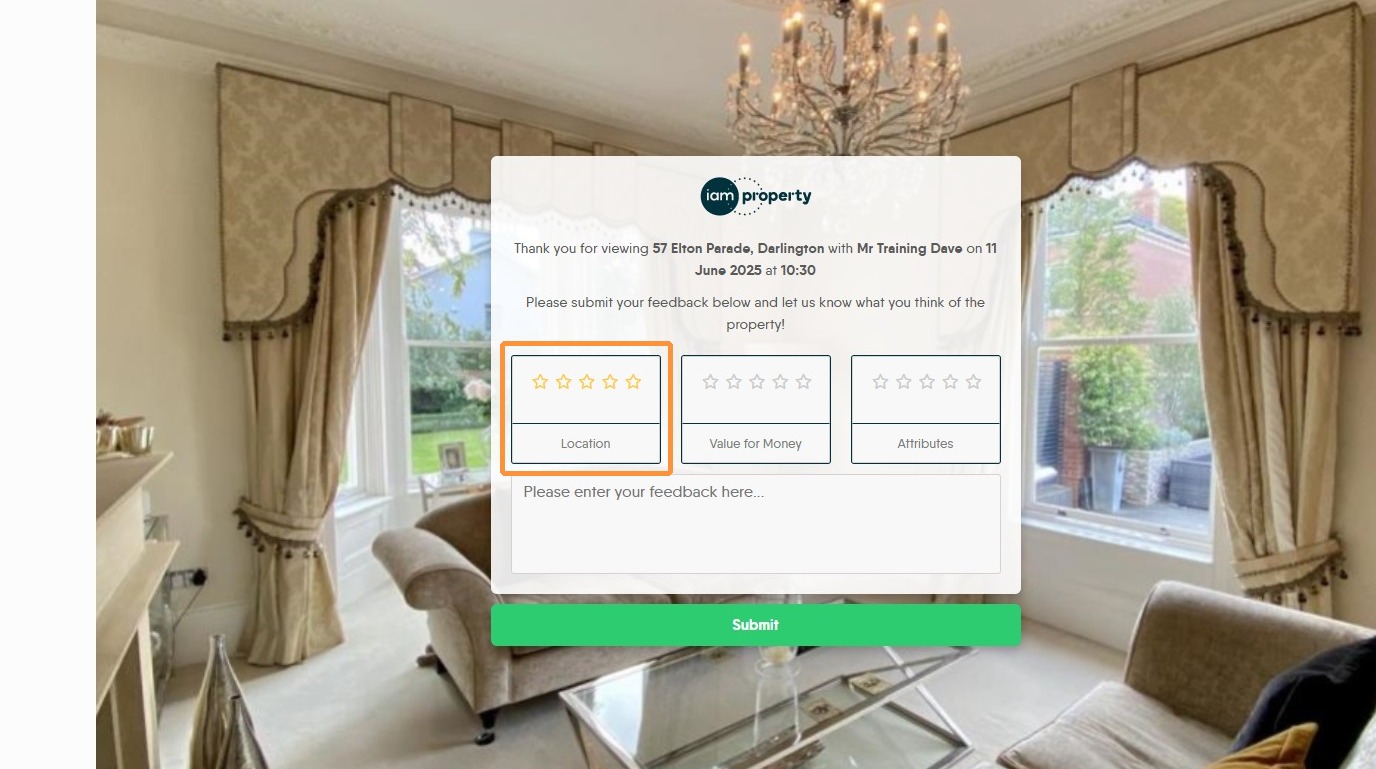
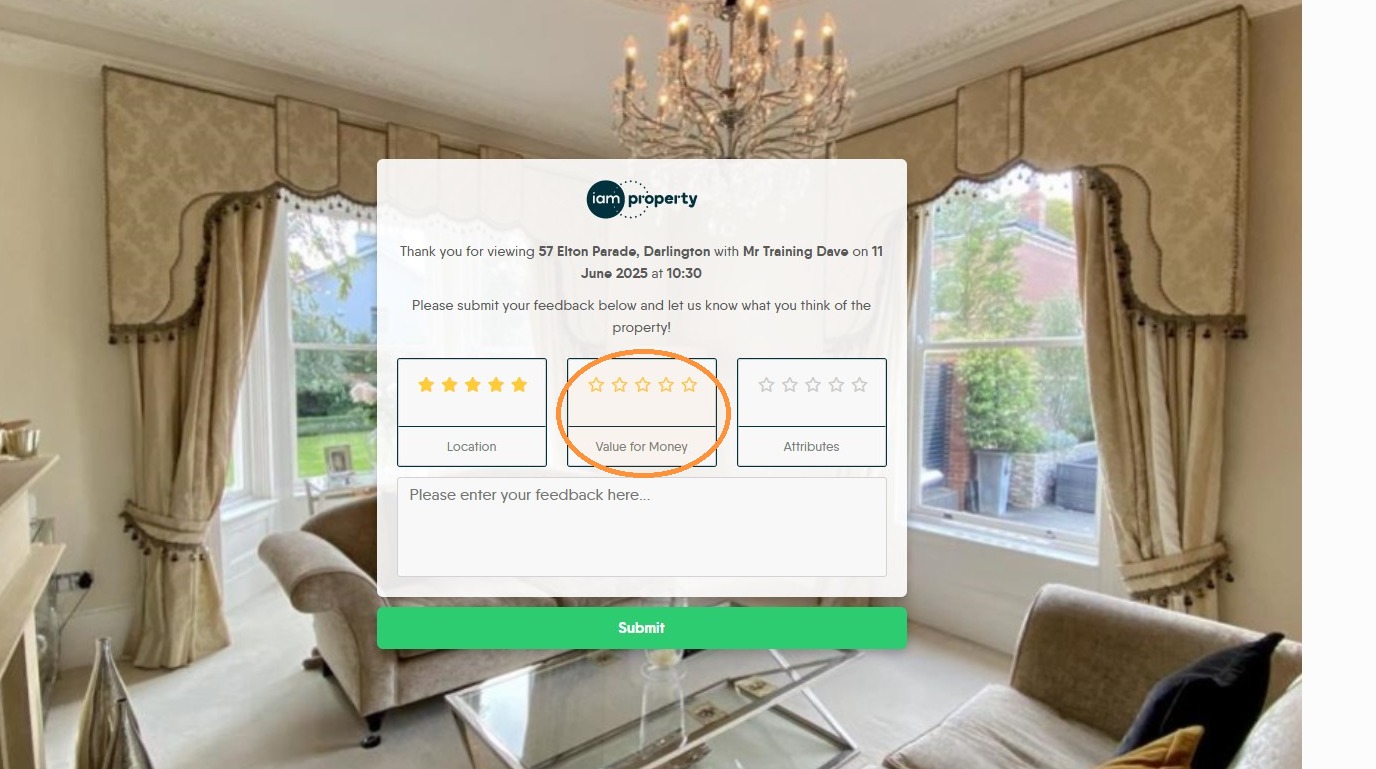
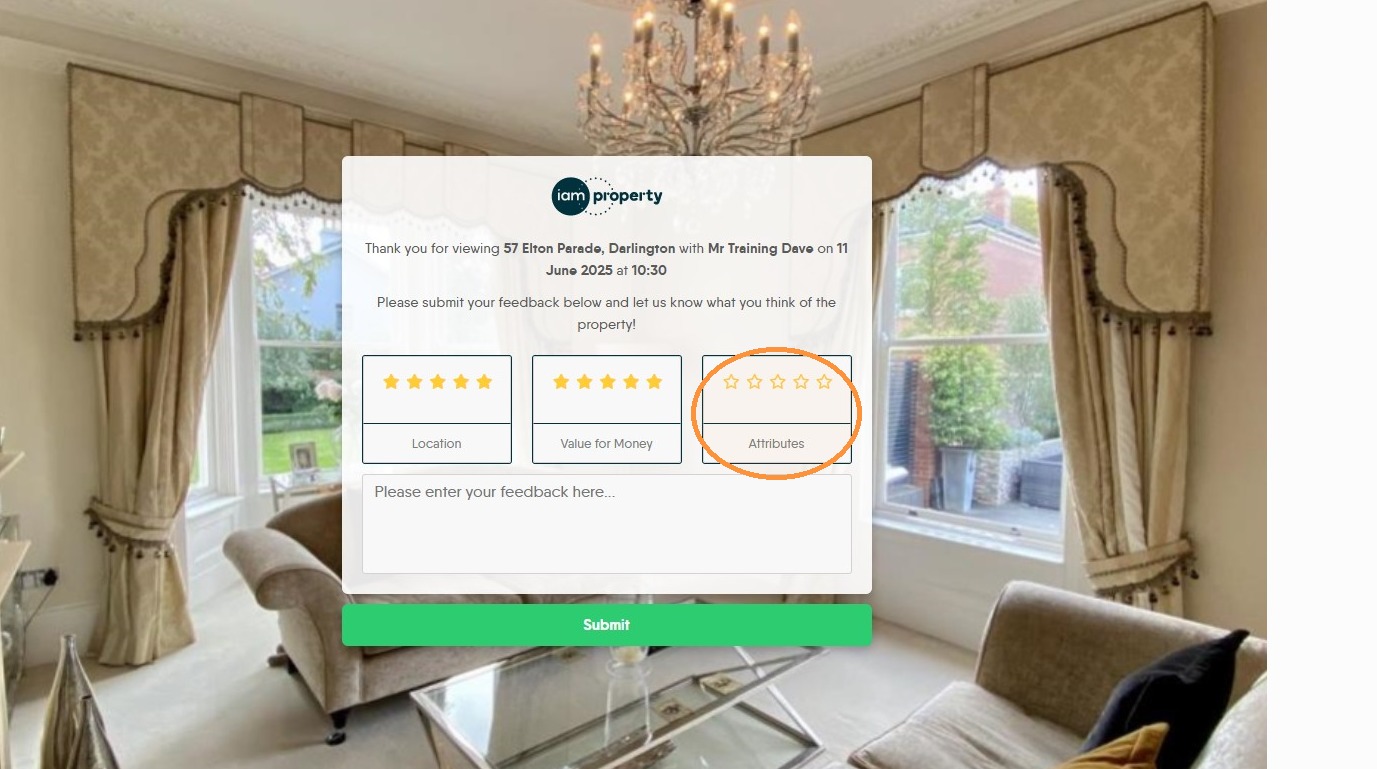
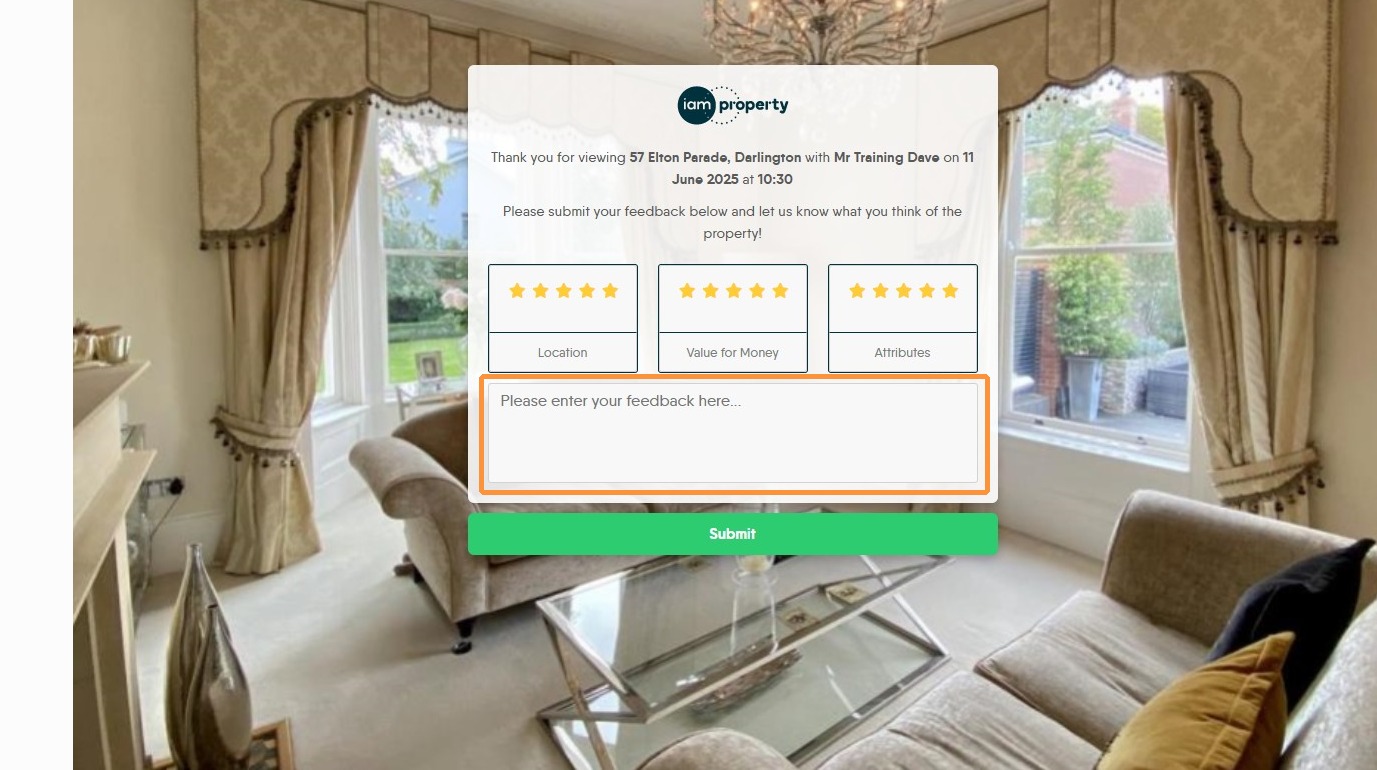
4. Click the "Please enter your feedback here..." field and enter any text feedback.
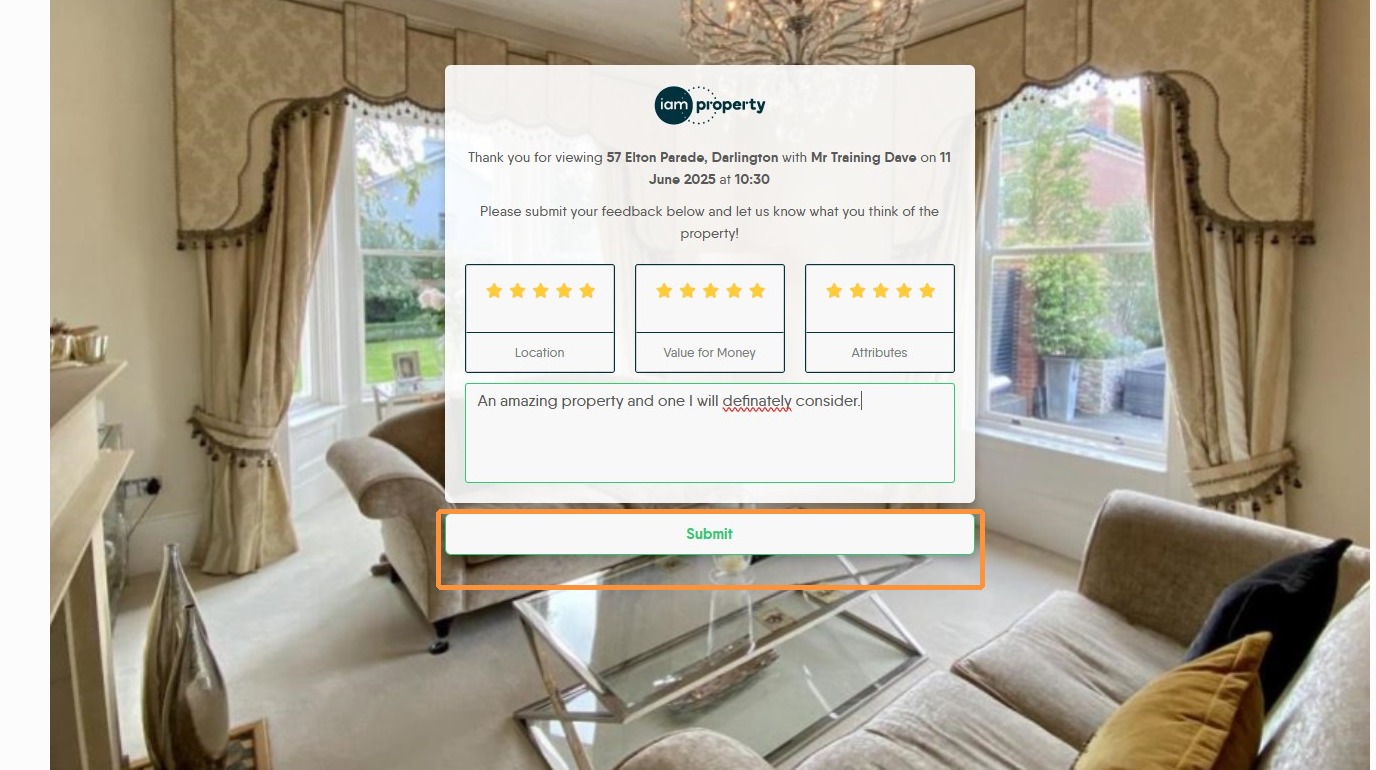
Click "Submit"
Agent Actions
5. How do you as the agent see that feedback has been sent and manage that feedback? There are a number of ways that the feedback can be viewed. These are shown below.
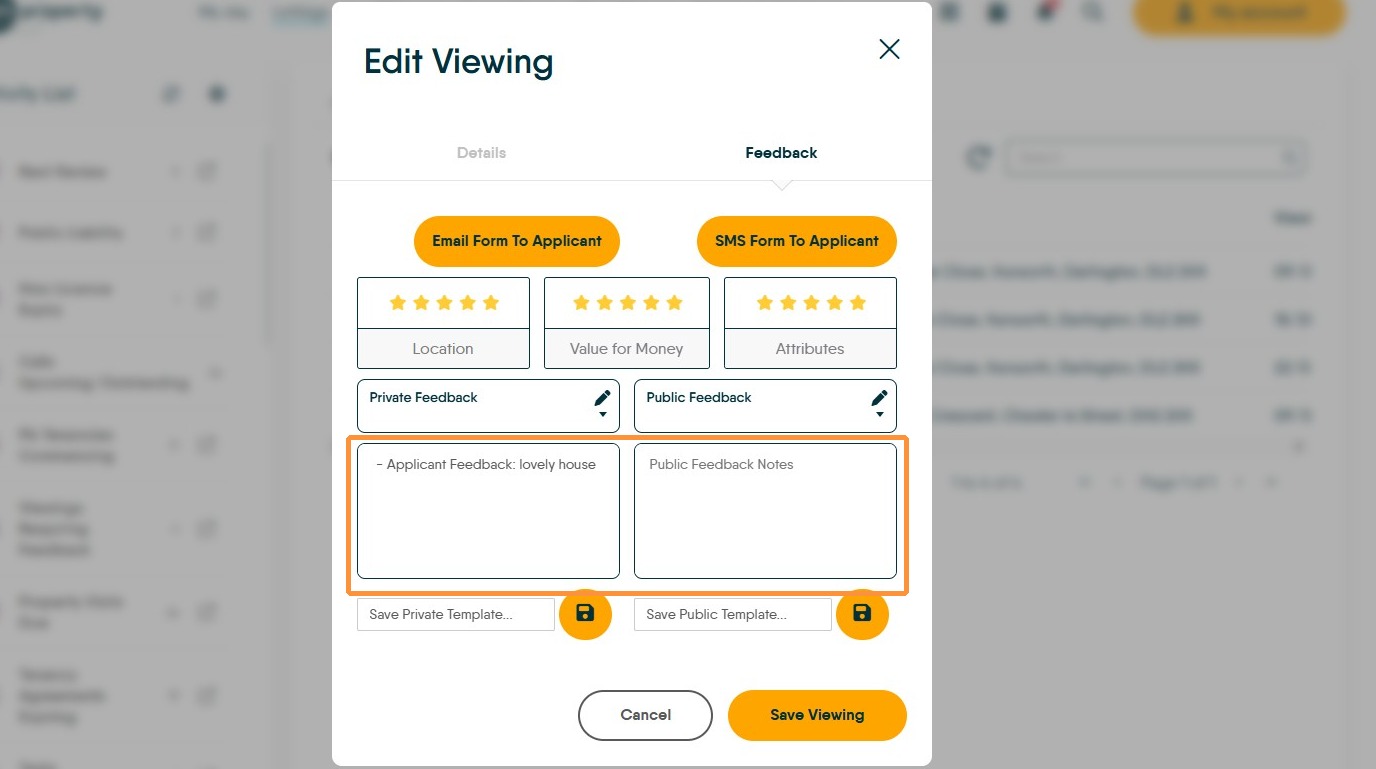
In all cases where the viewer is sent a feedback request message either automated or, pushed out to them manually, the feedback they leave will be 'Private' this creates feedback that only you, the agent can see. If you want feedback to be available to Landlords/Vendors in their portals, copy the feedback to the 'Public' side of the feedback form.
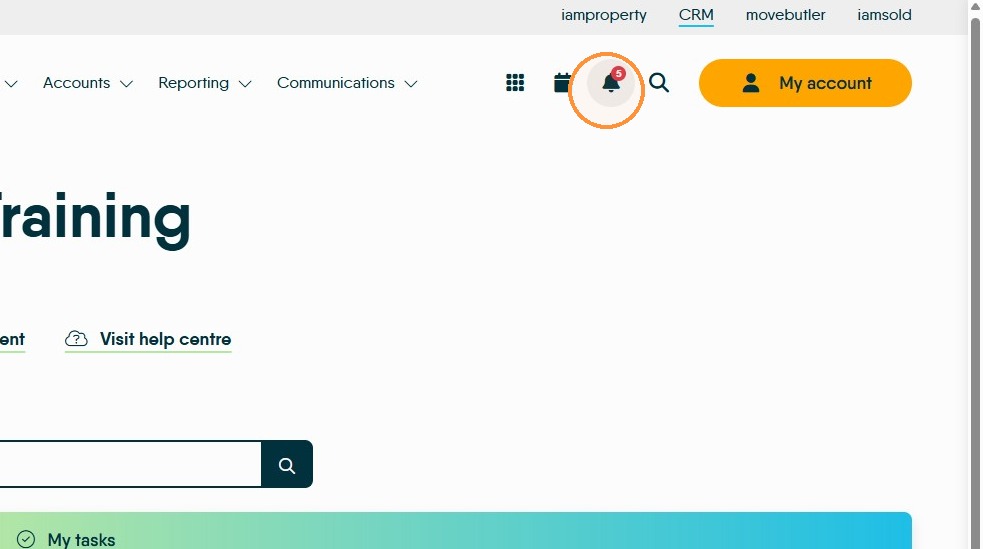
6. There will be a notification in the 'Bell' icon at the top of the screen.
Click "Notifications"
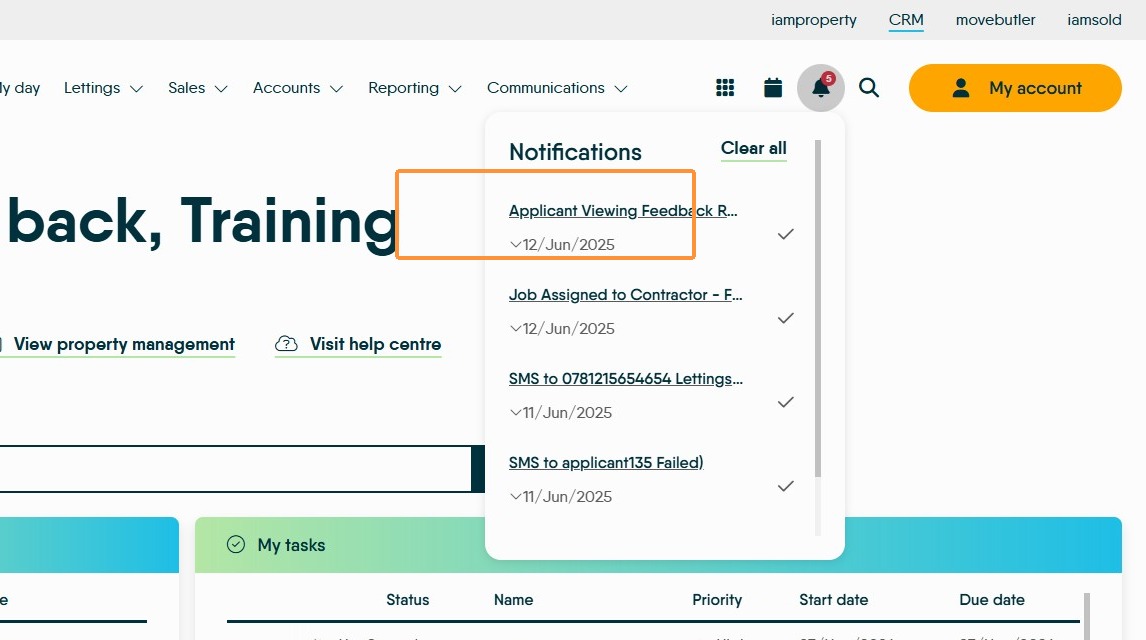
7. Click "Applicant Viewing Feedback Received"
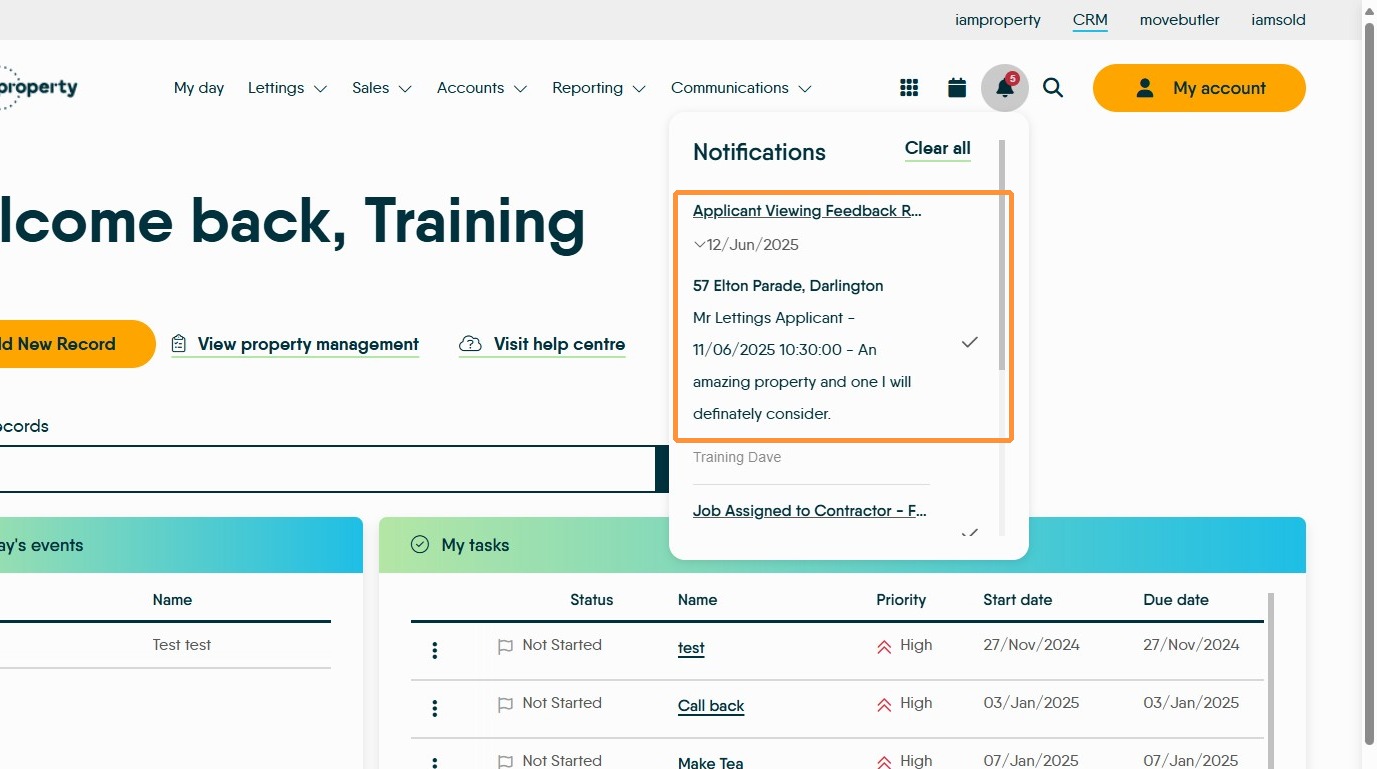
8. You will then see the viewing feedback received. For example "57 Elton Parade, Darlington Mr Lettings Applicant - 11/06/2025 10:30:00 - An amazing property and one I will definitely consider."
Managing Feedback in the Activity List
9. There are 2 areas in the Activity List that can help manage feedback. Viewings Requiring Feedback and Viewings Applicant Feedback Received
Viewings Requiring Feedback
10. This section can be used, for example, if the viewer has been called to request feedback or has left feedback in a different way.
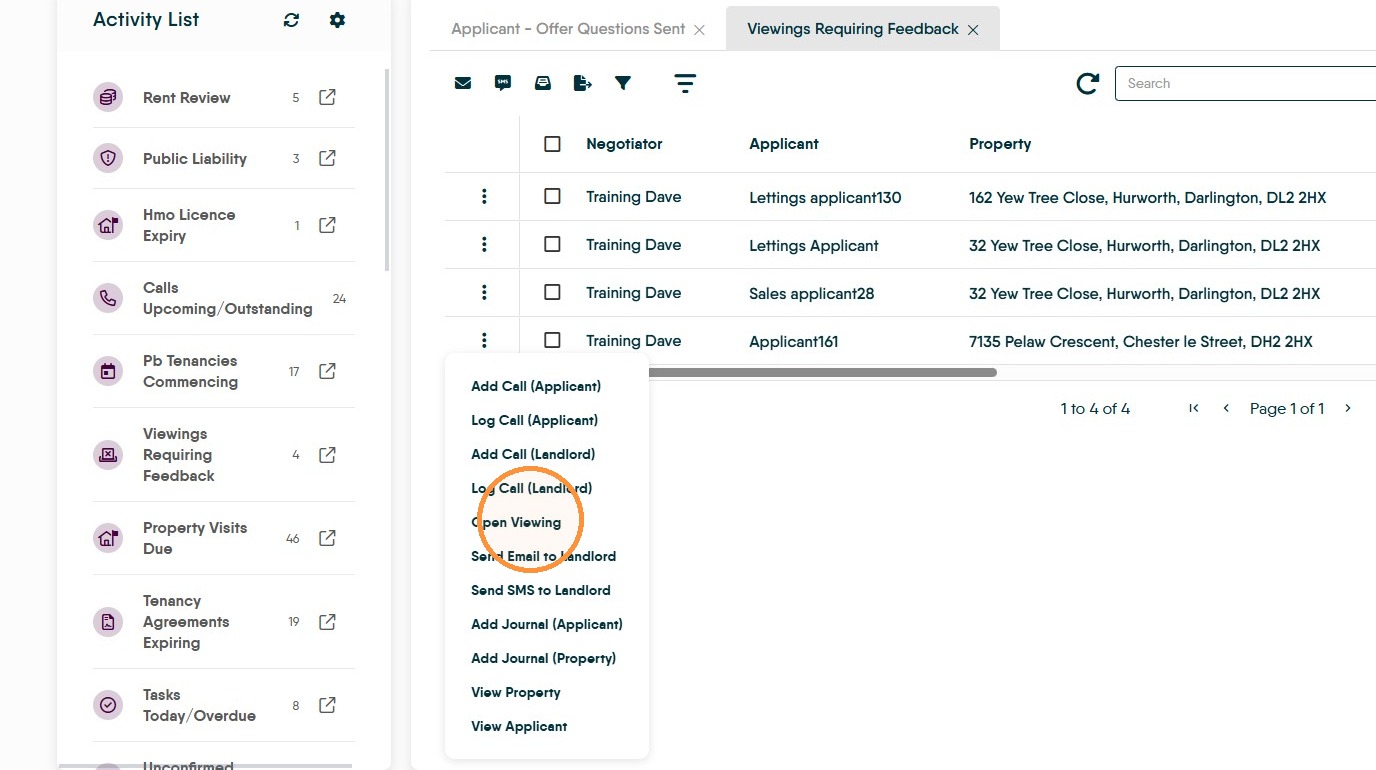
11. Feedback can be managed from Viewings Requiring Feedback on the Activity list. Click here.
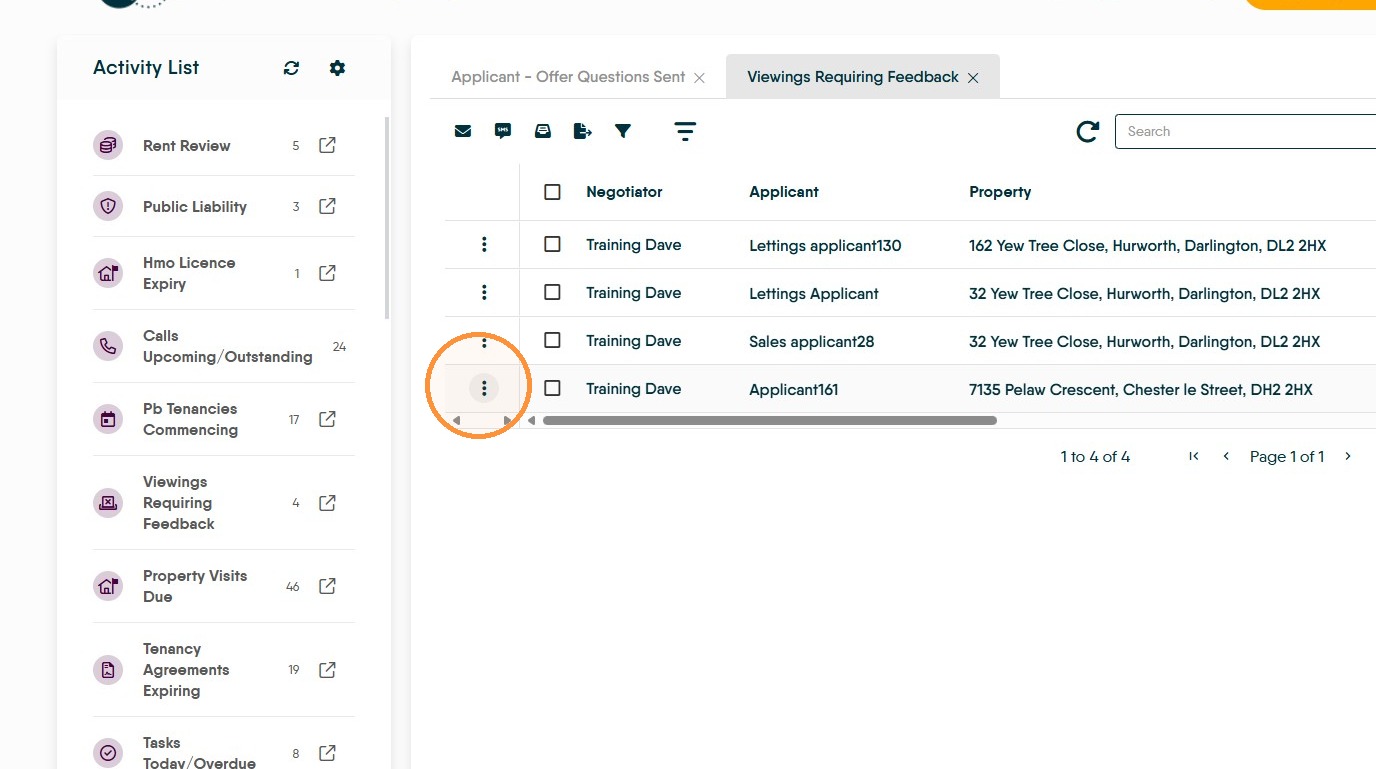
12. Click "Open Viewing"
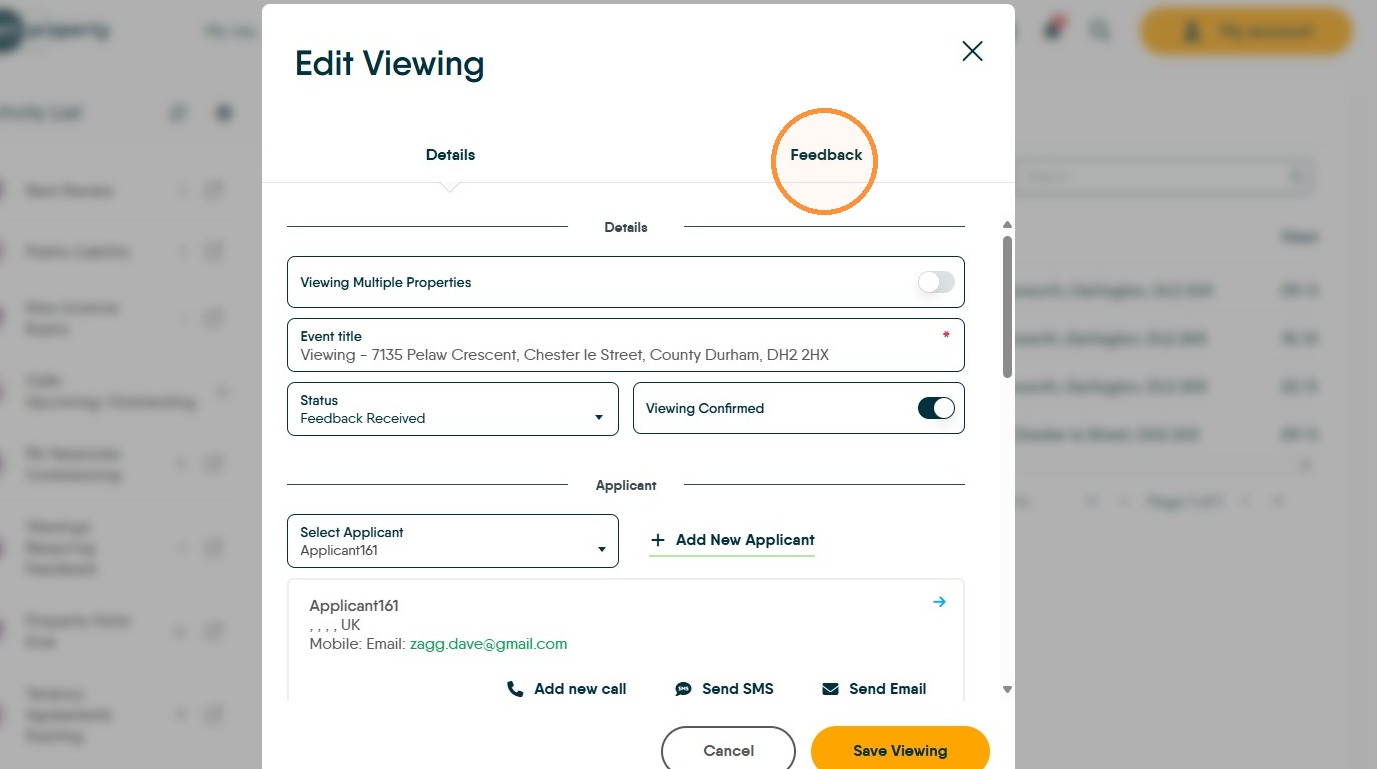
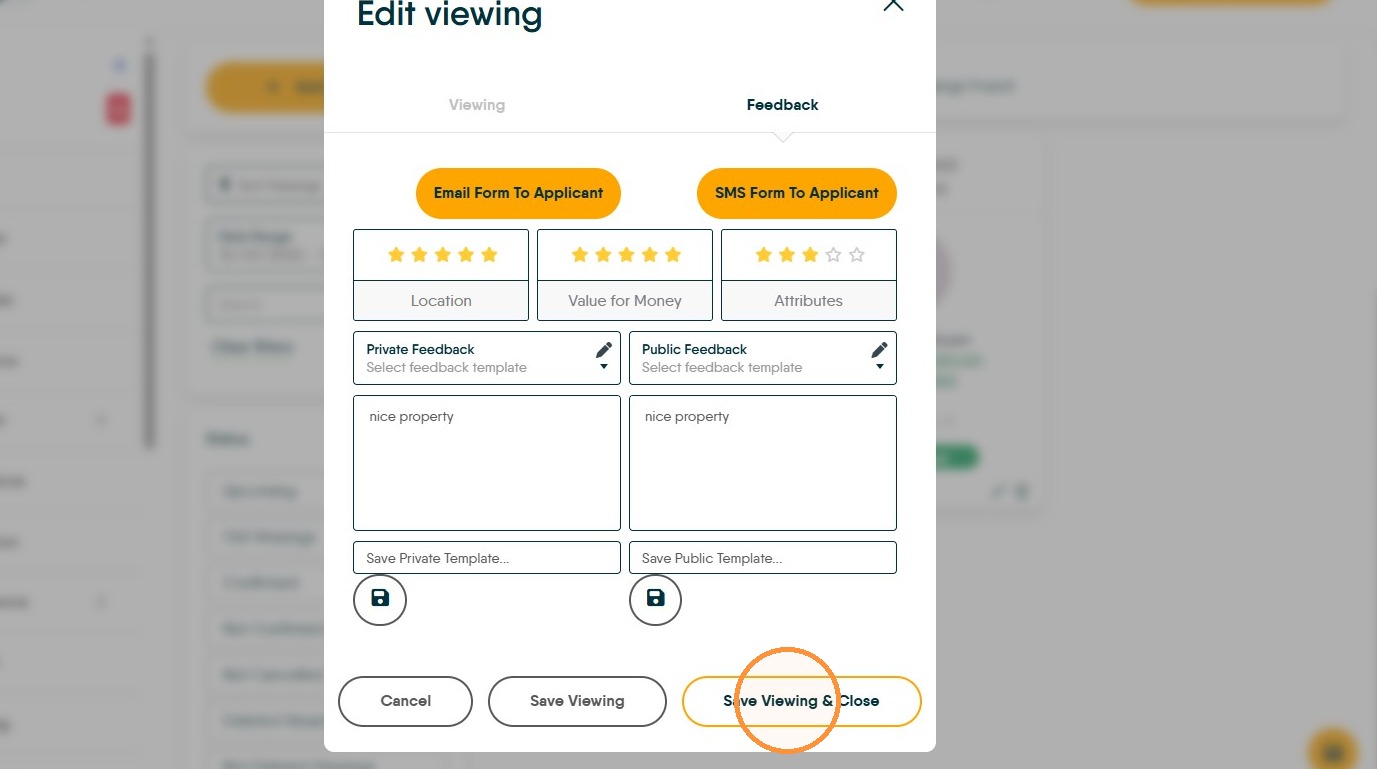
13. Click "Feedback"
14. Click "Public Feedback" to add feedback the Landlord or Vendor can see or click Private feedback to not display the feedback.
15. Click "Save Viewing" to save the viewing and stay on the screen.
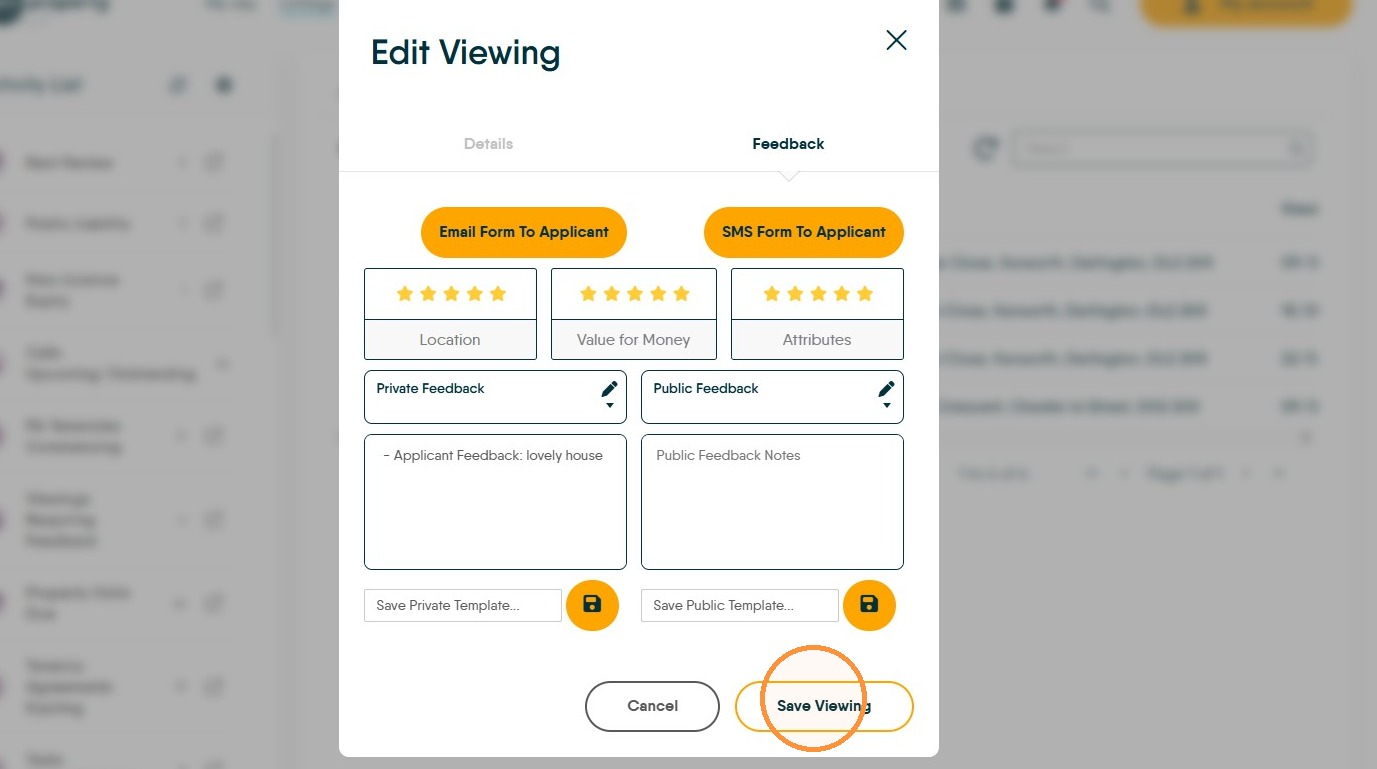
16. Click "Save Viewing & Close" to close the feedback screen.
Viewings Applicant Feedback
17. This section would be used when the Viewer has responded to the automatically sent (or manually sent) viewing email or SMS.
18. Click "Viewings Applicant Feedback Received"
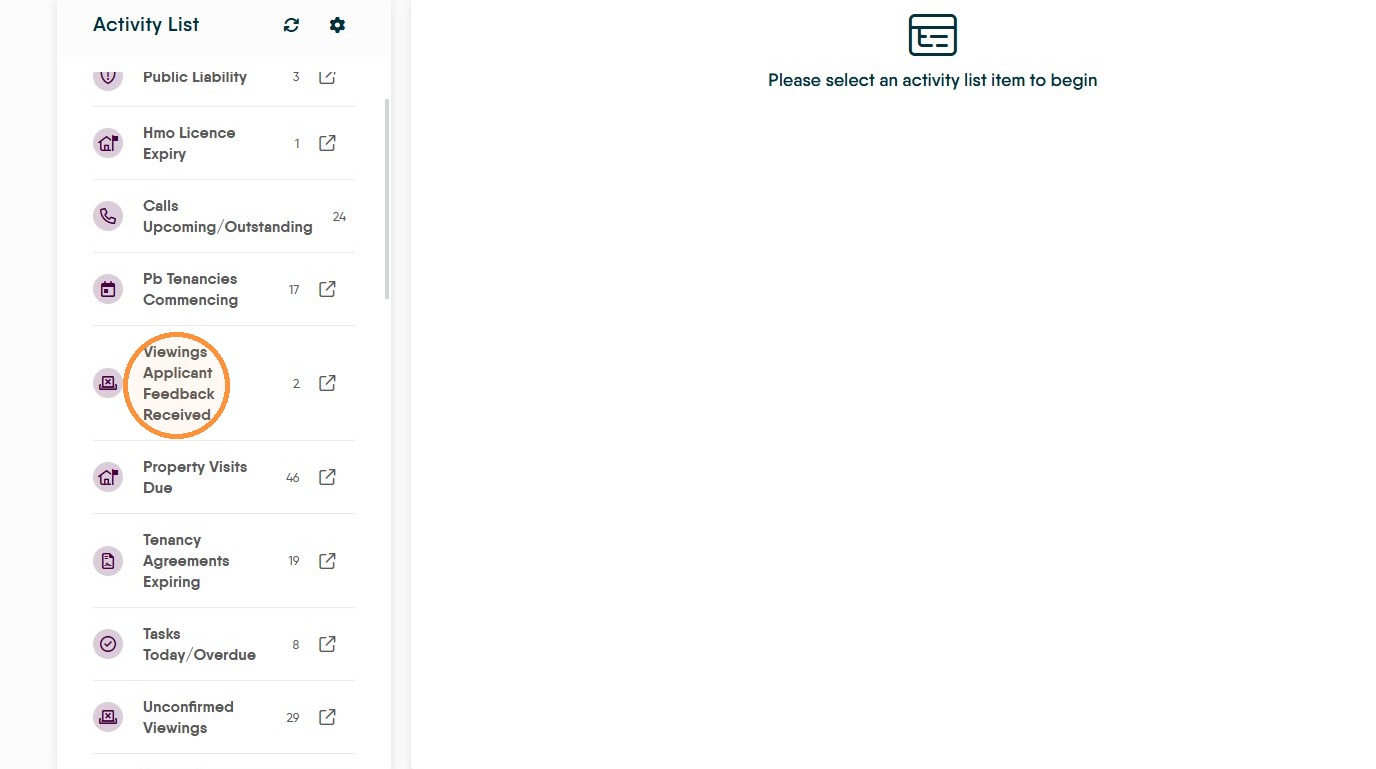
19. To review the feedback, click the 3-dot menu.
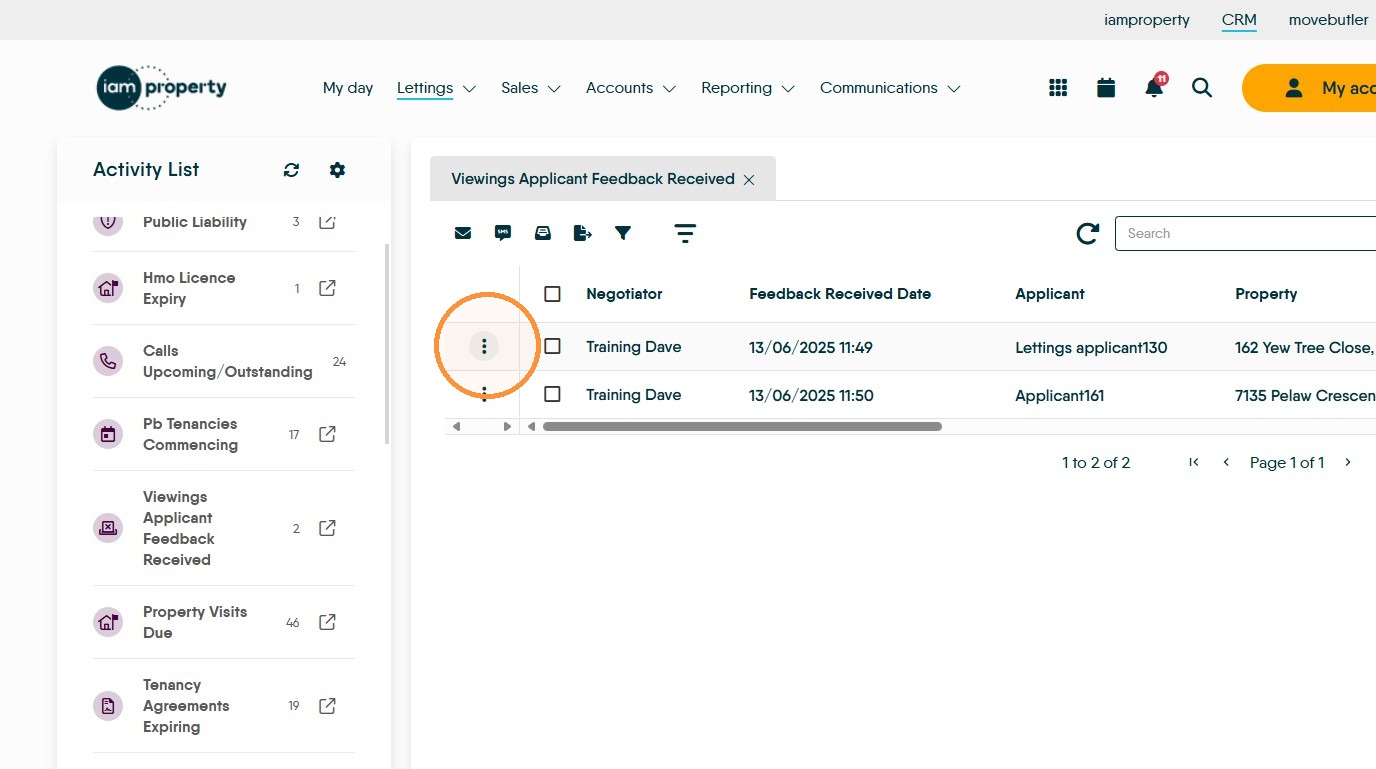
20. Click "Open Viewing"
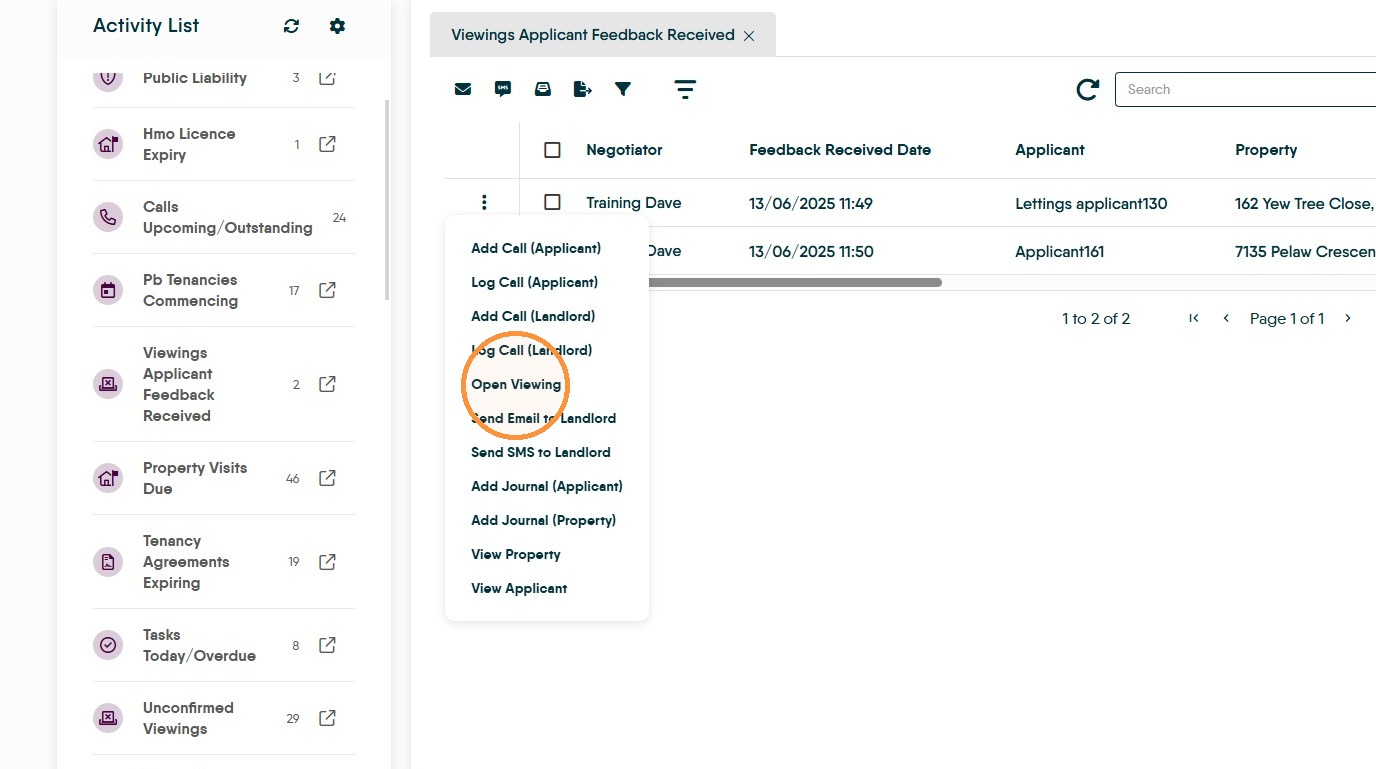
21. Click "Feedback"
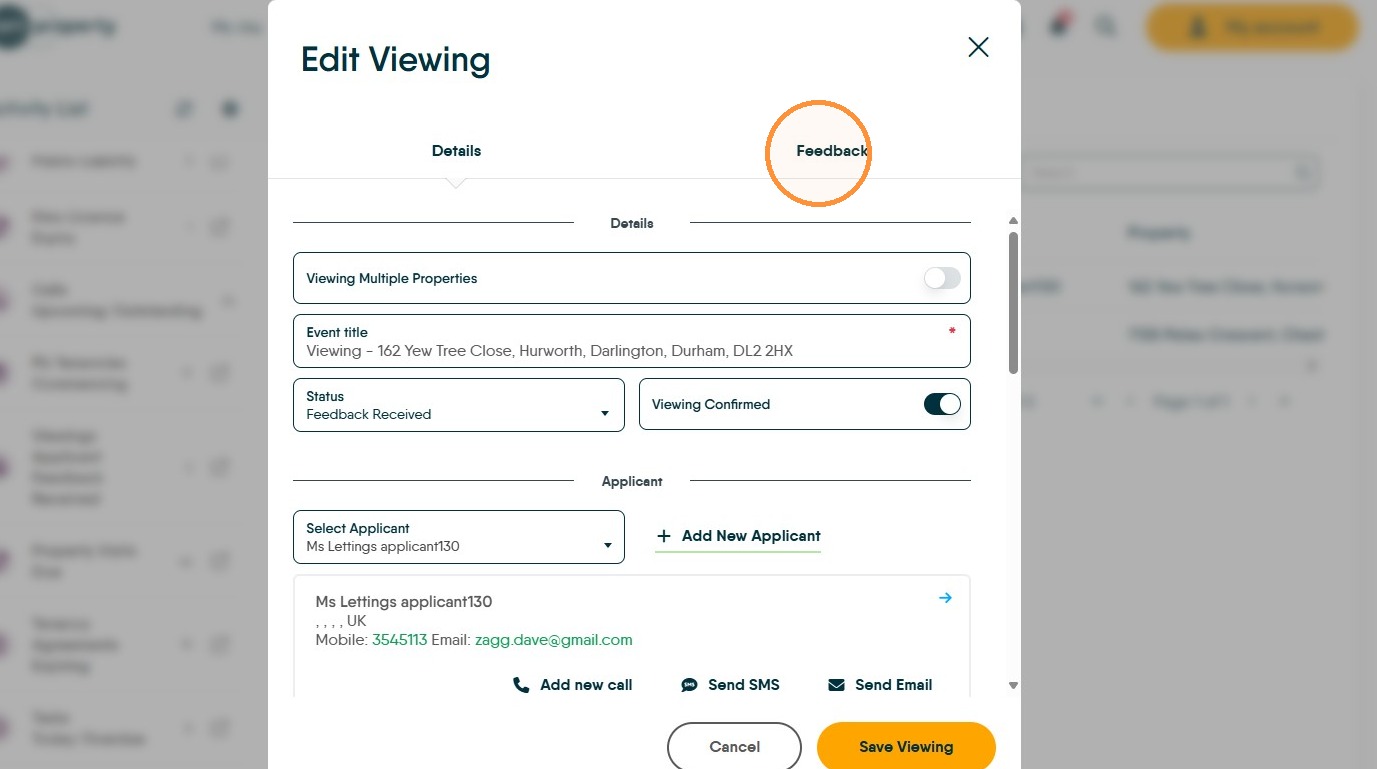
22. The feedback left will be in 'Private Feedback', allowing you to edit and move over to the public feedback area.
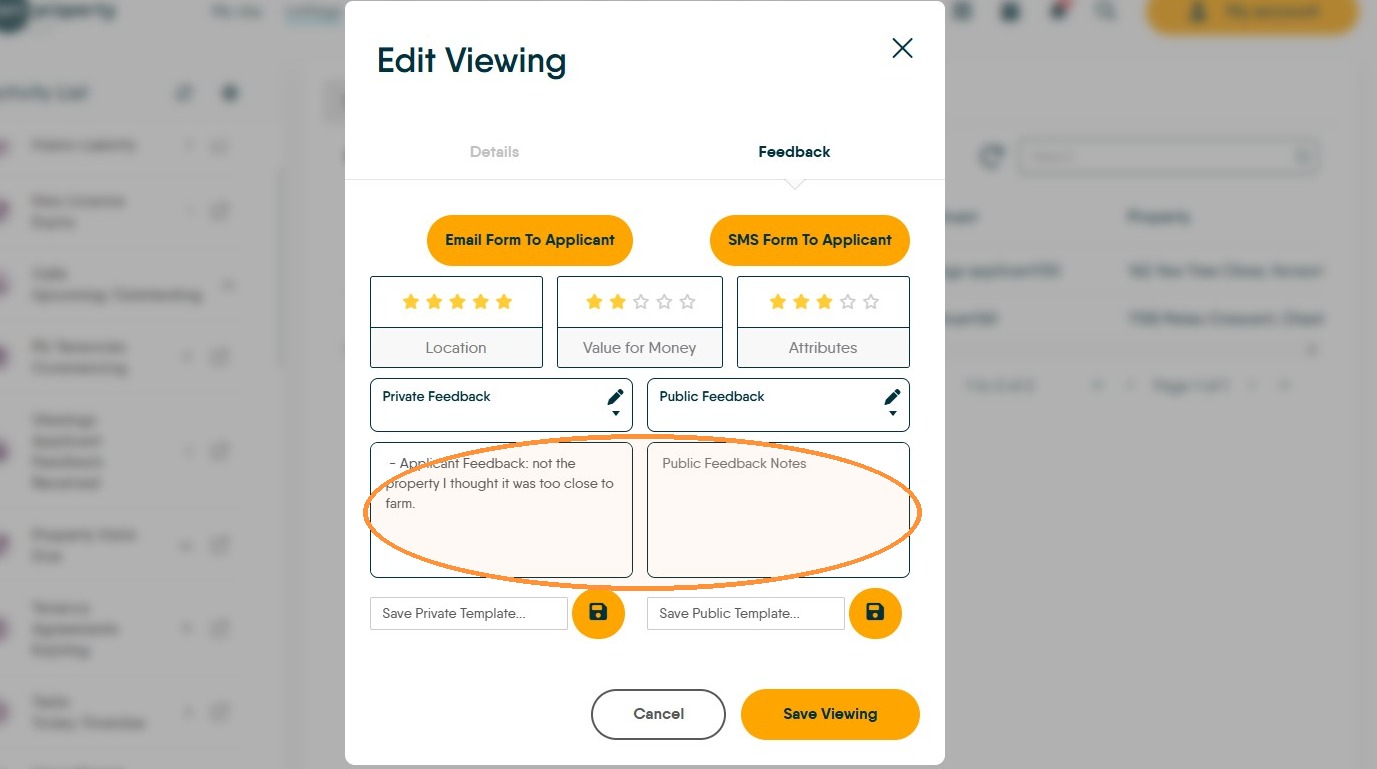
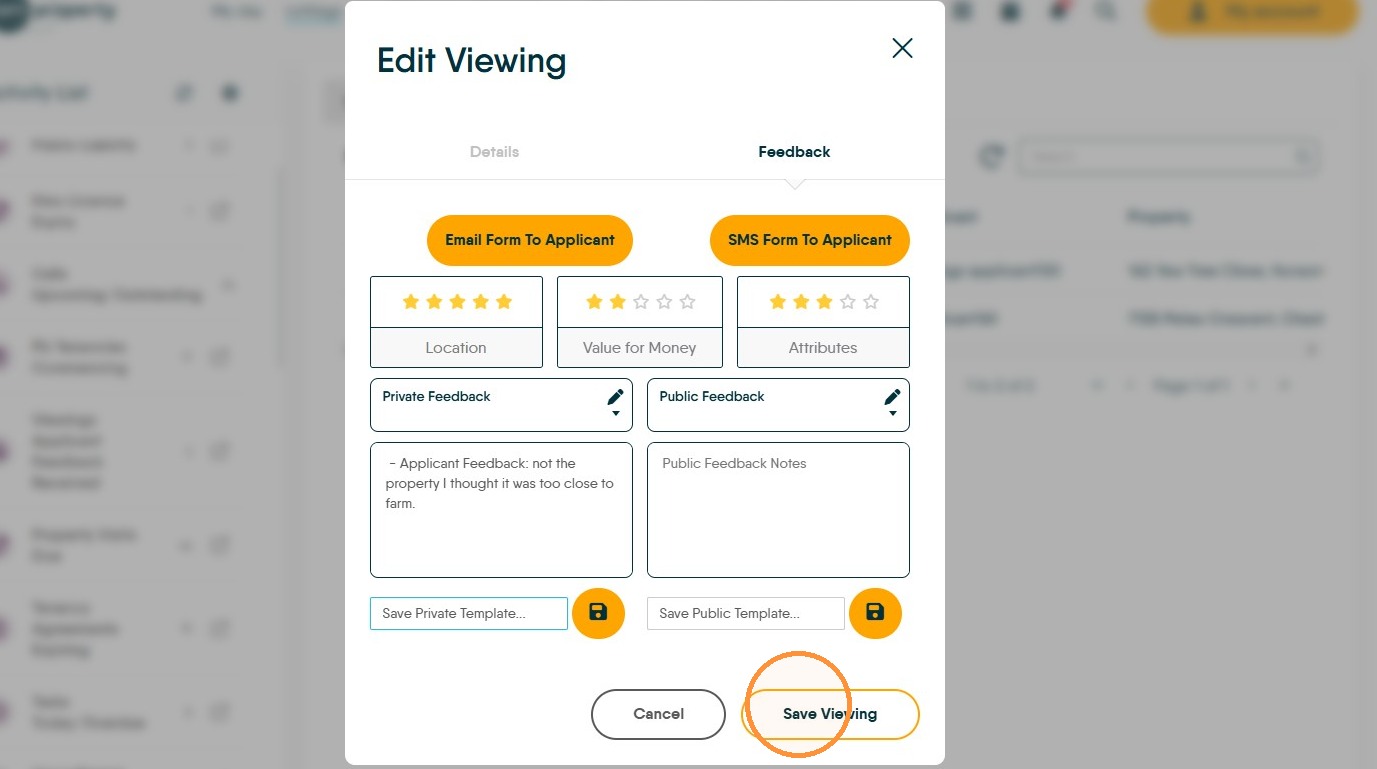
23. Click "Save Viewing"
Adding Feedback via the Property Record
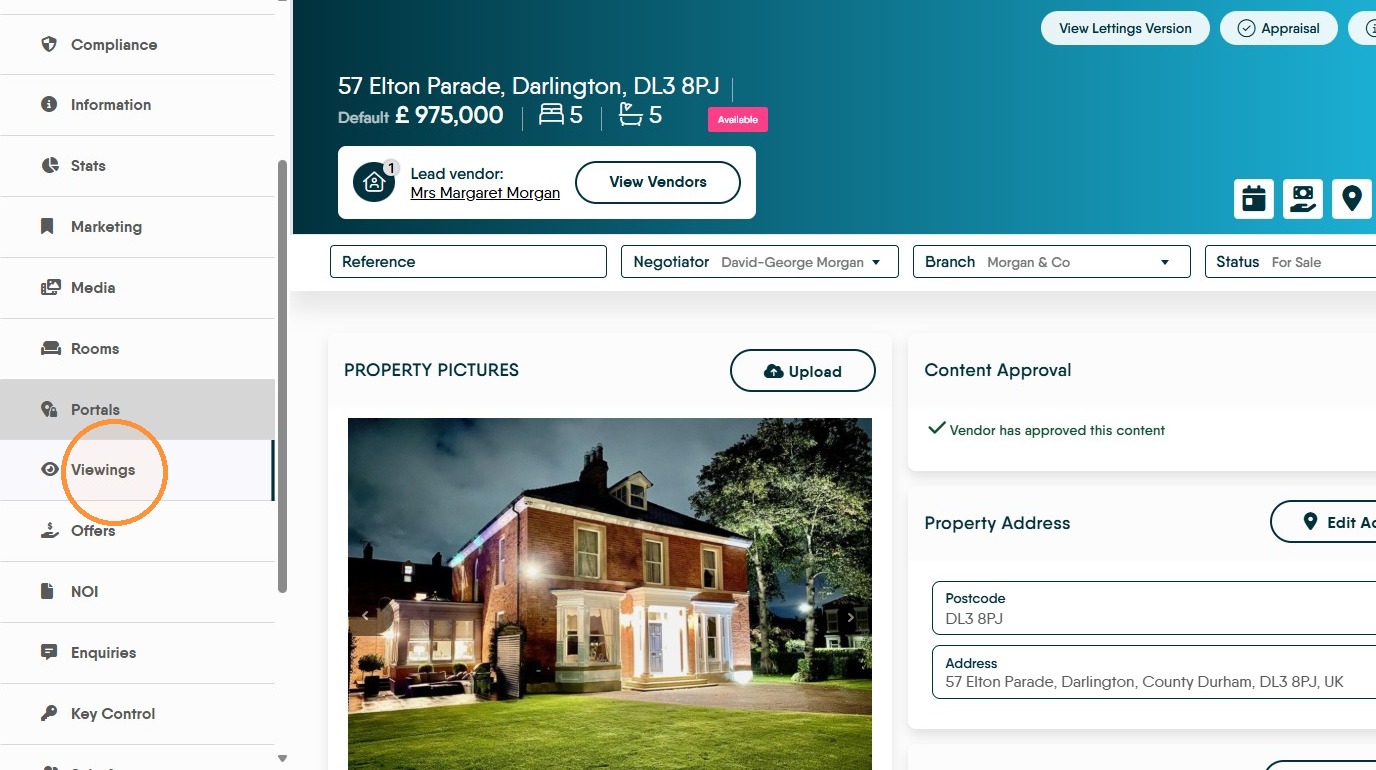
24. From the property record. Click "Viewings"
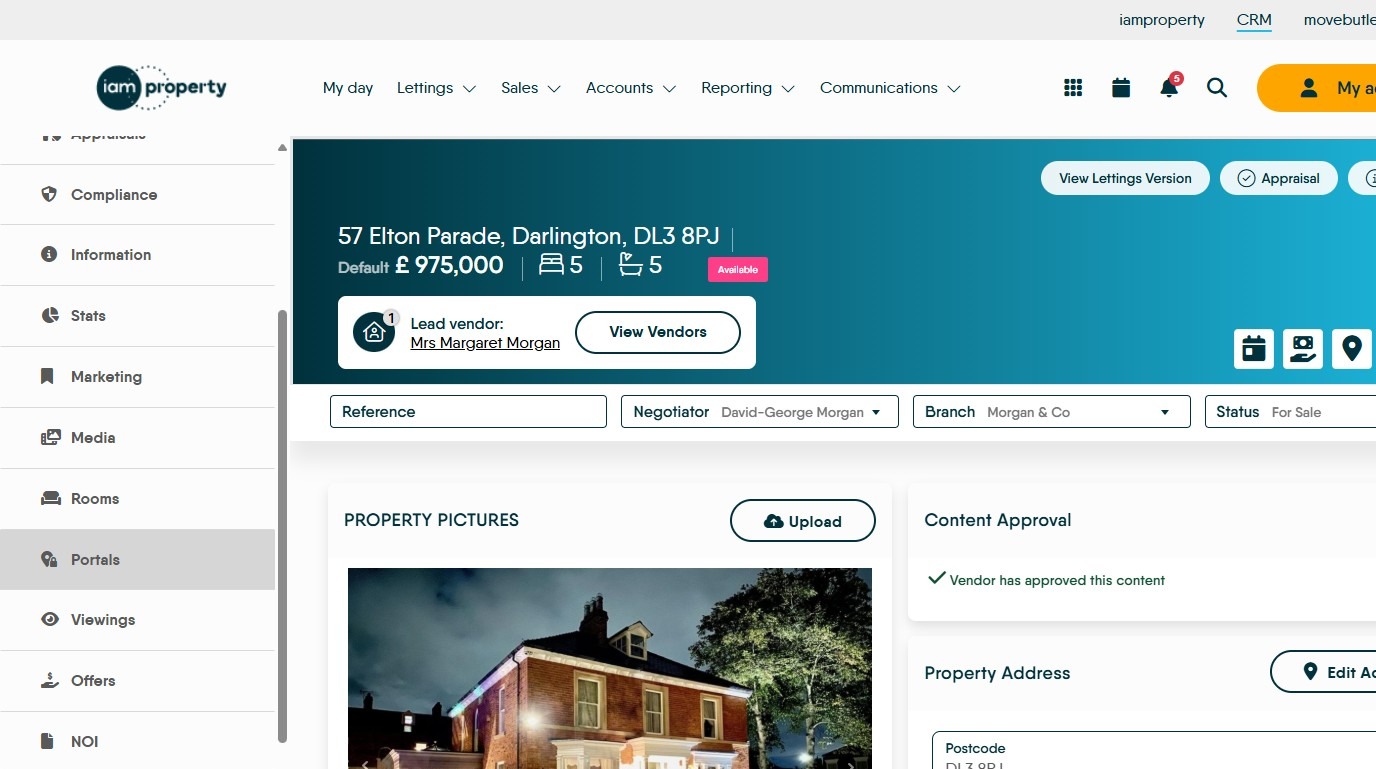
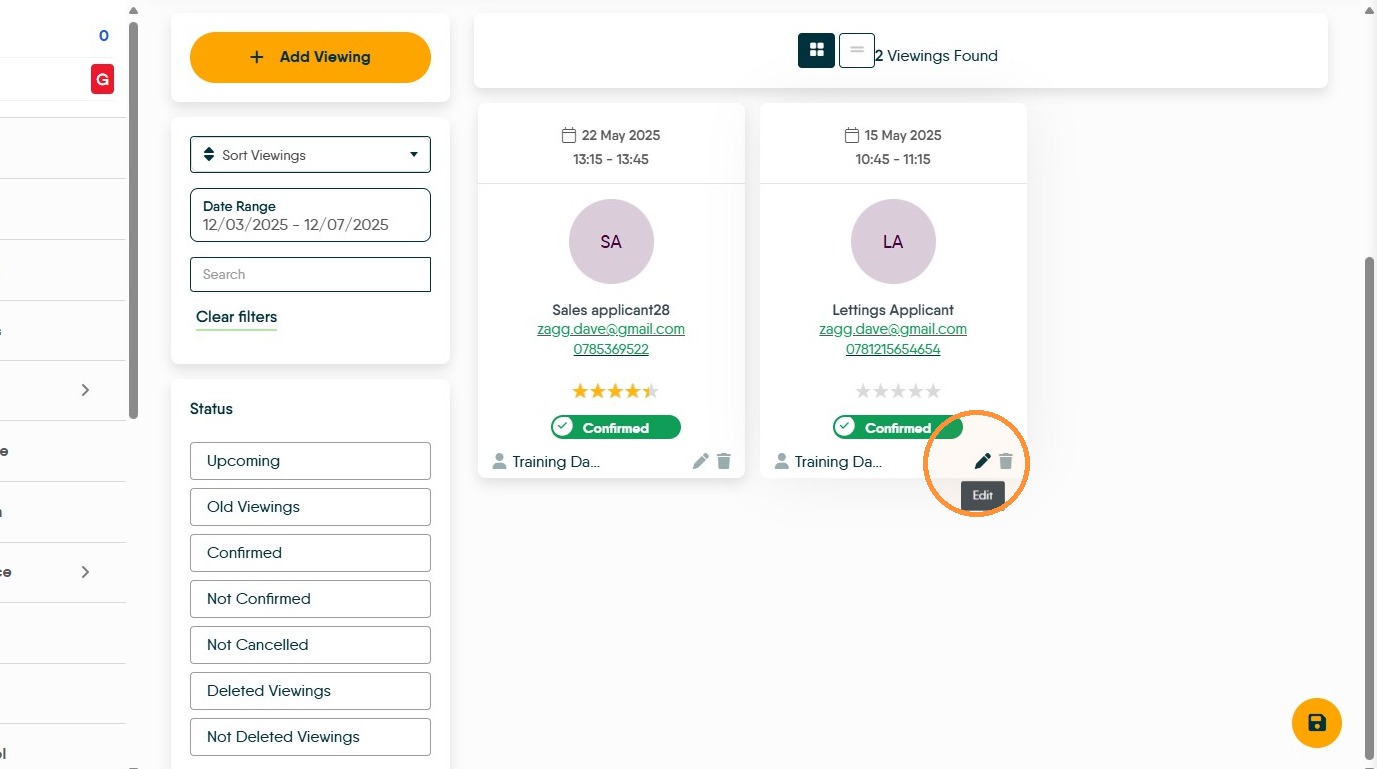
25. Click here.
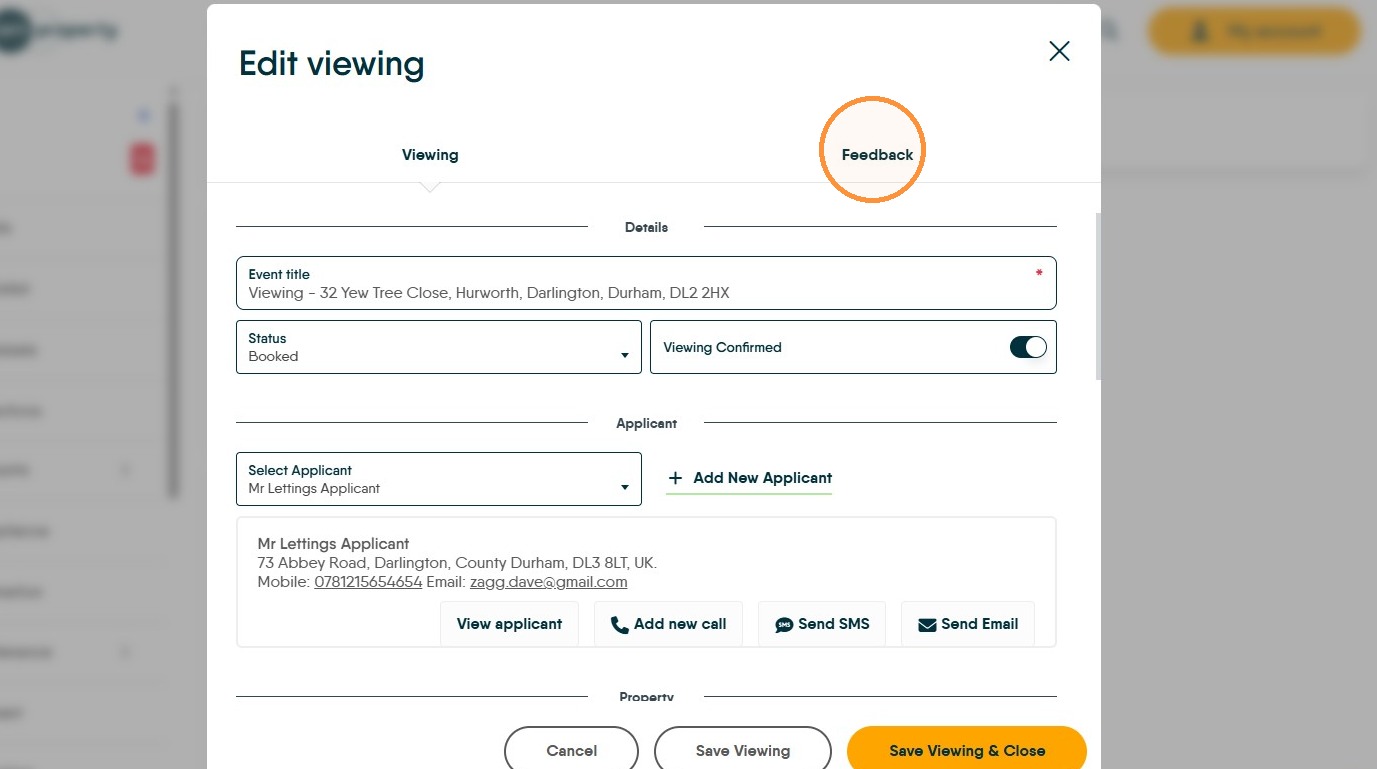
26. Click "Feedback"
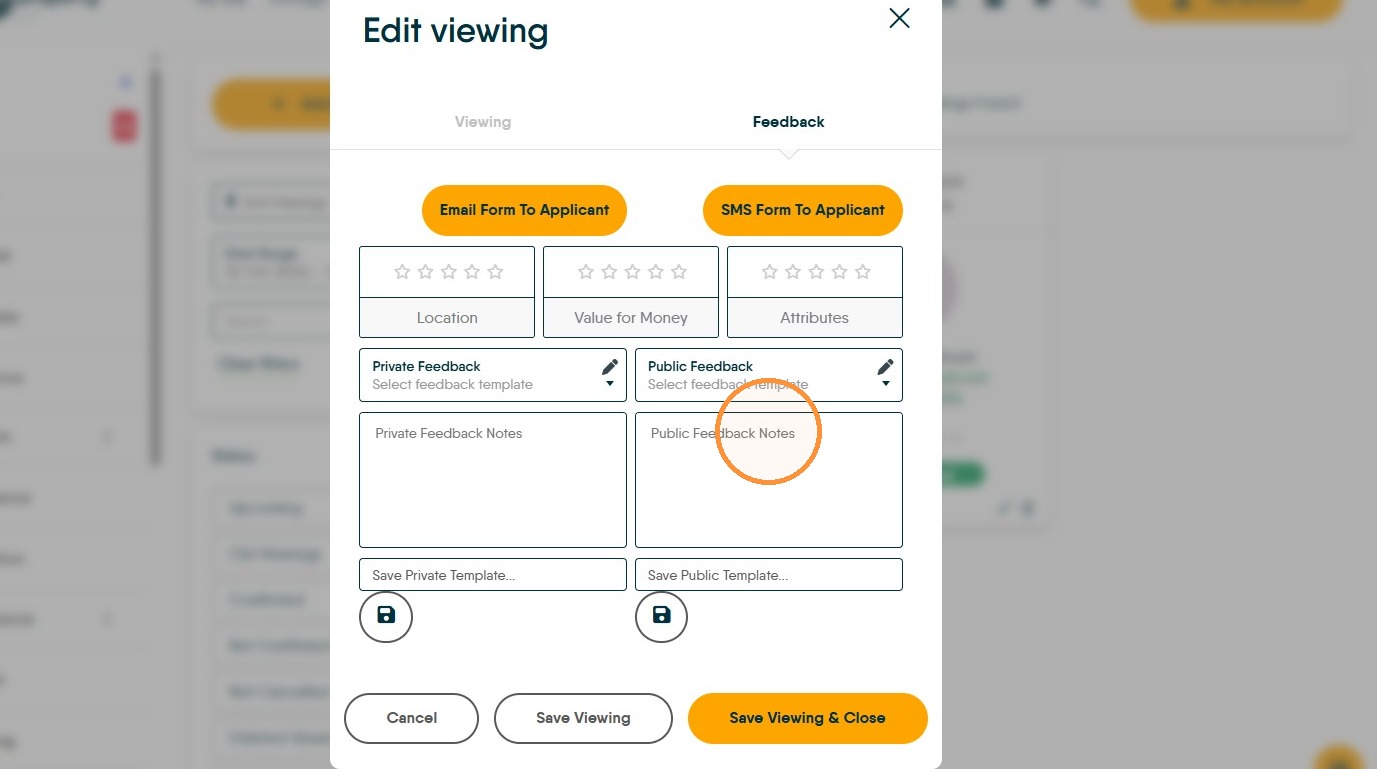
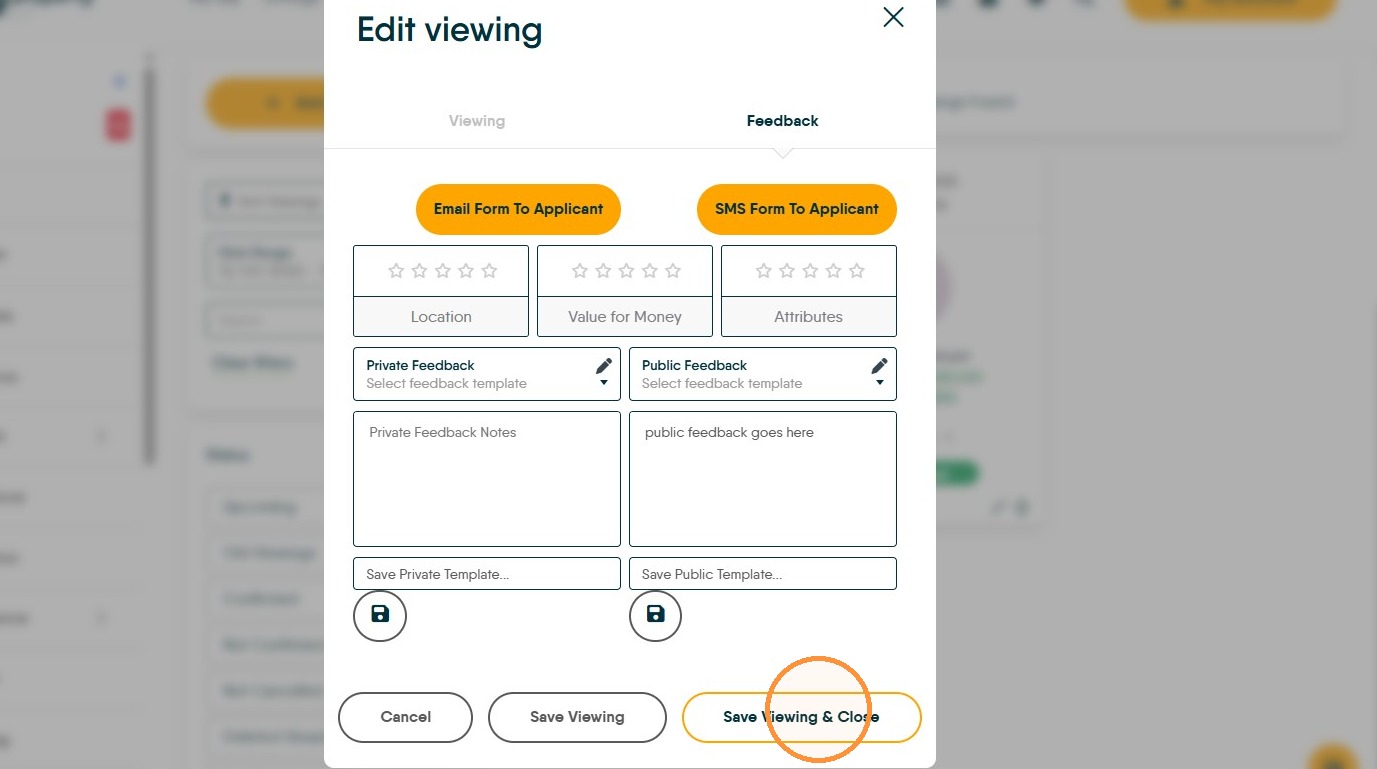
27. To keep your feedback private, use the 'Private Feedback' option, this will mean any feedback left does not show in the Portals. Click the "Public Feedback Notes" field to make feedback available in the portals. Once completed, click "Save Viewing & Close"
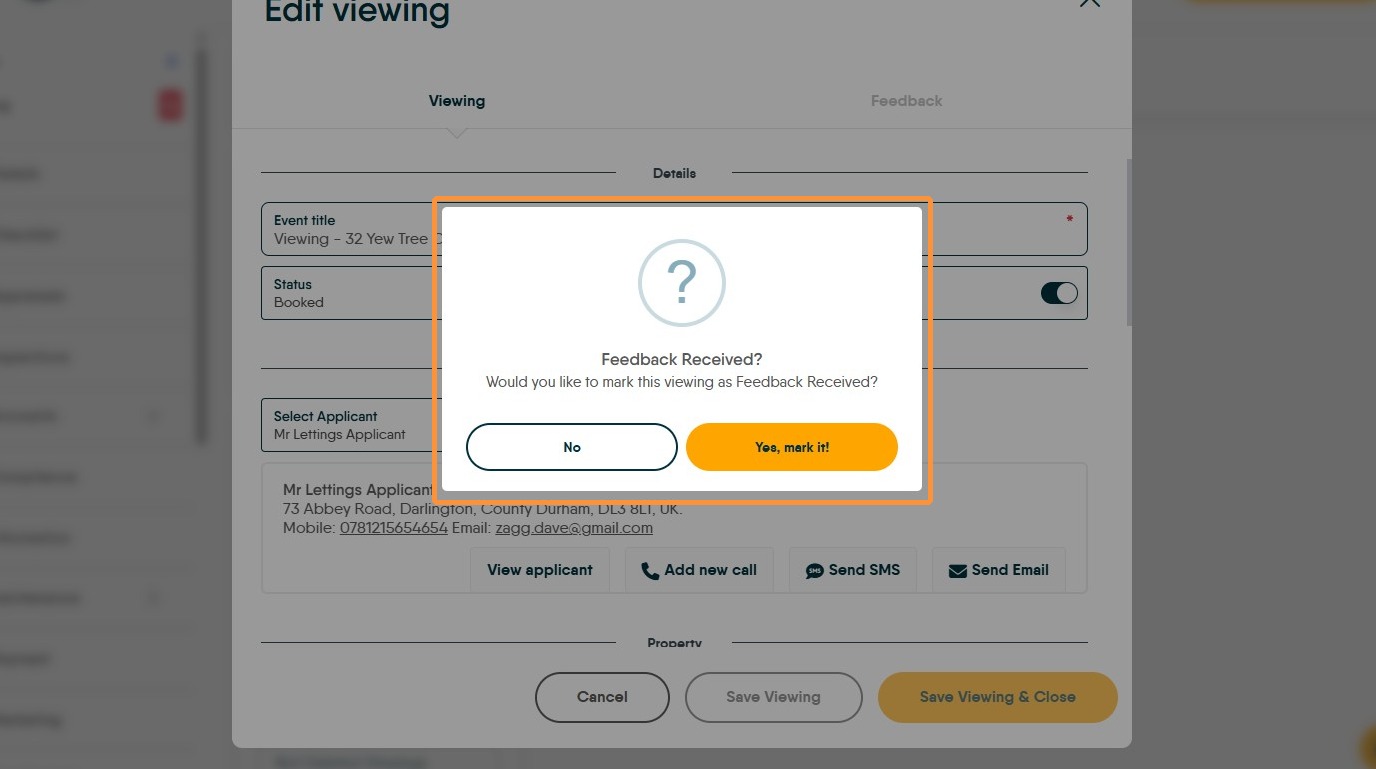
28. If you have completed adding the feedback then in the "Would you like to mark this viewing as Feedback Received?" field click "yes mark it", otherwise click no and this will allow you to revisit the feedback and add more.
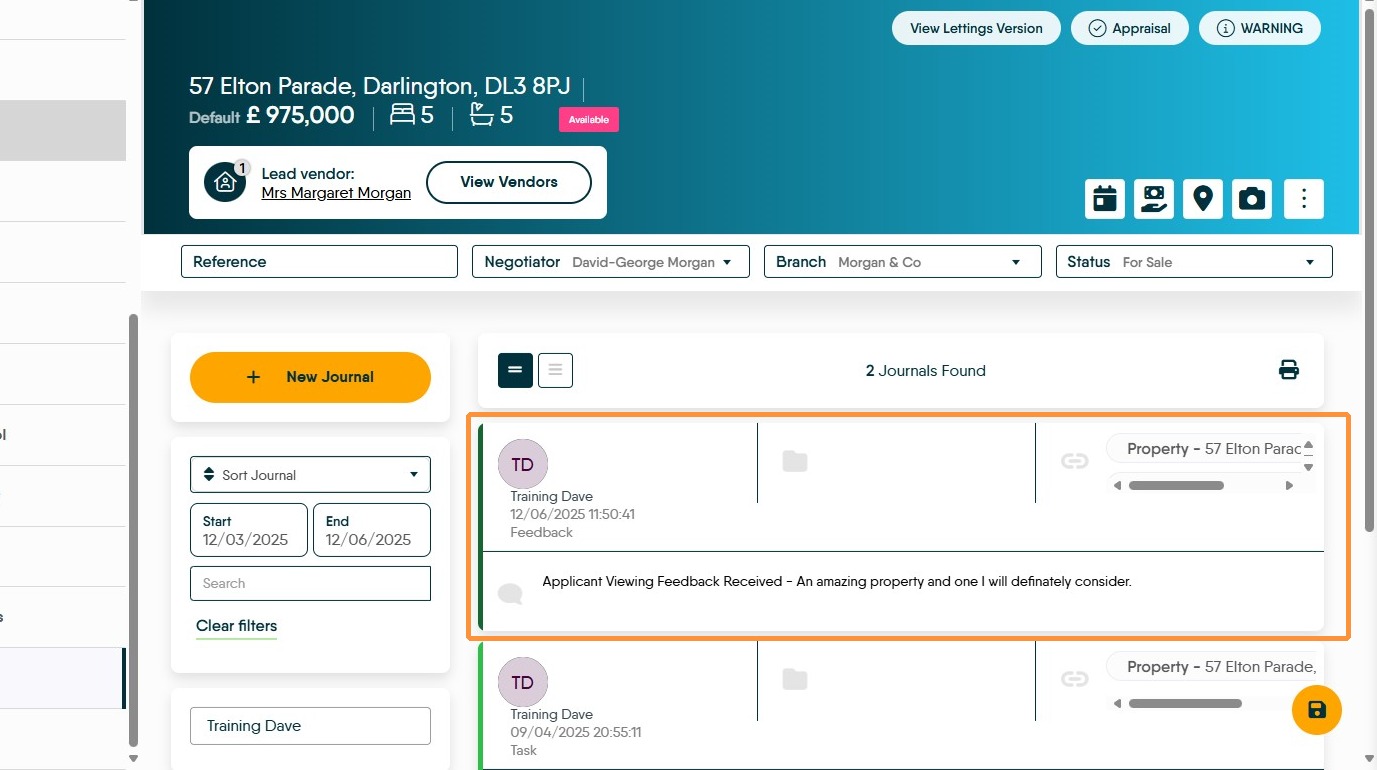
29. Feedback left will also show in the property journal.
Reviewing all Feedback Left
30. Click into the "Viewings" tab and you will see all the current viewings with a marker showing if feedback has been received.
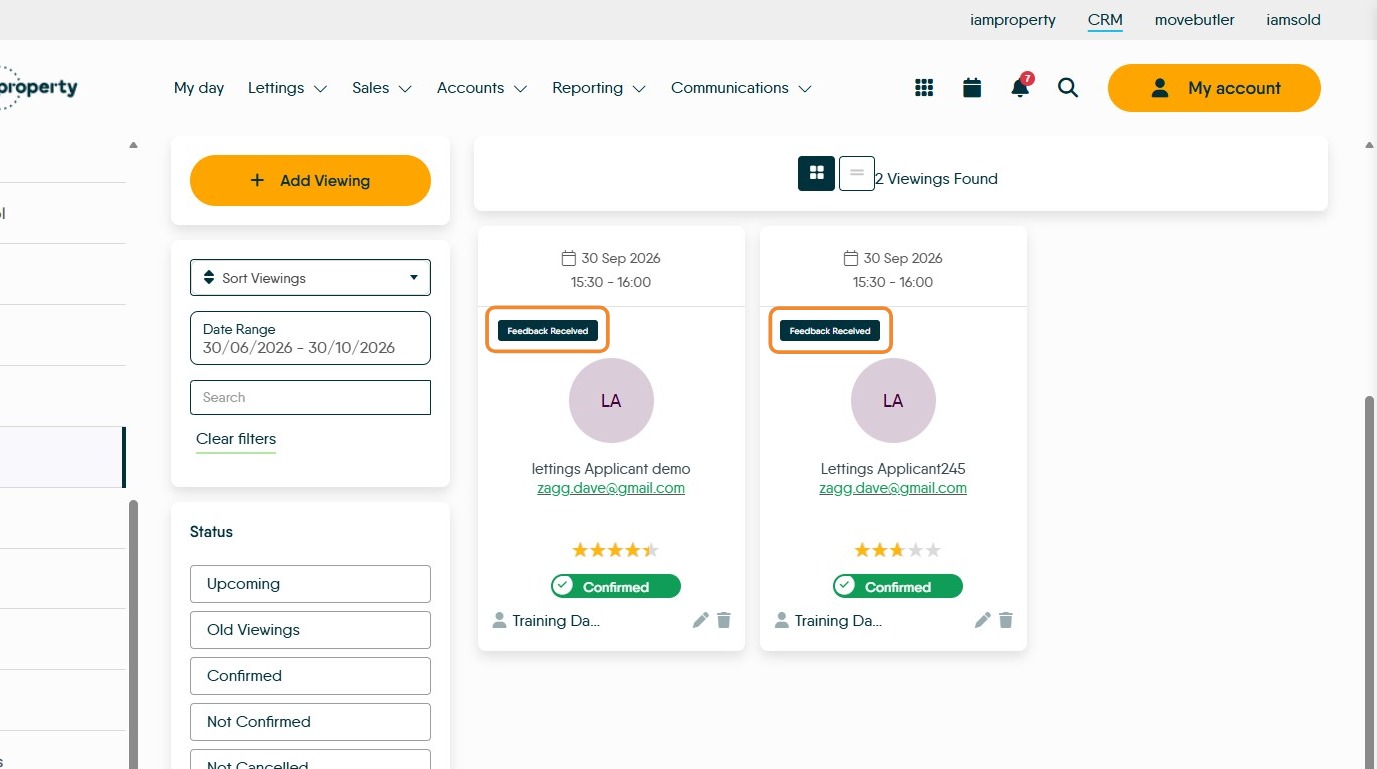
31. There is an alternate view. Click this icon to view the feedback in a list format.
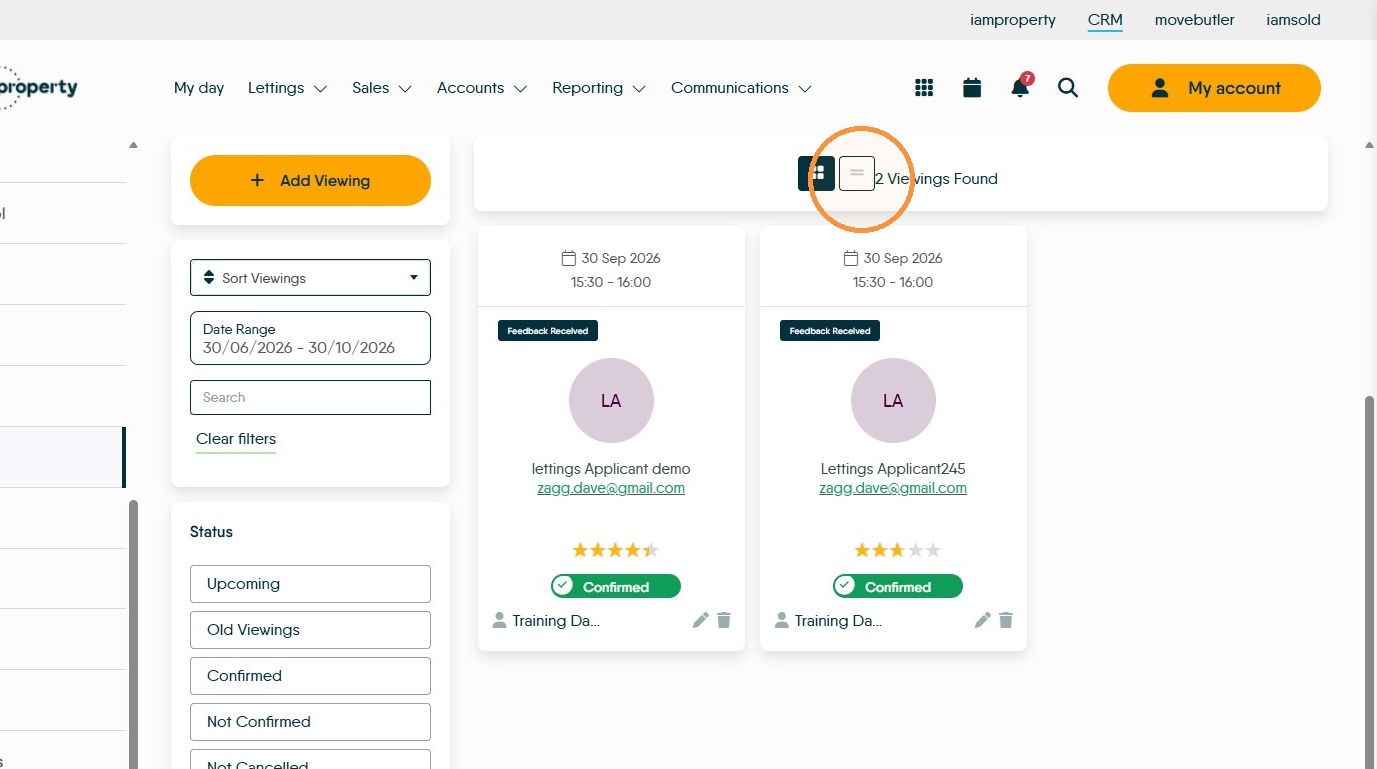
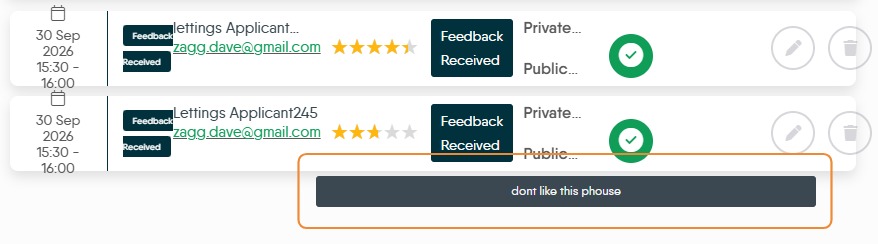
32. The viewings will show in a list format (as shown) to view the feedback, hover your mouse over the 'Private' or Public' options to review the feedback text.