This guide is essential for property managers looking to efficiently add maintenance jobs within the iamproperty CRM system. It provides a step-by-step process that simplifies the task, of adding Maintenance jobs to CRM and allocating them to a contractor, ensuring that no crucial details are overlooked. By following the instructions, users can streamline their workflow and improve communication regarding maintenance issues.
To Access Property Management
1. Navigate to https://crm.iamproperty.com/MyDay
2. Click "View property management"

3. This will take you to the Property Management Dashboard.
From here you can manage and view a range of information.
Creating a Maintenance Task
Tip: There are a number of ways to create a maintenance task, you do not need to be in the Property Management module to do this, the following slides will show how to create a new maintenance job.
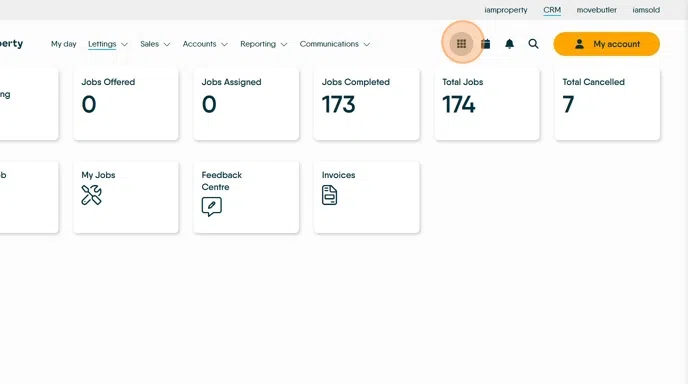
4. From the 'Bento Menu'
Click "Add new record"
Click "Maintenance job"
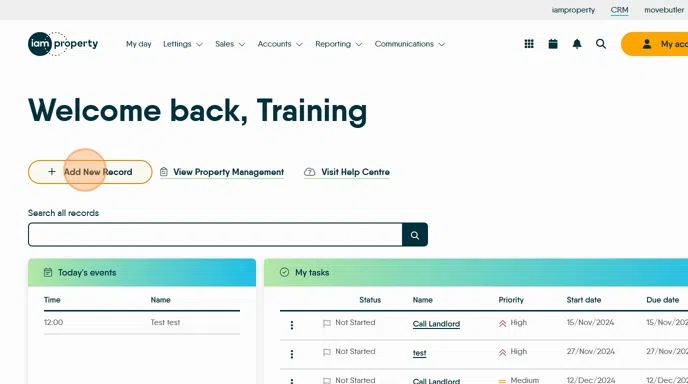
5. The alternate way to add a maintenance job.
From the 'MyDay' screen. Click "Add New Record"
Click "Maintenance job"
6. or from within the Property Management Dashboard.
All these options lead to the same screen.

Creating the Job
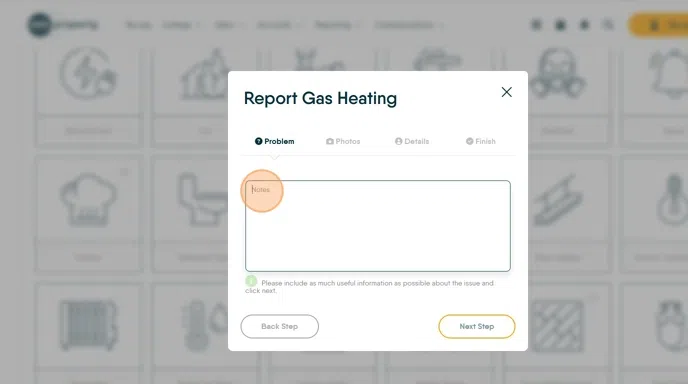
7. From the first screen shown select the task type that fits your issue the best. Some tiles have sub categories, these have a number in the top right corner (as highlighted).

8. Once the task category has been selected you may see an information/warning video if you have set one, then add the job information. Click the "Notes" field, this should be a brief description of the task. Anything added here will be shown on the Landlord Statement and can be visible to the Contractor and Tenant.
Click "Next Step".
9. Then click here to add any images (upto 6) to support the contractor in diagnosing and repair of the issue.

10. Once the images are added Click "Next Step"

11. Click "Search for Properties" and select the property from the drop down menu

12. Click the property address from the list

13. If required click "Select Priority Level" this allows you to set a priority to the job.
A priority can be anything that helps you manage the tasks, in our example we have High, Medium, Low, Water, Gas, Electric.
Click "Gas"

14. Then select the tenant who reported the task from the menu. All tenants in a tenancy will show in the list.

15. Click "Next Step"

16. Click the "Further Notes - eg parking restrictions etc.." field. to add any note, these notes will show in the Contractor email
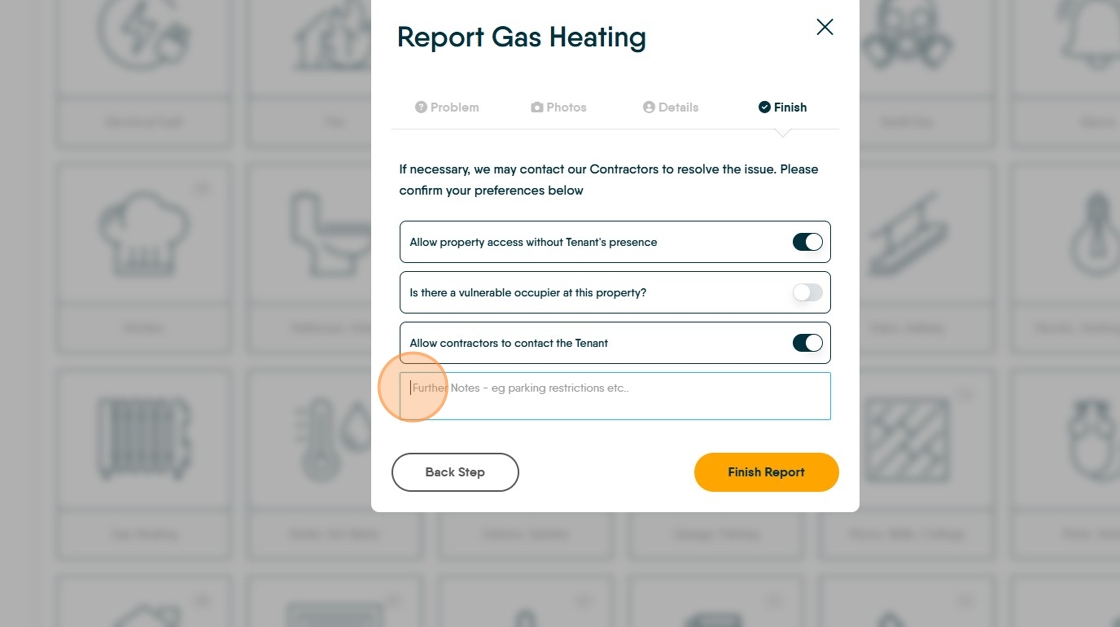
17. The last screen, complete the contact preferences and click "Finish Report" there will be an option to create another job select the appropriate option.

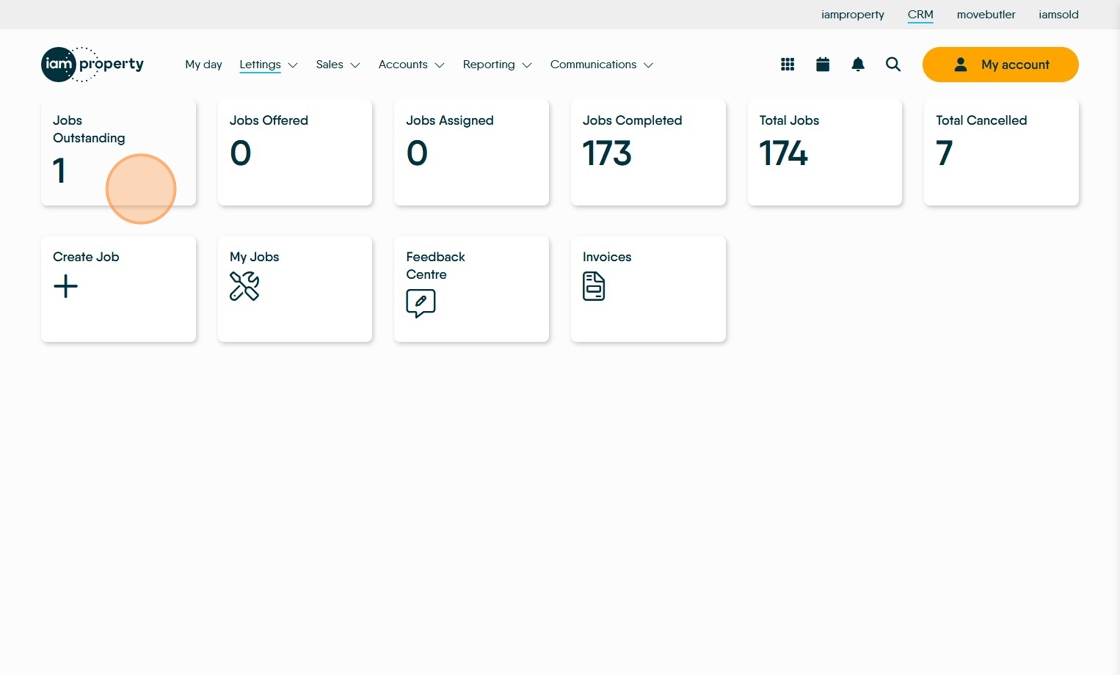
18. The job will then show in the jobs list.

To Assign the job to a Contractor
Tip: Tip! There are a couple of ways to allocate the task to a contractor, this is the most straightforward.
19. On the Task List, on the job you are assigning click "ASSIGN"

20. There are 3 options to assign a task to a contractor, Offer Task and Email, Assign Task and Email, Assign Task and Dont Email.
Offer Task.. allows a job to be offered to multiple contractors and be allocated once the Contractors have responded. It is the least used option.
Click "Assign Task & Email Contractor, will email the contractor with the information on the job. This and the 'Dont email...' option will be the most used.
If we click 'Assign task and email contractors".

21. Click this search field search for the contractor.

22. Click the name of the Contractor you are using. Any Contractor with 'Assoc.' next to there name is a preferred contractor for that property. You may also see 'Warranty', this indicates the Property has a warranty on it.

23. Click the "Note....." field and add the detailed notes for the Contractor, only the Contractor sees these notes and as such this field should be used for the full detailed instructions to your contractor.
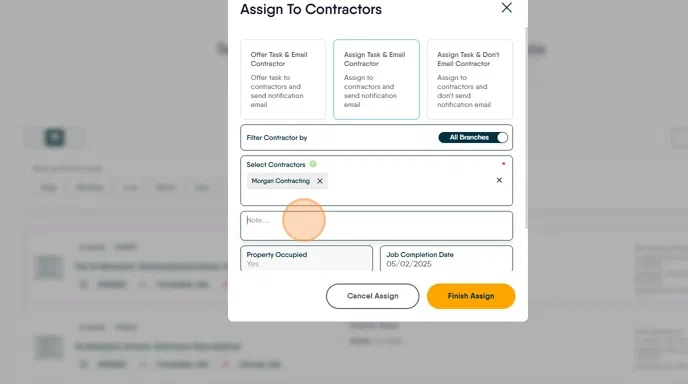
24. Click the "Select the Date" field to add a job completion date. This date drives the Activity List notification to show overdue maintenance jobs.
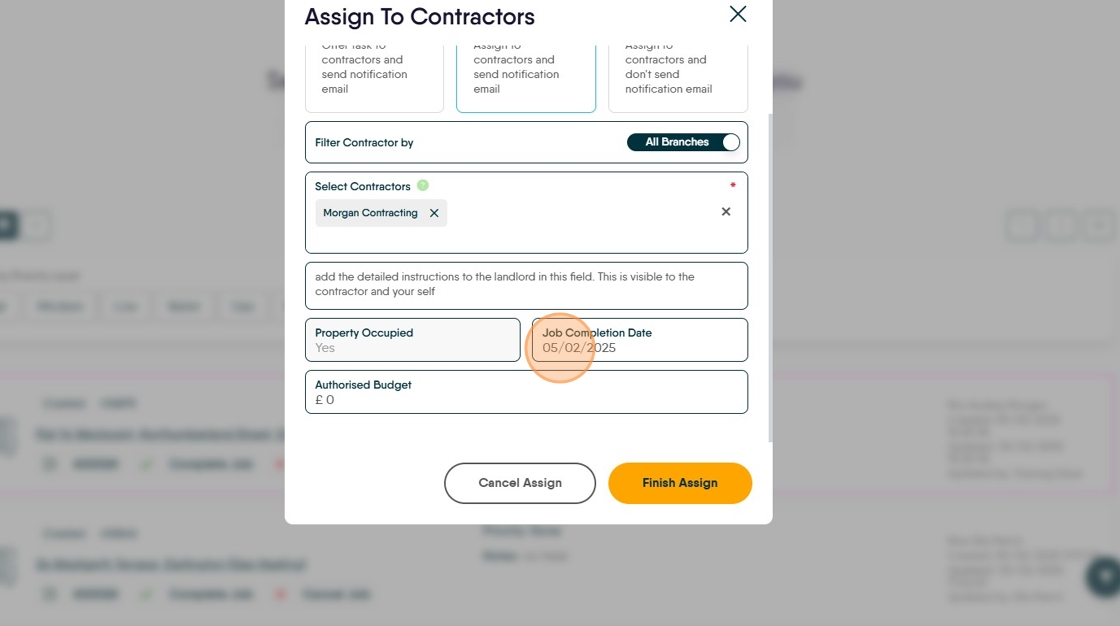
25. To add an authorised budget click here

26. Click "Finish Assign" and your contractor will receive an email with the details for the job.

27. The Contractor email will look like this. The email includes your branding and all of the detail that is added during the creation process, including pictures.

28. Once the job has been assigned, return to the task list and the updated information will show on the screen.

Tip: Tip! If the task reaches the Completion Date (if set) the Contractor details and date will show Orange, once past the date they will show Red.