This guide outlines a simple step-by-step process for submitting maintenance job reports in the iamproperty CRM system. It helps property managers log tasks quickly and accurately, improving day-to-day efficiency. Key features like priority levels and photo uploads are highlighted to enhance contractor communication and ensure a faster response to tenant issues. Following this guide will help users navigate the system confidently and streamline property management tasks.
1. Navigate to https://crm.iamproperty.com/MyDay
There are 2 main ways to create a maintenance job in iamproperty CRM. From the Property Management module or from the '+Add New Record' option on the MyDay screen or in the 'Bento' menu
2. Click "View property management" or click '+Add New Record' on the MyDay screen.

3. Then in Property Management, click here.

4. Or click the 'Bento' menu on any screen in CRM.

5. Click "Add new record" n.b. this is the same process if you have selected '+Add New Record' on the MyDay screen.

6. From MyDay screen click "Add New Record"

7. Click "Maintenance job"

8. Click "Maintenance job"

Creating the Maintenance Task
9. To search for the type of job you are raising click the "Enter a keyword here to get started..." field. Or, scroll through the list of categories (and sub categories) to find what you require.

10. Click on to the category.

11. You may see a warning/informational message. These are set up by yourselves. (Please ask if you want assistance doing this)

12. Click "Continue To Report"

13. Click the "Notes" field. These notes are also shown on the Landlords statement as part of the maintenance task charging.
We advise keeping these notes brief and to the point.

14. Click "Next Step"

15. Up to 6 photographs can be uploaded from here.
The images are shown on the Contractor email, in the Contractor portal and in the job record as well.
Click "Upload Photo". Find the images on your computer, phone or drag from the email

16. Click "Next Step"

17. Click here to search for and select the property the maintenance is on
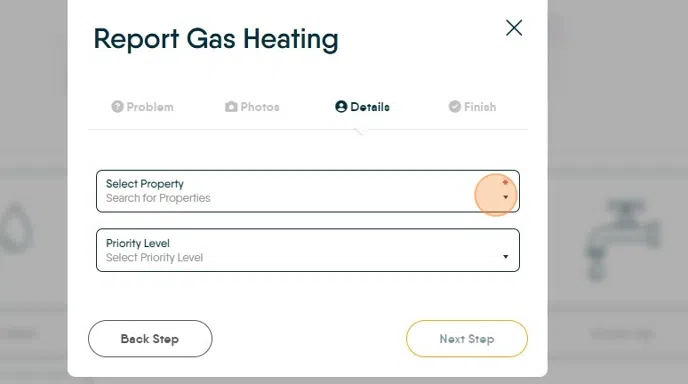
18. Click "Select Priority Level" and set the priority from the drop down menu.

Tip: Tip! Priority levels are useful as they are set in configuration and can be added to and edited to suit. Priority levels can be used for sorting job types easily and quickly.
19. Click this dropdown to select the tenant report the task. This will populate the fields with the contact details for the tenant.
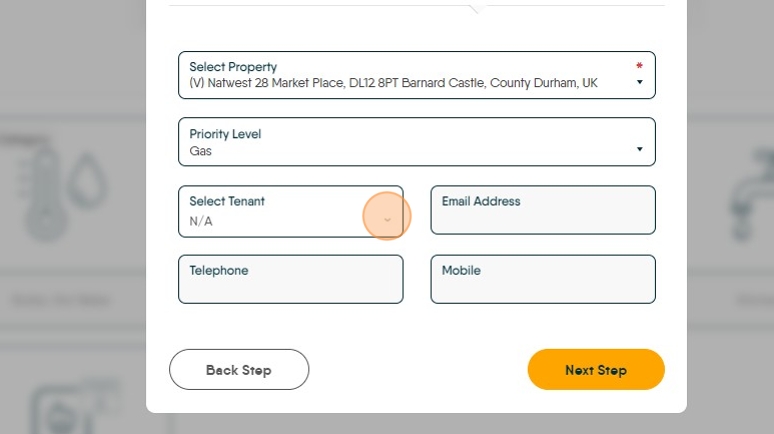
20. Click "Next Step"

21. The final screen allows contact preferences to be set, also further notes to be added for the contractor. Click "Finish Report"

22. Click "No"
