This guide provides step-by-step instructions for adding the Sales Progression Automation module to specific branches and users within the CRM system. By following this guide, users can enhance their sales processes and ensure that key team members have access to valuable automation tools. It simplifies the setup process, ensuring that branches and individual users can quickly benefit from improved sales tracking and efficiency.
1. Navigate to https://crm.iamproperty.com/Dashboards/ControlCentre
2. Click into "Branches"

3. Click the branch you wish to add the Sales Progression Automation to. That Branch will be highlighted in the list.
Click "Sales Automation" in the module list. It will change from Red to Green.
If "Sales Automation" is already green then the branch already has it, so skip this step.

4. Return to "Control Centre"

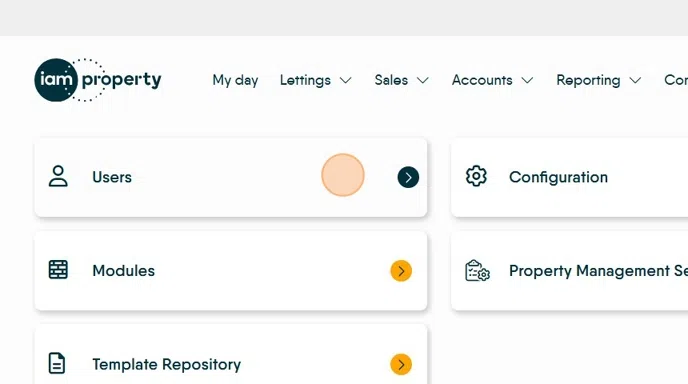
5. Click into "Users"
Uncheck the top listed user
Search for, or locate in the list, the user you wish to update
Tick the checkbox against the user you wish to give access to the Sales Progression Automation
6. Click "Sales Automation" in the module list. It will change from Red to Green.

Tip: Tip! It's recommended the user logs out and back in in order for the change to take effect.