Made by Dom Wingfield with Scribe
This guide provides instructions for configuring property management settings and notifications, ensuring efficient communication and task management. By following the steps outlined, users can customise their notification preferences, embed instructional videos, and prioritise tasks effectively.
Tip: Property Management Settings are divided into two sections. One covers the tenant-facing side that they will see when reporting an issue, one covers the side you as the agent will see. Jump to step 20 if you need the agent side.
1. Click "My Account"

2. Click "Control centre"

3. Click "Property Management Settings"

4. Here you control which tenants have access to Property Management.
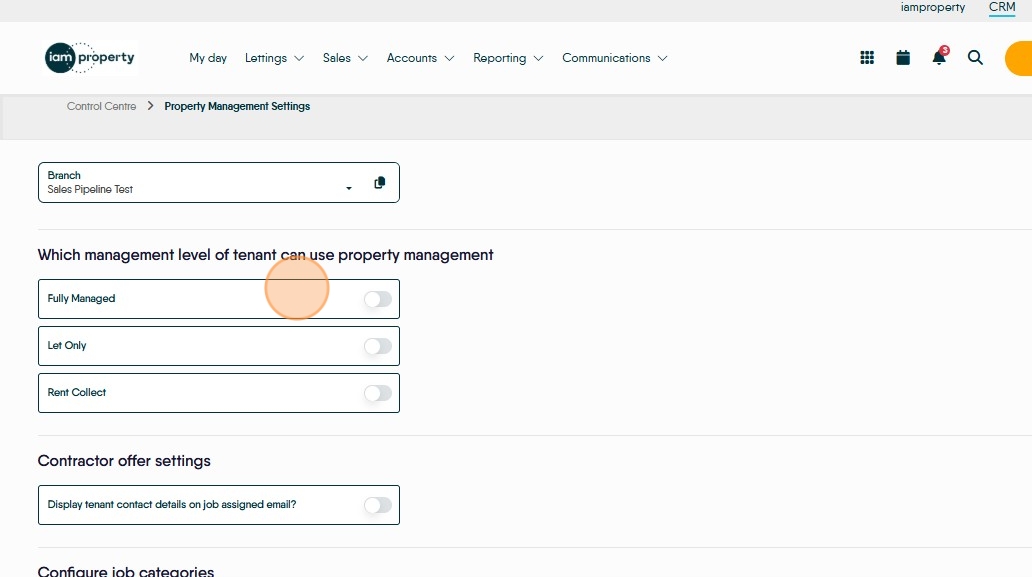
5. This is the master switch for tenant details displaying for the contractor.

Alert: Without turning this master switch on, tenant details will not display, even if switched on to do so when creating the job.
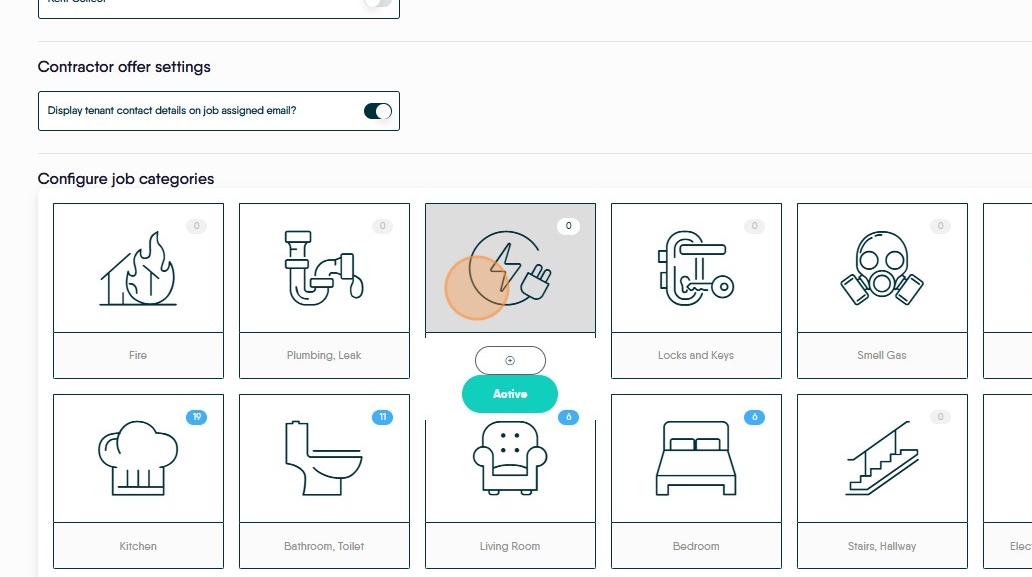
6. Numbers in the top corner of a job category shows how many subcategories it contains.

7. Click the arrow button to access the subcategories.

8. Click this button to move a subcategory to the main category list.
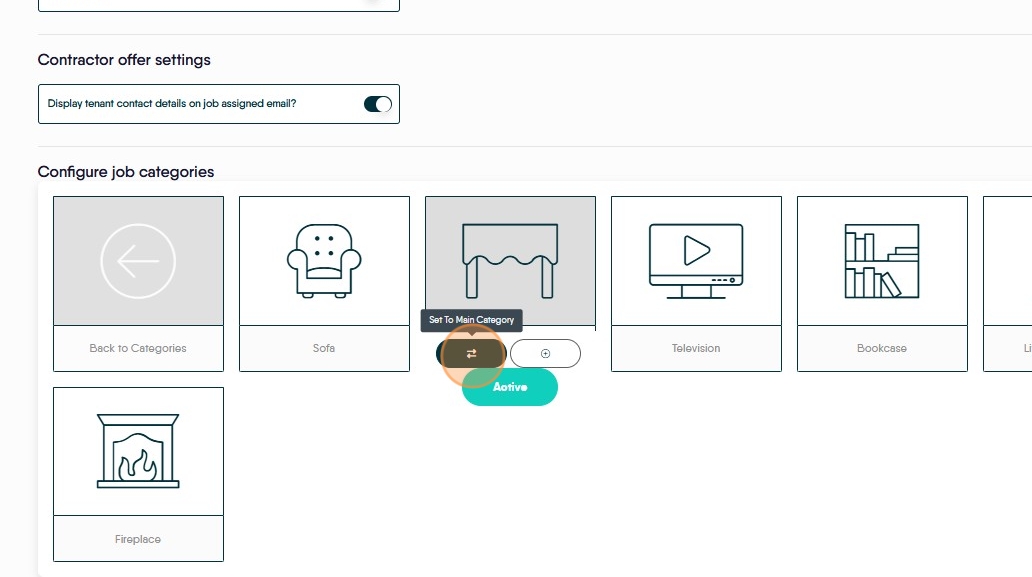
9. Click this button if you want to add a warning when this category is selected by the tenant reporting the job.

10. Enable the prompt and type underneath to add a message to be shown to the tenant.
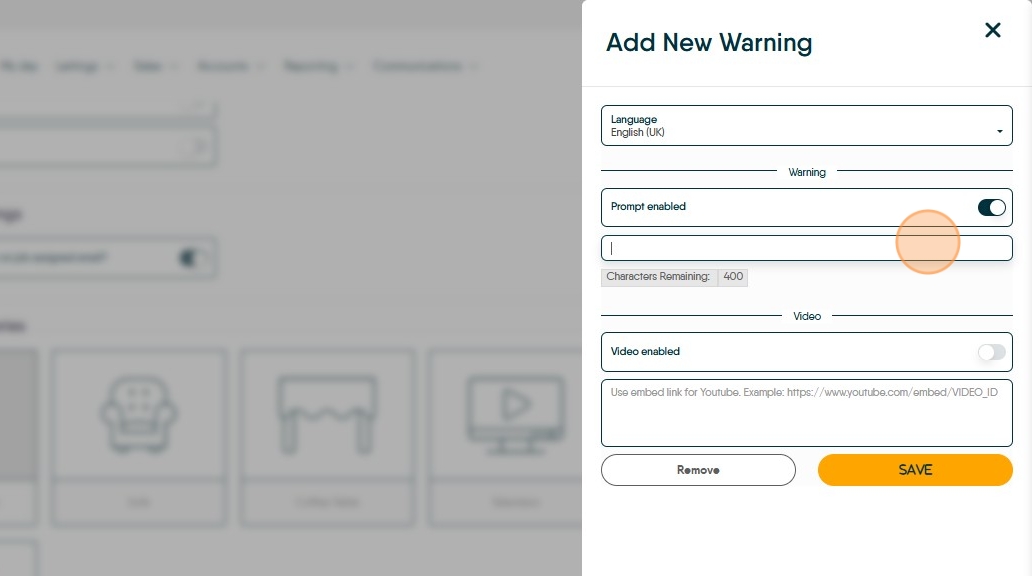
11. Enable video to attach something from Youtube

12. Click "Share" on the video you want to include.

13. Click "Embed"

14. Select the address between speech marks at the top of the embed code, and copy it.
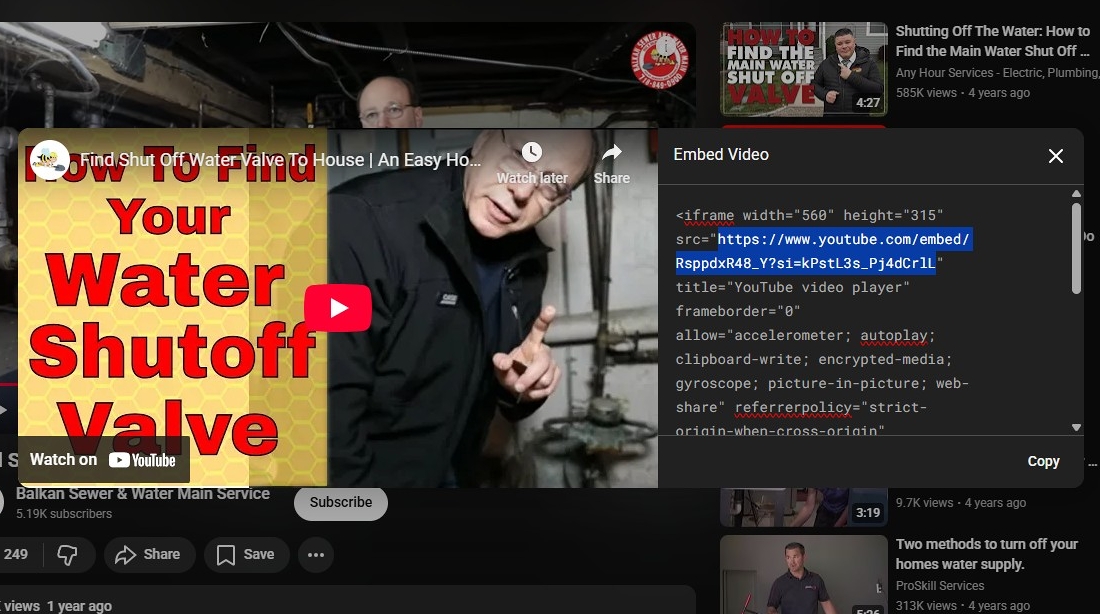
15. Paste in the link

16. Click "Save"

17. To change the order of job types, click and hold them, then drag them to the new order.

18. Click here.
19. These settings are branch-specific, but if you click the button next to the branch dropdown, it will copy these settings to all branches.

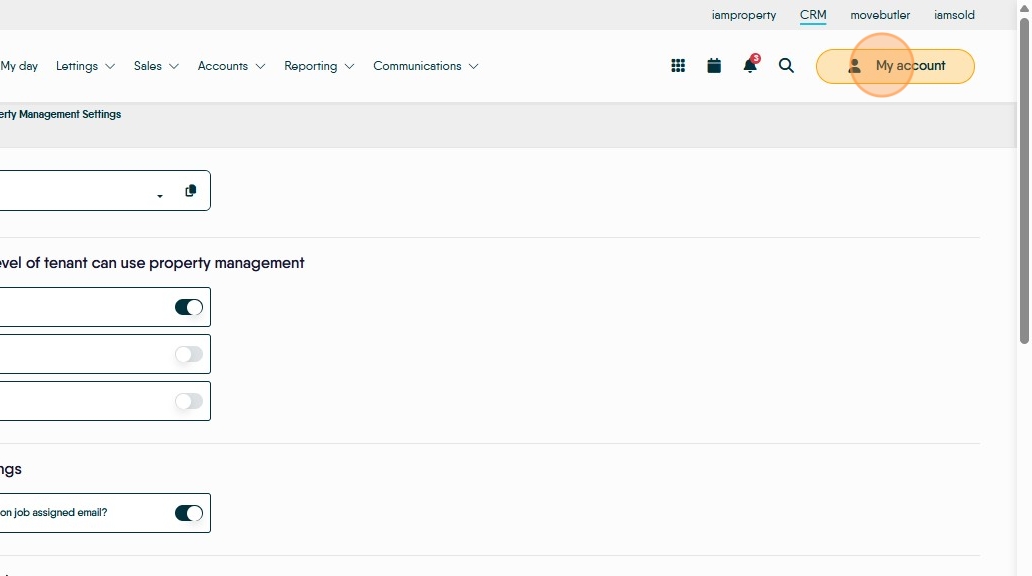
20. Click "My Account"
21. Click "Control centre"

22. Click "Configuration"

23. Click "Property Management"

24. Click here if you don't want tenants or contractors to be able to add comments within the job.

25. Click here if you don't want agents to see bell notifications from jobs. You would use this if you had one particular staff member dealing with all jobs.

26. Here you can add the email address of any other member of staff that should receive emails related to tasks.
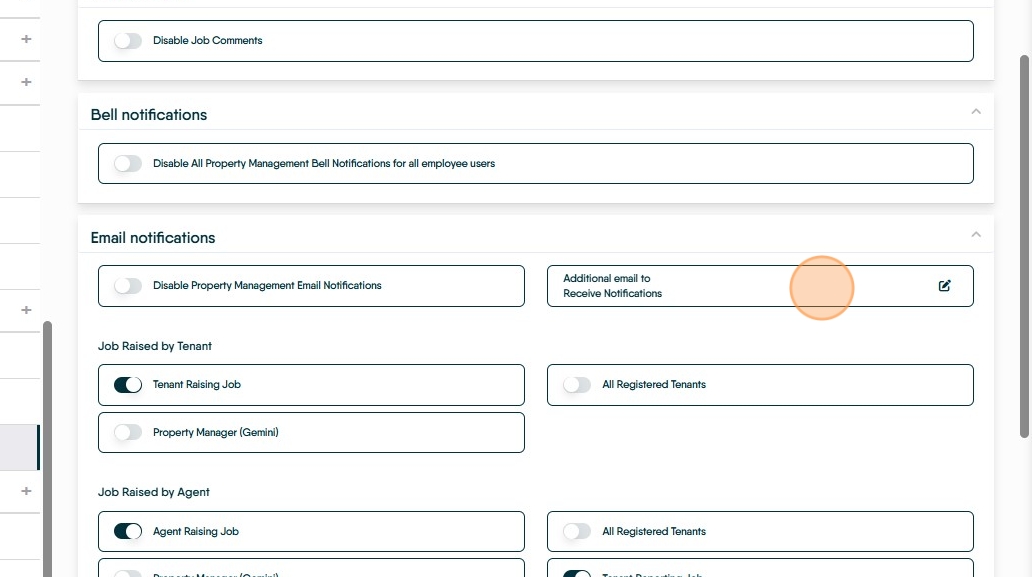
27. Here you can control who is emailed when a tenant or an agent raises a job.

28. Here you can control if, when assigning jobs, all contractors are shown or only contractors set to cover the property's branch.

29. If you want to set different priority levels for jobs, click Add at the bottom.

30. Add a name for the priority level, and a colour for it to appear in.
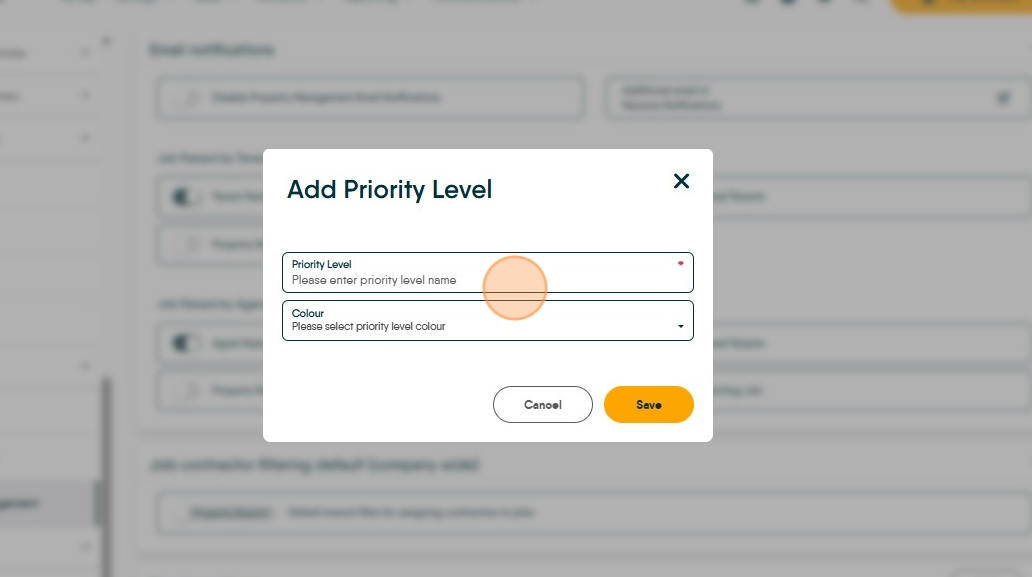
31. Click "Save"

32. The priority levels will then display when creating jobs within the system.
