This guide offers a step-by-step process for configuring the Inspections module and creating a new Inspection Template in CRM, making it essential for property managers and inspectors looking to streamline their inspection workflows. By following the detailed instructions, users can easily customise templates, set default settings, and add specific checks for each room, enhancing efficiency and organisation.
1. Navigate to https://crm.iamproperty.com/ControlCentre/Configuration/New/Inspections?selectedBranch=1924297

2. Adding Inspections manages what happens as a template is created.
Click here to add an appointment by default when you are setting up the Inspection. This will ask for a date and time, Inspector name for a new appointment and the calendar the appointment is to be added to.
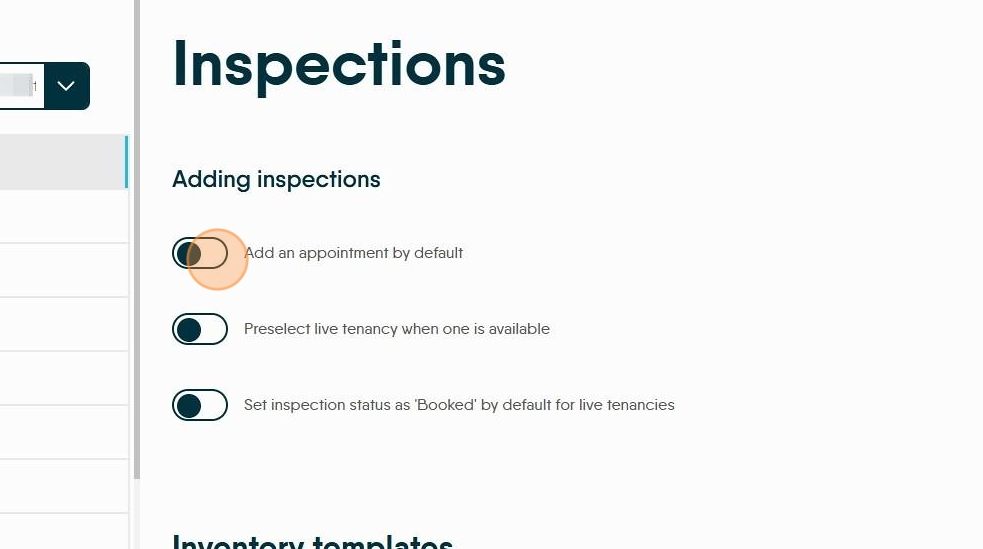
3. Click here, 'Preselect Live tenancy...' will add the lead tenants detail to the inspection as it is created.

4. Click here, 'Set inspections status as booked...' will set the inspection status to Booked if the property has a live tenant.

5. Click the "Default start time" field. This will allow a default start time for the day to be set

6. Click this dropdown to set a default duration for the inspections..

Creating a Template.
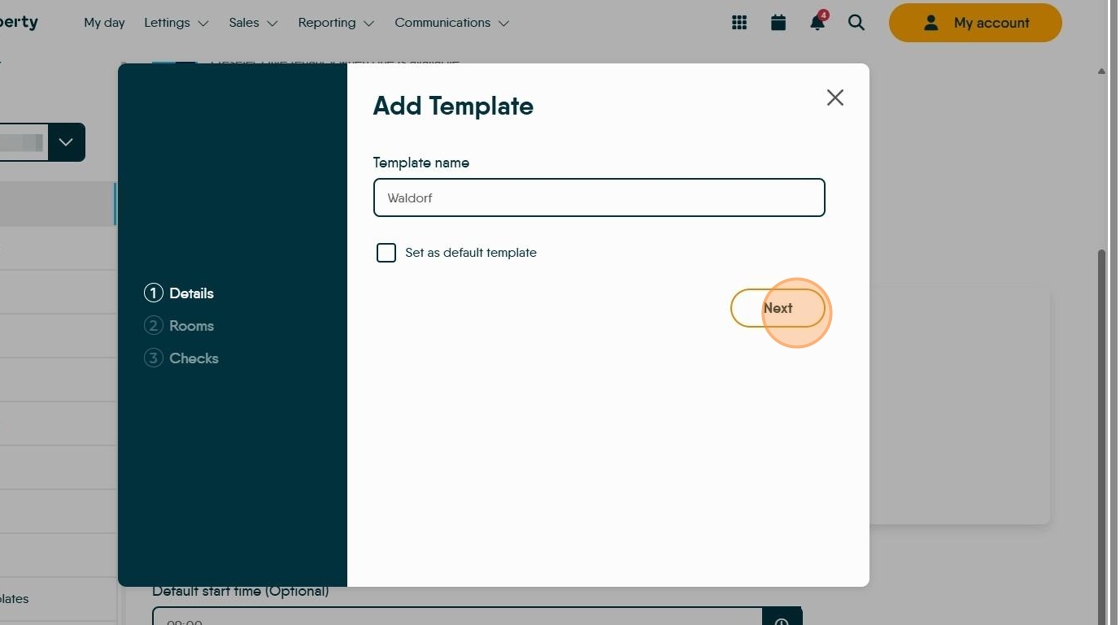
7. Click "Add template"

8. Click the "Template name" field and name your template.

9. Click "Next"
10. Now set the Room Types. Select the option from the drop down menu.

11. Click the "Customise room name" field and name the room as you require.

Tip: Tip! There are 2 options from here. To create a room and add the checks for each room ([[https://scribehow.com/shared/Creating_A_New_Inspection_Template_In_CRM__gWnO01hjTVCPuEplgdPBZg#7dc30cac]] ) or, add all the rooms and then go back and add the checks to each room.
Create Rooms and Add Checks
12. Click "Next"

13. Checks are the activities to be completed in each room e.g. Check Doors.
Click the "Customise check name" field and give the check a name.

14. Click "Add Check" to add a further check to that room.
A room can have as many checks as required.

15. Click "Add Check" to add a further check to that room.
A room can have as many checks as required. Once completed click Add Template

Create All rooms then add checks
16. After creating the first room. Click "Add room" to add a further room/s

17. Select the room type from the drop down menu.

18. Click this dropdown.

19. Click the "Customise room name" field to name the room.

20. Then click "Add room" to add the next room. Continue this till all the rooms are added.

21. Once all the rooms are added, click "Next"

22. Now add the individual checks per room. Add the first then click "Add Check" to move on and add an additional check. continue until complete then move to the next room.

23. Click the "Customise check name" field.

24. Once all Rooms and Checks are added, click 'Add Template'

25. The template you have just created will show on the screen, named and showing the number of rooms and checks you have created.

26. Click "Save changes"
