This guide offers a step-by-step approach to effectively using email and mail merge features in the Communications module of CRM. By following the instructions, users can enhance their operational efficiency, customise messages, and track email interactions seamlessly. Whether you're looking to improve client engagement or save time on correspondence, this guide provides the tools needed for effective communication within the CRM platform.
1. Navigate to https://crm.iamproperty.com/MyDay

2. Click "Communications"

3. There are 3 options for sending messages, Email, SMS and Mail (Letter) merge. This guide will look at each one separately. However the process is similar for each.
Email Merge
4. Click "Email Merge"

5. Click "Select record type"

6. Select the contact type from the drop down list.

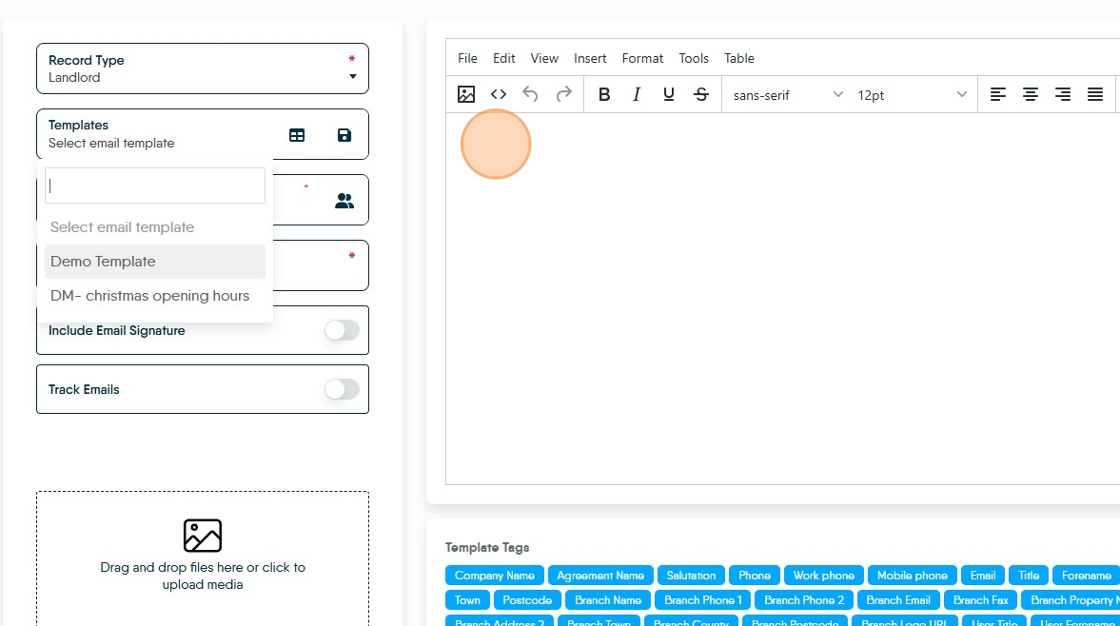
7. Click "Select email template"

8. If there are no email templates created, one can be created easily by typing your message in the message field and adding the template tags to add personalisation to your email message.
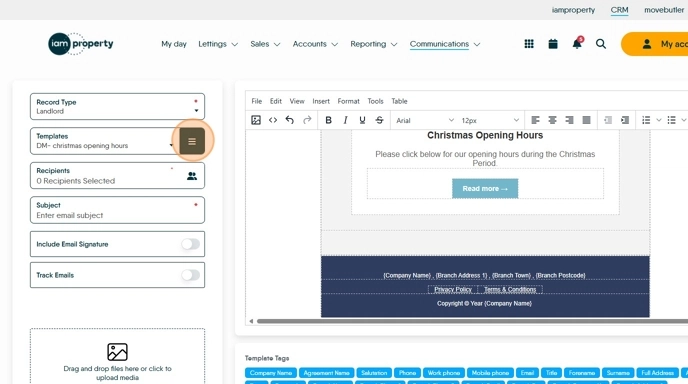
9. Templates can be very simple text , or using the supplied (or your own HTML) templates more complex. Users can also create their own templates and import them to CRM.

10. Templates can be updated, if this is done remember to save the update click the 3-line menu and then click "Update Template"
11. Select the recipients for the message, the type of contact has been selected previously, now you are selecting the actual contacts that are receiving the message.

12. This will show a list of all the contacts in the record type previously selected. These can be further filtered to only send a message to specific contacts.

13. Click here to set the filter. Filters can be saved for use again, if this is the case select from the list otherwise select the filter options from the list.

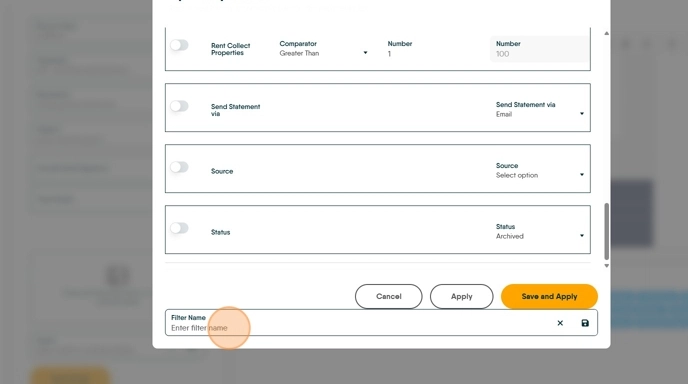
14. The options for Let Only, Managed Properties, No. of Properties and a few others allow an option to be set that only shows contacts i.e Landlords that have a certain number of properties. In this option we have a filter set (but not enabled) that will show landlords with between 1 and 100 properties

15. Click the "Filter Name" field give the filter a name and click the 'Save' icon or 'Save and Apply' Click Apply to use the filter and not save it.
Click here.
16. Click "--unfiltered--"
Click the name of the filter you want to use.
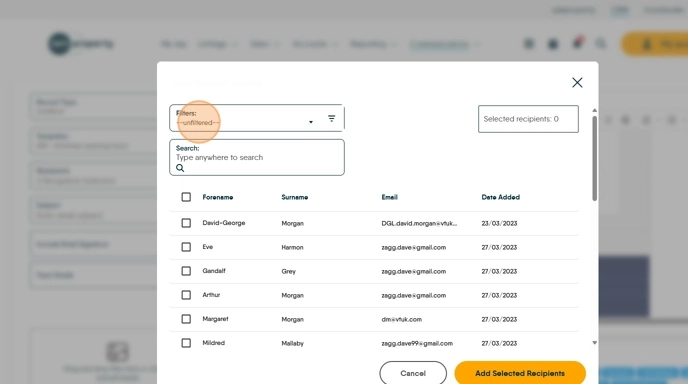
17. Click this checkbox to select all the recipients

18. Click "Add Selected Recipients"

19. Click the "Subject" field add the email subject.

20. Click "Include Email Signature" if you want your email signature included.

21. Click "Track Emails" to track emails for being sent and opened.

22. Click here to attach any additional documents

23. Click "Select draft to continue editing" to select any drafts you may have created and not finished.

24. Click "Send Email"

Tracking Emails
Alert: Alert! You need to have enabled the email tracking feature in the screen where you created the mass email.
25. Click "Communications"

26. Click "Email Tracker"

27. Click here there are options to sort the email list and opt to show only a specific type of message
Click here.
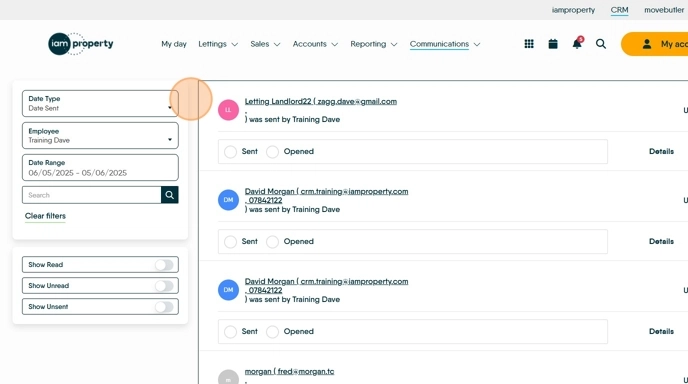
28. The main screen will show the status of (by default) all the emails unless filters are added.

Letter Merge
29. Click "Communications"

30. Click "Mail Merge"

31. Click "Select record type"

32. Click here. As an example we will use Contractors.

33. Click "Contractor"

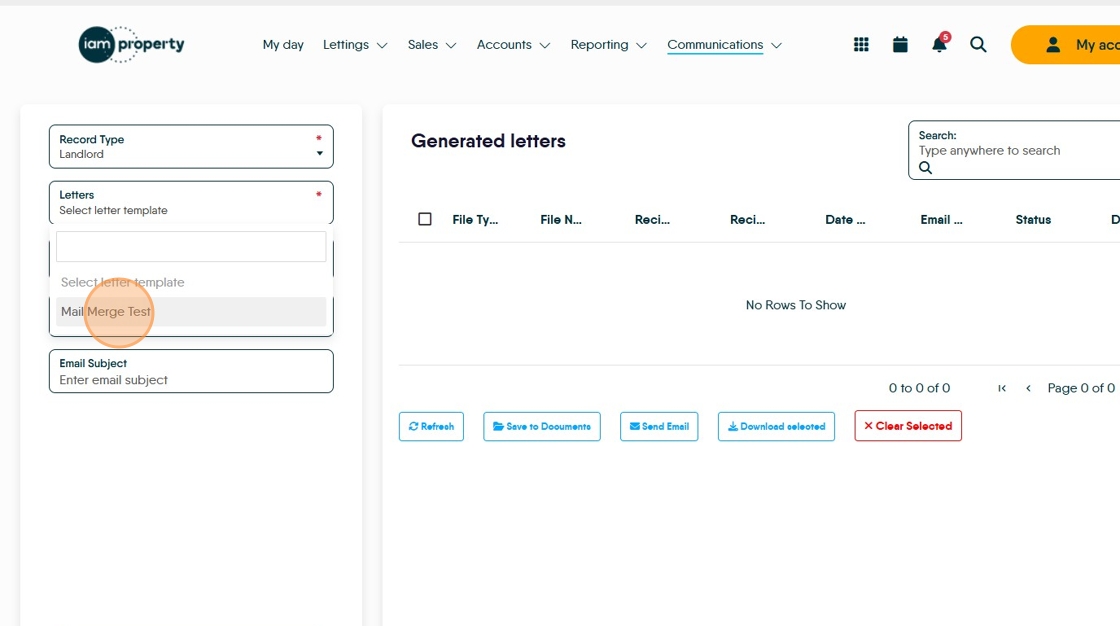
34. Click "Select letter template" There are no default letter templates, you will need to create your own. This is done by adding a Letter in config and marking it as 'Mass'

35. Select your letter template from the list in this example we are using "Mail Merge Test"
36. Click "Select email template"

37. For this example we Click "Demo Template" you will need to add your own templates.

38. Click the "Email Subject" field and add the subject of your email.

39. Click here.

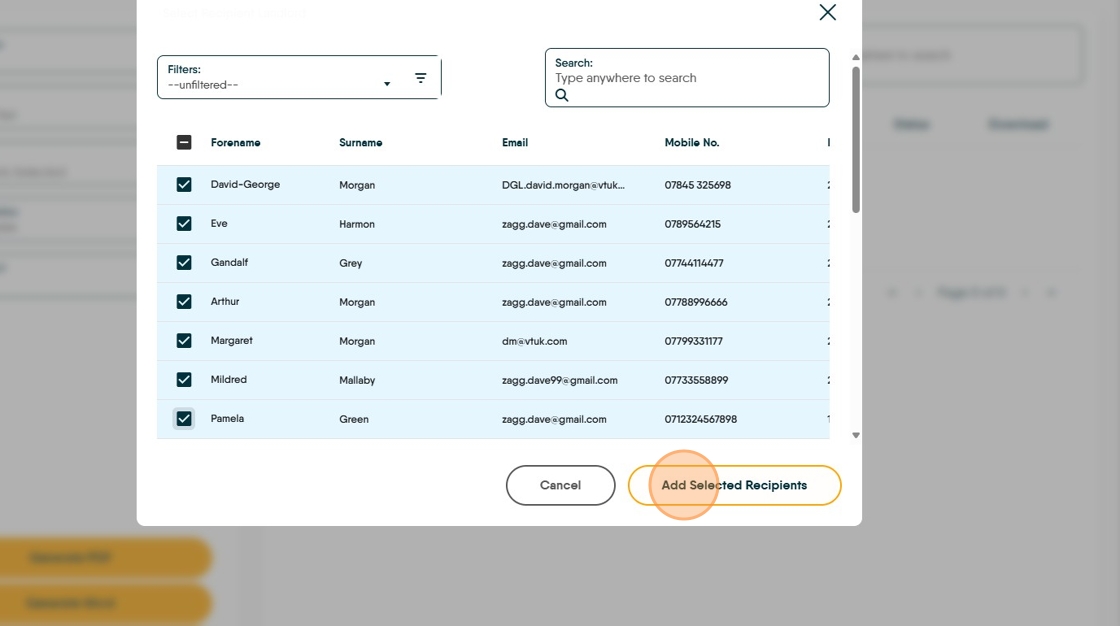
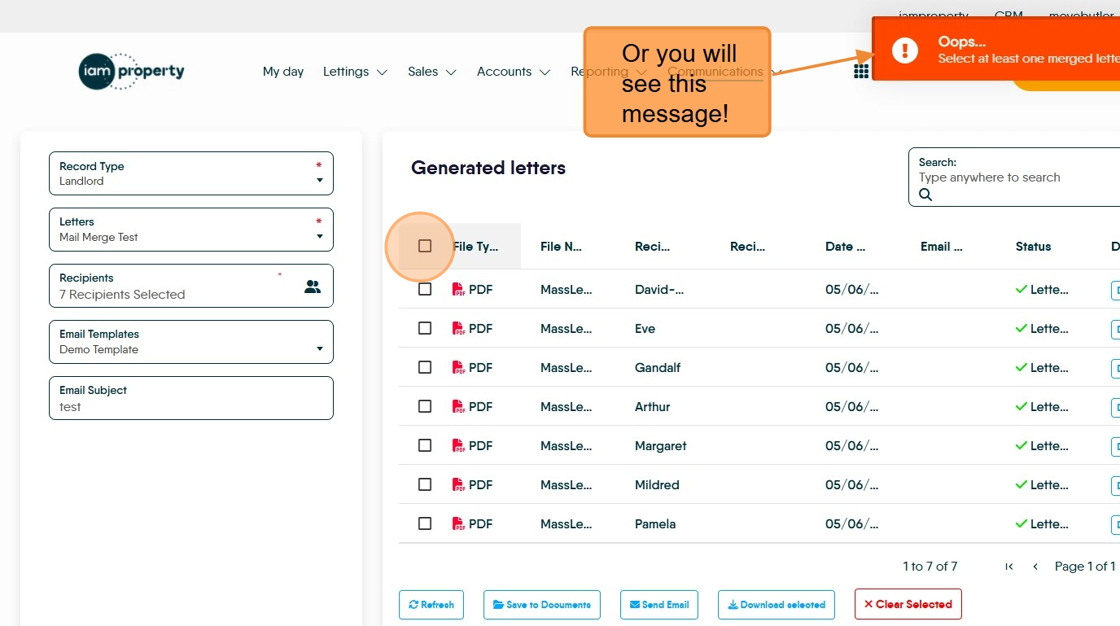
40. Click this checkbox to select an individual user or click the check box at the top (next to Forename) to select all in the list. As with other options the recipient list can be filtered using the filters option.

41. Click "Add Selected Recipients"
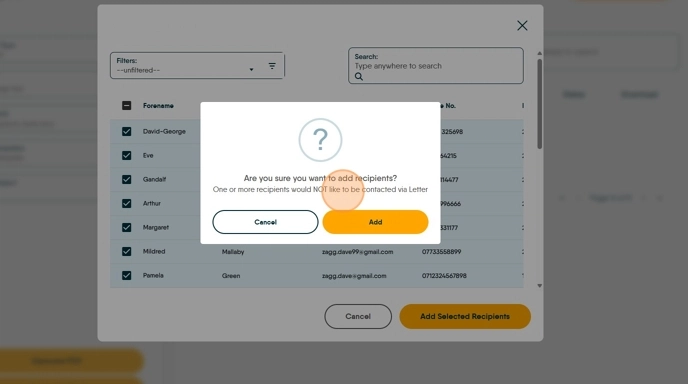
42. If there is a recipient whose GDPR is set to not want contact, in this case via letter, you will see this warning. If you click add they will be added to the mail merge. If 'cancel' is clicked then you will return to the recipient screen where they can be removed from the list. Click "One or more recipients would NOT like to be contacted via Letter"
Click "Add"
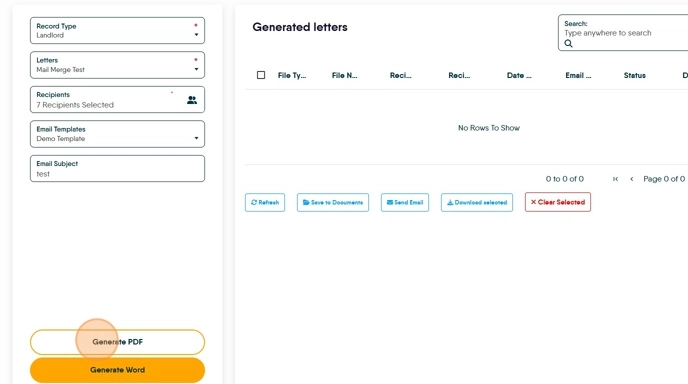
43. Click "Generate PDF" to generate the individual letter as a PDF
Click here.
44. Click "Send Email"

45. Make sure you have selected the recipients before clicking send email.
46. Click "Send Email"

SMS Merge
Alert: Alert! A SMS is limited to 160 characters per message, if you go over this limit you will send and be charged (by your selected provider) for 2 messages
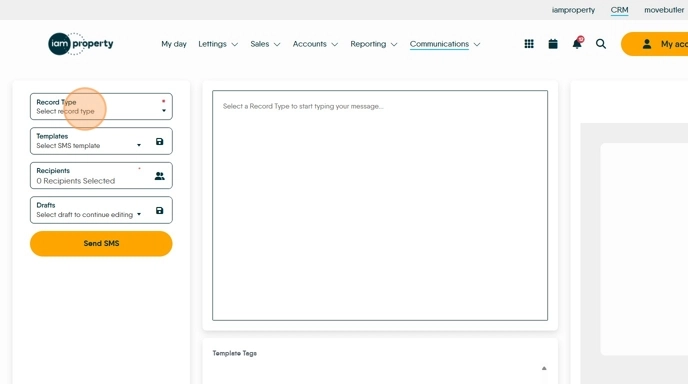
47. Click "SMS Merge"

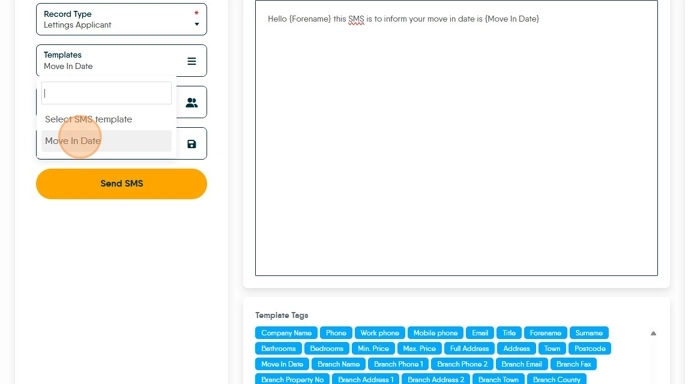
48. Click "Select record type" and select the record type you are sending the SMS to. For this example we are using Lettings Applicant.
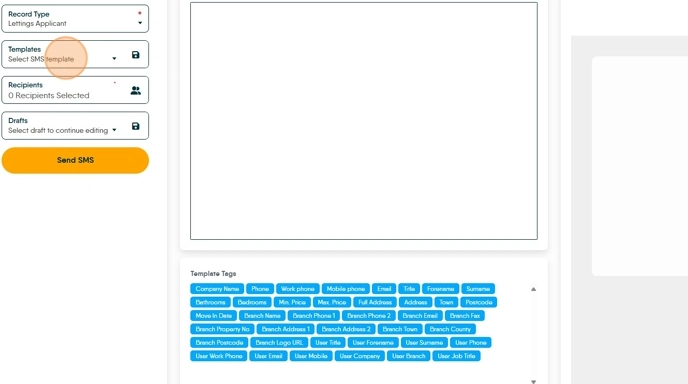
49. Click "Select SMS template" and select the template you want to us, or if there are no templates create your own in the message field
In this example we have selected "Move In Date" template.
50. Click "Move In Date" a preview of your message will show on the right side of the screen.
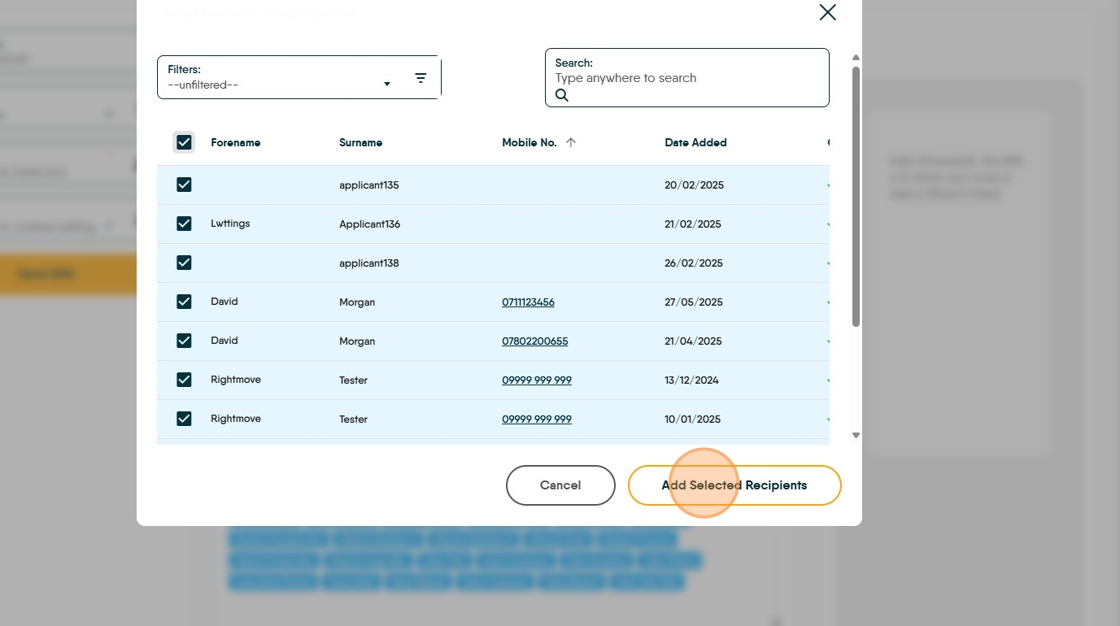
51. Click here to select your recipients

52. Click "Filters:" to filter the contact list as required, or select a pre created filter.

53. you can sort the list by clicking on the column headers (this is the same for all the other options) For example click "Mobile No." and this will sort the mobile numbers into ascending or descending order.

54. Click this checkbox. To select all contacts

55. Click this checkbox to select an individual record, it will also de-select a previously selected record.

56. Click "Add Selected Recipients"
57. Click "Send SMS" and your message will be sent.
