This guide provides a straightforward method for adding a new bank account to your CRM. By following the clear, step-by-step instructions, users can avoid common errors.
Alert: Alert! Only add accounts that are required and be sure of the data you are adding. If an error is made it can be edited. To remove an account contact CRM Support
1. Navigate to https://crm.iamproperty.com/Dashboards/Accounts

2. Click here.

3. Click the "Display As" field and add the name of your Bank Account or the name you wish to see in the CRM Accounts screen.

4. Click "Select Bank" select your bank from the drop down menu
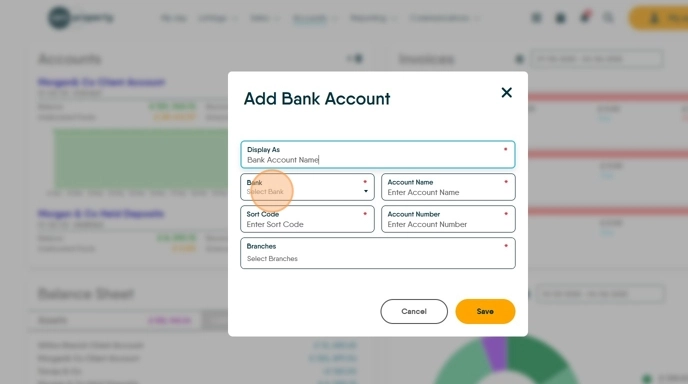
Tip: Tip! If your Bank is not in the list it can be added in the Accounts Lookup section of Configuration.
5. Click the "Account Name" field and add the name of your bank account.

6. Click the "Sort Code" field and add the Bank account sort code

7. Click the "Account Number" field and add the Bank Account number

8. Click here and set the Branches of your agency that this account relates to.

9. Click and select from the drop down menu. This menu only shows the branches that are currently active on YOUR login, to see other branches of your agency click the 'Bento' menu at the top of the screen and select 'Active Branches'

10. Click "Save"

11. The new account will show in the Accounts menu.

12. Click here.
