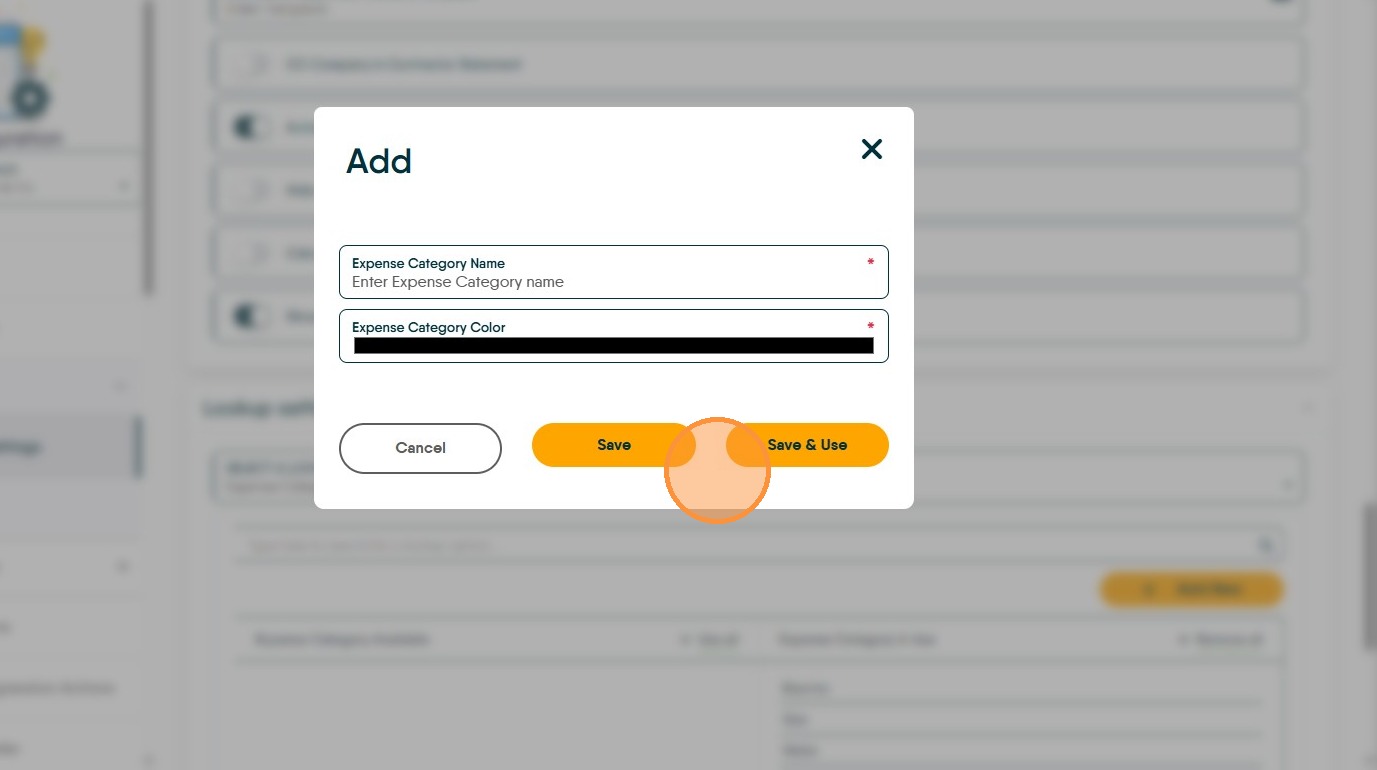
This guide provides a straightforward process for adding a new expense category in the CRM, enhancing your ability to manage financial data effectively. By following these steps, users can customize their expense tracking, ensuring better organization and reporting. This is particularly useful for businesses looking to streamline their accounting processes and improve financial oversight. Viewing this guide will empower users to tailor their CRM experience to better meet their specific needs.
There are 2 ways to access the Accounts setup. From the Configuration menu and from the Accounts Dashboard. Both ways are shown below.
Jump to [[Accounts Dashboard]]
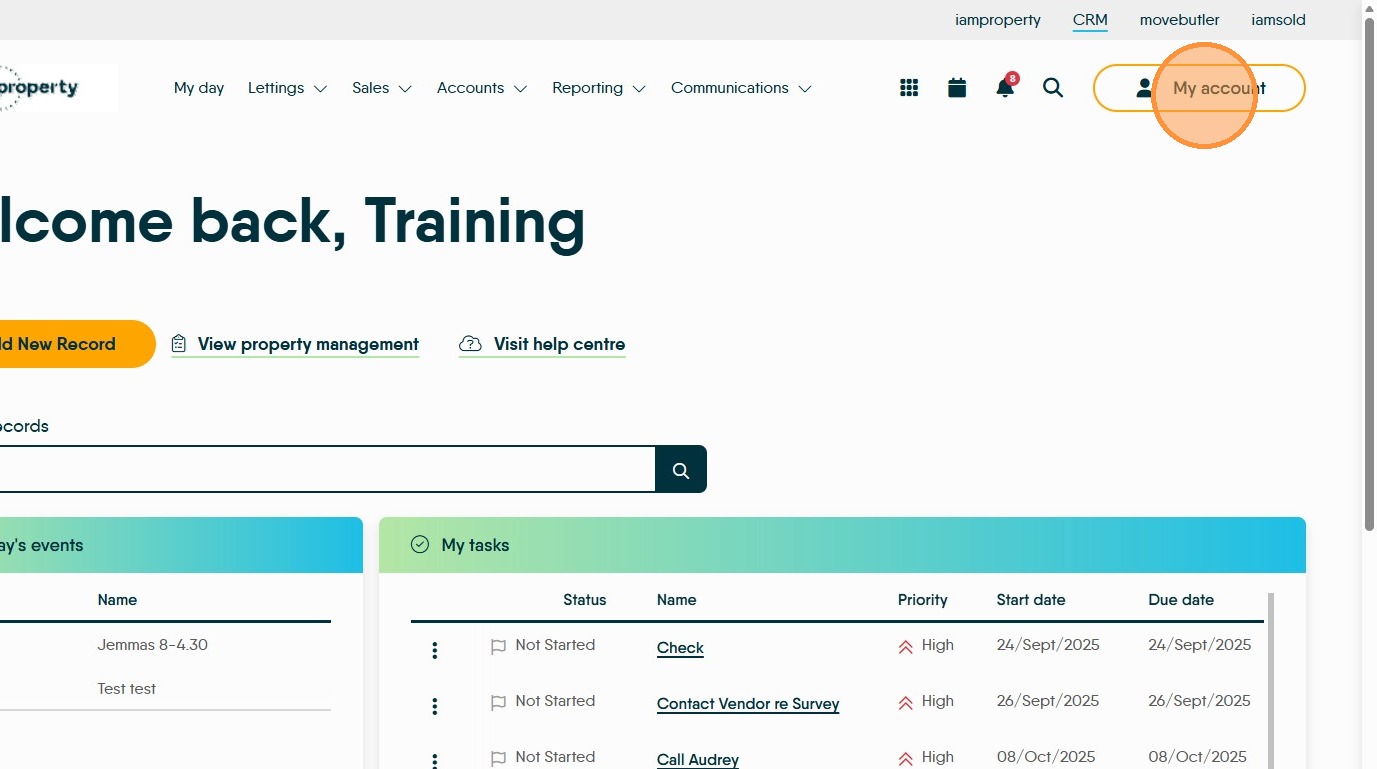
2. Click "My Account"
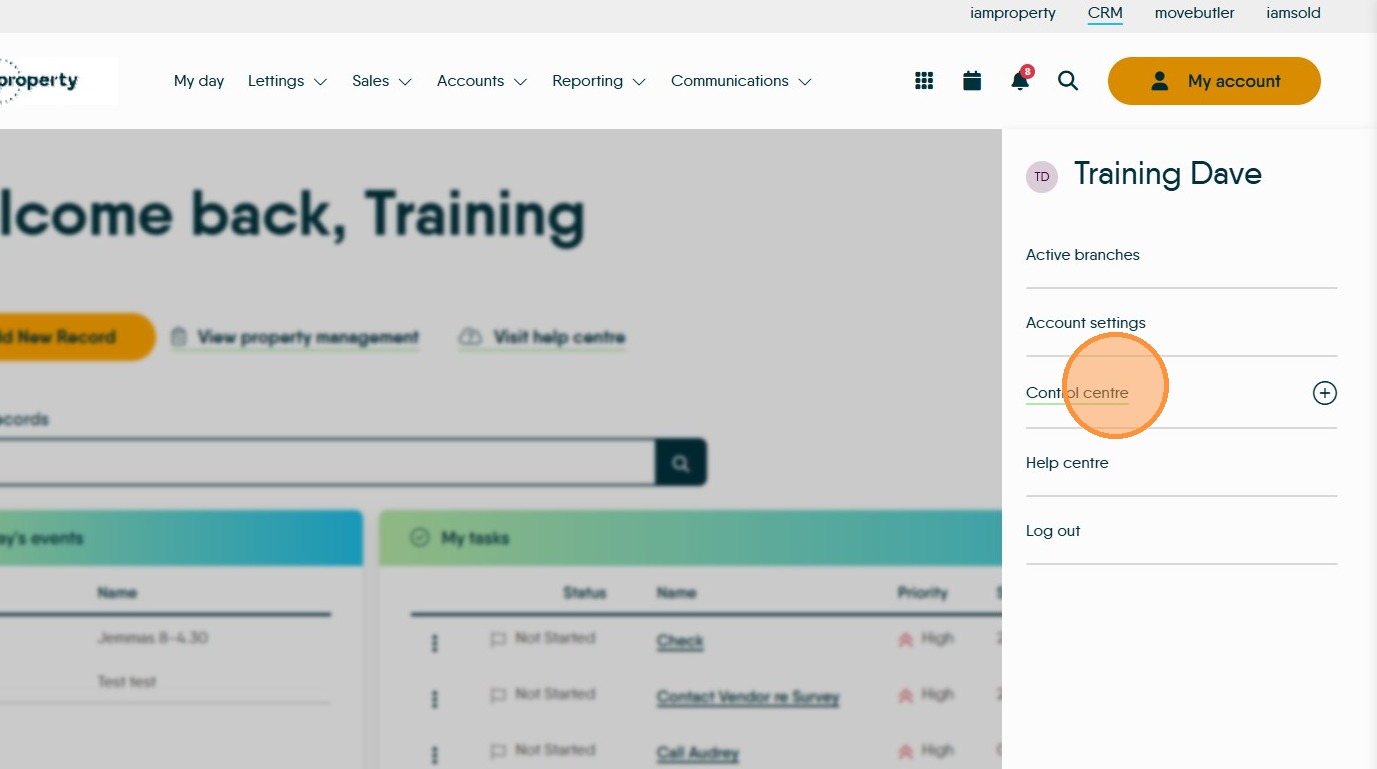
3. Click "Control centre"
4. Click "Configuration"
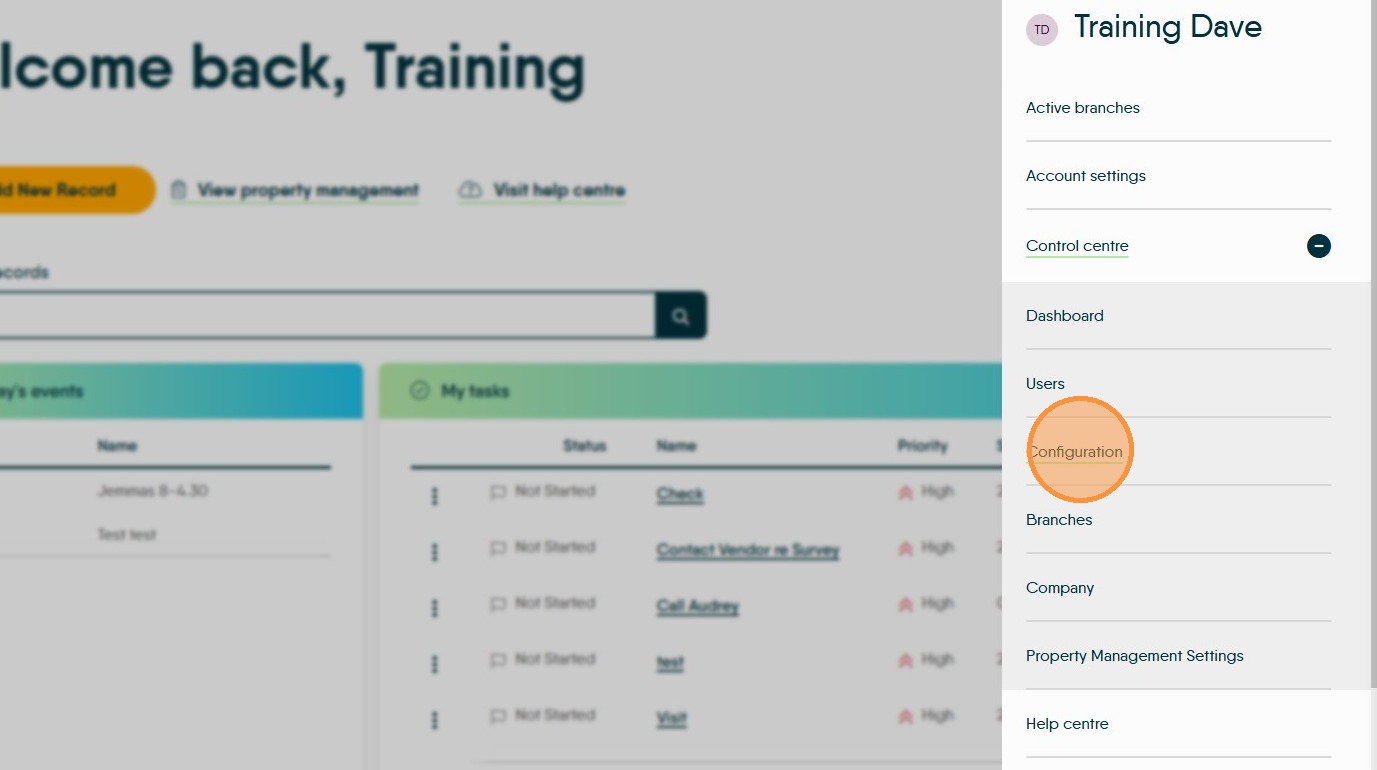
5. Once in the 'Configuration' menu click "Accounts" then "Module settings"
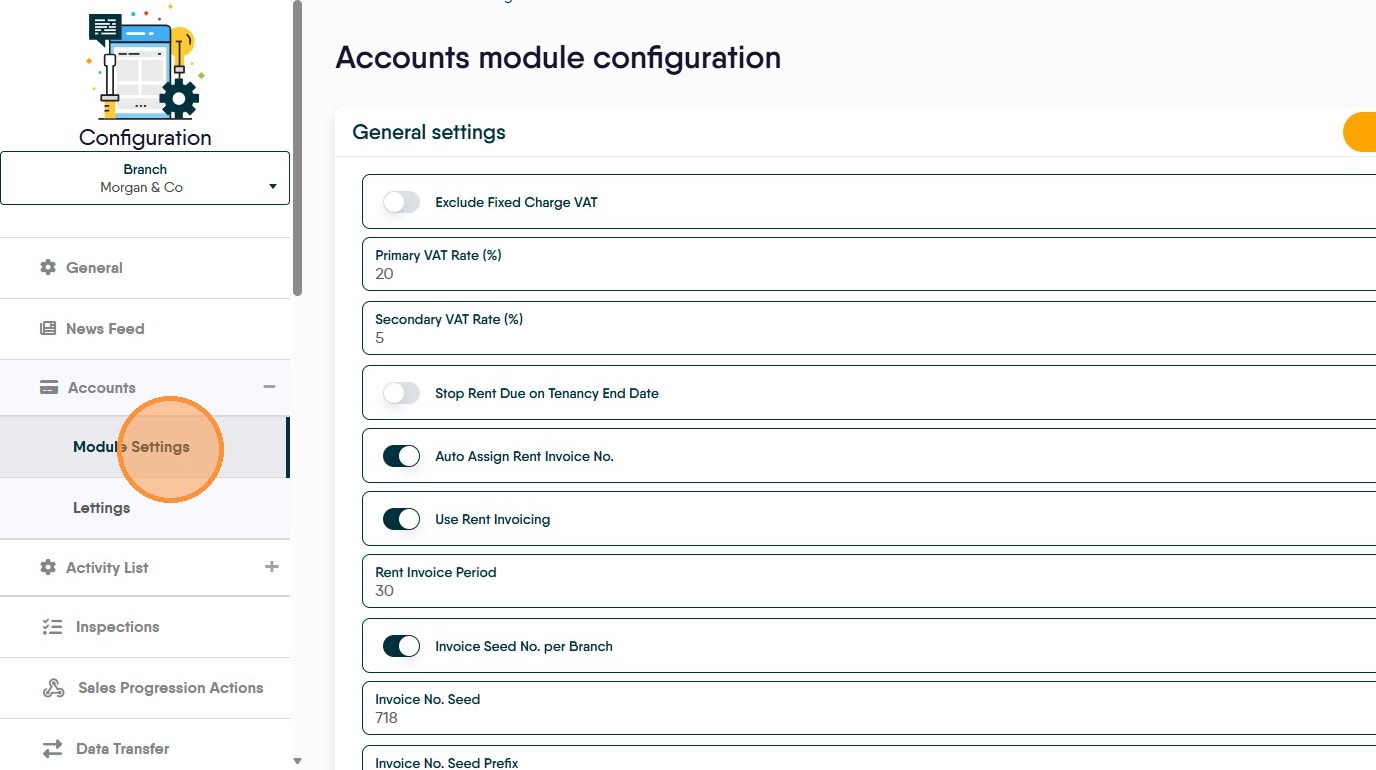
From the Accounts Dashboard
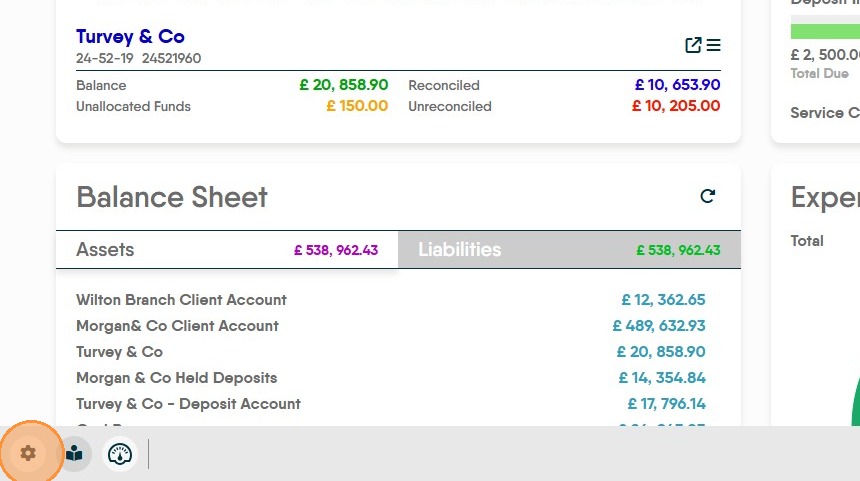
7. Click the 'Cog' icon in the bottom left corner.
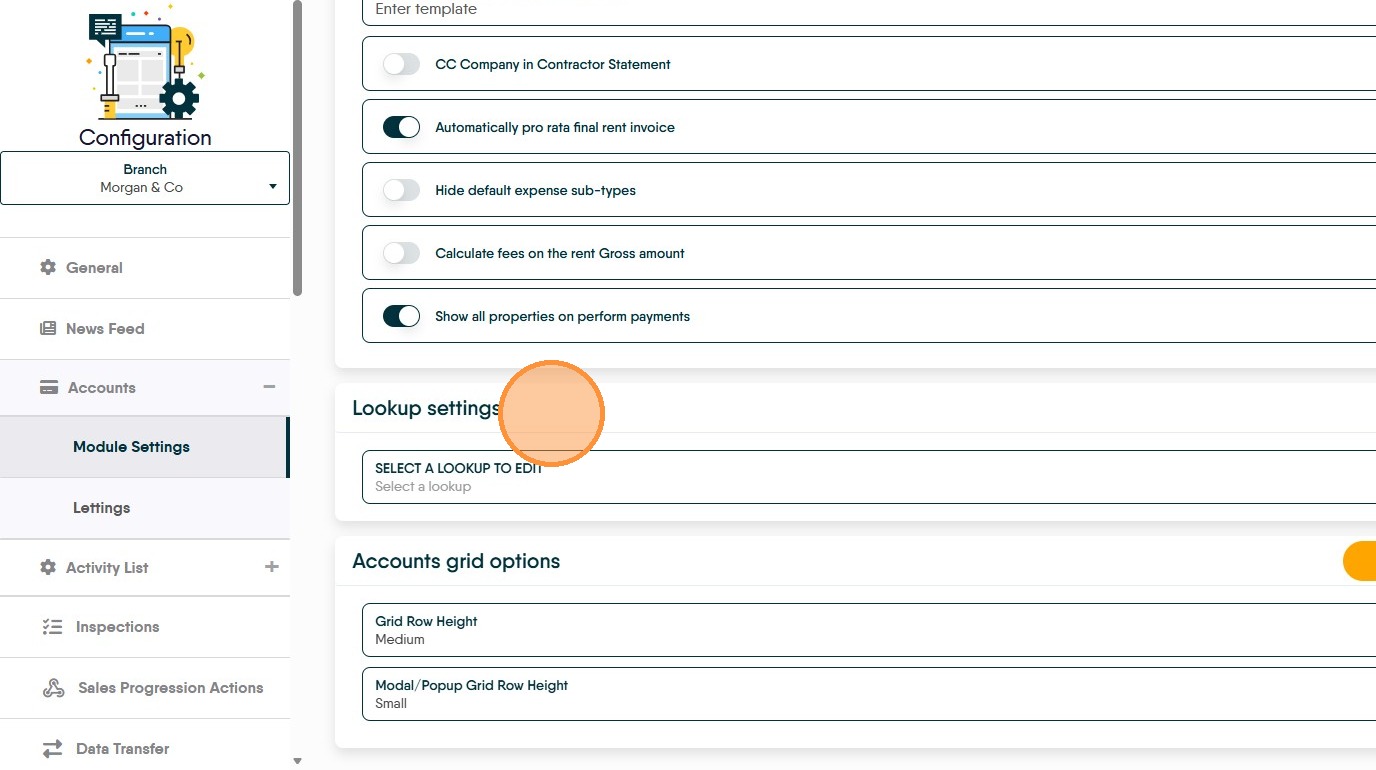
8. Once in the 'Module Settings'. Scroll down and click "Lookup Settings"
9. Click "Select a lookup To Edit"
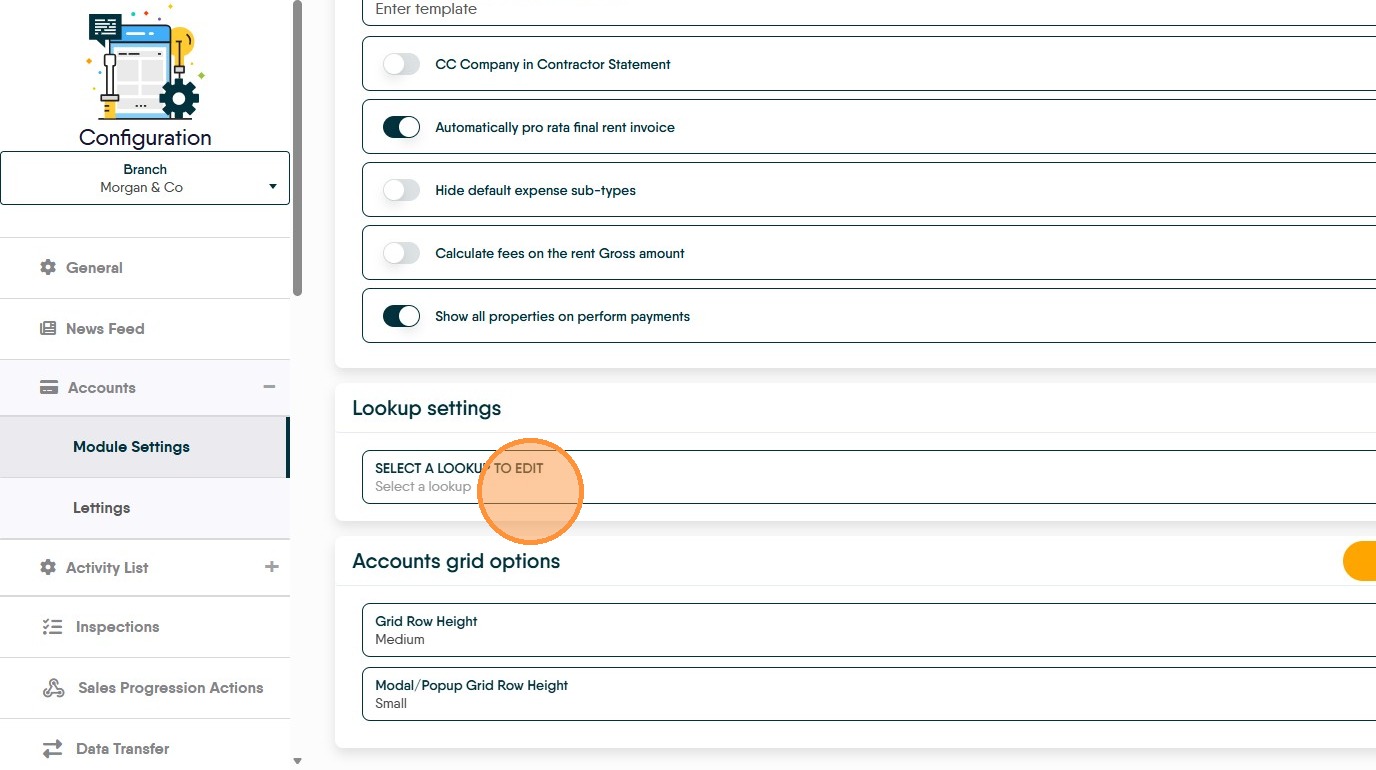
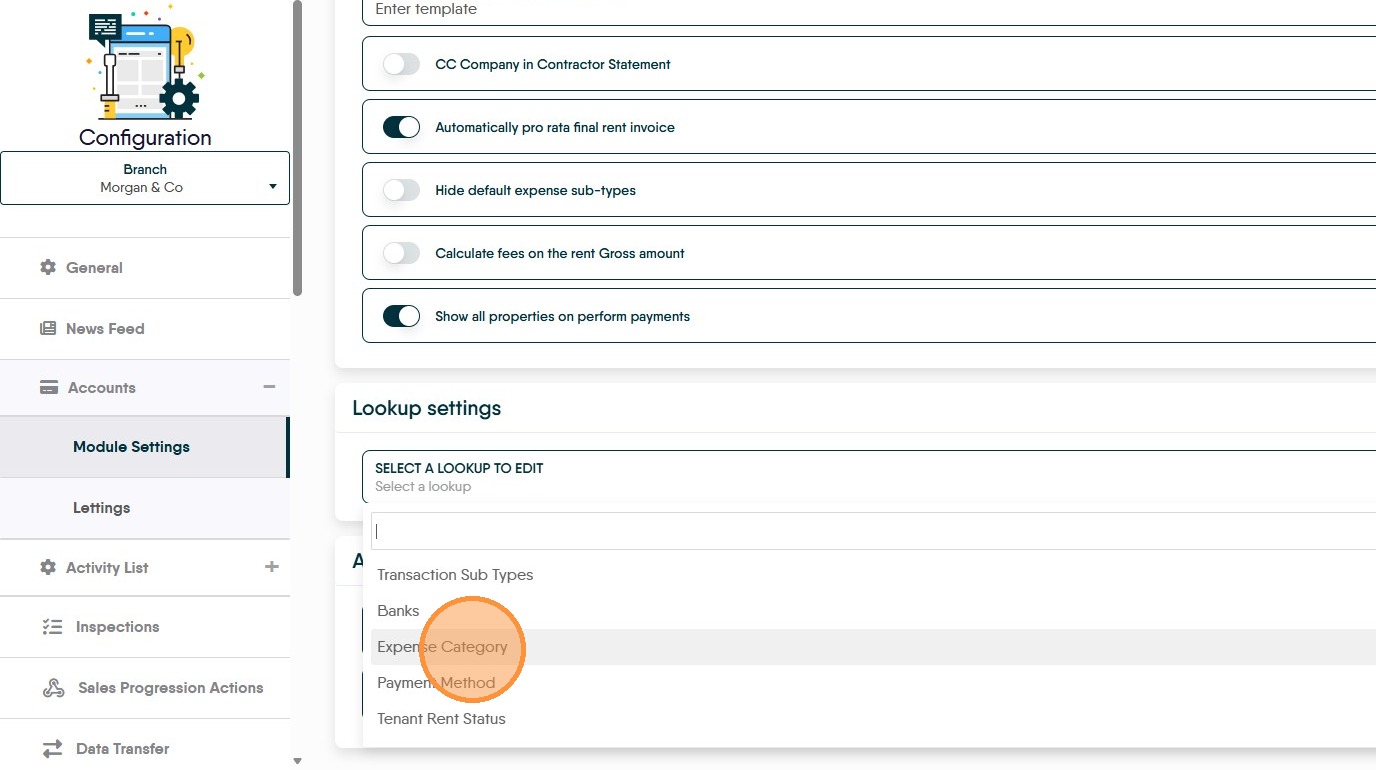
10. Click "Expense Category"
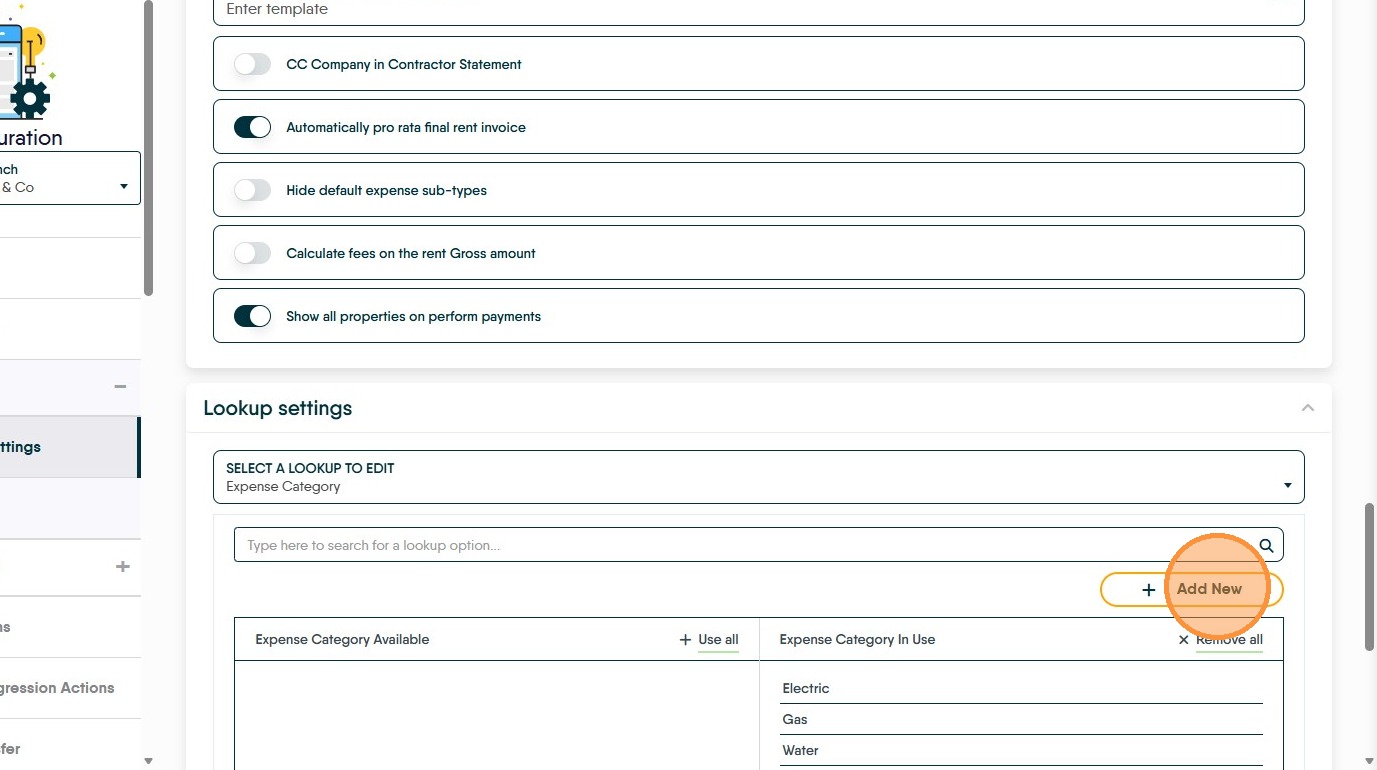
11. Click "Add New"
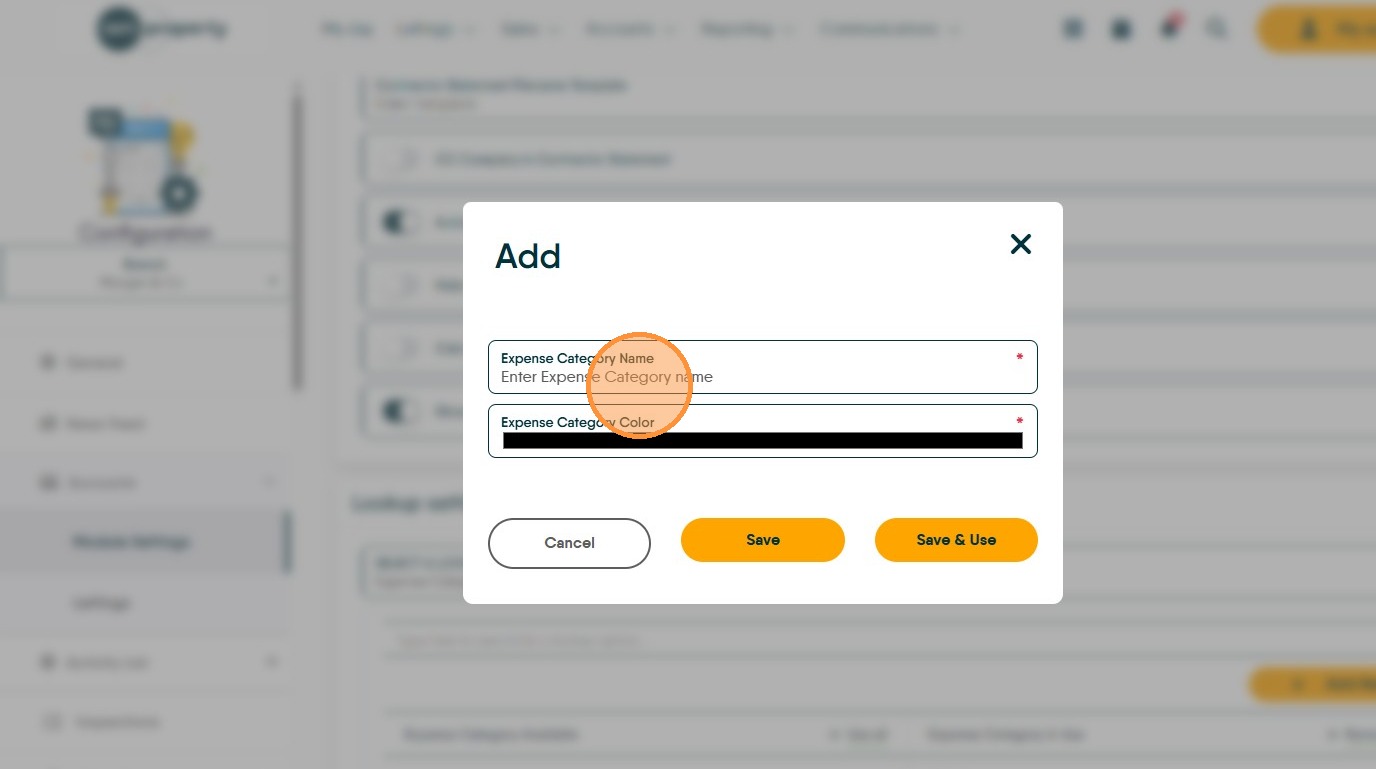
12. Click the "Enter Expense Category name" field.
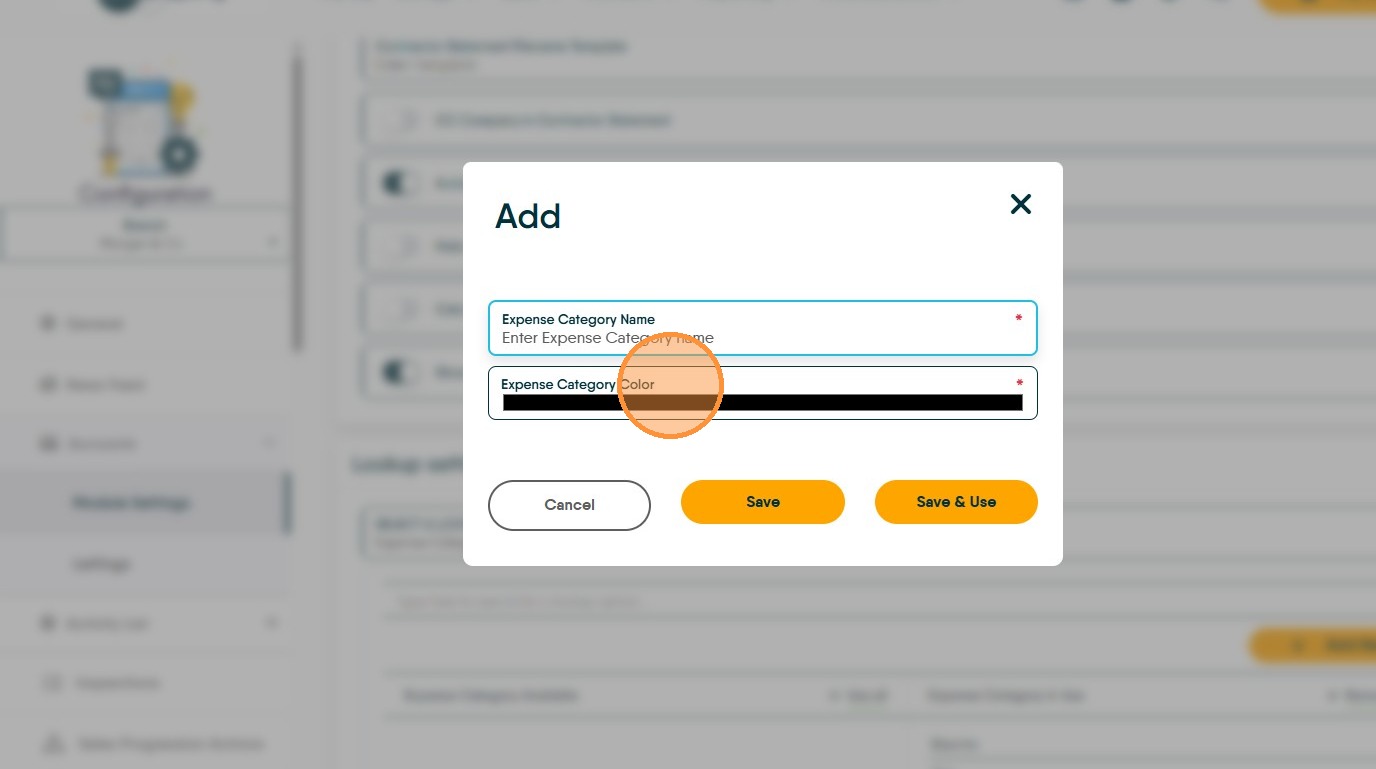
13. If you want to identify the expense type with a specific colour. Click "Expense Category Color" and select the colour you want to use from the colour picker.
14. Click "Save & Use" this will make the 'Expense' category available for use immediately