This guide provides a step-by-step process for efficiently matching applicants to property listings and properties to applicants. By following the outlined steps, users can effectively use the CRM Matching tool. This guide shows how to correctly setup the options used to match properties and applicants. How to filter applicants/properties based on specific criteria such as location, property type, and amenities.
Tip: There are 2 ways to match, Applicant to Property and Property to Applicant. The following steps will cover both of these in individual sections. There are also some basic rules that need to be followed for matching to work correctly.
CRM attempts an exact match property to applicant and applicant to property. This means that options selected in the 'Matching Property' section of the Property record need to be the same as those selected in the 'Applicant Criteria' section of the Applicant record.
In the Applicant record, for 'property types' there is an option of 'Not Specified' which allows a broad match against all property types. However, the other options need to match, e.g. if the property has 'garden' selected and the applicant doesn't have garden selected then the applicant and property will not match.
Mandatory Settings for Matching to Work
1. The following steps for Applicants and Properties need to be set correctly for the matching to work. If your matching is not working as you expect, please check these first. Incorrect GDPR is the most common setting.
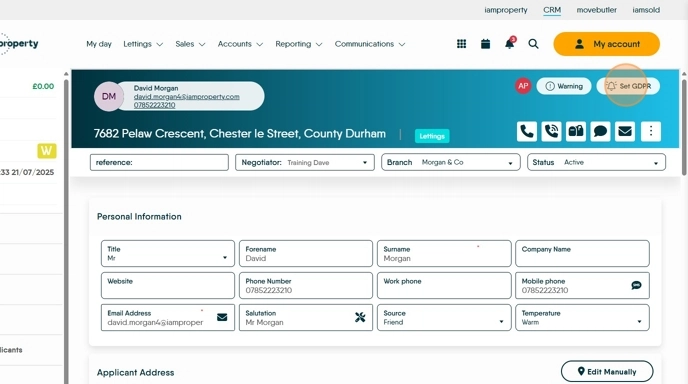
2. For Applicant Records
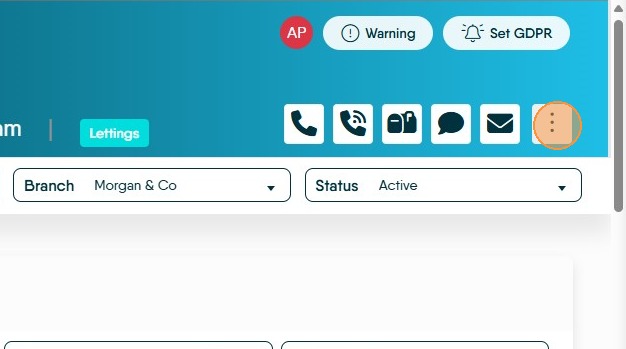
3. Click "Set GDPR". Click "Allow Marketing" this must be allowed for matching to work
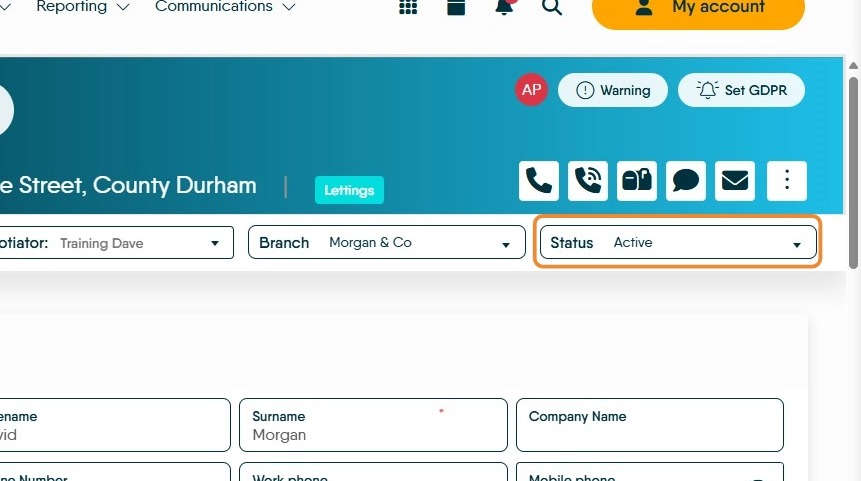
4. Click "Status" this must be Active, or any other setting (e.g. a personal setting created by yourself) that is NOT Archived or Inactive.
The property record must also not be archived.
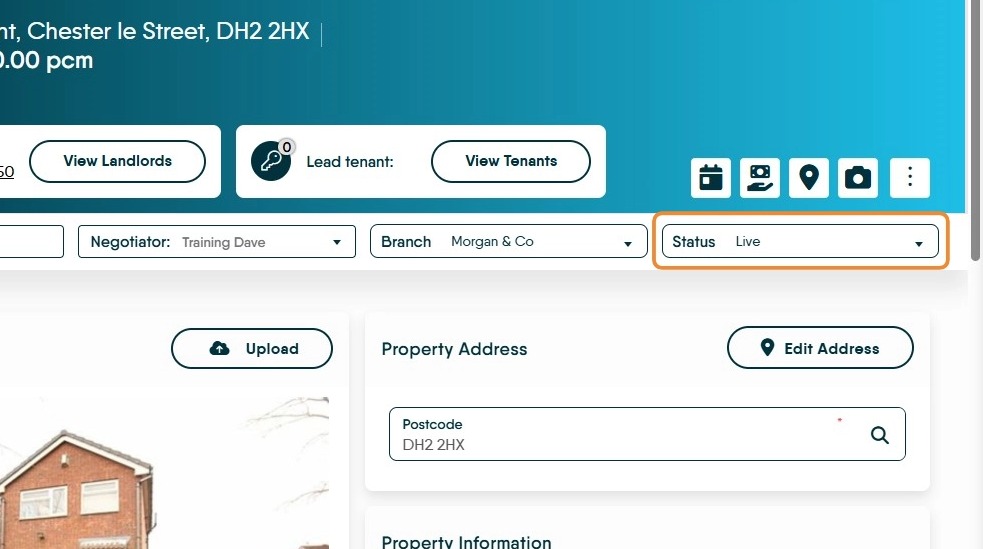
5. For Property Records
6. Click "Status" this must be Live and the property must not be archived
Optional Settings for Matching to Work correctly
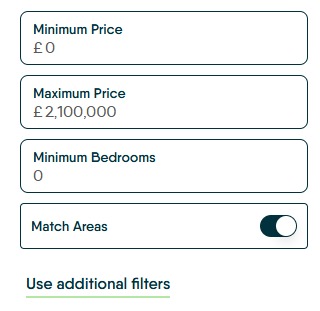
Alert: Alert! There has recently (February 2026) been an update to CRM Matching which causes the match to be initially made on the Minimum and Maximum Price, Bedrooms and Match Area. This has been made to allow for a wider initial match and therefore more properties/applicants to match together. To use the additional filters, as discussed below, click onto the 'Use additional Filters' option
7. The majority of these optional items in the Property Matching and Applicant Criteria screens of the property and applicant records are set up in the Lookups section of the configuration menu. For help with this please speak to Onboarding or Customer Support (crm.support@iamproperty.com)
If the settings options shown below are not setup fully and (if setup) used, matching will still work. However, the matches will be to the basic details of house type, price, bedrooms etc. Any matches made will not be accurate to every wish the customer has, however will give more matches.
Tip: All the options shown below are common across Sales and Letting Properties and Applicants. Obviously Lettings have a regular rental to pay and Sales is purchase price, otherwise the options are the same.
Property
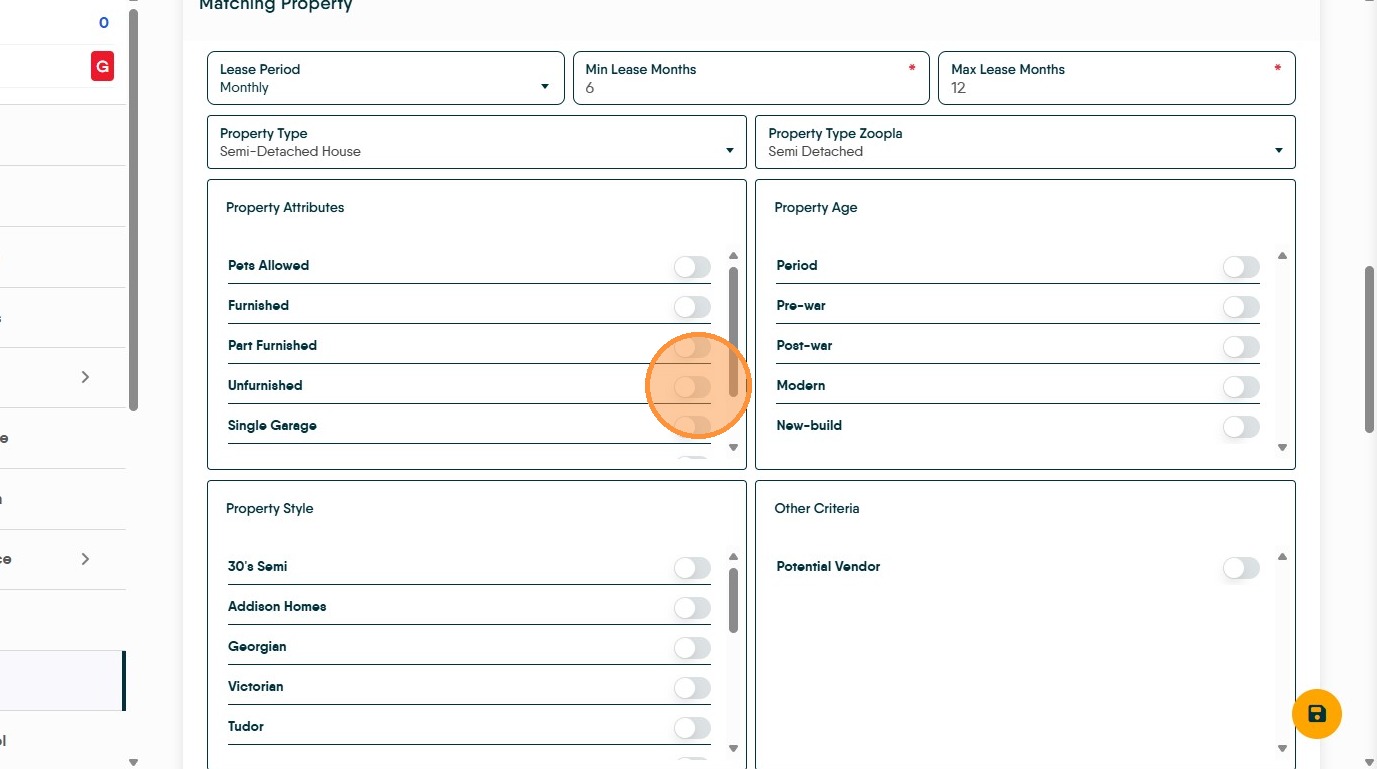
8. In the "Property Record" When creating the Property record the more "Property Attributes" that are selected the more accurate the match to applicants will be. However, this also means the there may be less matches to applicants and you need to remember to add the requirements to the Applicant Record.
The "Property Attributes, ...Age, ...Style" and "Other Criteria" options in the Matching Property section are 'Lookups' and can be edited and added to, when an option is added to one of these sections it is reflected in the Applicant record.
The absolute minimum for this screen is 'Lease Period', 'Min Lease Months', 'Max Lease Months' and 'Property Type'. The more options selected the more accurate the match is.
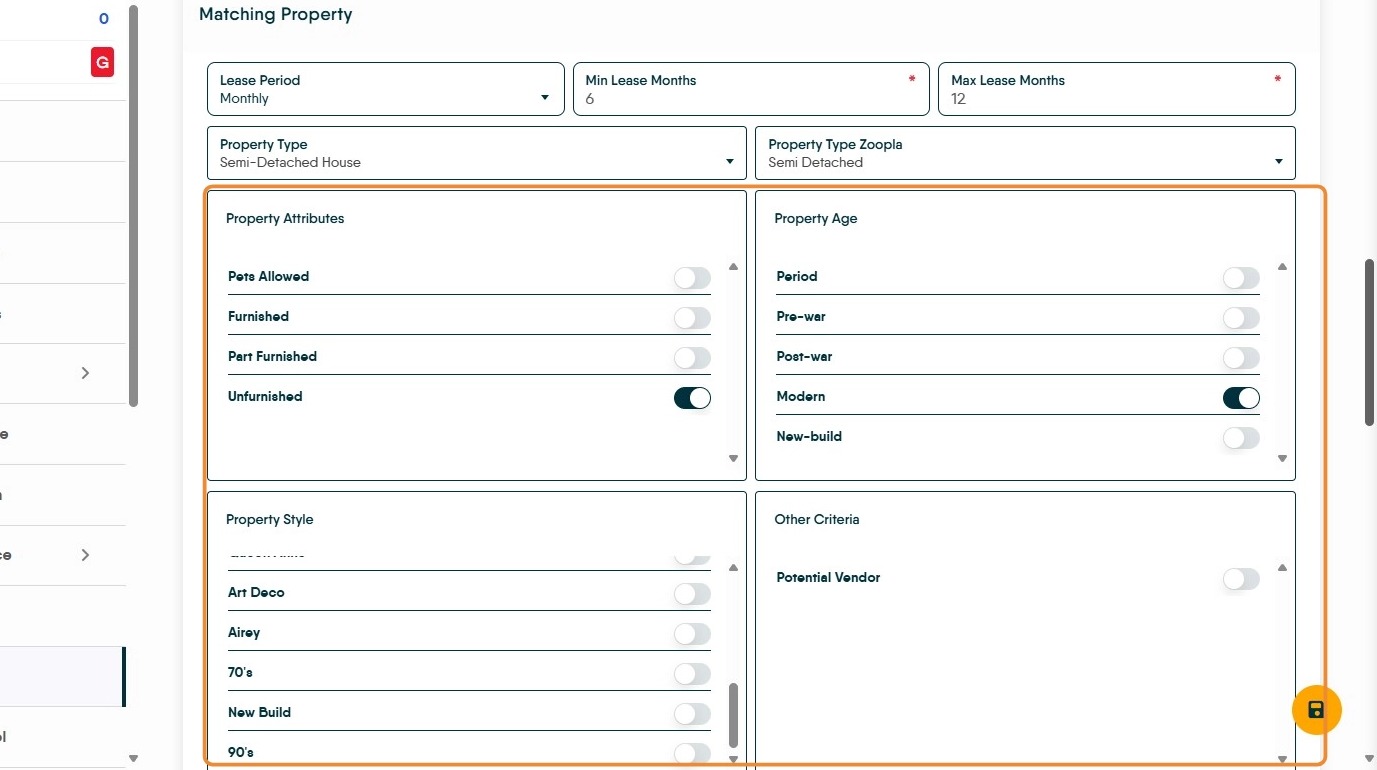
9. To set the option scroll through and click the toggle to turn on (shows BLACK when enabled). Once completed click "Save".
Applicant
Alert: No prospective purchaser or tenant has no budget in mind or any idea of how many bedrooms and bathrooms they would need as a minimum. Make sure you add this information to an Applicant record.
If a lettings applicant is looking for a 0 bed 0 Bathroom property with £0 - £0 rent you will not get any/many responses in a match when all your properties are advertised with a rental value attached (similar for sales).
10. "Applicant Criteria" This is where you set the property features that an applicant is looking for in their new property.
Setting these allows you to create a very accurate match to the property records that are in your CRM.
The options shown in "Property Attributes, ...Age, ...Style" and "Other Criteria" options in the 'Applicant Criteria' section are a copy of those in the property record 'Lookups' and can be edited and added to, when an option is added to one of these sections it is reflected in the Applicant record.
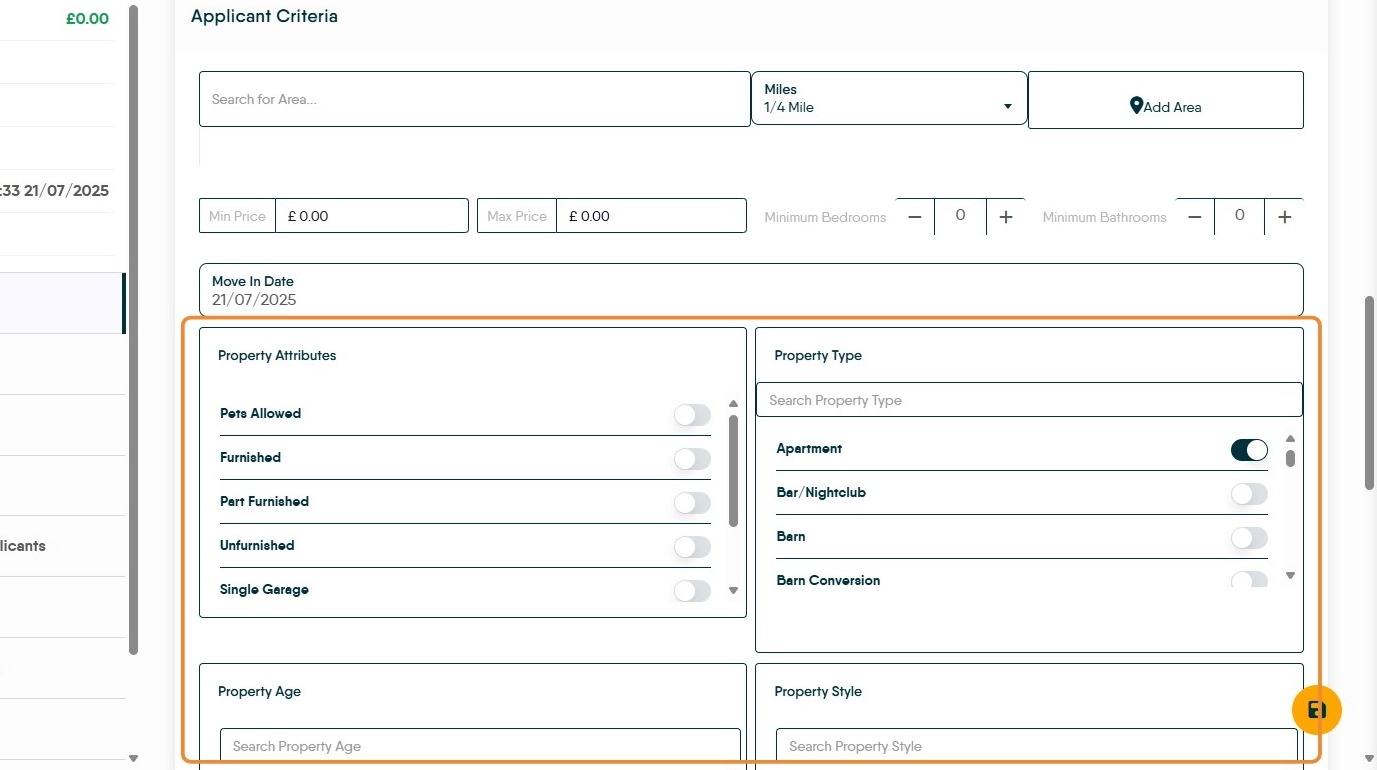
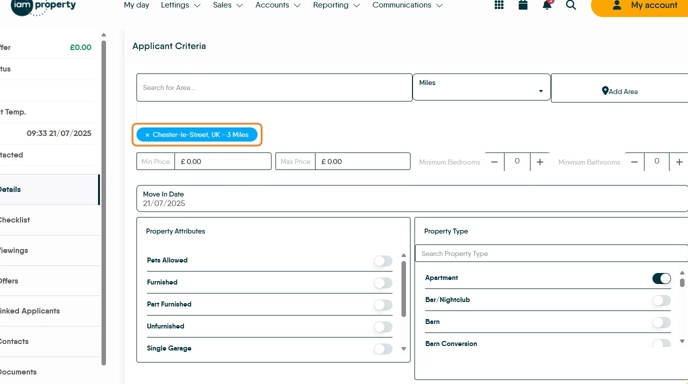
11. Click the "Search for Area..." field.
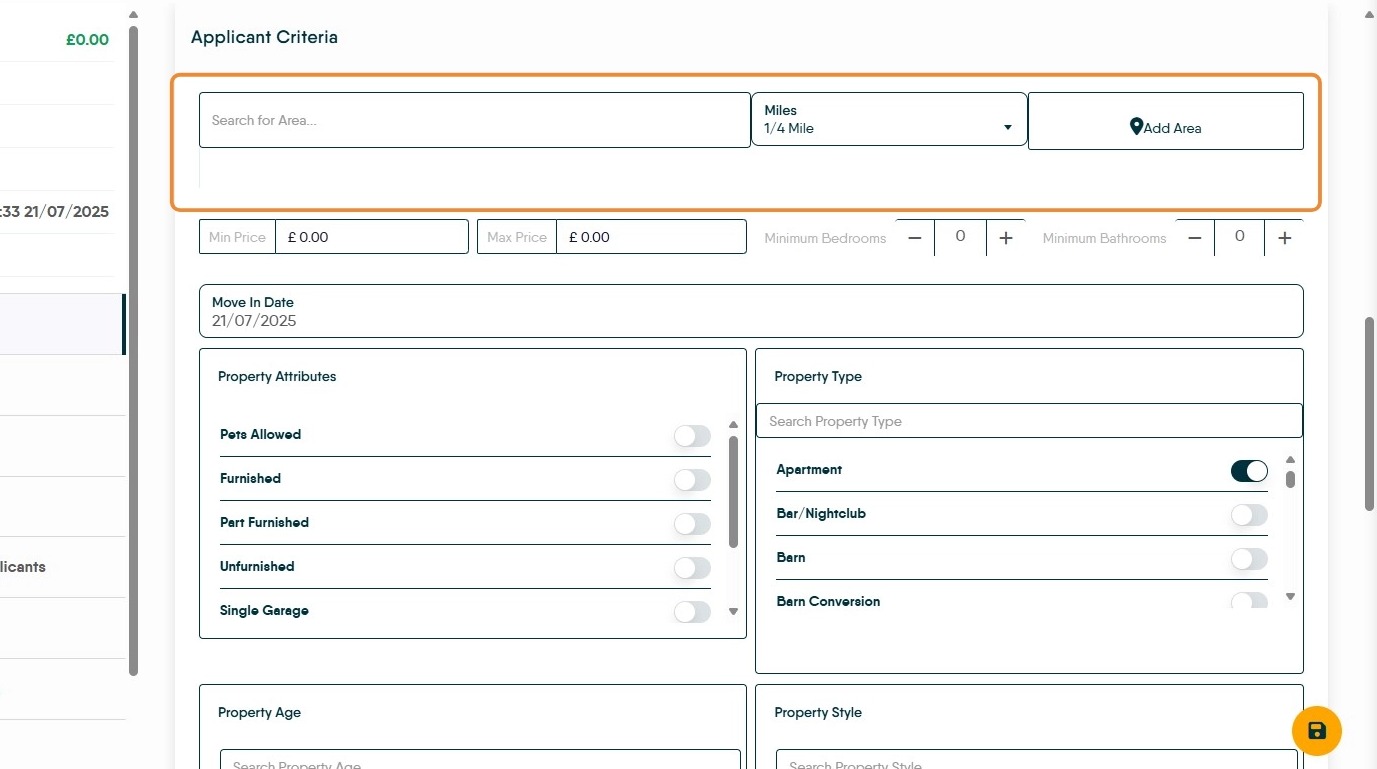
12. In the 'Search for Area' field add the area the applicant is looking for. This can be a town, postcode, street or even a school they would like to be close to.
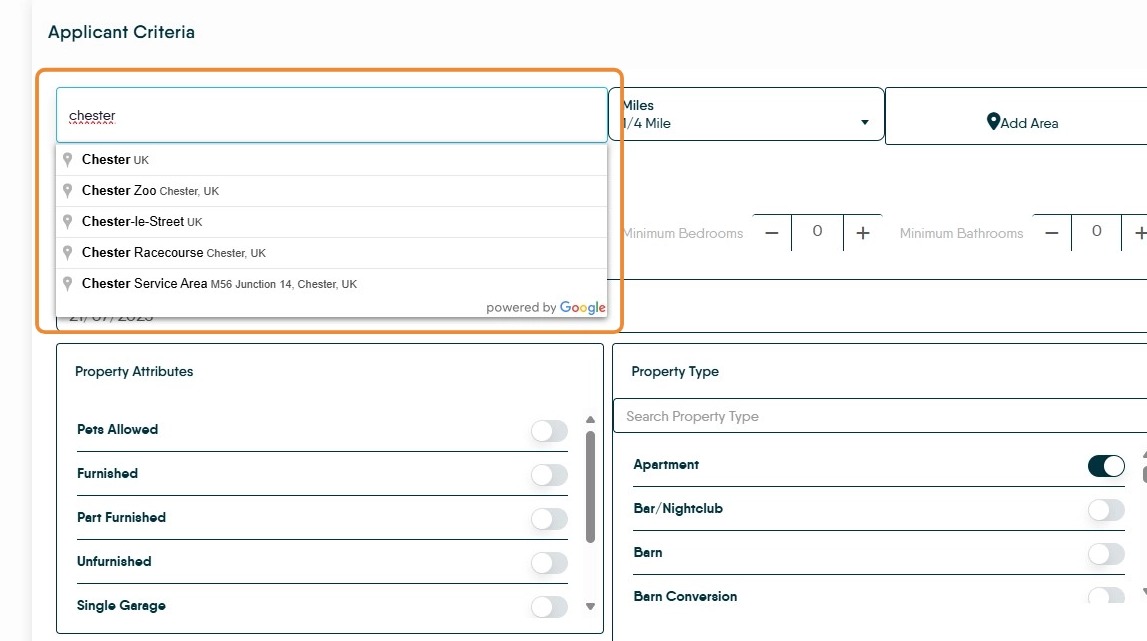
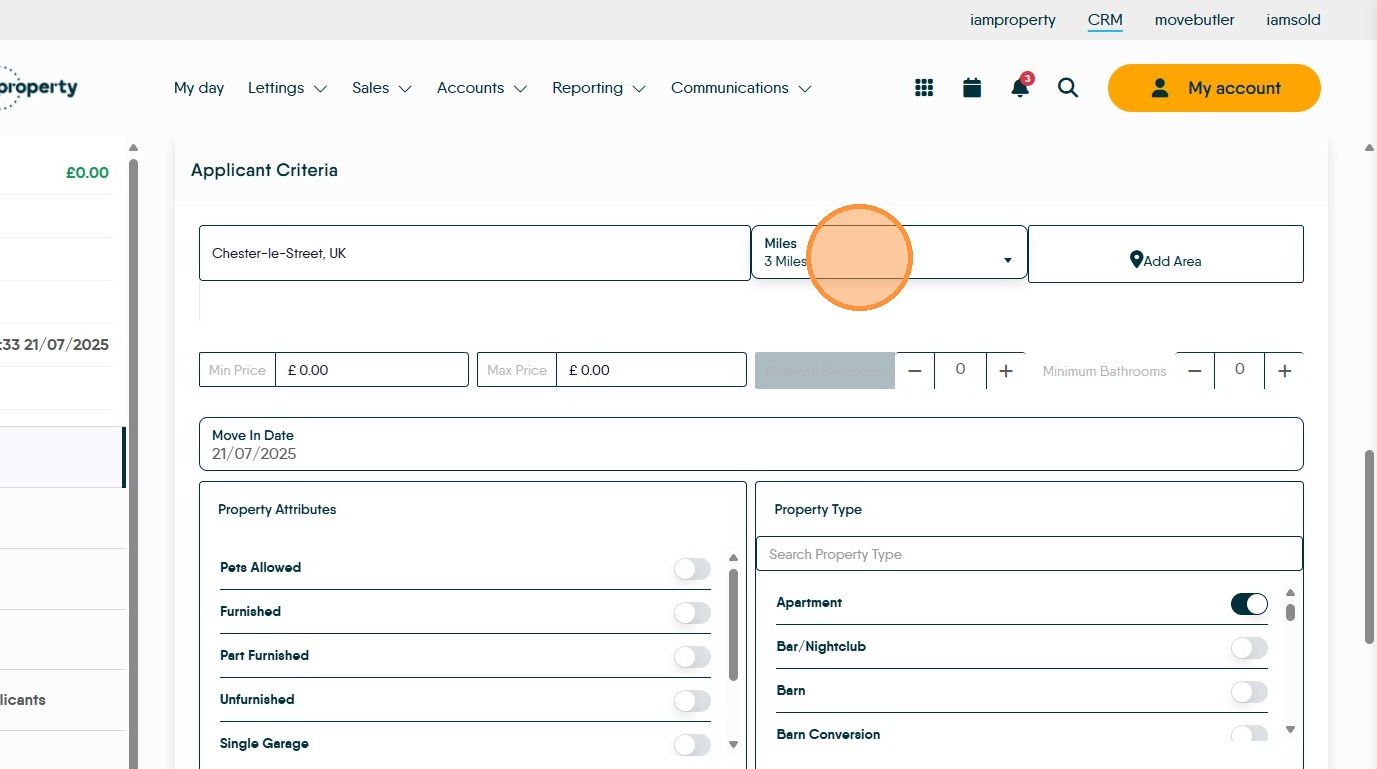
13. Then select the radius/distance from the edge of the area that the customer is looking at, from a quarter of a mile to 40 miles. N.B. the 'radius' around the centre point (town, postcode, street etc) is not circular, it is square.
N.B. If you are using a postcode or a street name, then a quarter or even half a mile is not much of an area to search.
14. Click "Add Area"
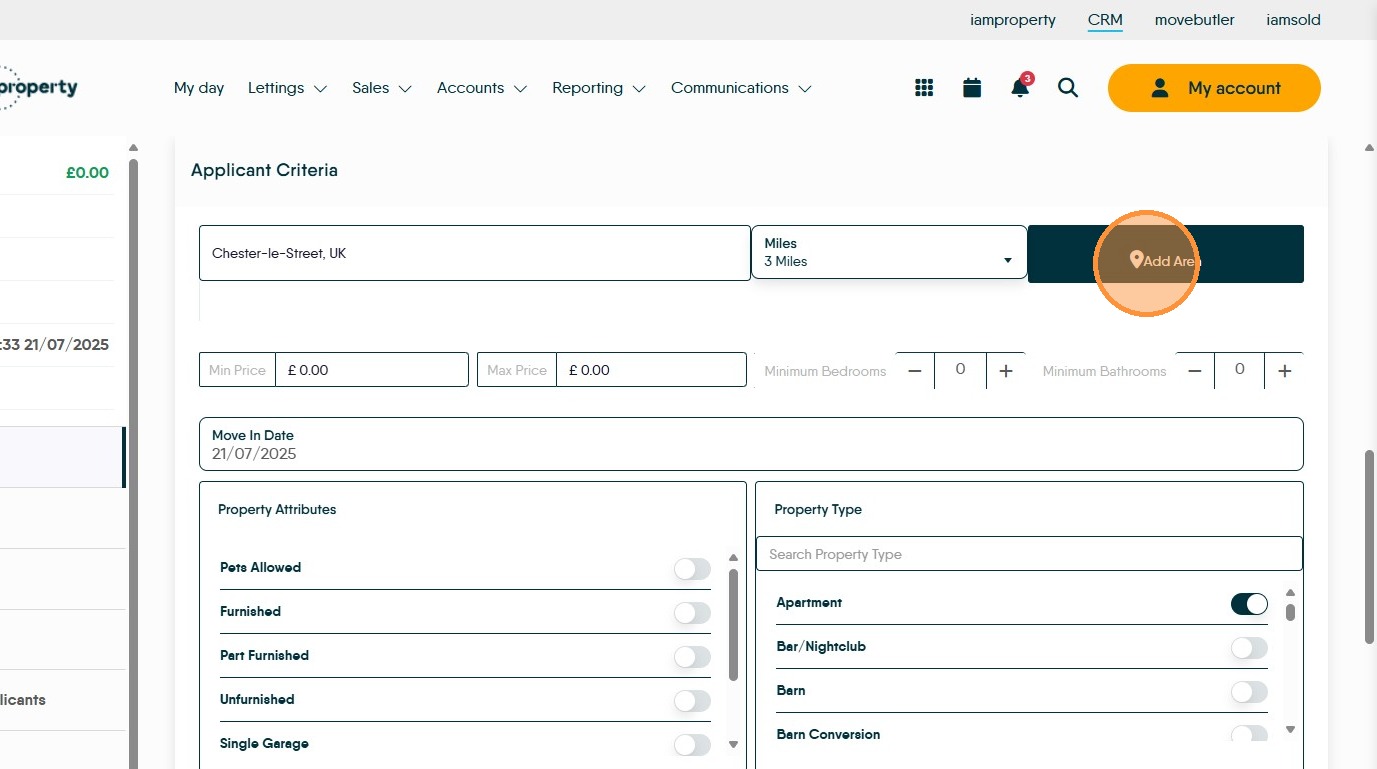
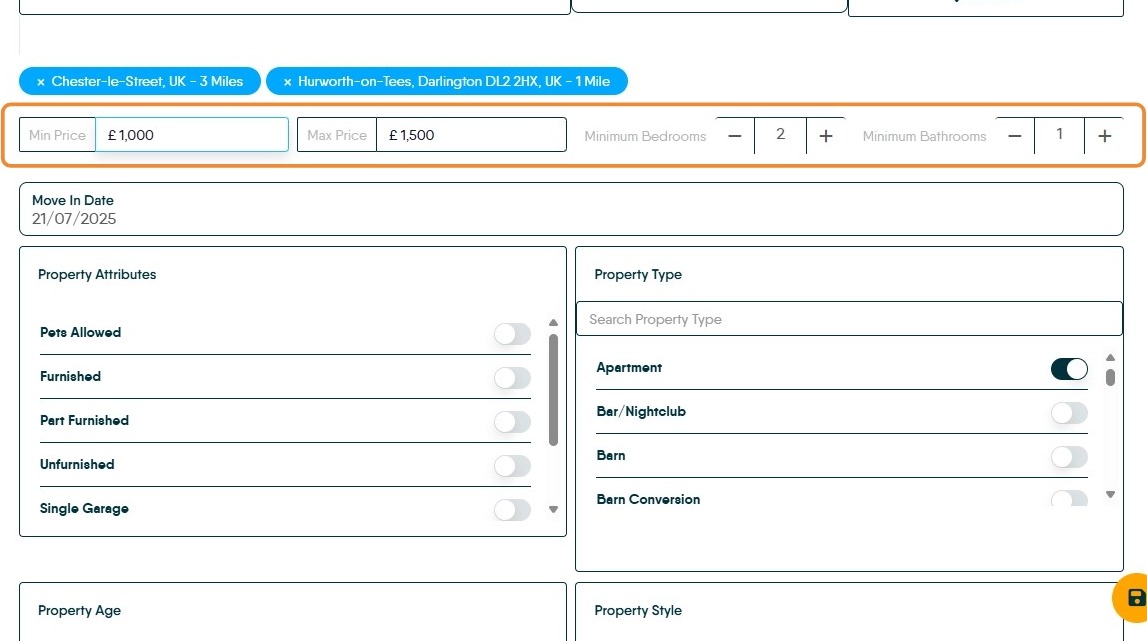
15. You can add multiple areas to use in the match. Repeat the process shown previously.
16. Add the Minimum and Maximum price the applicant is looking for. Add the minimum number of Bedrooms and Bathrooms they are looking for as well.
As previously mentioned, no applicant has no budget or any idea what the minimum number of bathrooms they need, if they cant give you a number use 1 for both bed and bath.
17. Click here and start to add the features the applicant is looking for in their new property, you can select multiple options from each section. The options selected will initially not affect the match.
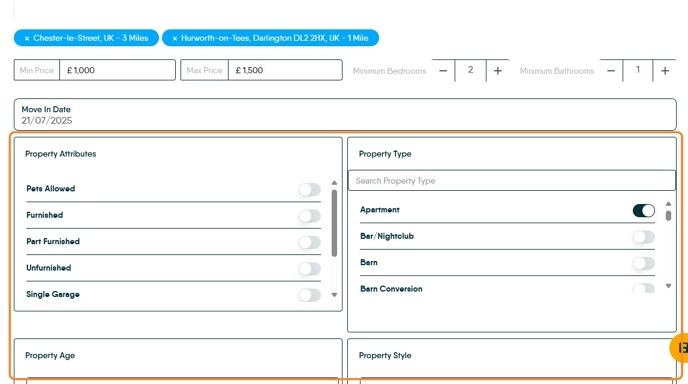
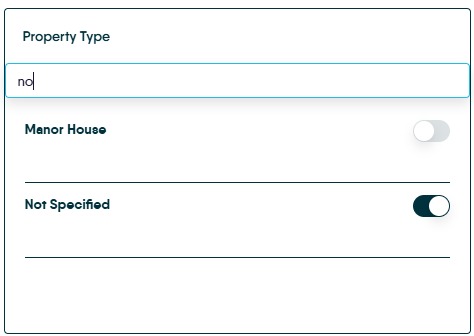
Tip: If your Applicant has no preference for Property type, select the "Not Specified" option. This will match against all property types.
To Perform a Match.
18. There are a few ways to get to the matching screens. From the Sales and Lettings Menus and from Applicant and Property records.
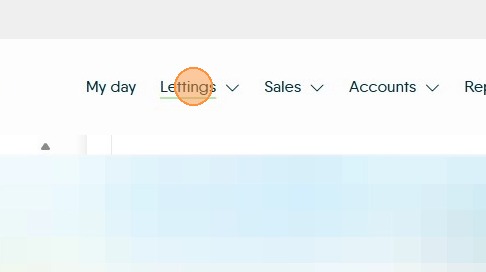
19. To access Lettings Matching from the main menu. Click "Lettings"
20. Click "General"
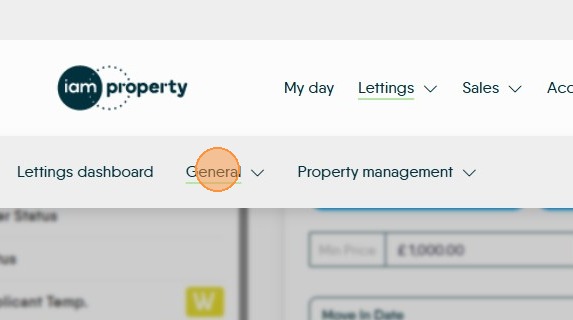
21. Click "Property Match" or "Applicant Match"

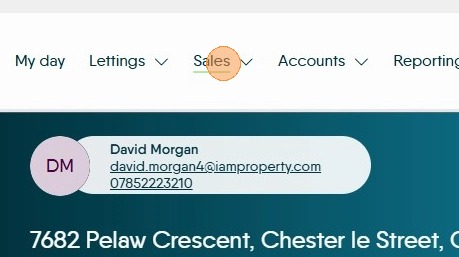
22. To access Sales Matching from the main menu. Click "Sales"
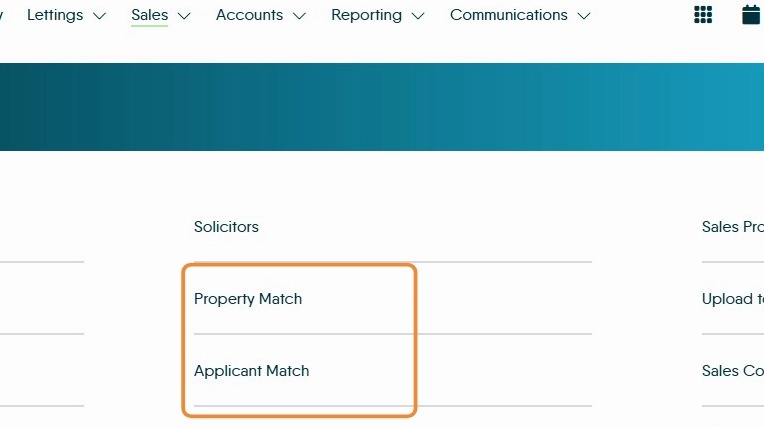
23. Click "Property Match" or "Applicant Match"
24. Matching Applicants to Properties (from property record)
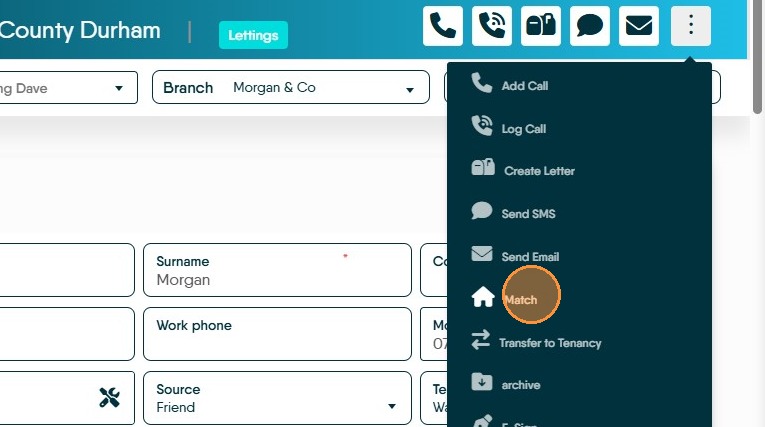
25. From a property record. Click here.
26. Click "Match"
27. The properties that match exactly with the applicants basic requirements will show on the screen, as highlighted. This brings back a broad match.
The match will look at properties that slightly exceed the maximum spend that the applicant has stated. Also the match will look at properties with the same price range and other requirements, that have more bedrooms/bathrooms than the minimum number.
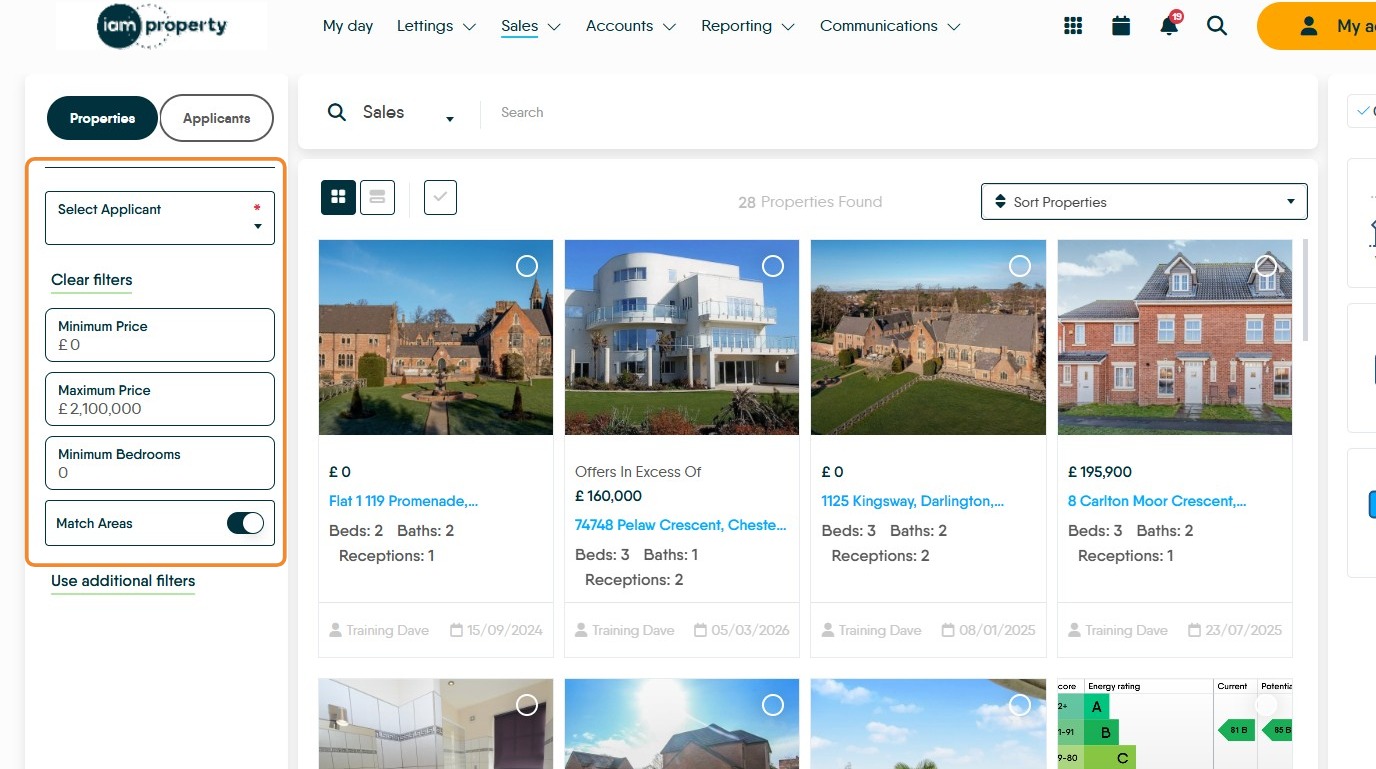
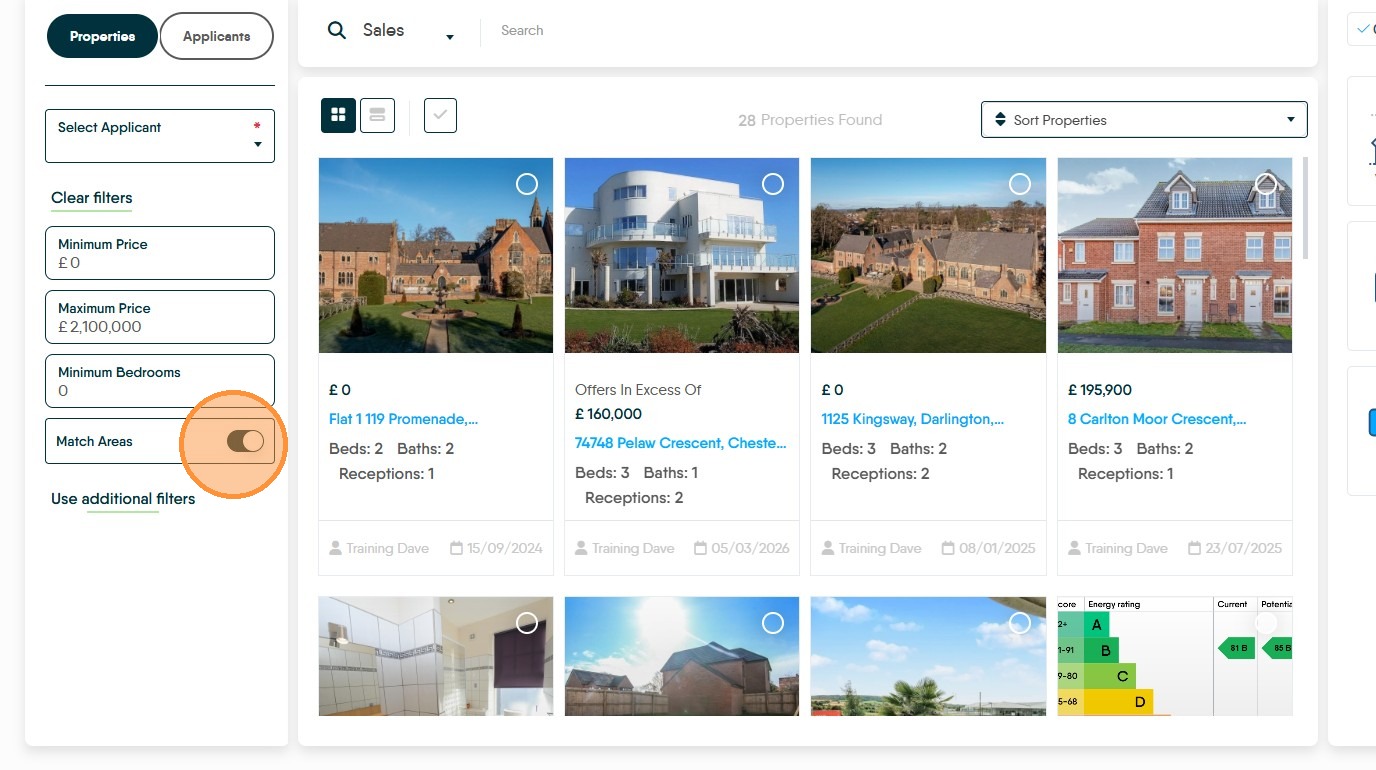
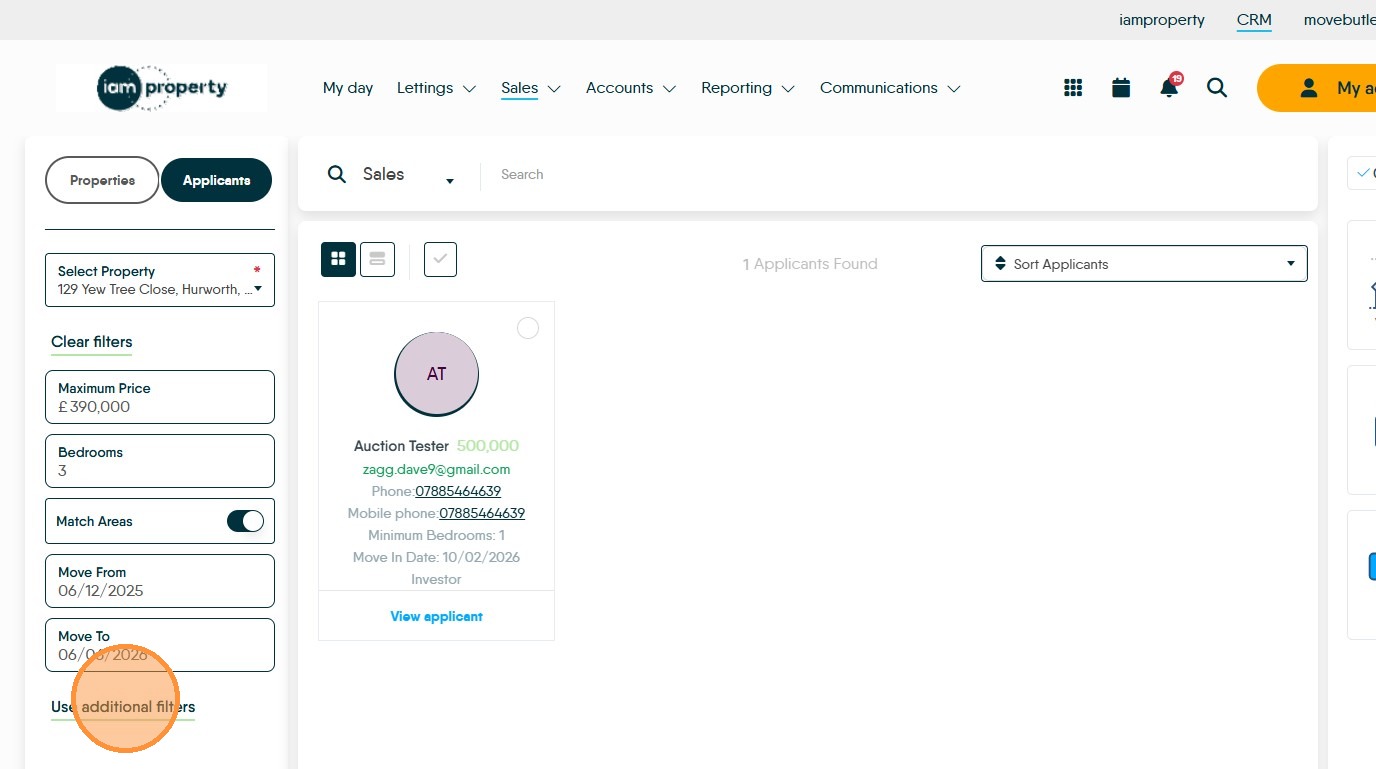
28. To refine the match closer to the applicants requirements/properties features. Click "Use additional filters"

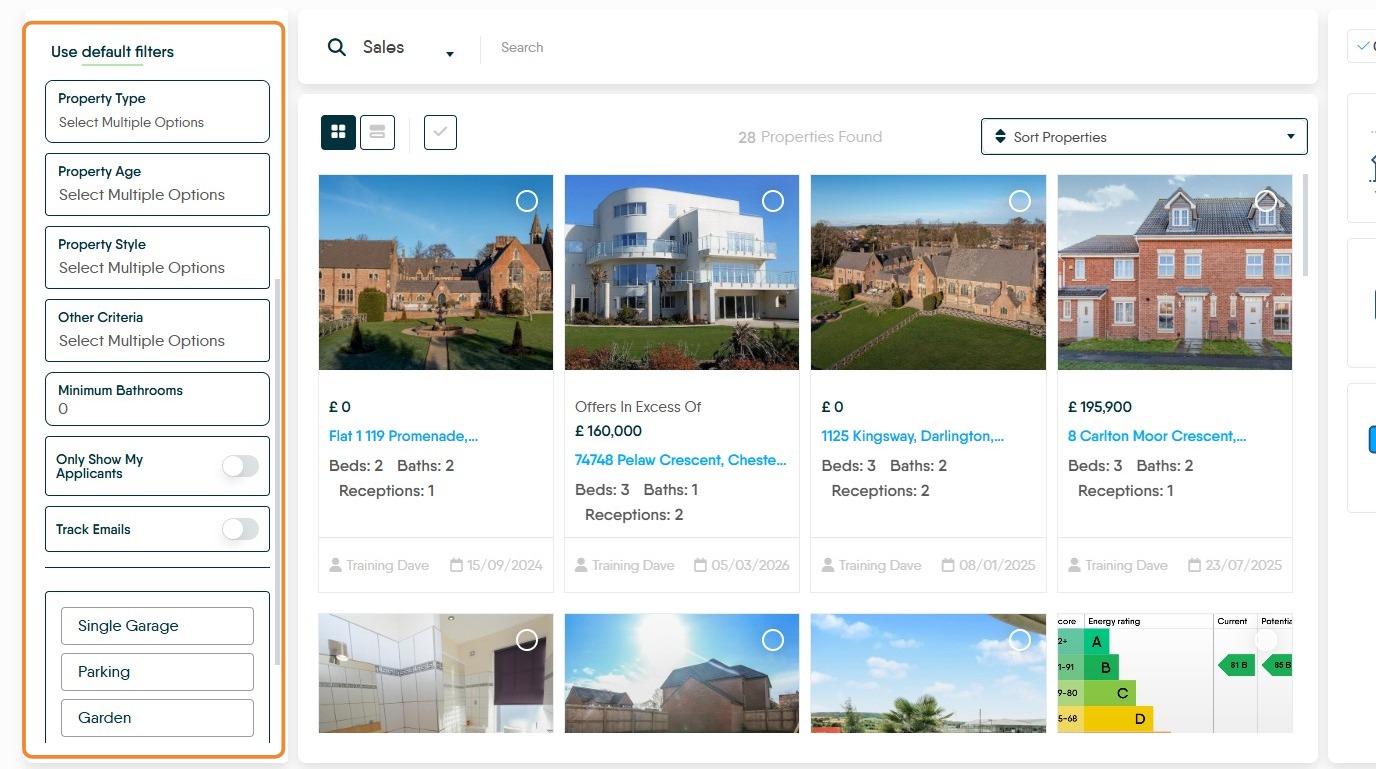
29. This will then bring any filters set against the applicant/property into use and refine the match. Filter options can also be turned on to narrow a match if required.
30. Turning off 'Match Areas' will open the search to all properties in your database that meet the other criteria, turning off any option widens the match criteria.
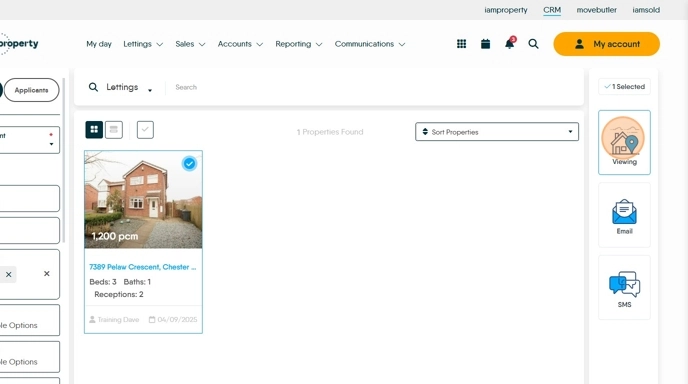
31. Once the match has been made then the properties will show on the screen. You have the option to call the applicant and discuss the property, arrange a viewing etc.
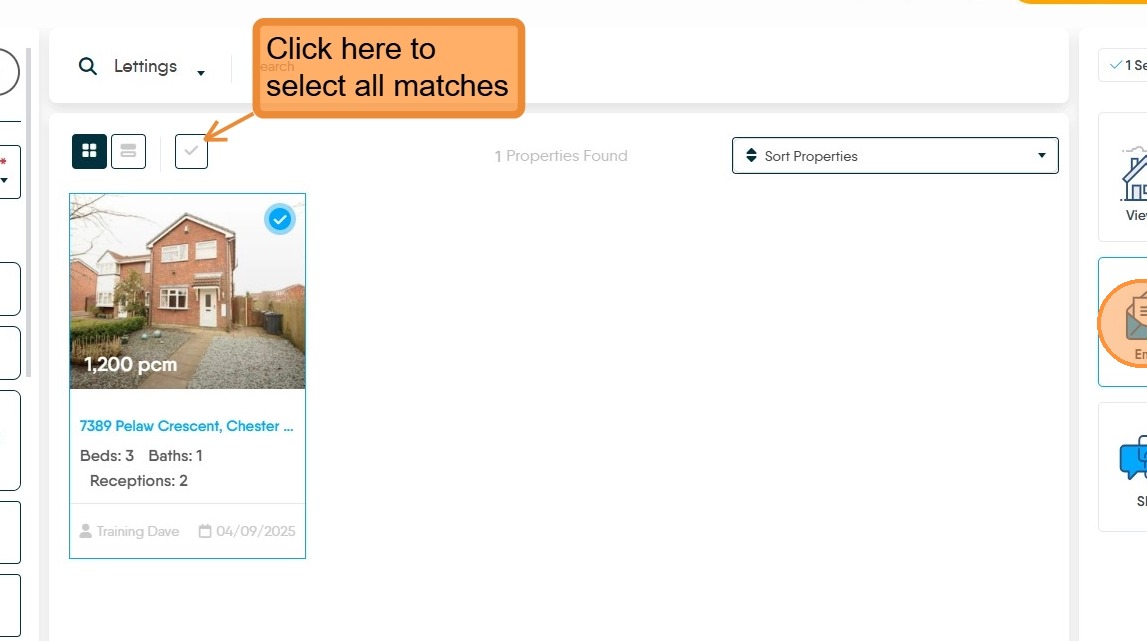
32. Alternatively you can send the property details by email or SMS to the client. Click in the top corner of the property tile, if there are multiple properties you can select as many as required. Then click the email or SMS icon.
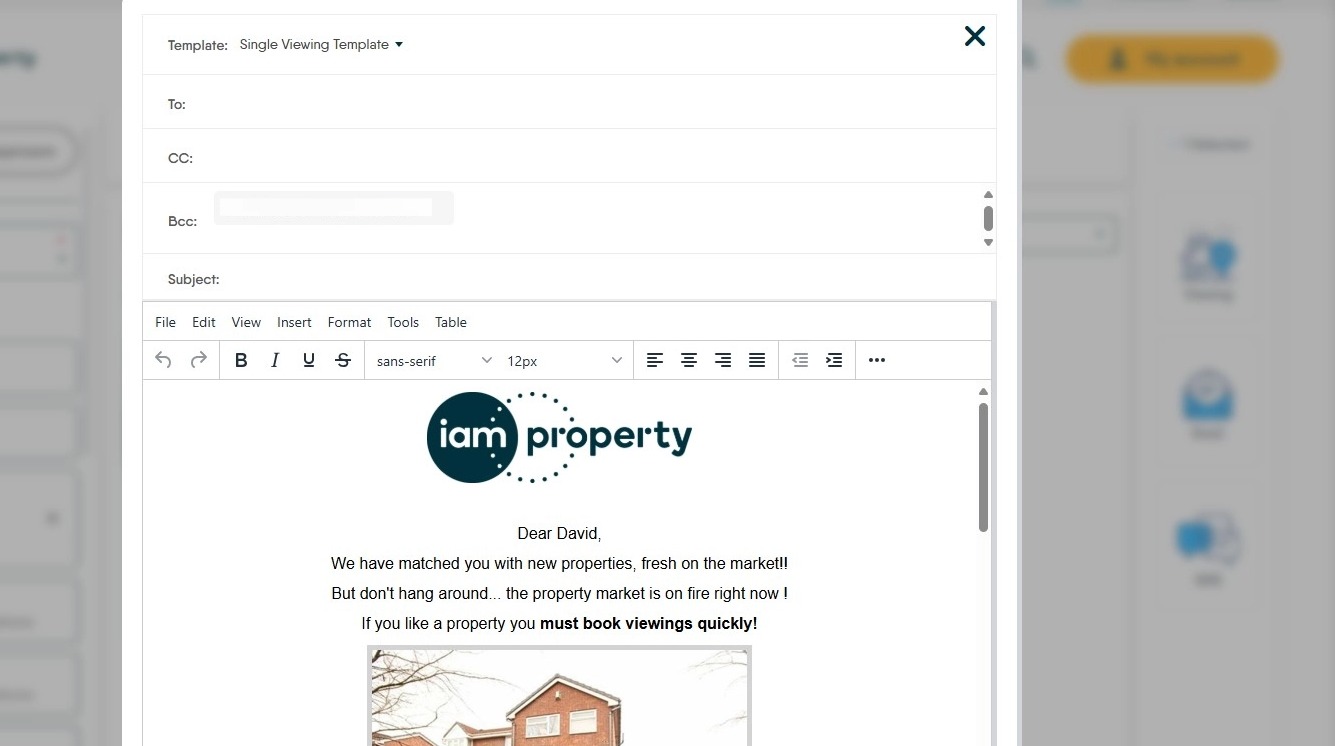
33. The email option will show the property matching template that you have created. If there are multiple property matches there is a different template that will link to all property details.
The templates can be quite basic or quite complicated, your decision. The option below is a simple Single property match template.
This guide Click here shows how to create SMS and email templates.
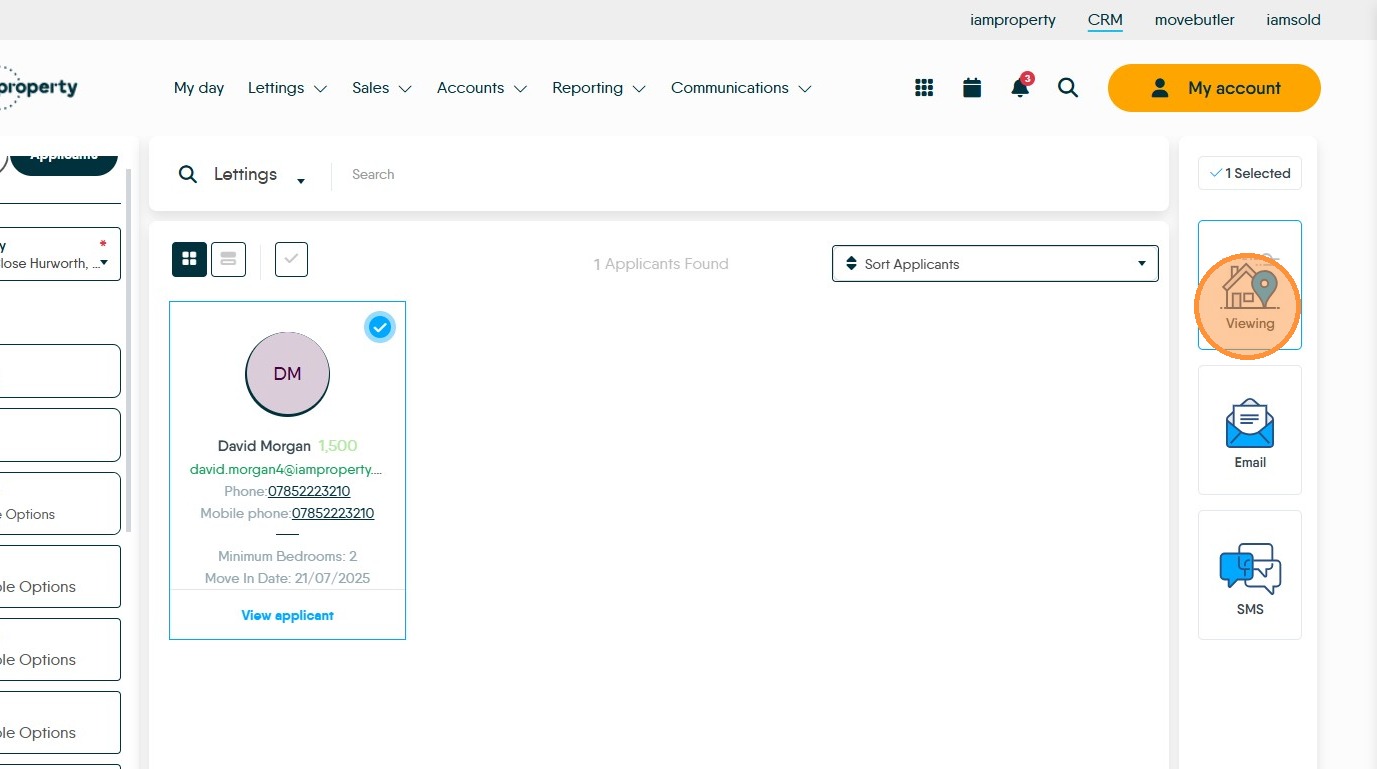
34. To book a viewing for the applicant at the matched property click the viewing icon and the viewing appointment screen will show on the screen.
If there are multiple property matches, individual viewings for each property can be created or if required one bulk booking can be made to view all properties in one day.
Matching Properties to Applicants (from applicant screen)
36. If you are in the Matching screen, click "Applicants"
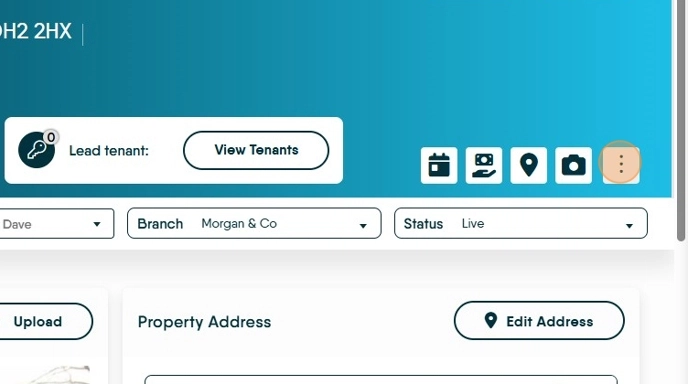
37. From the Property screen, click the 3-dot menu and then "Match Applicant"
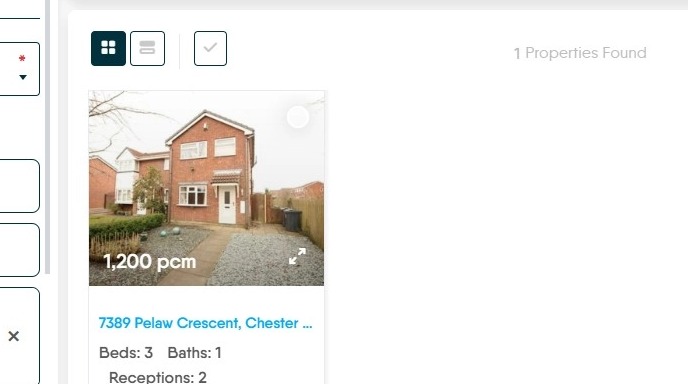
38. Applicants that match will show on the screen in the same way as matching from the applicant record.
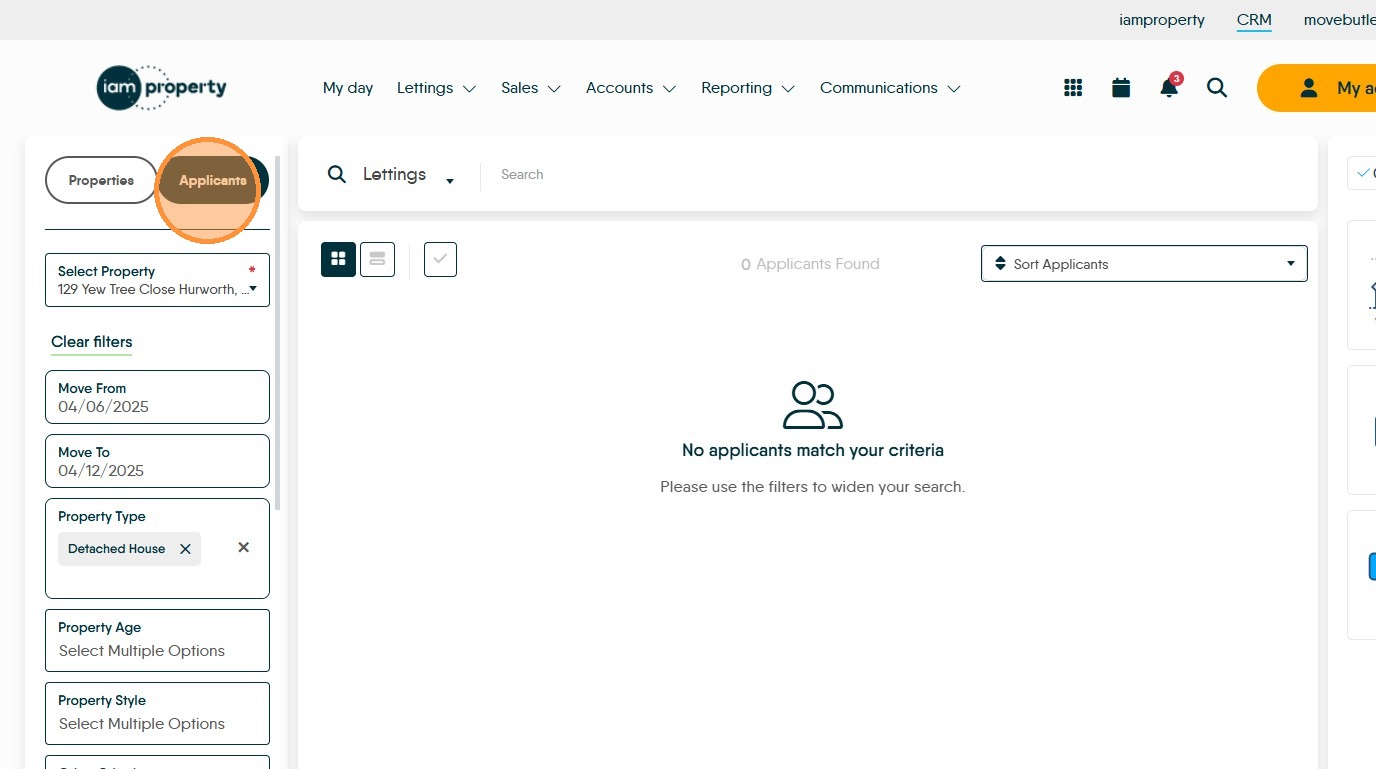
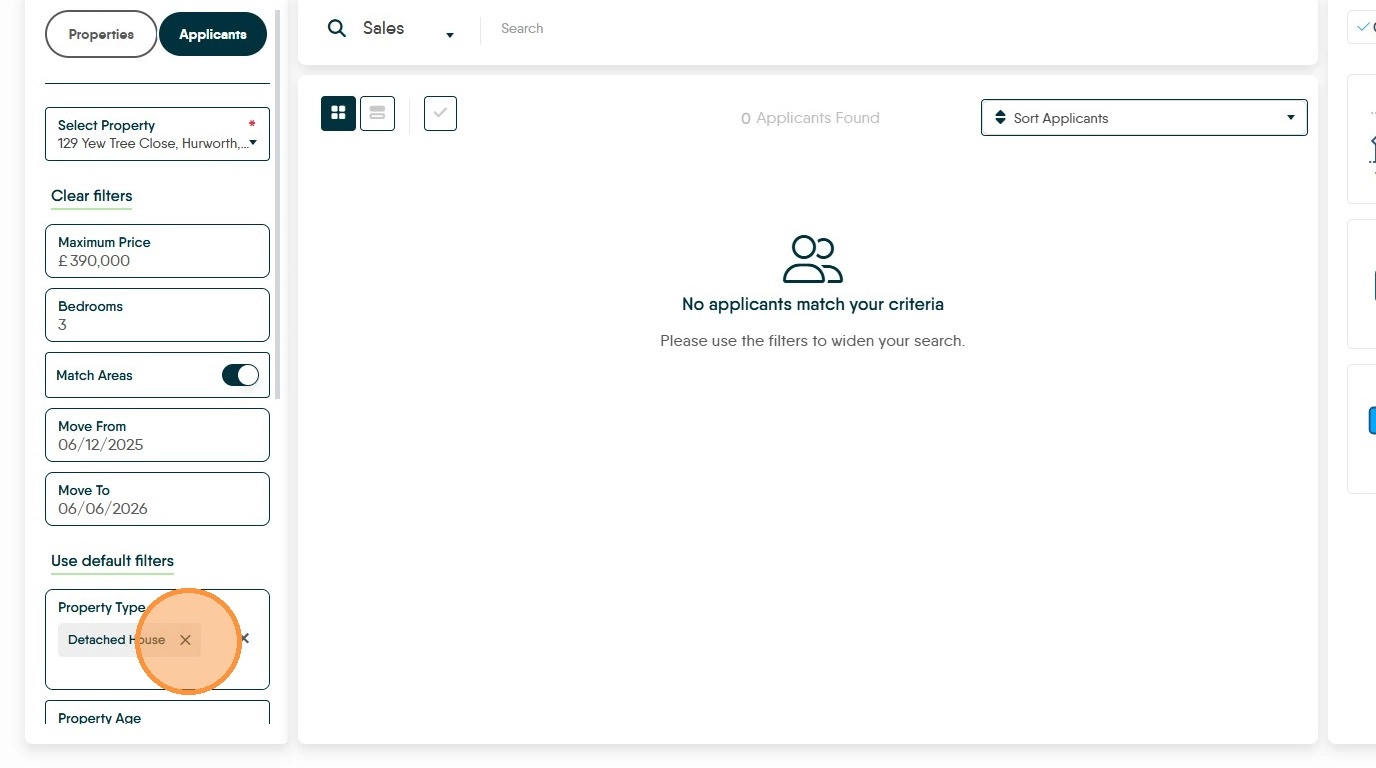
If no, or few applicants show on the screen, start to edit the customers requirements by clicking the "Use additional filters". It may be that a customer hasn't had a property type selected or other option not selected. Use your experience and knowledge of the customer to remove the options that are least important to the customer. Property Type may be a good place to start, a client looking for a semi detached may be happy to consider a detached in the same area.
39. Removing the 'Detached House' option causes a match, if more options are removed we may get more responses.
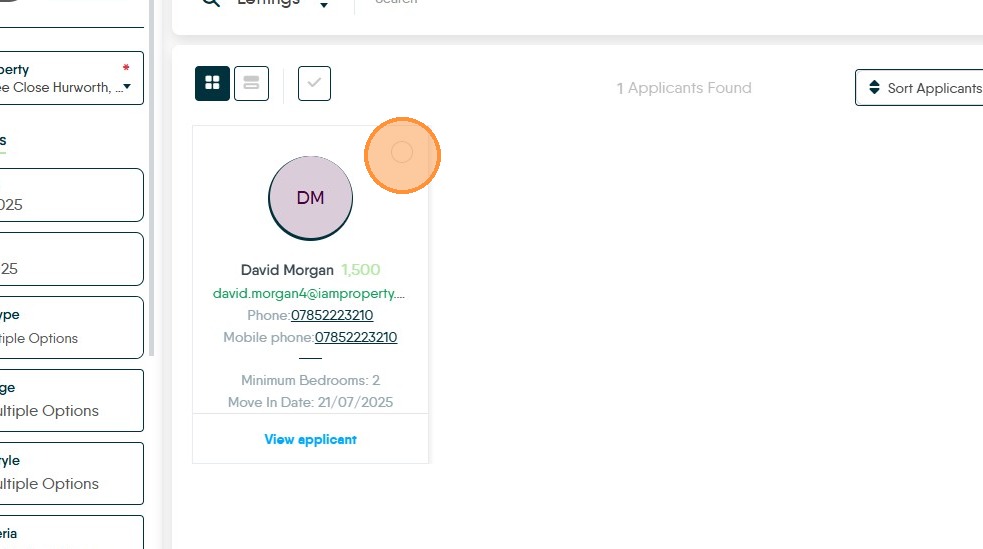
40. The contact numbers for the matches are shown on each tile to allow you to call them individually and discuss the property.
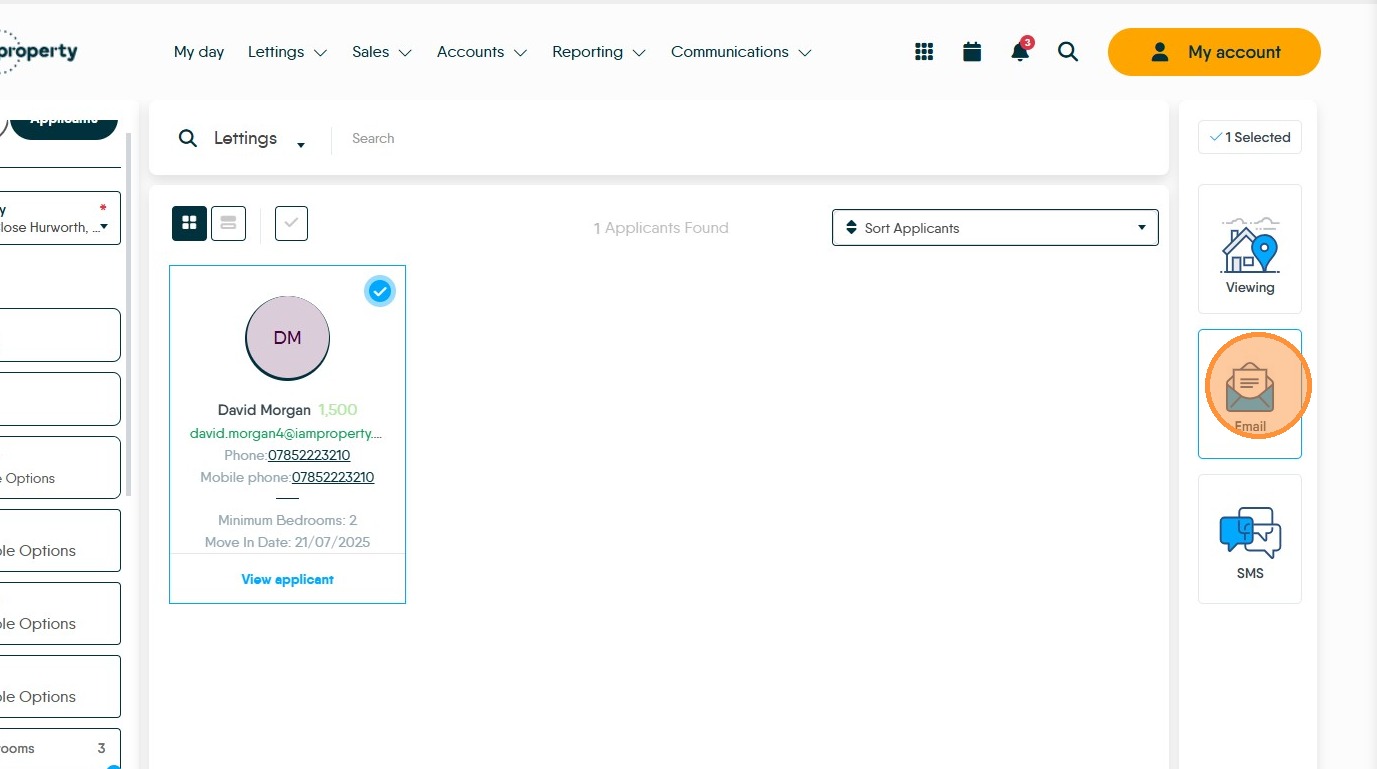
Click here to select that match. If there are multiple matches, multiple applicants can be selected individually or all at once (as shown previously).
41. To email the details to the matches. Click email icon
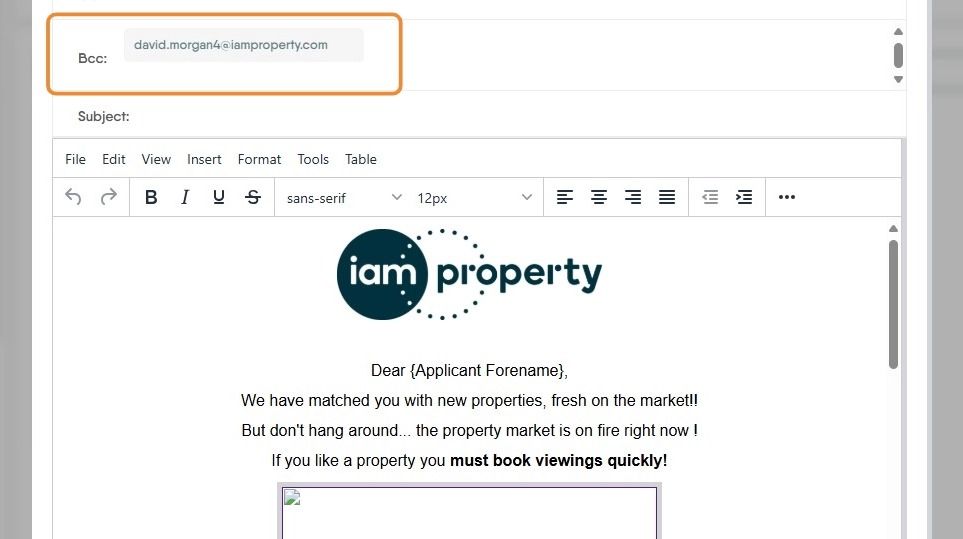
42. The match template you created will show on the screen with each applicant you are sending the details to added to the BCC field so each recipient gets their own personal message. Then click the 'Send email' button
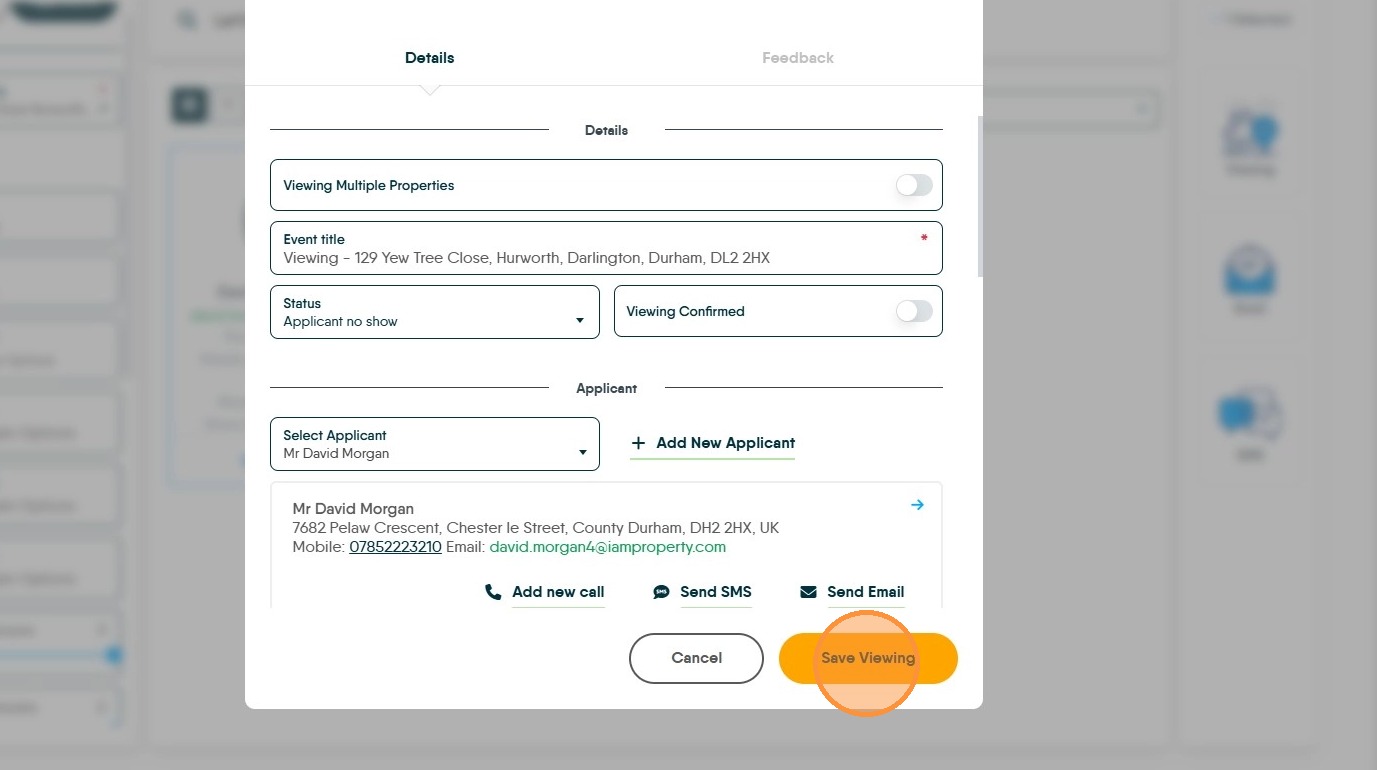
43. To book a viewing. Click the "Viewing" icon.
n.b. only 1 viewing can be booked at a time.
44. Once all the options for the viewing are added. Click "Save Viewing"