This guide offers a comprehensive step-by-step process for creating and managing sales and letting viewing appointments in the CRM system, making it essential for real estate professionals. By following these instructions, users can efficiently schedule viewings, ensure all necessary details are communicated, and streamline the confirmation process for both applicants and landlords. Additionally, the guide highlights how to utilise email templates for quick communication, enhancing productivity.
1. Navigate to https://crm.iamproperty.com/MyDay
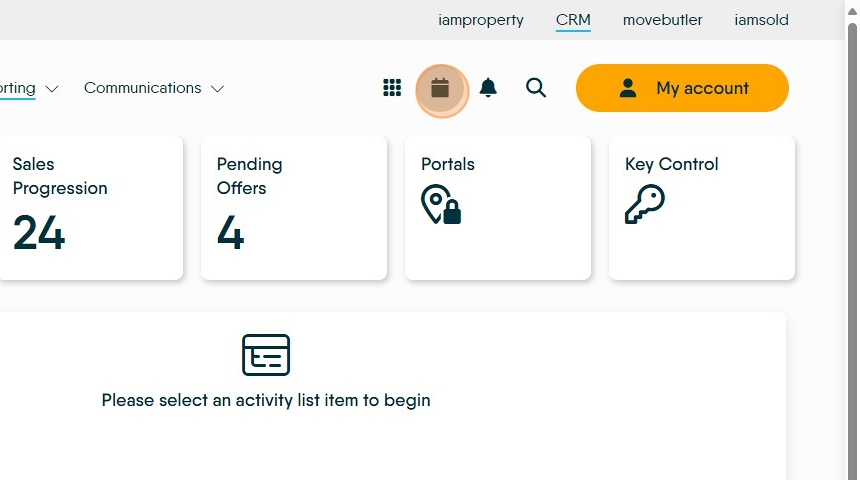
Opening the Calendar and creating an entry
2. Click "Calendar" You can also access the calendar from the My Day screen and the 'Bento' menu.
3. Click "Add"

4. Click "New Appointment" or any other option from the drop down menu.

Adding a 'New Appointment'
Tip: Tip! This type of appointment set in CRM is usually used for personal appointments and is NOT linked to a specific record in CRM.
5. To create this type of appointment. Click this text field.
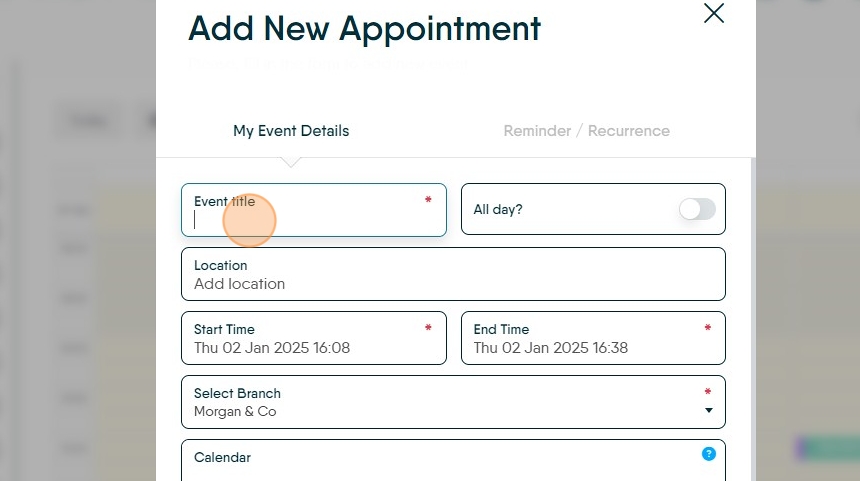
6. Click the "Add location" field.

7. Click the "Start Time" field. Select the date and start time for your appointment from here.

8. Click the "End Time" field.

9. to select the calendar to add the record to. Click this search field.
Click "Sales" or the calendar you are using.

10. Click "Add to Calendar" to add the entry to your calendar.

Adding a Viewing Appointment from calendar.
Tip: You can also add a Viewing appointment from the calendar screen, by right clicking on the time and date you want to set the appointment. The process is the same as below, however the time and date is set as the time/date you selected by right clicking ( it can be edited).
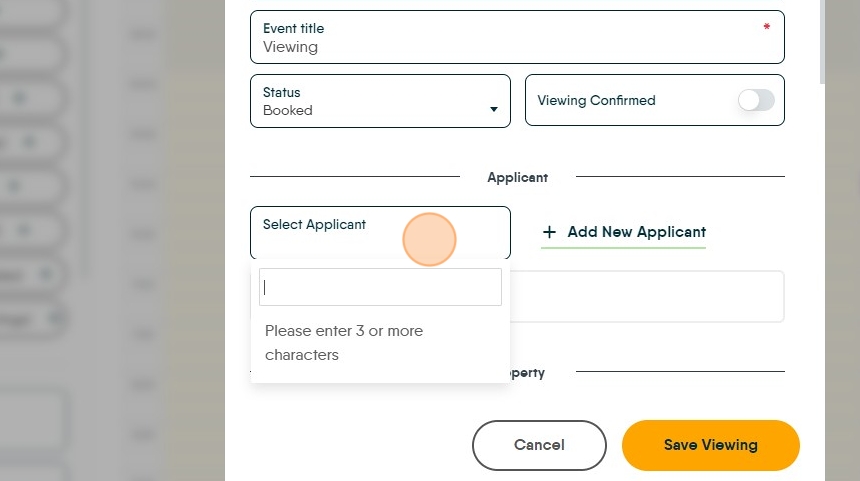
11. Click "New Viewing (Sales)" or Lettings as required.

12. Click here. Search for the applicant you are creating the viewing for, you can add a new applicant from here as well, by using the 'Add New Applicant' option.
13. Click here and search for the property. You can add a new property from here as well.

14. Click the property name you want to use.

15. Click here and select the start date and time for the viewing.

16. Click here and set the end date/time.

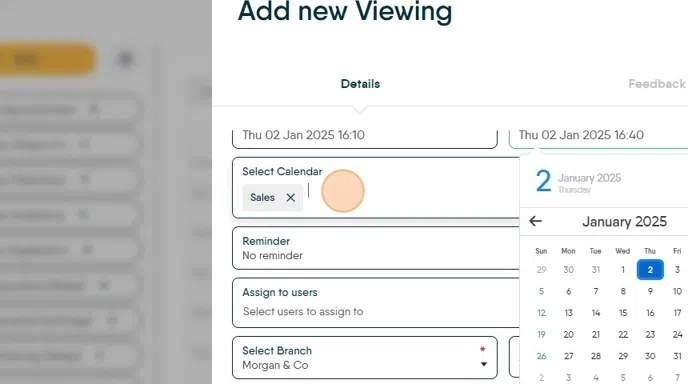
17. Click this search field and select the appropriate calendar.
Click the "Select calendar to assign to" field.
Select the appropriate calendar
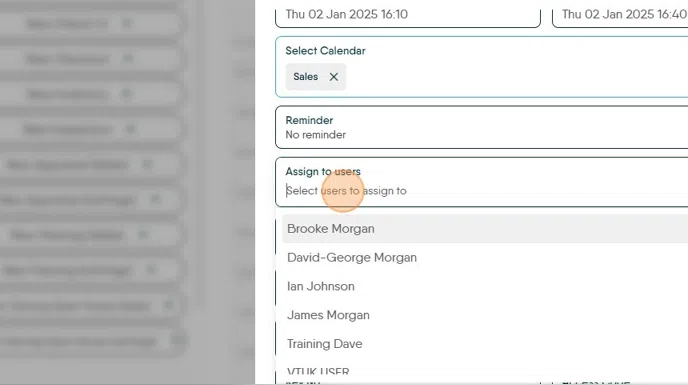
18. Click the "Select users to assign to" field. Allocate the viewing to whoever is conducting the viewing.
Click the user you are creating the appointment for
19. Click "Save Viewing" to finish.

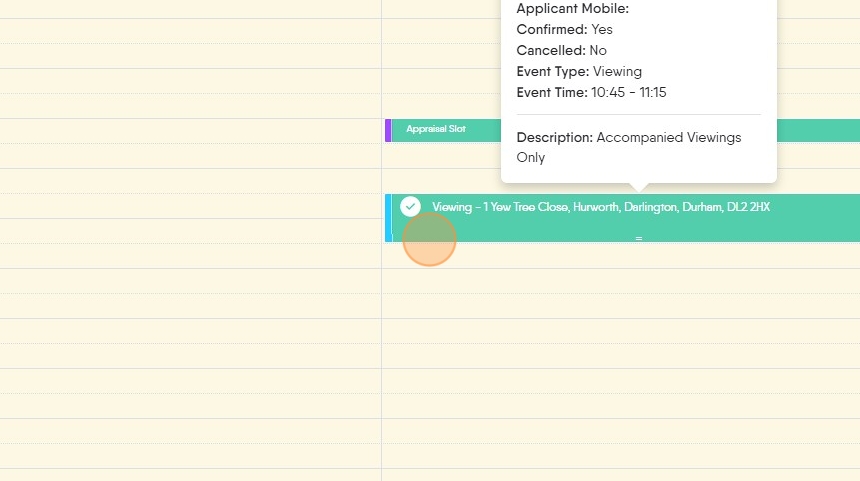
20. The viewing will then show in the Calendar. If the viewing has not been confirmed it will show in red. Click here to open the appointment.

21. To confirm a Viewing appointment. Open the viewing appointment and click here. A viewing can also be confirmed from the Property or the Applicant records.

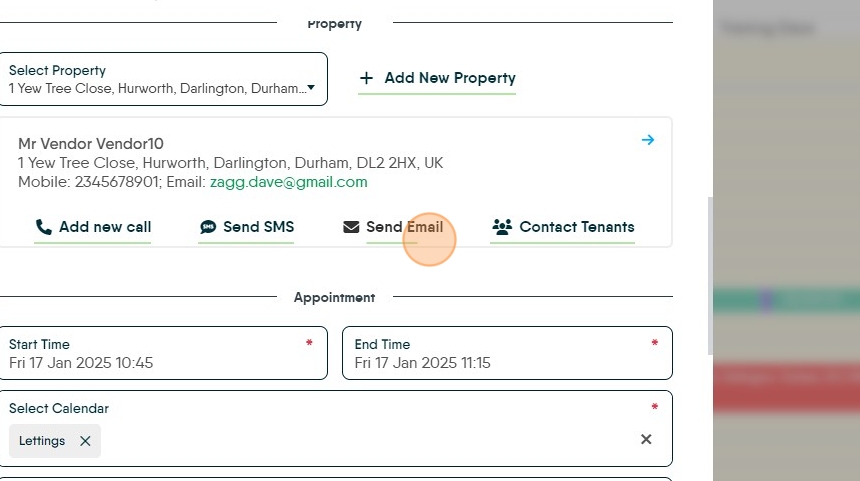
22. You can send your applicant an email from here to confirm the viewing. Click "Send Email"

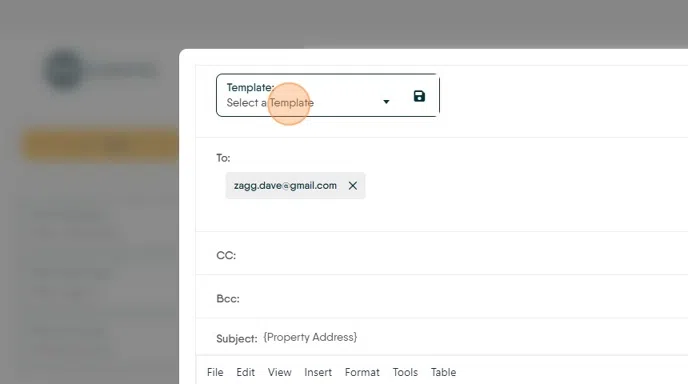
23. Using a message template allows an email to be quickly sent with all the details of the Property, directions as well as the details for the appointment. Click here.
Click "Viewing Confirmation Lettings"

24. The template will show on the screen with the template tags visible e.g. {App. Title} {App. Forename} {App. Surname}... You can confirm what is being sent by clicking on the eye icon this will show you a completed email for the first recipient (if more than one).

25. The available template tags are at the bottom of the screen. Click "Send Email"

26. An email confirming the appointment can also be sent to the Landlord and Tenants if required. Click "Send Email"
27. Click "Select a Template" to use a message template select the template and then select the details for the contact the email is being sent to. Then click "Send"
28. If the appointment is Accompanied Click here, select where you are meeting the Viewer.
29. If keys are held they will show here. Click here.

30. Click "Save Viewing" to close and save the viewing.

31. Once confirmed the viewing will show in the colour selected for the employees conducting the viewing and will show a tick. This will be updated in all the locations a Viewing appointment will be displayed (Calendar, Applicant and Property records)