This guide shows how to generate tenant communication letters, and send via e-sign making property management more efficient. To send a letter via e-sign the appropriate e-sign tags need to be added to display the signature in the document and the letter needs to be marked as an e-sign letter in the Letters Configuration settings.
Alert: In this guide we use a Tenant letter, however the process is the same for any letter sent via e-sign from within CRM. The Letters visible will vary from record to record, for example an Applicant letter will show in an Applicant record but NOT in a Tenant record. Adding and Managing letters is covered in another guide.
You can only add one document to each E-Sign 'envelope', if additional documents are to be sent then you can send them via a separate CRM email.
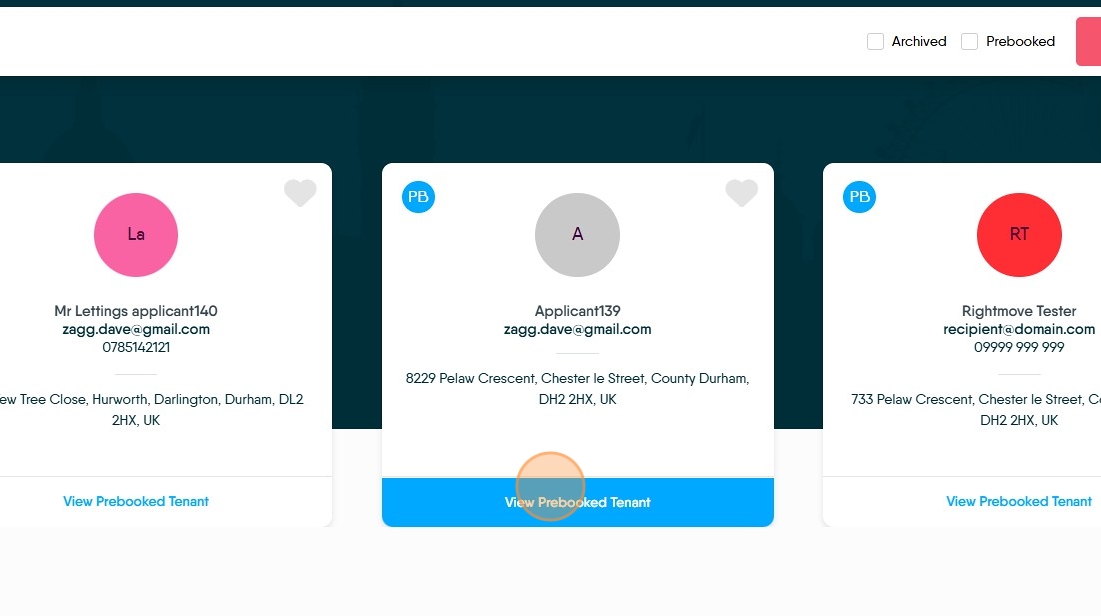
1. Navigate to https://crm.iamproperty.com/Search#tabSearchTenants and find the Pre Booked tenant you are sending the document to.
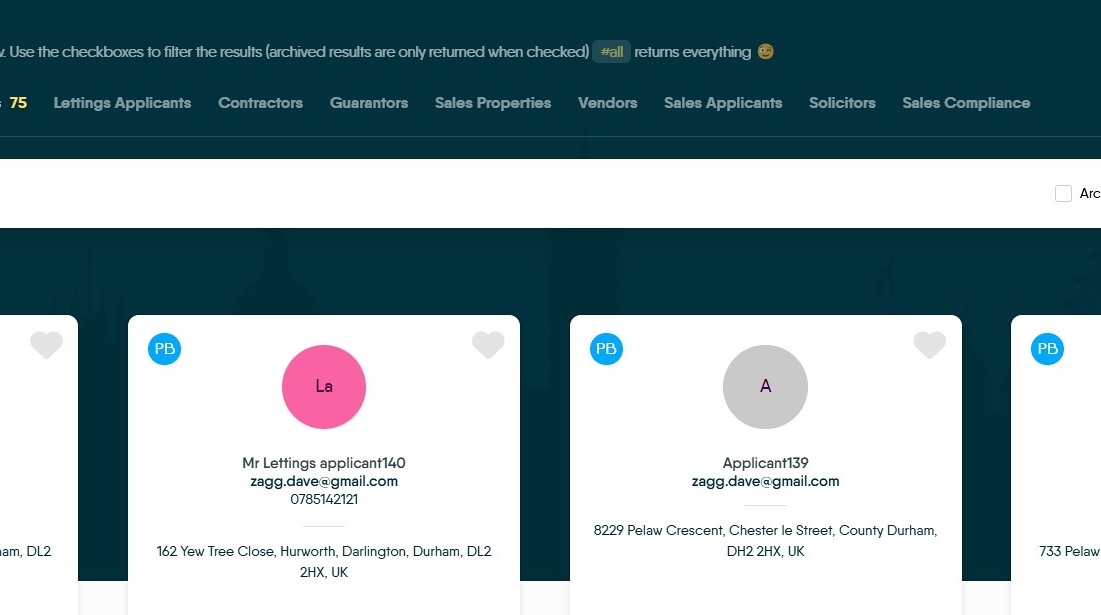
2. Click "View Prebooked Tenant" or whatever record you have searched/selected.
Generating the letter
Alert: Alert! Letter to be sent by e-sign has to be setup as an e-sign letter in the Letters configuration section, if you need help with this please contact CRM Support or look for the guide that supports this.
3. Click here to create your letter. Anywhere in CRM that this icon is visible will allow you to send a letter via E-Sign.

4. Click "Please select a letter" and from the drop down menu select the letter that you need to send.
Click "Tenant-Property Visit letter"

5. Click here to create the letter

6. Check that the details shown are correct. If you only want to send the letter to selected contacts (if there is more than one contact) un-tick those you do not want to contact. You may see 2 options Landlord and Tenant or other options dependent on the letter you are creating.
Click "Generate"

7. This will create your letter, with the 'merge tags' visible.

8. To view the letter as it will be sent to the recipient. Click "View Merged Data".
If you need to edit the letter, perform any edits with the 'View Merged Data' option turned off, so you can see the tags. This will maintain any formatting in the letter.

9. Once you are happy with the text. Click "Save to E-Sign"

10. Click here to close the screen.

Sending the E-Sign document
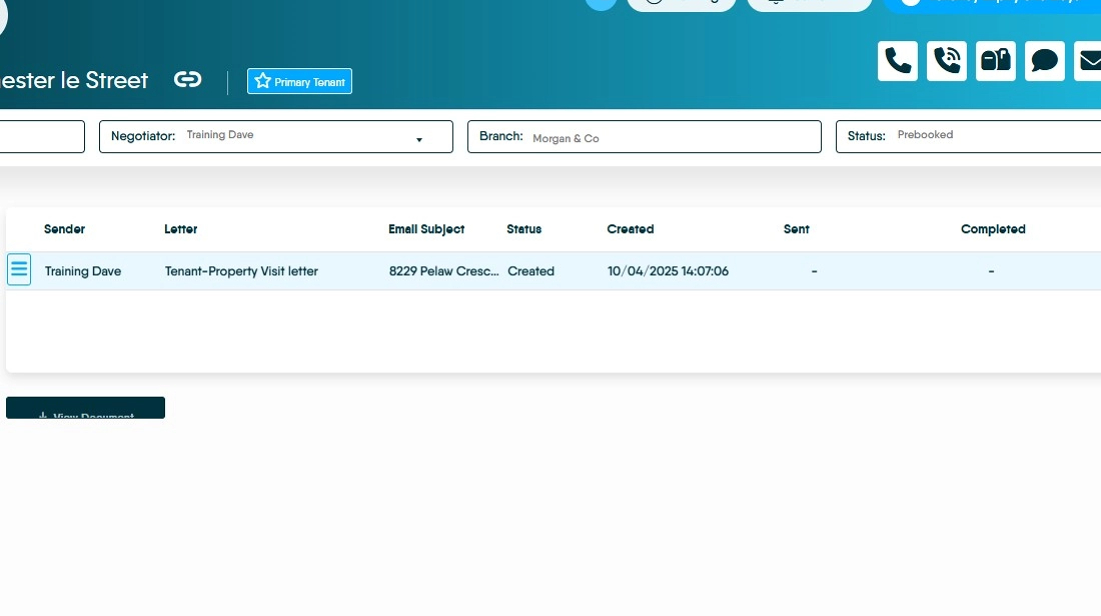
11. Once created the message will show in the appropriate record it was created in. Click "E-Sign" However to send the document, it needs to be sent from the e-sign menu.

12. The e-sign option allows you to see the status of the e-sign envelope, but not send it. This is done from the e-sign menu.
13. To send the e-sign document. (in this case) Click "Lettings"

14. Click "General"

15. Click "E-sign"

16. Click here.

17. Click "Send" to send the e-sign document.

18. The document will now be sent to the recipients set in the initial message. Once complete, there will be a notification and the signed documents will be available from the e-sign menu.