This guide provides a straightforward process for adding a new journal entry in a CRM system and linking it to another record, making it essential for users who want to efficiently document interactions and maintain organised records. By following the steps outlined, users can enhance their workflow and ensure that important information is easily accessible and connected to relevant properties.
1. Navigate to any record on CRM, here we use a Sales Applicant record. However, the process is the same for all Journals in CRM.
2. Scroll down the left menu and Click "Journal"

3. Click "New Journal"

4. Click "Select a Journal entry type"

5. Find the journal type you are adding and click.

6. E.G. Click "Note"

7. Click here. Type your journal note text, or paste the email text.

8. To link the journal to another record, in the top menu Click "RECORDS"

9. Click this text field and enter the details for the record you are searching for, then from the drop down menu select the record you are linking to.

10. Click this text field.

11. Type the name of the person or property you are linking to and select from the drop down list. You can link to any Vendor/Applicant/Tenant/Landlord/Property record.

12. Click "Link Record"

13. Click "Save"

Tip: Tip! The Journal will not be visible in a landlord or Vendor portal unless the 'Private' toggle is switched to 'Shared'.
14. to view the linked records use the scroll arrows.
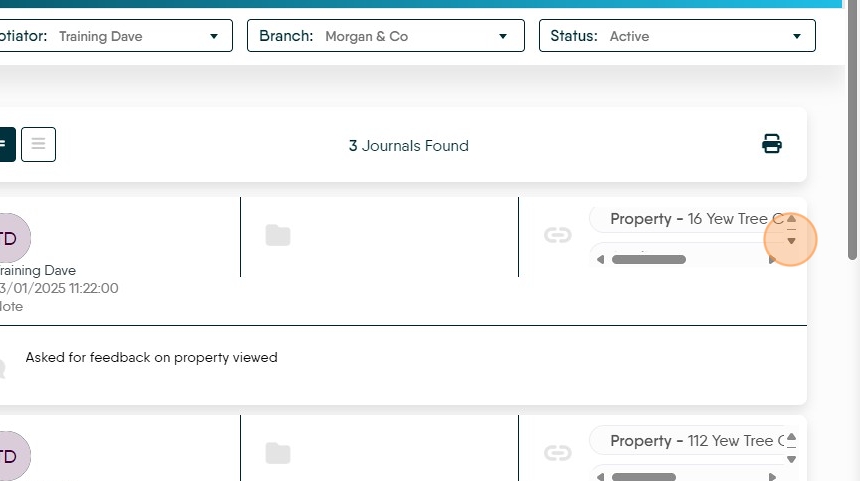
15. To quickly link a record or view the linked records, click the link. You can link multiple records together through a Journal.
