This guide provides a step-by-step process for efficiently adding inspections to the CRM Inspections module, ensuring that users can manage property inspections seamlessly. By following these instructions, users can streamline their workflow, enhance organisation, and improve communication regarding property management.
1. Navigate to https://crm.iamproperty.com/MyDay
2. Click "Lettings"

3. Click "Property management"

4. Click "Inspections"

5. Click "Add inspection"

6. Click the "Property address" field. Type the property address and select from the list.

7. Click "Next"

8. Select the 'Inspection Type' you are creating the record for.

9. Select the 'Status' option for the Inspection.
There are many status options, you can decide how to use these to suit your process

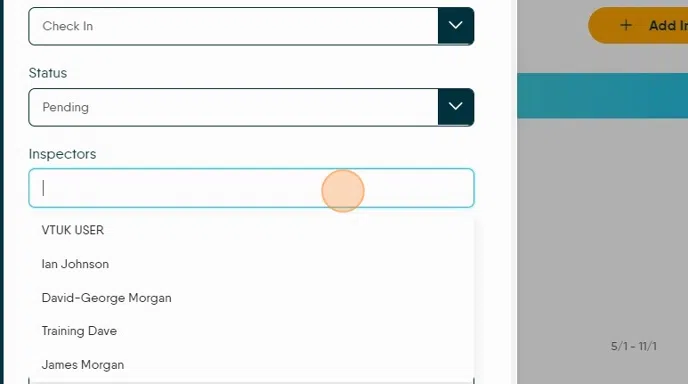
10. Click "Inspectors" to select the Inspector or Inspectors that are conducting the Inspection.
Select the Inspector from the list.
11. Click "Contractors" to allocate a Contractor to the Inspection if required.
This allows you to nominate a Contractor to attend the Inspection, e.g. if there are maintenance tasks to be looked at as part of the Inspection.

12. Click the "Notes" field. Add any notes, these will show in the jobs list on the Inspections screen.
If you want to nominate an Inspection template to be used on the Inspection it can be done here by selecting the 'Apply Inventory Template...' option and selecting a template from the menu.

13. Click "Next"

14. To create the Inspection record Click the "Date" field and add the date of the Inspections. This will ONLY create the appointment in the Inspections screen.
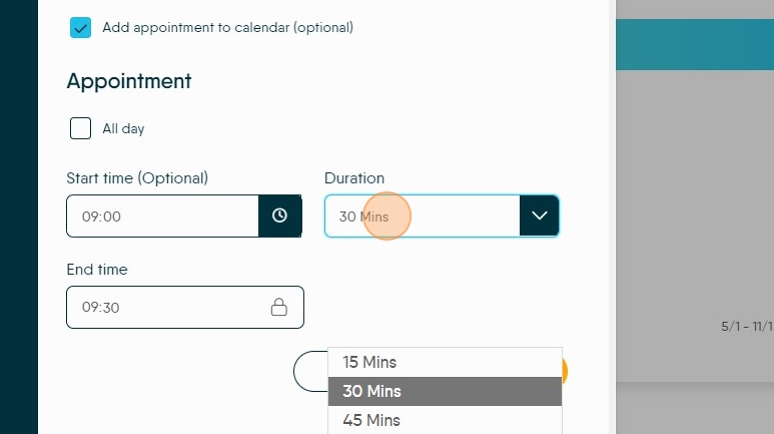
If you want to add the Inspection to the Calendar at the same time, click into the'Add Appointment to Calendar' box.

15. Click the "Start time" field. To set a start time for the inspection

16. Set a duration for the appointments and the end time will be automatically created for you..
17. Click "Submit"
