This guide provides a comprehensive overview of accessing and utilizing the Lettings and Sales Activity lists within the CRM system, making it essential for users looking to effectively manage property listings and appointments. It simplifies the process of navigating through dashboards. By following the outlined steps, users can efficiently track tasks, view relevant data, and maintain a structured calendar, ultimately improving their workflow in property management.
1. Navigate to https://crm.iamproperty.com/MyDay
Accessing Lettings (or Sales) Dashboards and Activity Lists
Tip: For this guide we will use the Lettings Dashboard.
2. The Activity Lists are a key place from where to manage your day to day activities. The activity lists keep you up to date with who or what needs doing at that moment in time, from contacting customers to managing compliance.
To access the Lettings dashboard. Click "Lettings"

3. Click "Lettings dashboard"

4. For Sales Dashboard. Click "Sales" then click "Sales Dashboard"
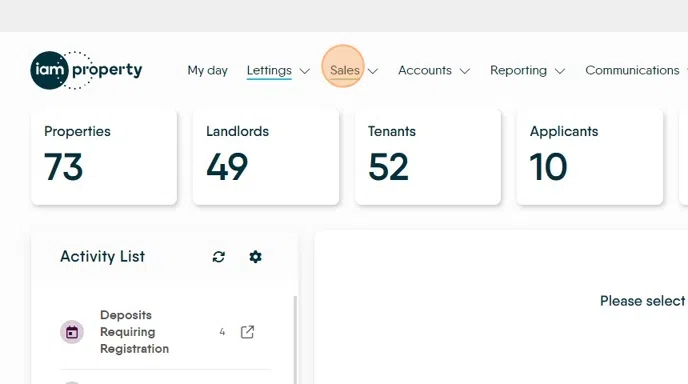
5. Once in the dashboard you can use the tiles at the top to move from this screen to view property lists, landlords etc. Each tile takes you to a list of (for example) Properties, the number shows the amount of items in the list e.g. 44 Properties.
The Activity List is below the tiles on the left side of the screen.

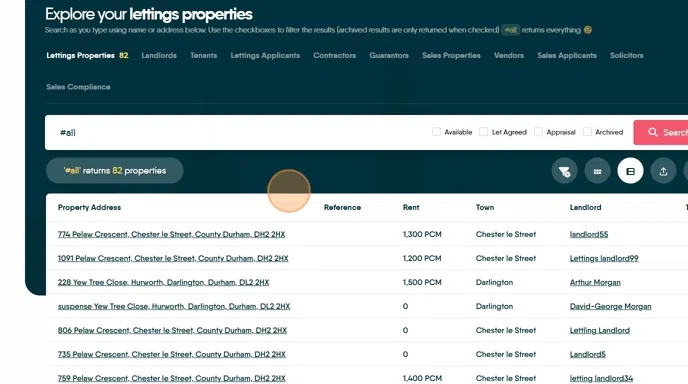
6. Click "Properties" this takes you to a list of all your properties.

7. The initial view is the 4 most recently added properties. Click "#all" or type #all into the search box to see all the properties on the CRM

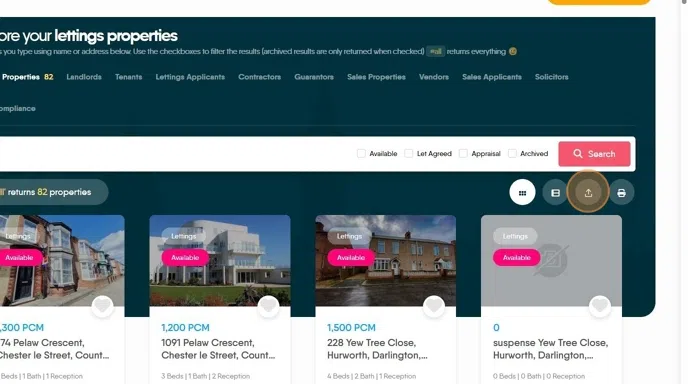
8. You can view the property list in two ways, as a screen of tiles or as a list
Click here.
9. The property lists can be exported as a CSV or printed to PDF
Click here.
10. Using the Property List as an example.
The columns can be re ordered as required. You can click onto the column title to re sort the list into ascending or descending order. The underlined information e.g. Address, Landlord, Tenant can be selected and you will be taken to the record. Allowing for easy navigation around the CRM and easy to find the correct information quickly.
The information can also be sorted using the check boxes in the search bar.
All the other options e.g. Landlords, Tenants, Applicants etc. are similar in their functions.

Activity List
Tip: Tip! The Activity Lists help you manage your daily tasks. A task will only show in the Activity list if there is a entry to view e.g. 'Applicants not contacted' will not show if the are no applicants to contact. The timescales for each record can be edited in the setup, any UDF or Checklist record that has a date element will also show in the Activity list.
11. Or use the Activity List section to view tasks that are currently due in a pre-set time frame (edited from the cog icon) Click "Applicants Not Contacted"
Click "Appraisals Requiring Conclusion"
Click "Keys Due Back"

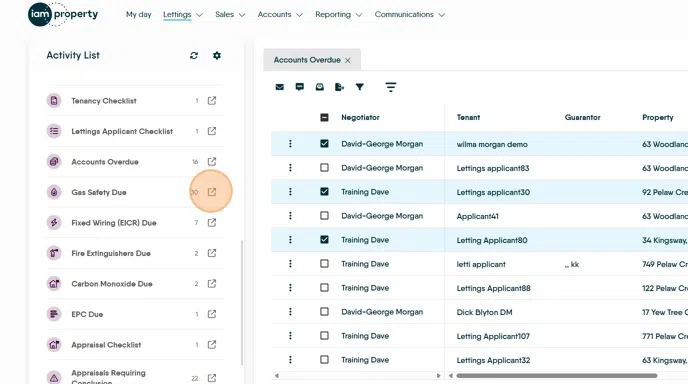
12. The Activities e.g. EPC Due, in the list will only show if there are entries to display, so an activity list item will not show if there is nothing to report.
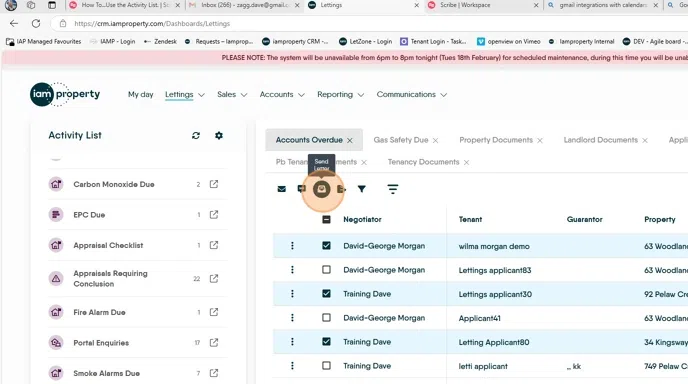
Click here. The list of activities that are currently due will show. In this case Accounts (rents) Overdue.

13. Clicking onto the 3 dots will show a menu of options. From that menu a list of the options that are available will show. These options vary depending on the Activity list selected and will range from logging a call, view property or tenant records etc to collecting rent.

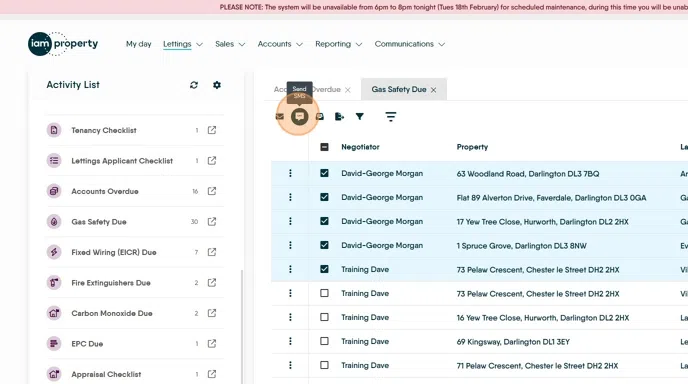
14. The information varies from screen to screen. For example the Gas Safety list
Shows information on the Negotiator looking after the property, the tenant, property address, guarantor, landlord, dates last contacted and management type
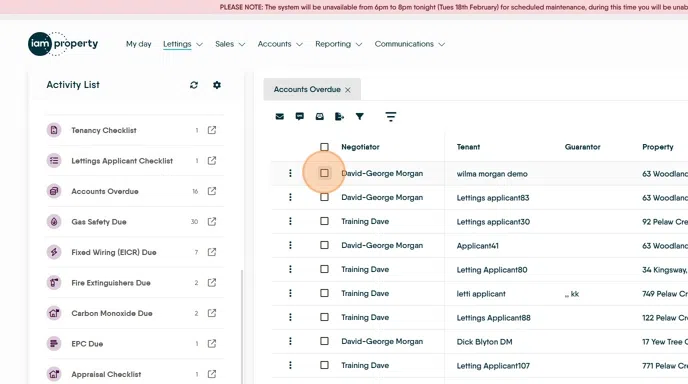
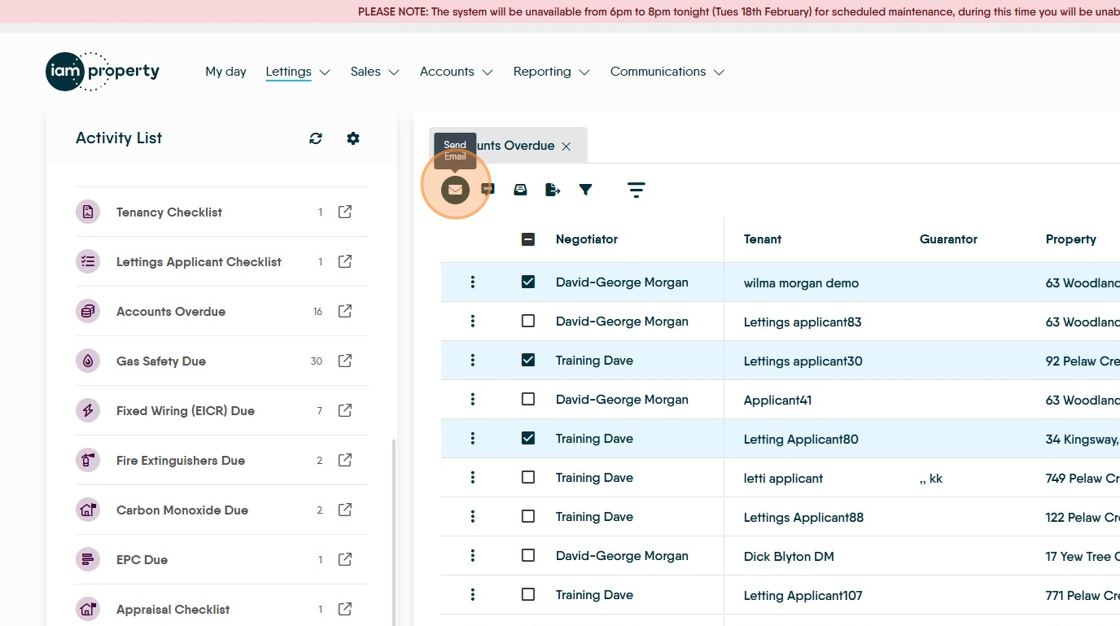
15. A message can be sent to all or some of the entries in a list. Click the checkbox beside the contact you want to send the message to.
16. Click here to pick what type of message is sent, Email, SMS or Letter are available.

17. Using email as an example. Click here.
18. Click "Select a Template" and select a template (if there are any created)

19. This will then populate the screen with the template text. Clicking on the 'eye' icon will show what the completed message will look like, using the data from the first contact

20. Click "Send Email" to send the message to all recipients

Tip: Tip! This is a Mail Merge, each recipient will receive a personalised email to them and will not see the contact data for the other recipients. This allows for a quick and easy way of contacting and informing multiple contacts at one time
21. Sending an SMS.
Select the contacts to send the message to and click the SMS icon, select a template (if created). Click template. The final message can be checked on the left side of the screen. Click send.
22. To export the list to CSV click here. The document will be saved to the Downloads folder of your computer.

23. To send a letter, Select the recipients of the message, click the Letter icon.
Click "Select letter template" to select the letter you want to send and then if sending the letter via email Click "Email as Attachment".
Click here to add a message template. Click "Email Subject" and add the subject line for the template. Click "Perform Merge" this will create the letter, attach it to an email and send to the selected recipients.