Learn how to effectively use the CRM Dashboards to manage your daily workflows, managing your callbacks, upcoming appraisals, unconfirmed viewings, feedback etc.. This guide helps you access specific sales and lettings data, understand what can be done with the data, manage property listings, and filter search results to streamline your daily workflow.
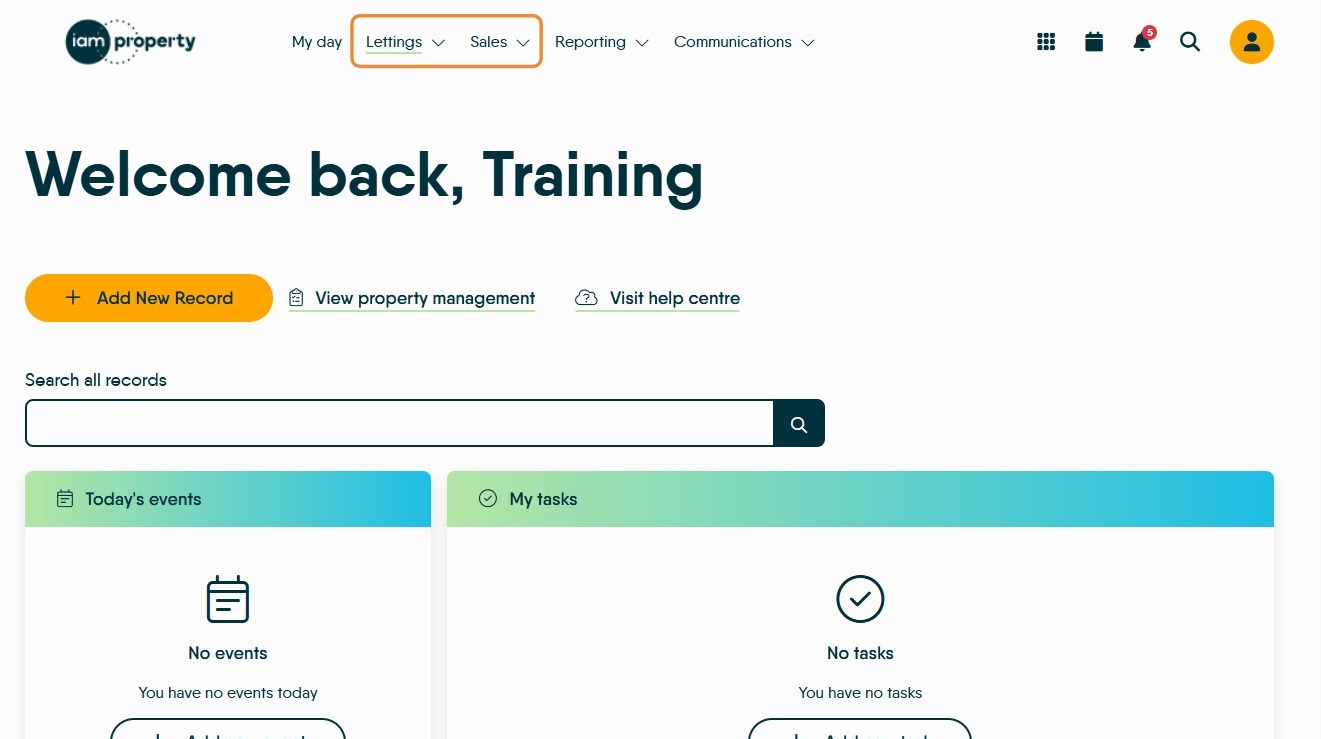
1. You can access the Dashboards from any screen in CRM using the Lettings or Sales menus at the top of the screen
Accessing the Dashboards
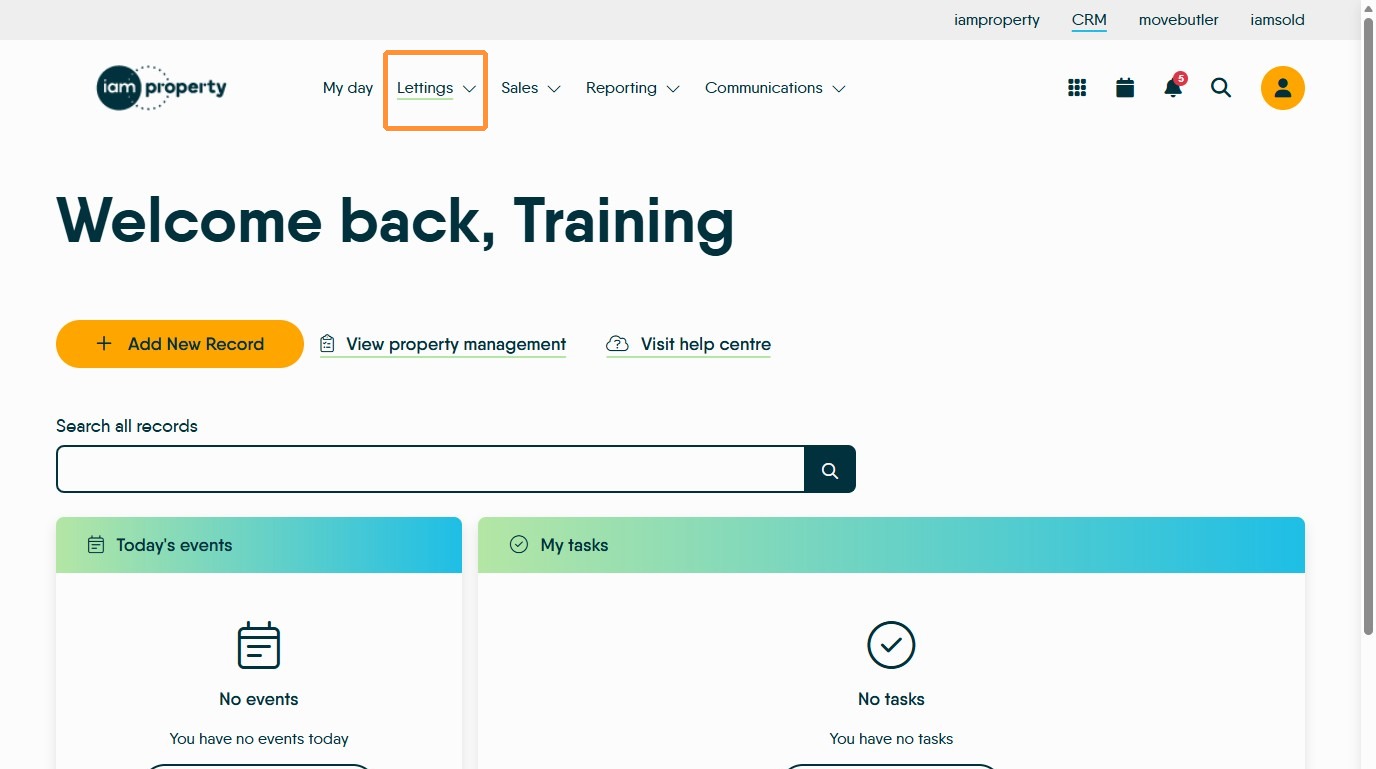
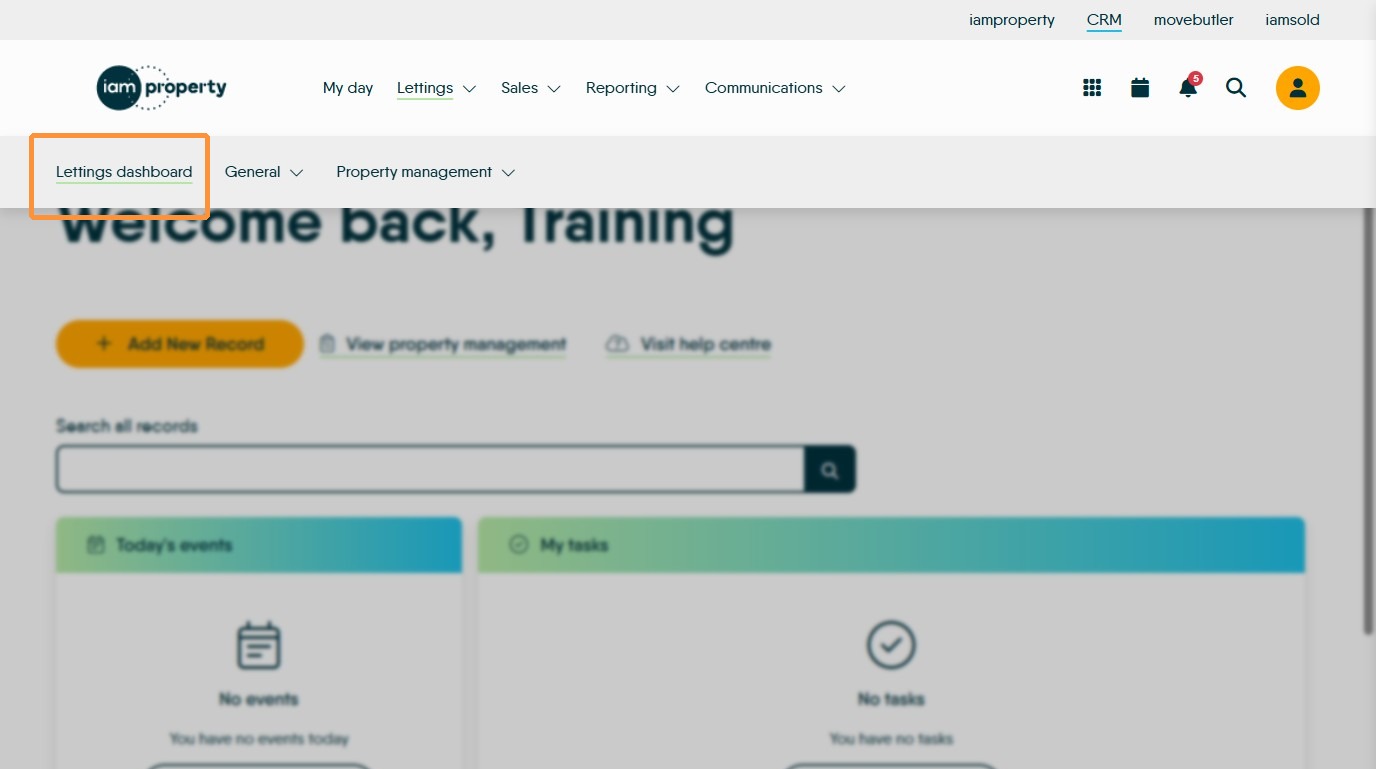
2. Click "Lettings" to open the Lettings menu
3. Then click "Lettings dashboard" to open the dashboard
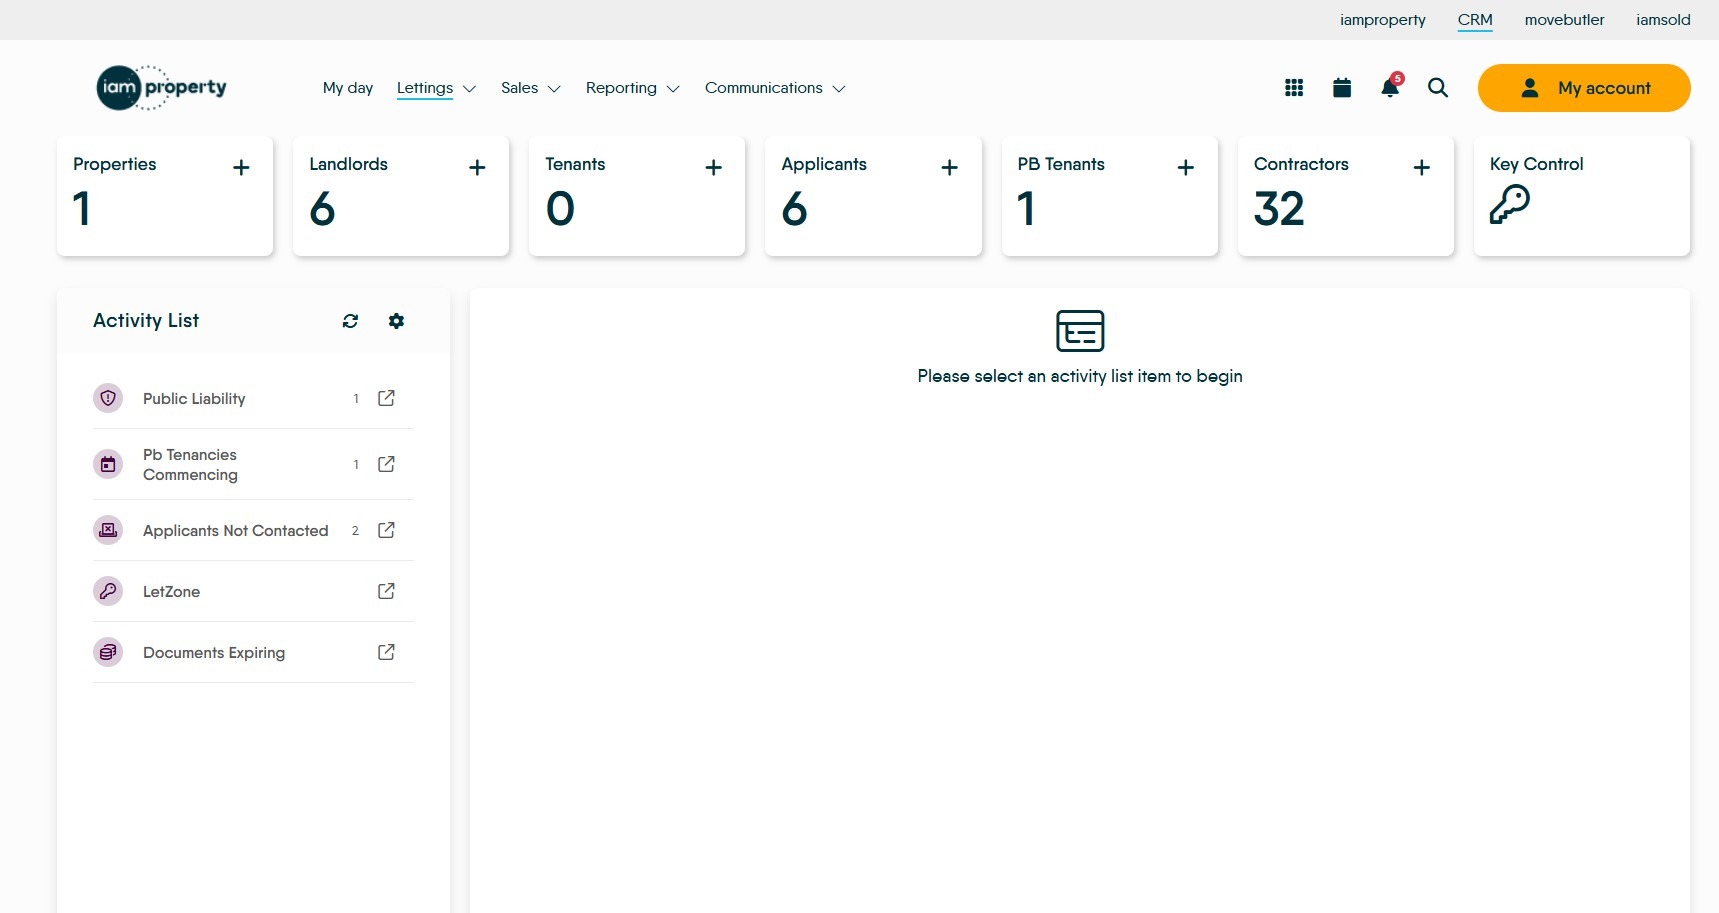
4. The Lettings Dashboard shows tiles allowing quick access to all your
- Properties
- Landlords
- Tenants
- Applicant
- PB Tenants
- Contractors
- Key Control
Also allows access to the 'Activity List' showing upcoming calls, appraisals, upcoming tenancy starts and endings, plus notification of all Compliances that are due to be updated withing your set time-frame (default is 30 days)
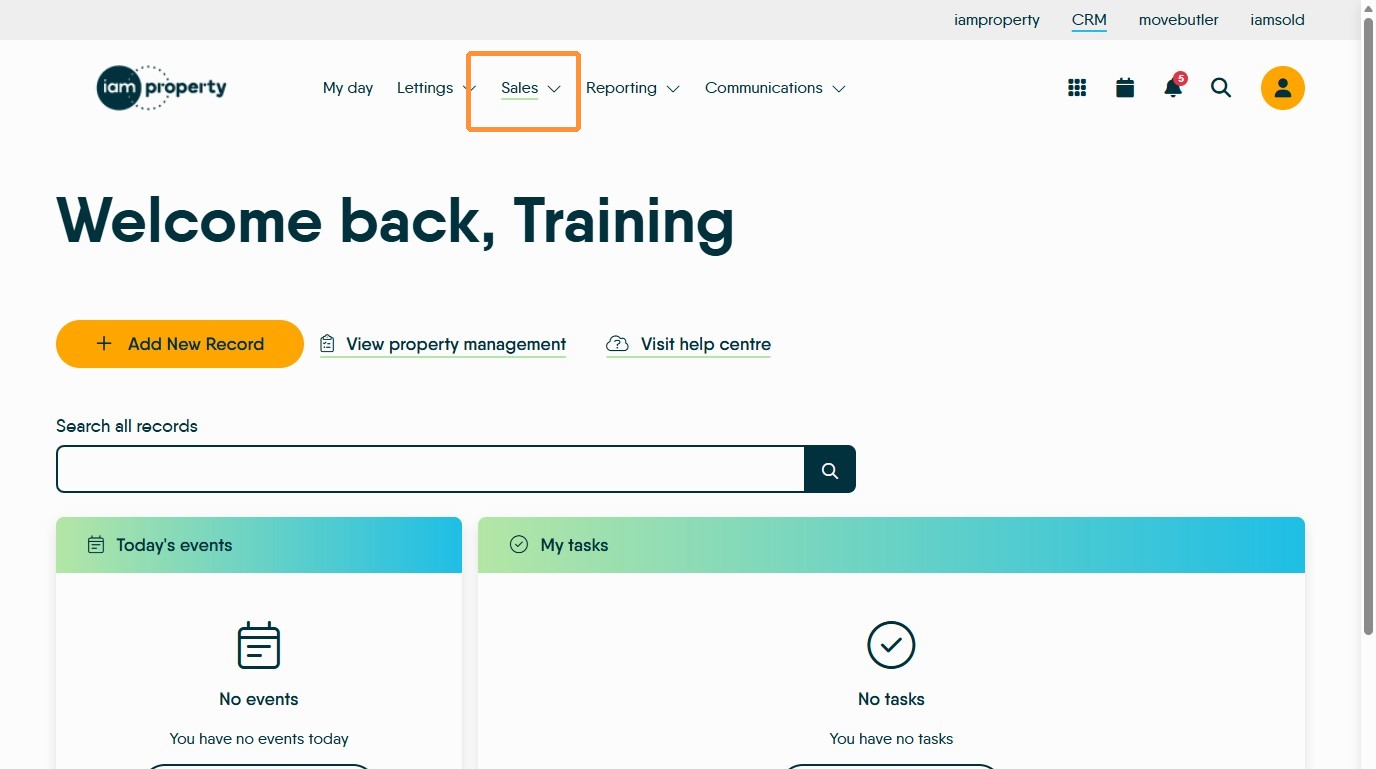
5. Click "Sales" to open the sales menu
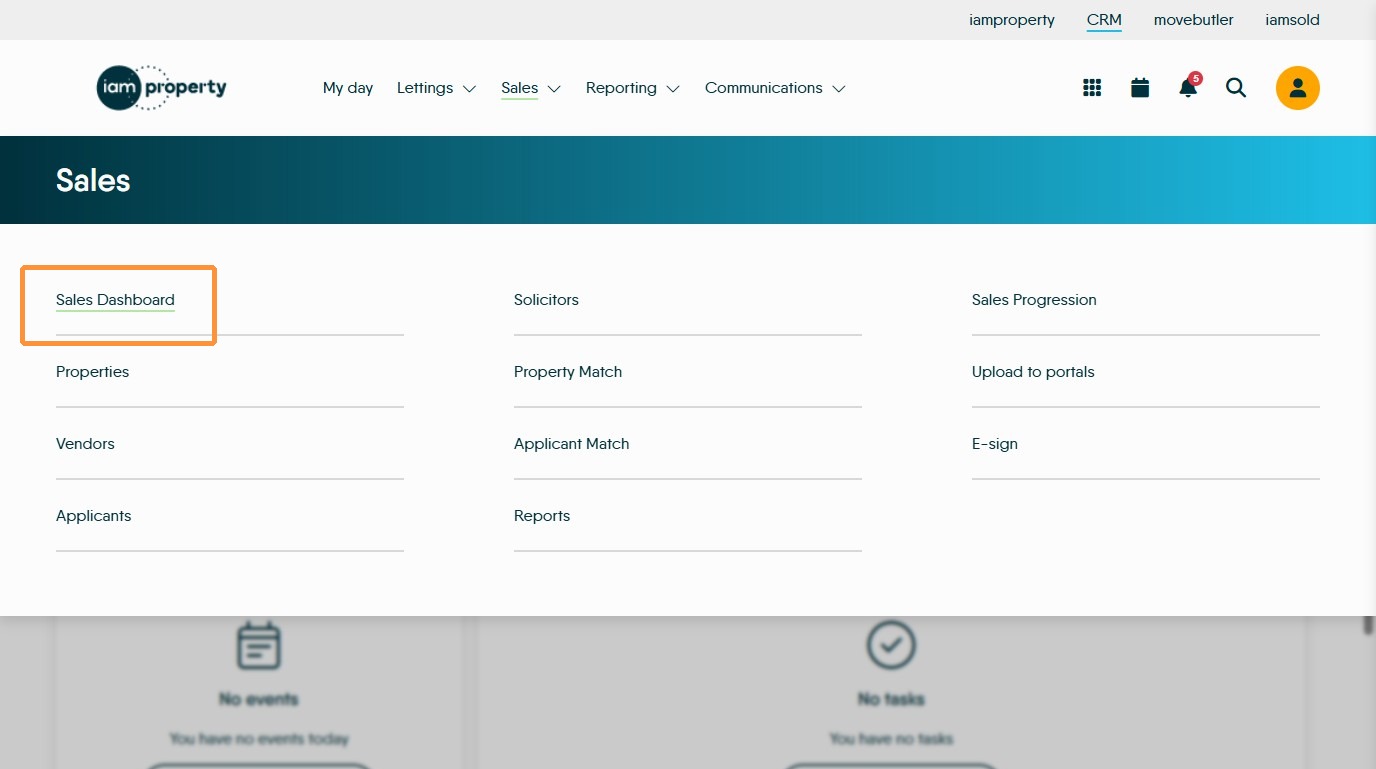
6. Click "Sales Dashboard"
7. The Sales Dashboard shows tiles allowing quick access to all your
- Properties
- Vendors
- Applicants
- Sales Progression
- Pending Offers
- Portals
- Key Control
Most of the tiles are similar on both, we will detail the sales/lettings specific tiles at the end of this guide.
Also access the dashboard gives access to the 'Activity List' showing upcoming calls, appraisals, pending offers, vendors/applicants not contacted etc. within your set time-frame (default is 30 days)
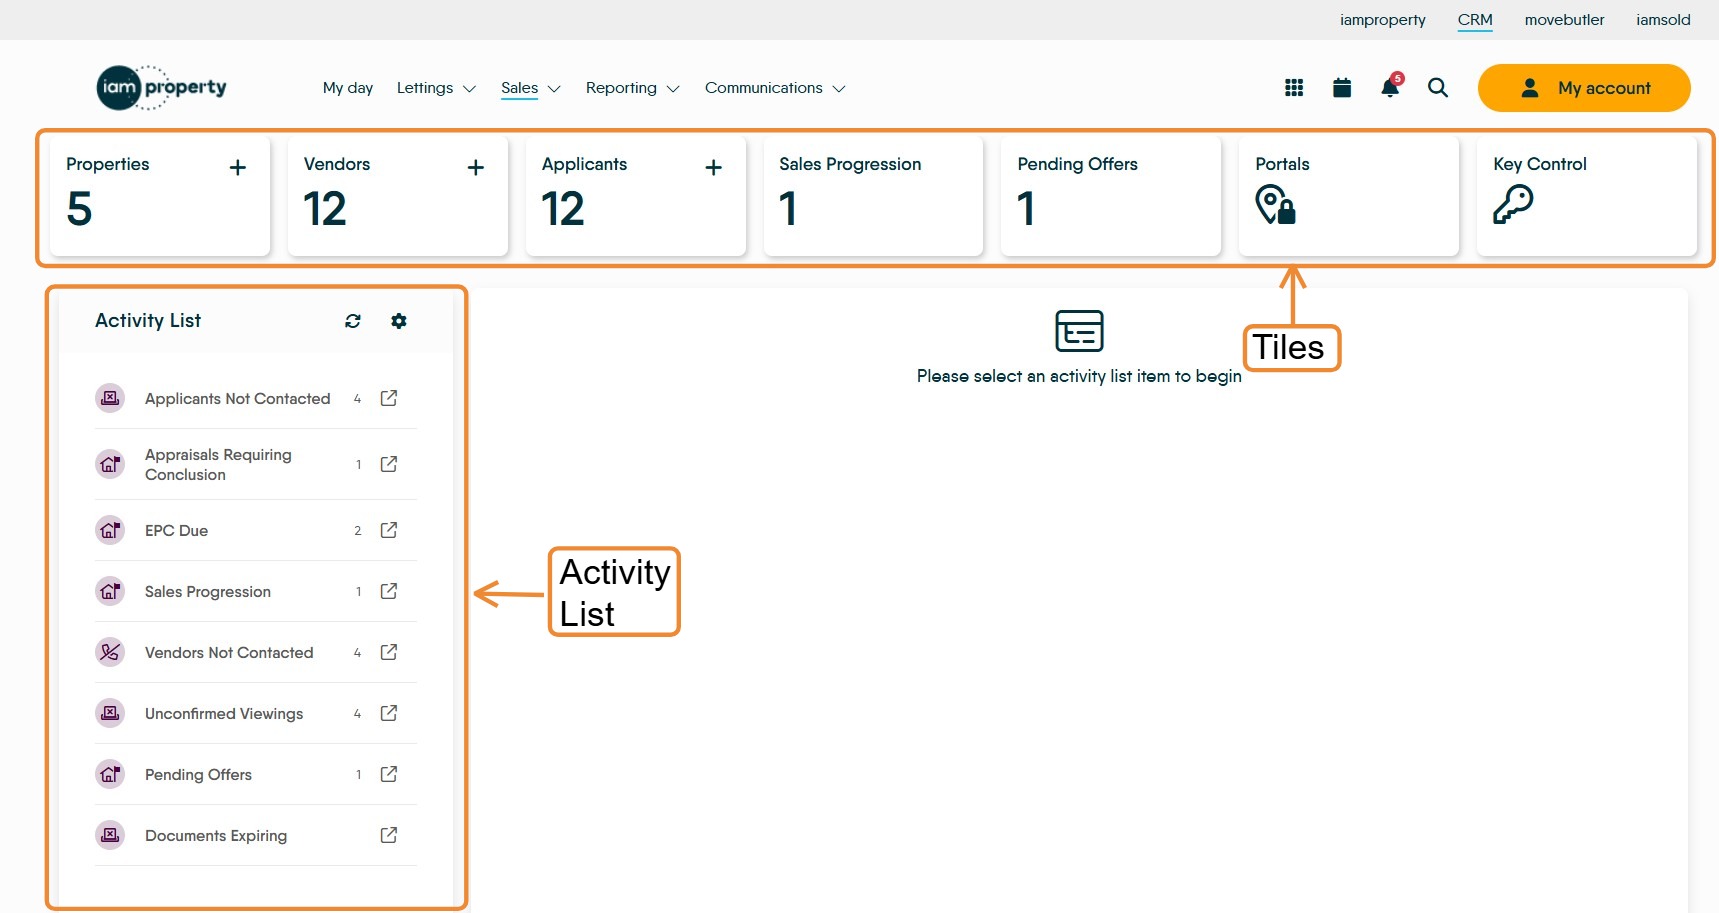
Tip: Tip! Want to know How to use the Activity list is shown in this guide
Dashboard 'Tiles'
Tip: Tip! These 'Explore Your...' screens work the same way in both Sales and Lettings environments. In this guide we look at the Sales screens
8. Clicking onto any of the tiles will open the 'Explore Your...' screens allowing access to various sections of your data in CRM. All the tiles work in a similar way, as an example we will look at the Properties tile.
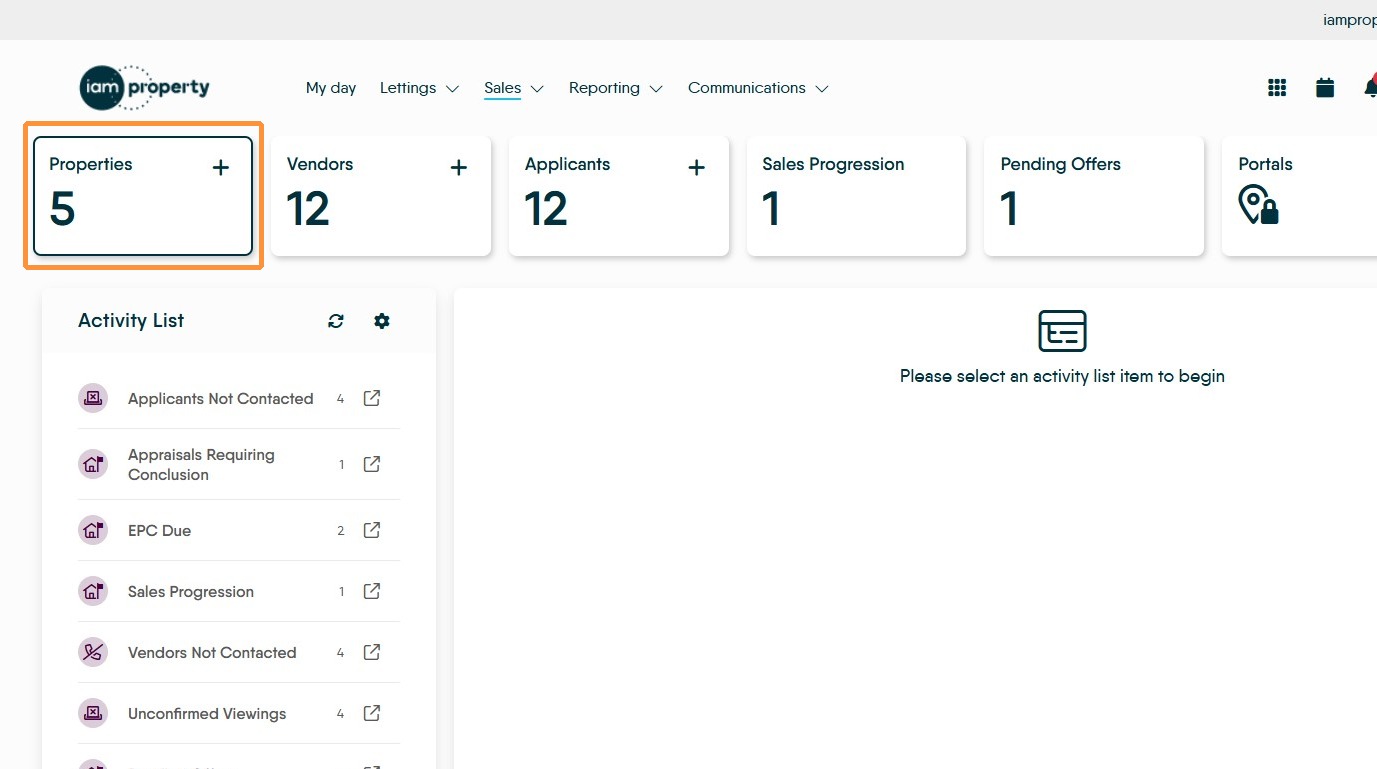
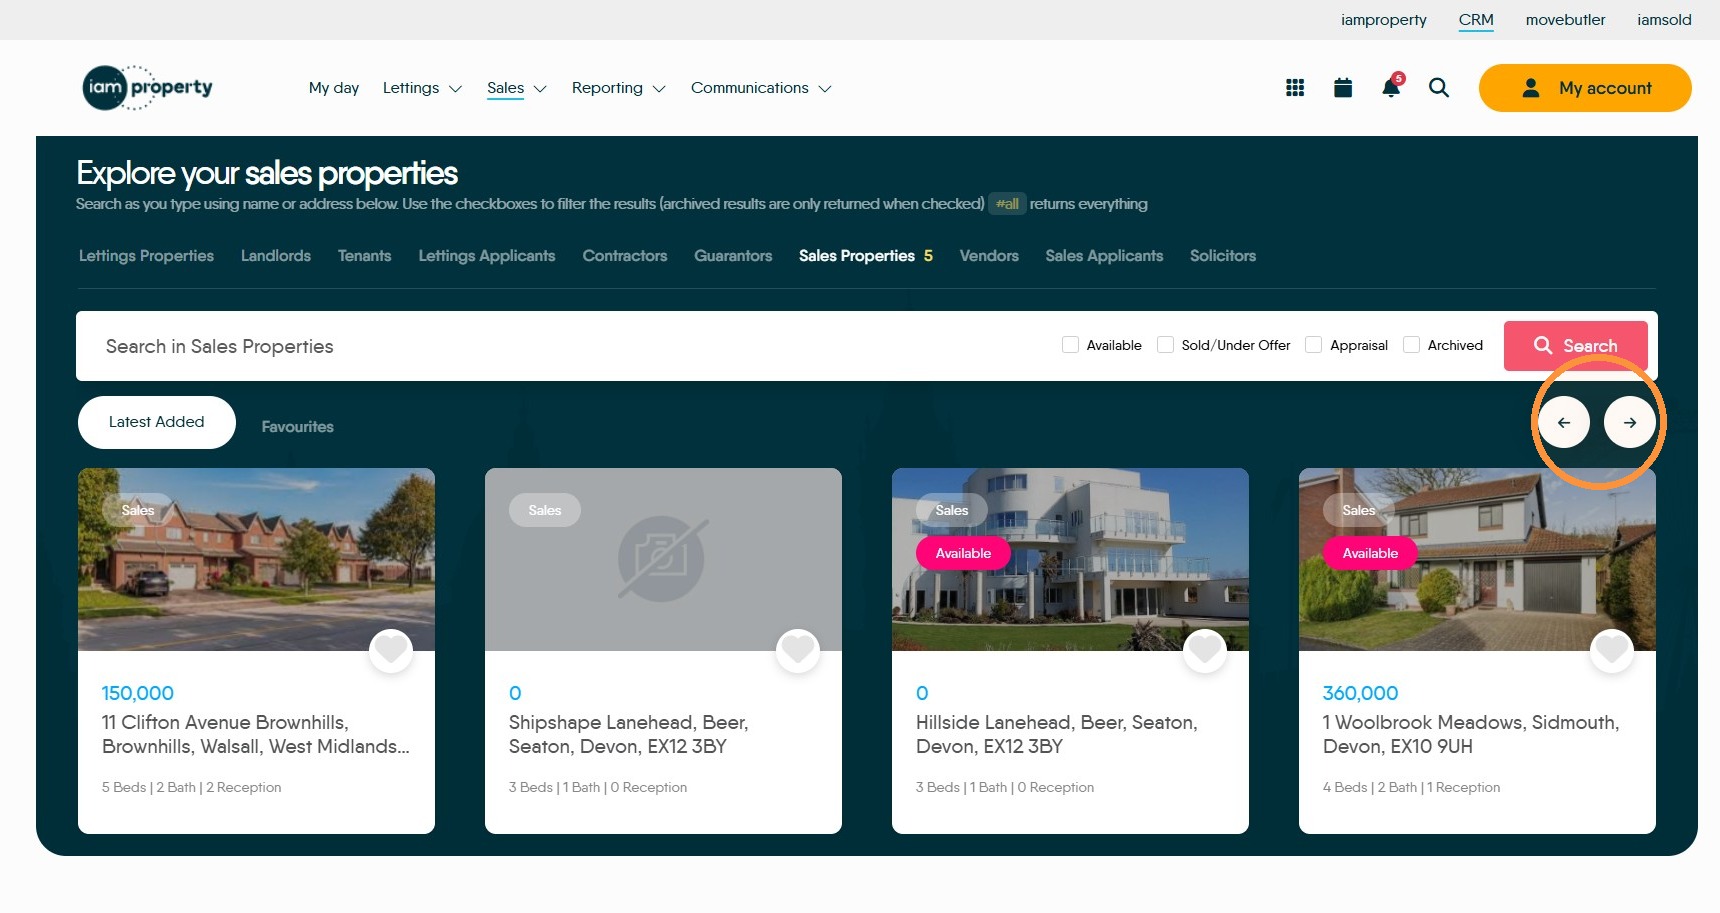
9. Clicking 'Properties' will (depending on the dashboard you are in) open the sales or lettings properties screen. Initially this screen shows the 4 most recently added properties, you can move to see the next 8 (in 2 sets of 4) by using the arrows.
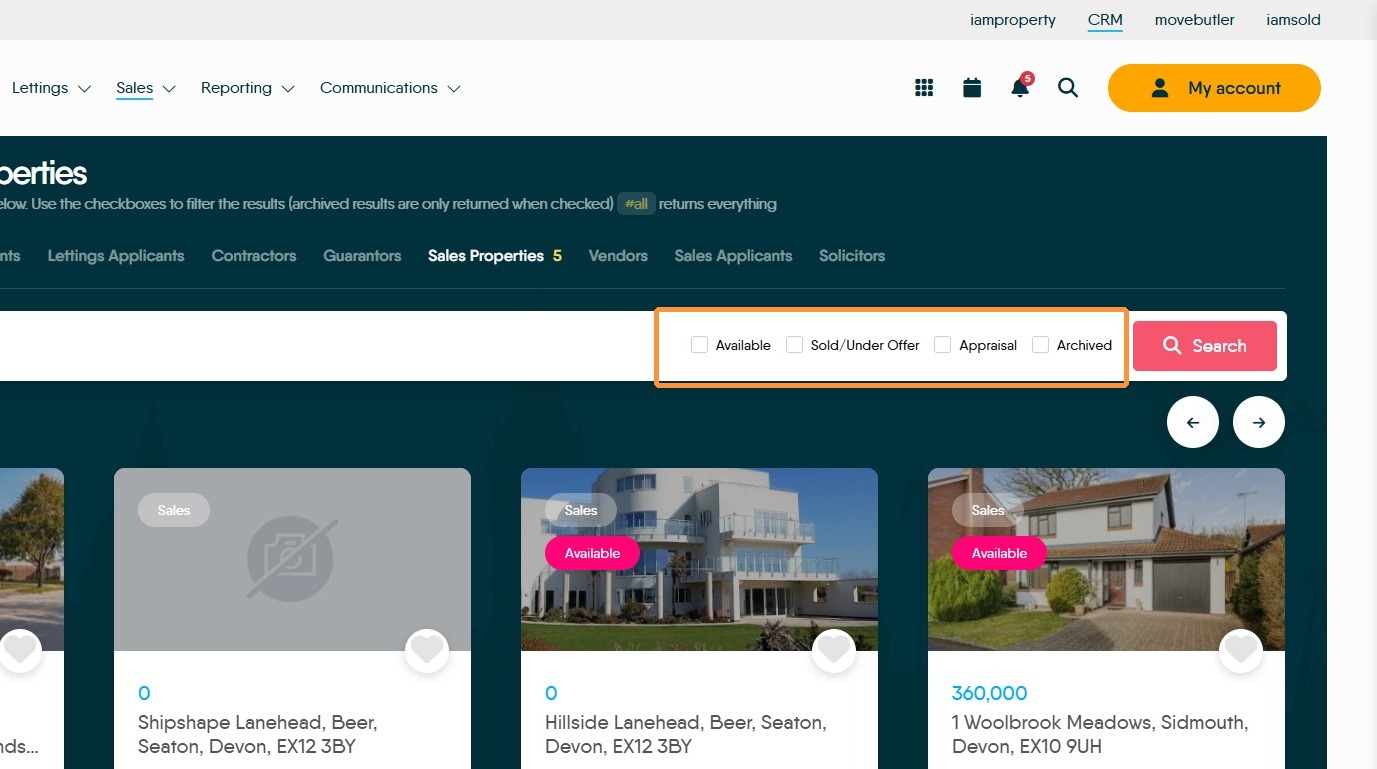
10. To filter the records on screen the options in the search field can be selected e.g. "Sold/Under Offer" the only way to view your archived records in this screen is to select the 'Archived' option on the screen.
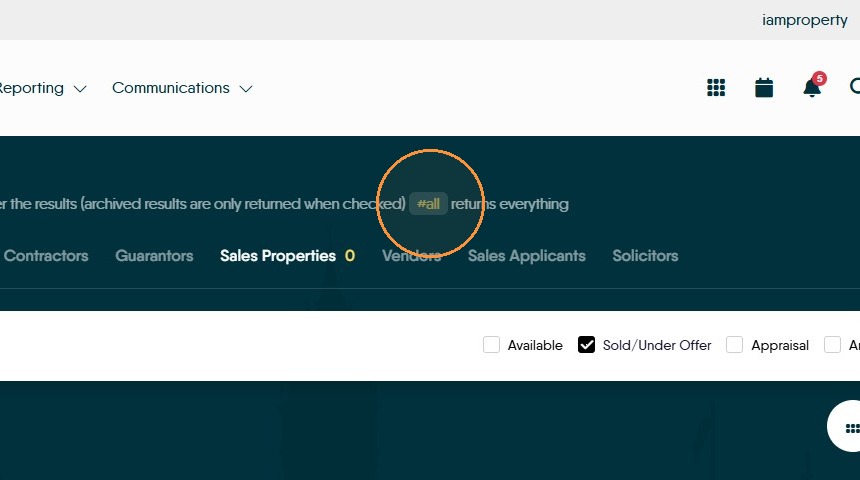
11. Clicking the "#All" option will show all active records in a screen
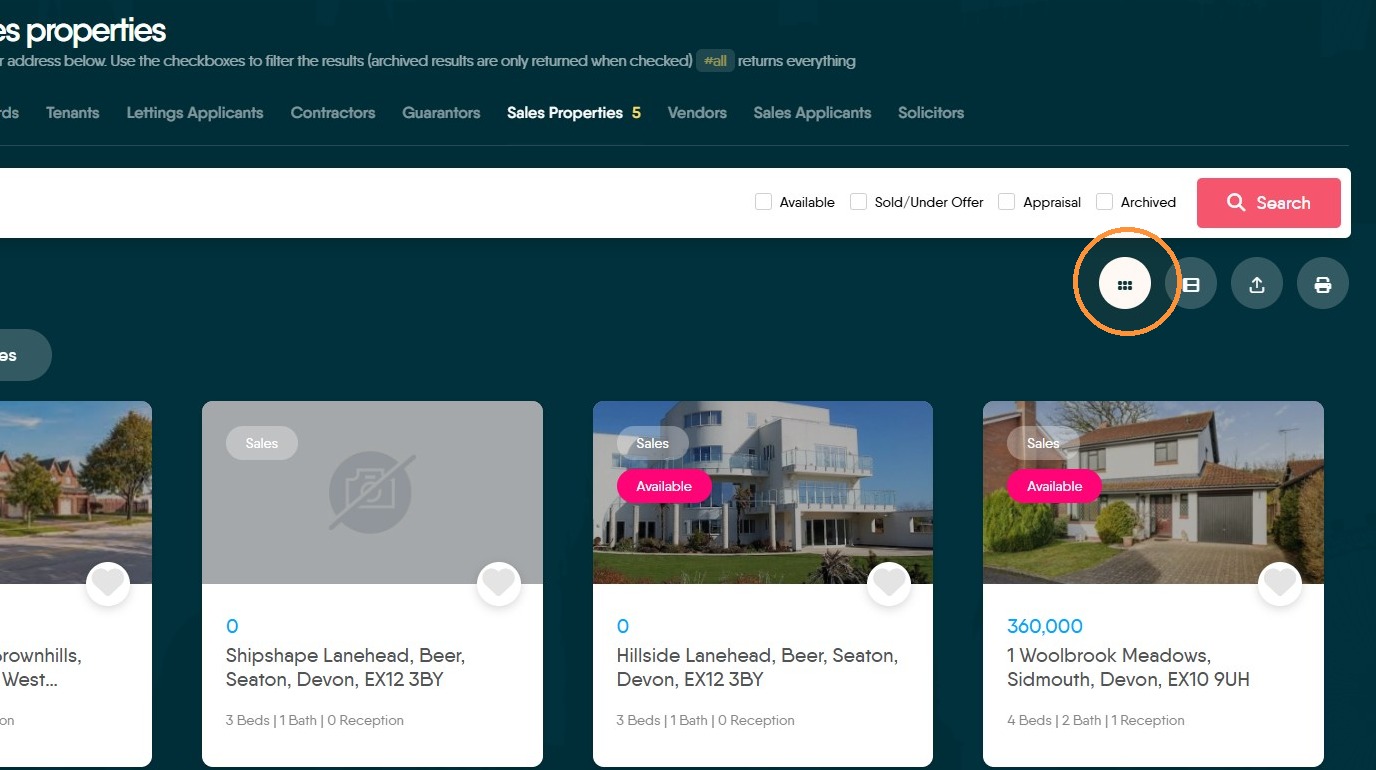
There are 2 options for your view all screen, a 'grid view' showing all the properties (for example) as tiles on the screen or click 'List View' to see all your properties as a detailed list view.
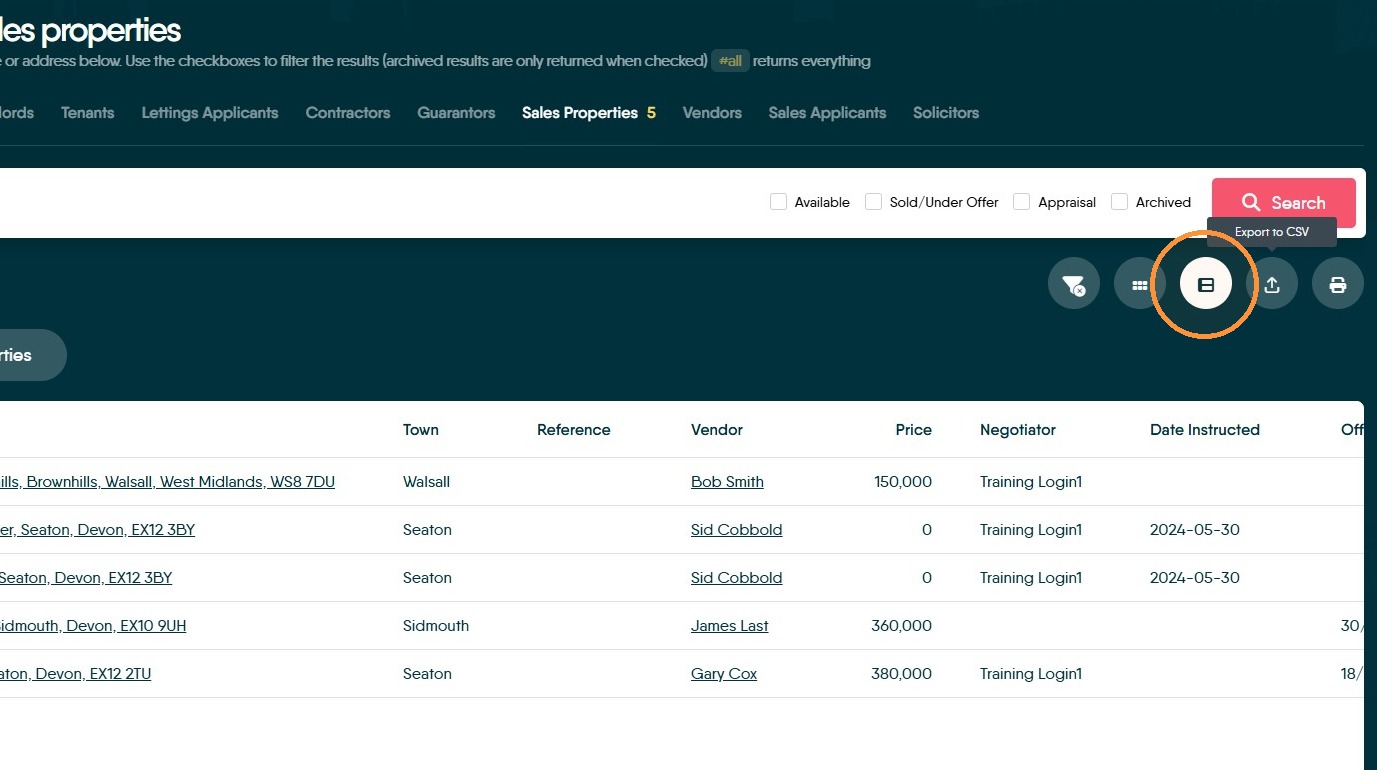
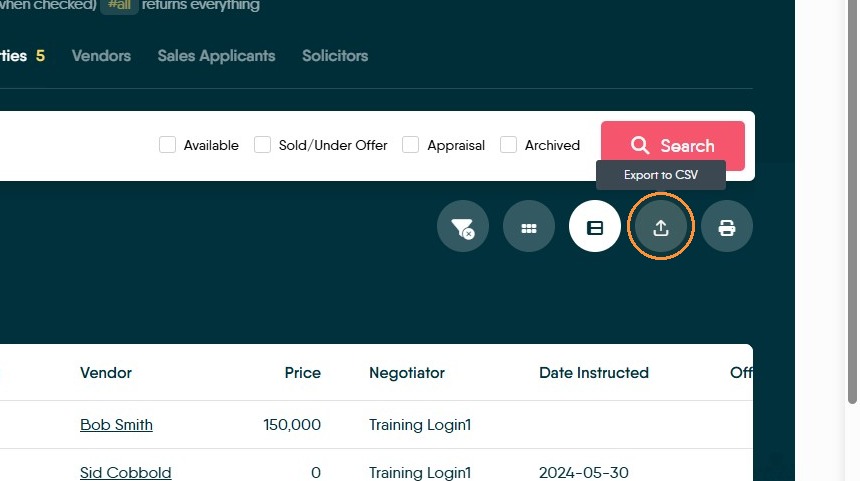
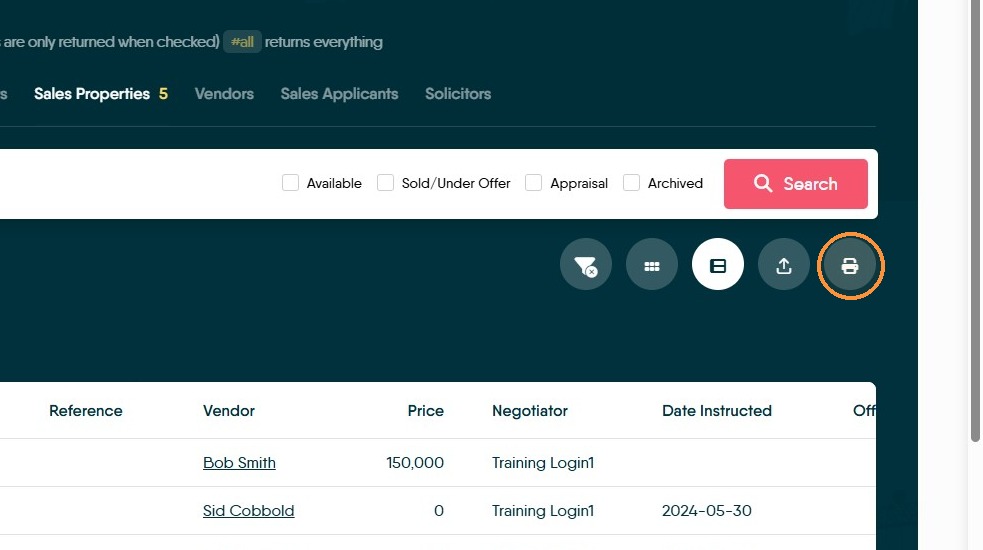
12. These list views can be exported to MS Excel or PDF files. Exporting to PDF allows the option to choose the data included in the export and the format.
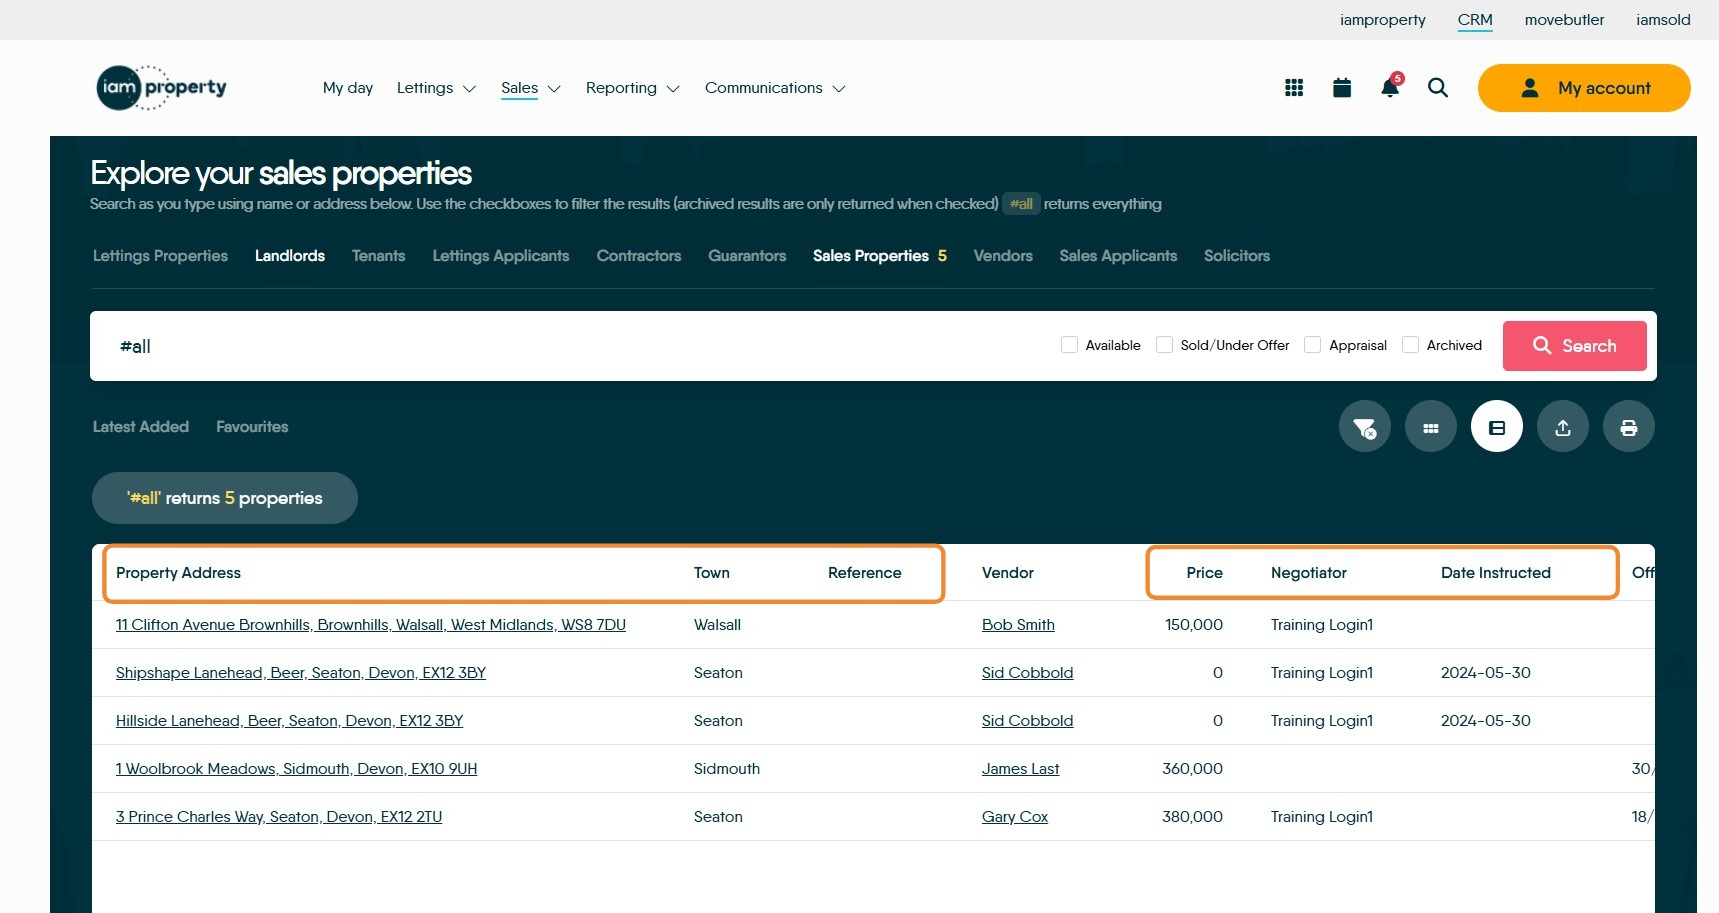
13. In any of these screens the data can be sorted by clicking on the column headers. This will sort the data in ascending or descending format. The Vendor column can't be sorted.
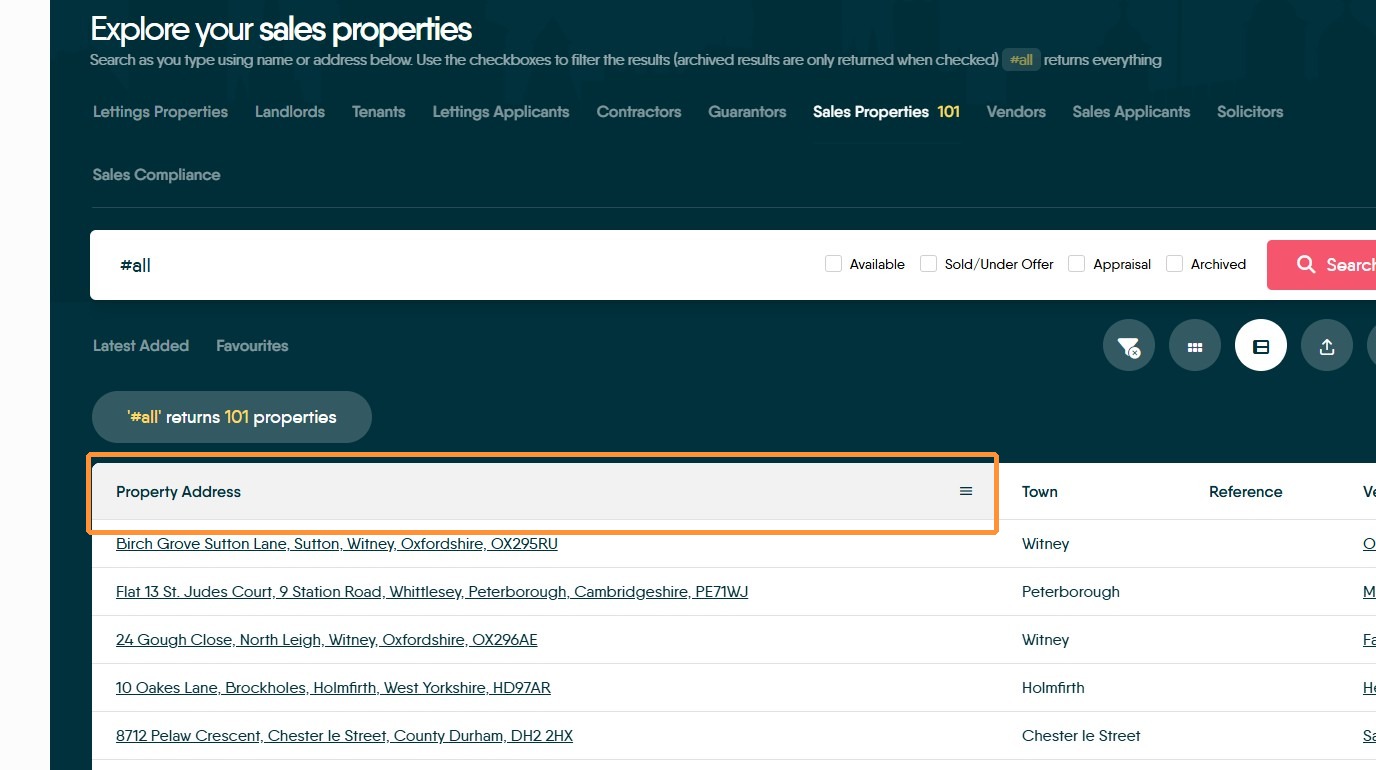
14. Click "Property Address" to sort the column, also the other on screen data.
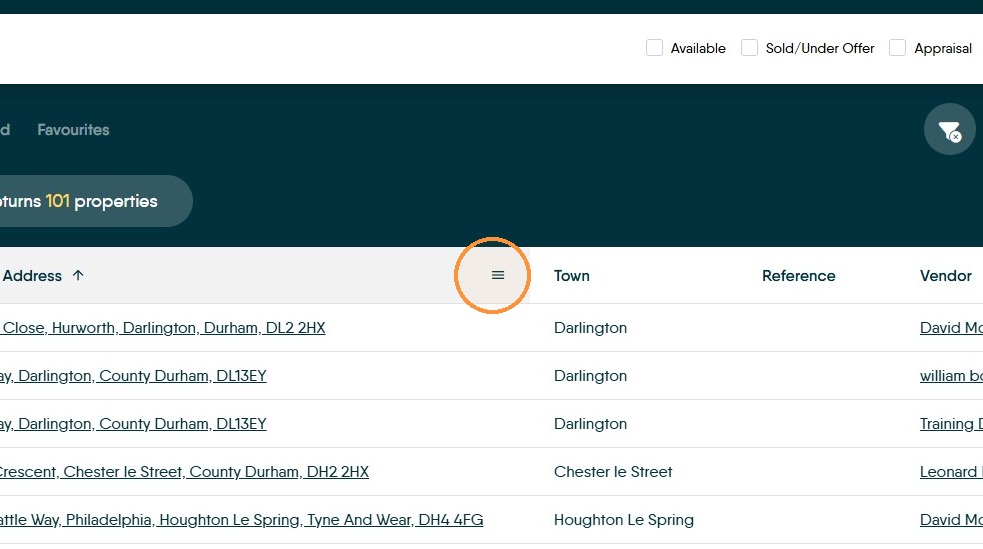
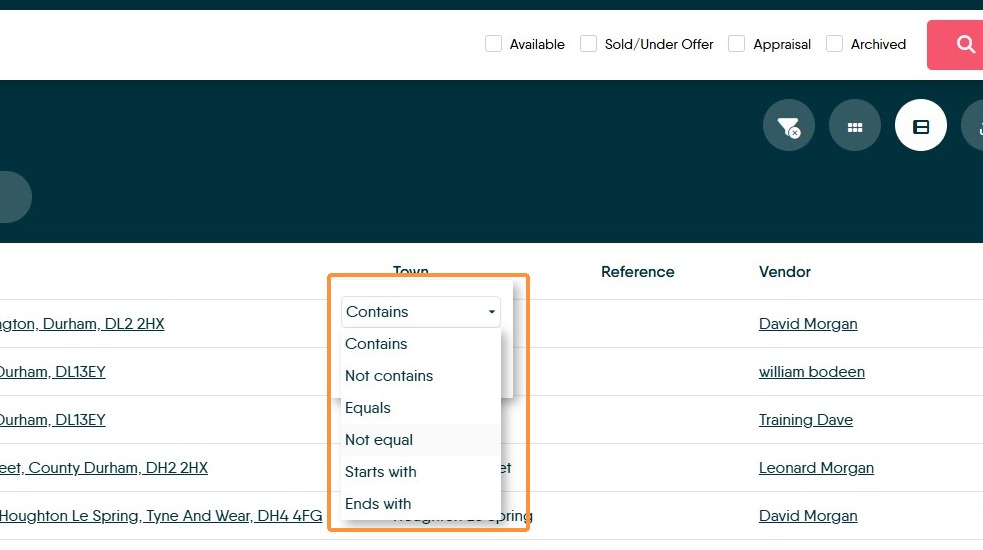
15. Clicking on the 3 lines, will show a filter menu that allows the column data to be sorted in a specific way. .
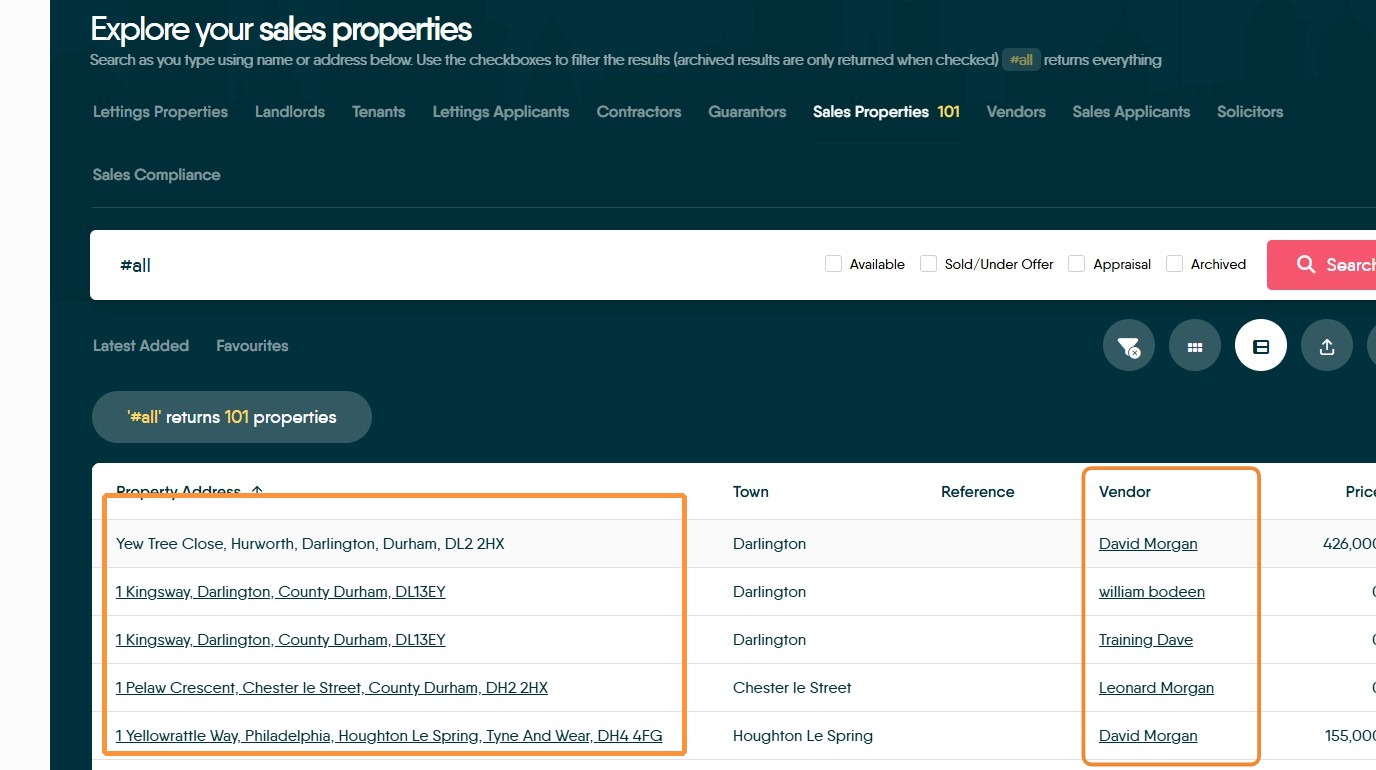
16. Clicking on any entry that is underlined will open that record e.g. clicking on a property will open the linked property record.
Sales Specific Tiles
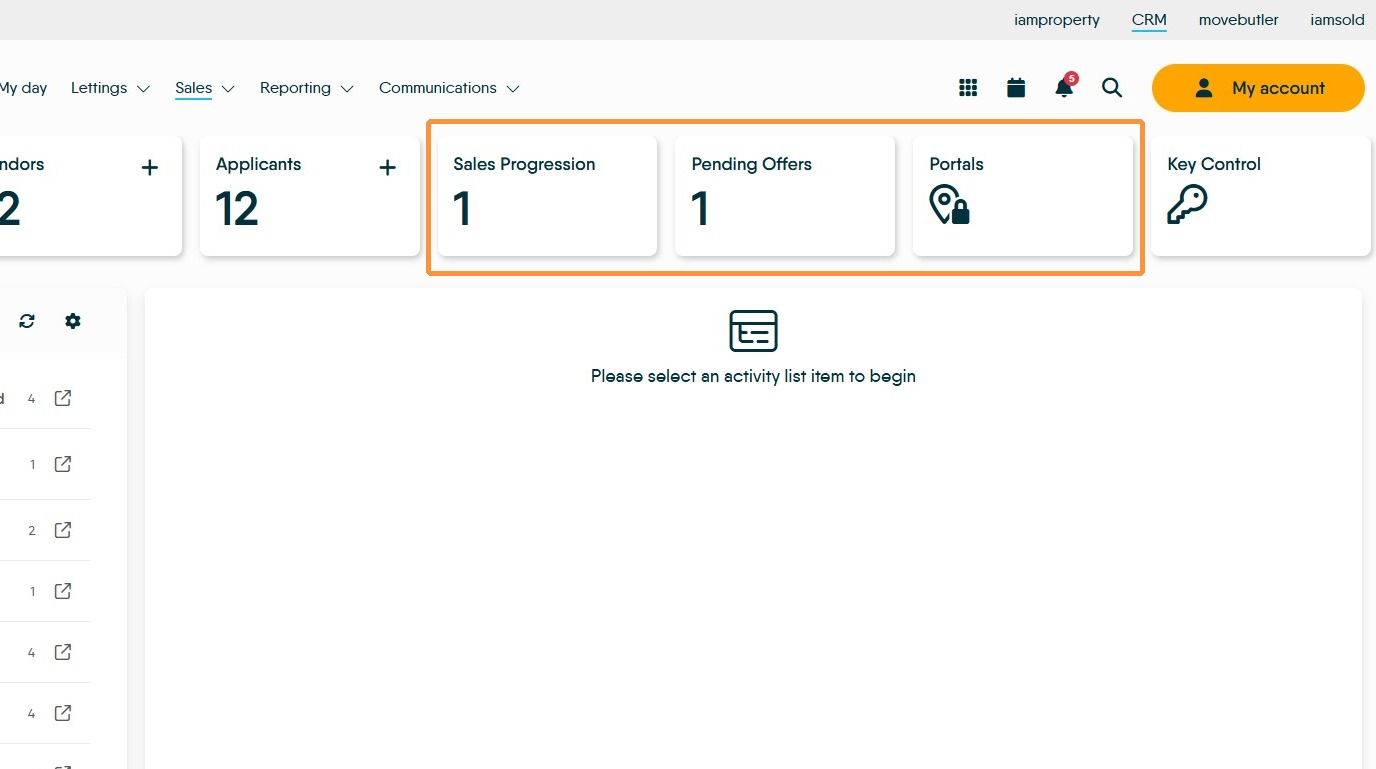
17. There are 3 Sales specific tiles
- Sales Progression
- Pending Offers
- Portals
There is also the ability to review the list of Solicitors as well as Sales Compliances from the 'Explore Your...' screen.
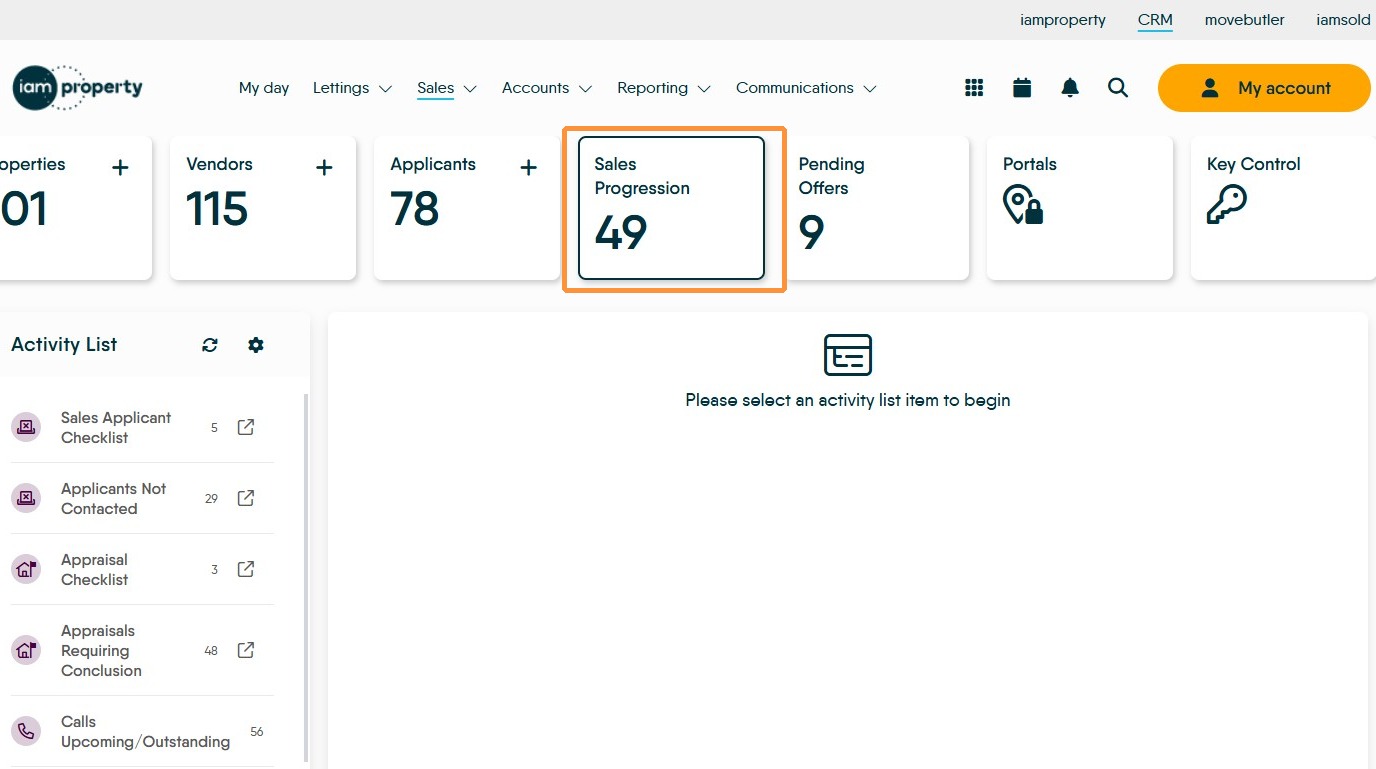
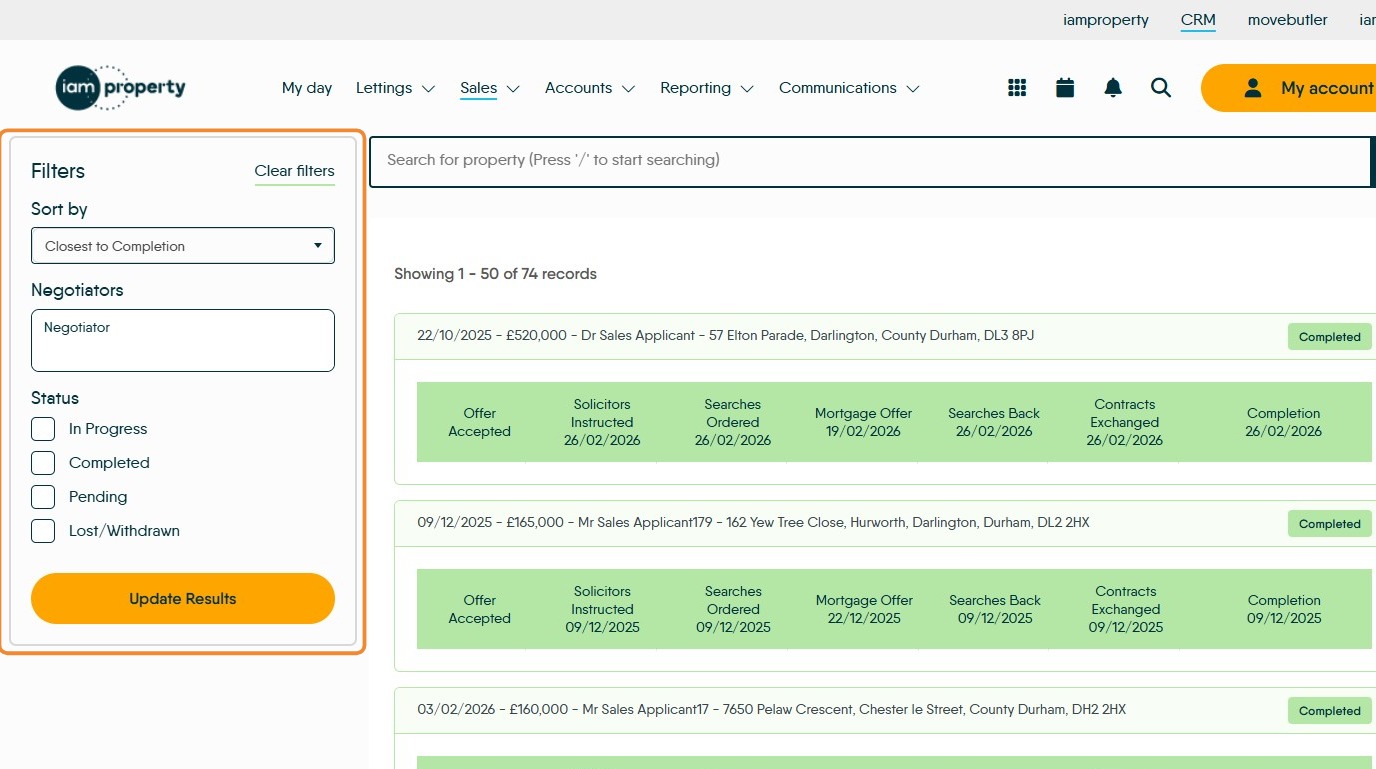
18. Click "Sales Progression" will show the full Sales Progression list for CRM, from pending offer to completed sales that are still live properties on CRM.
The records are shown 'Closest to Completion' first and can be sorted using the filters (highlighted) to show in many different ways.
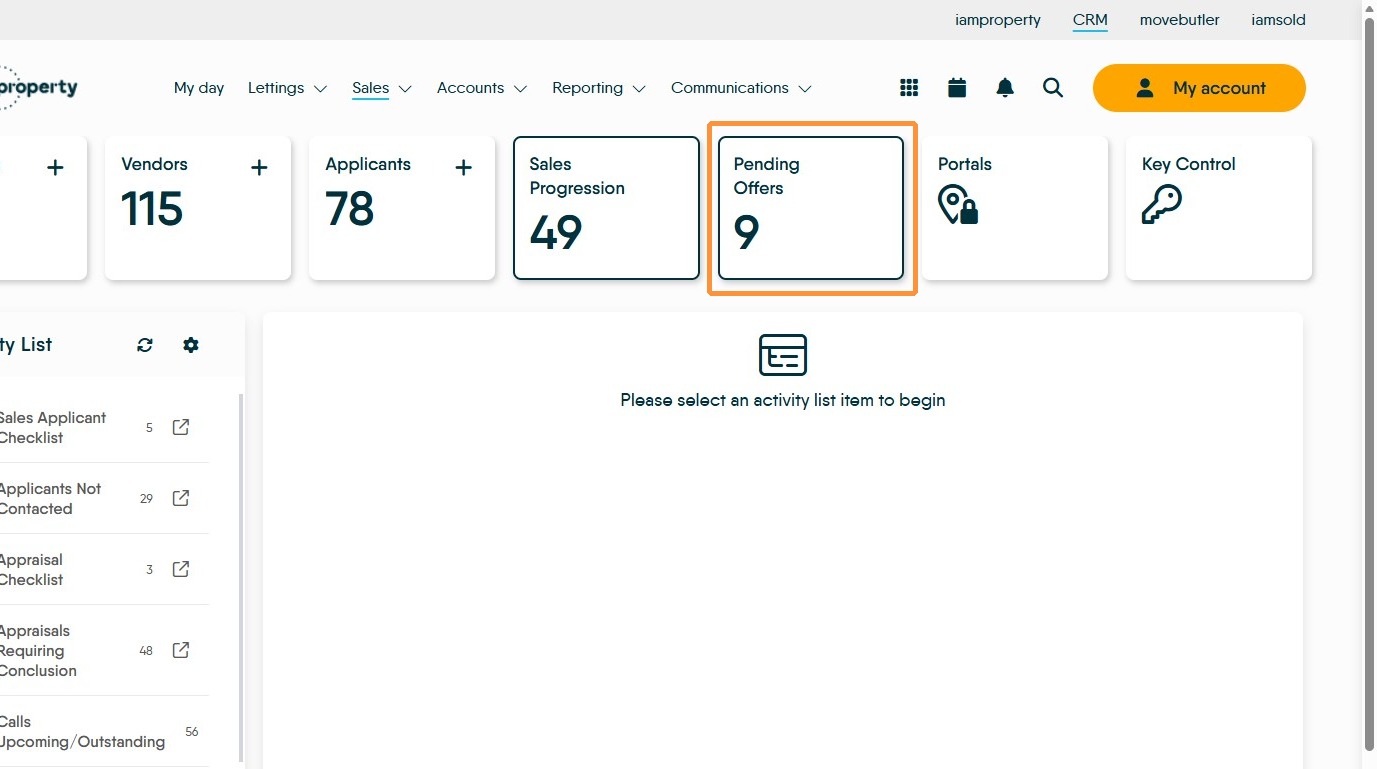
19. Click "Pending Offers" to show a similar screen to the progressions screen, however this just shows the progressions for your pending offers.
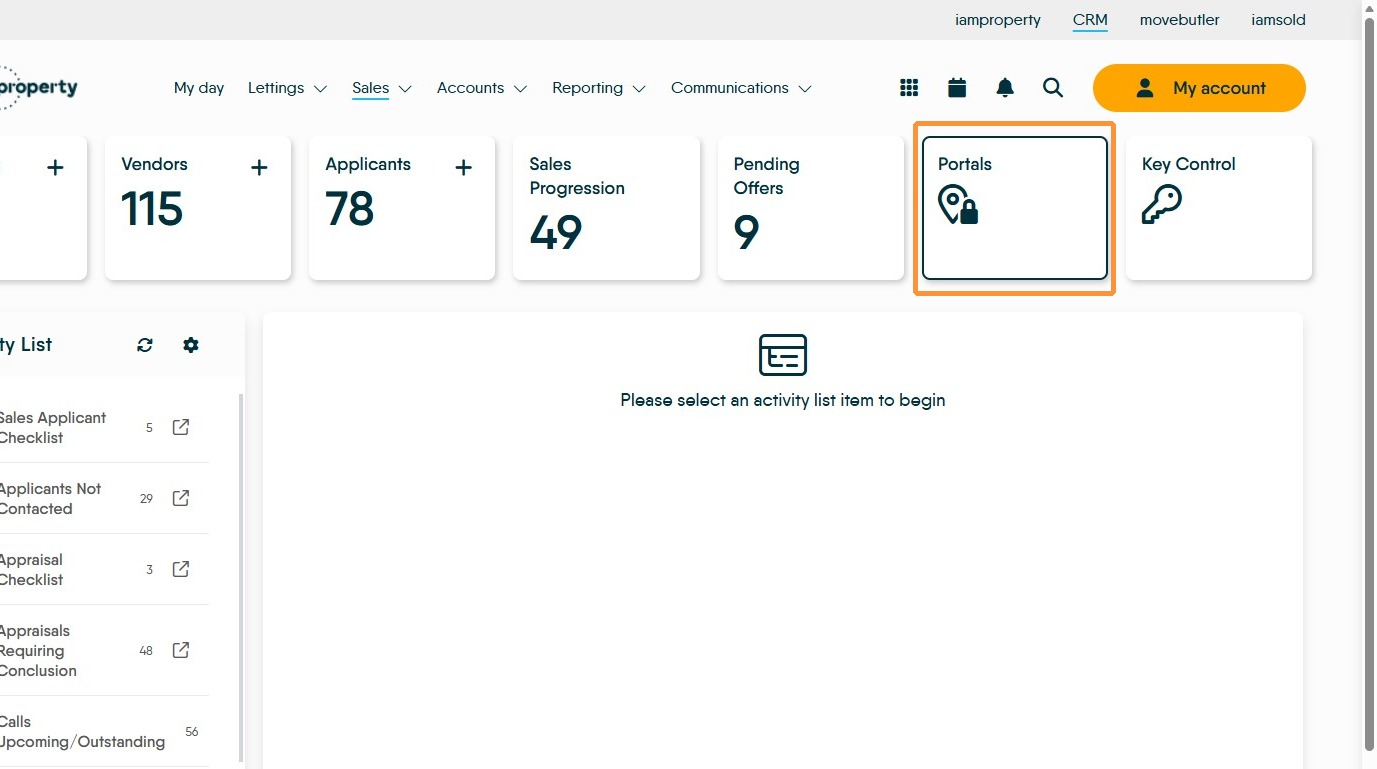
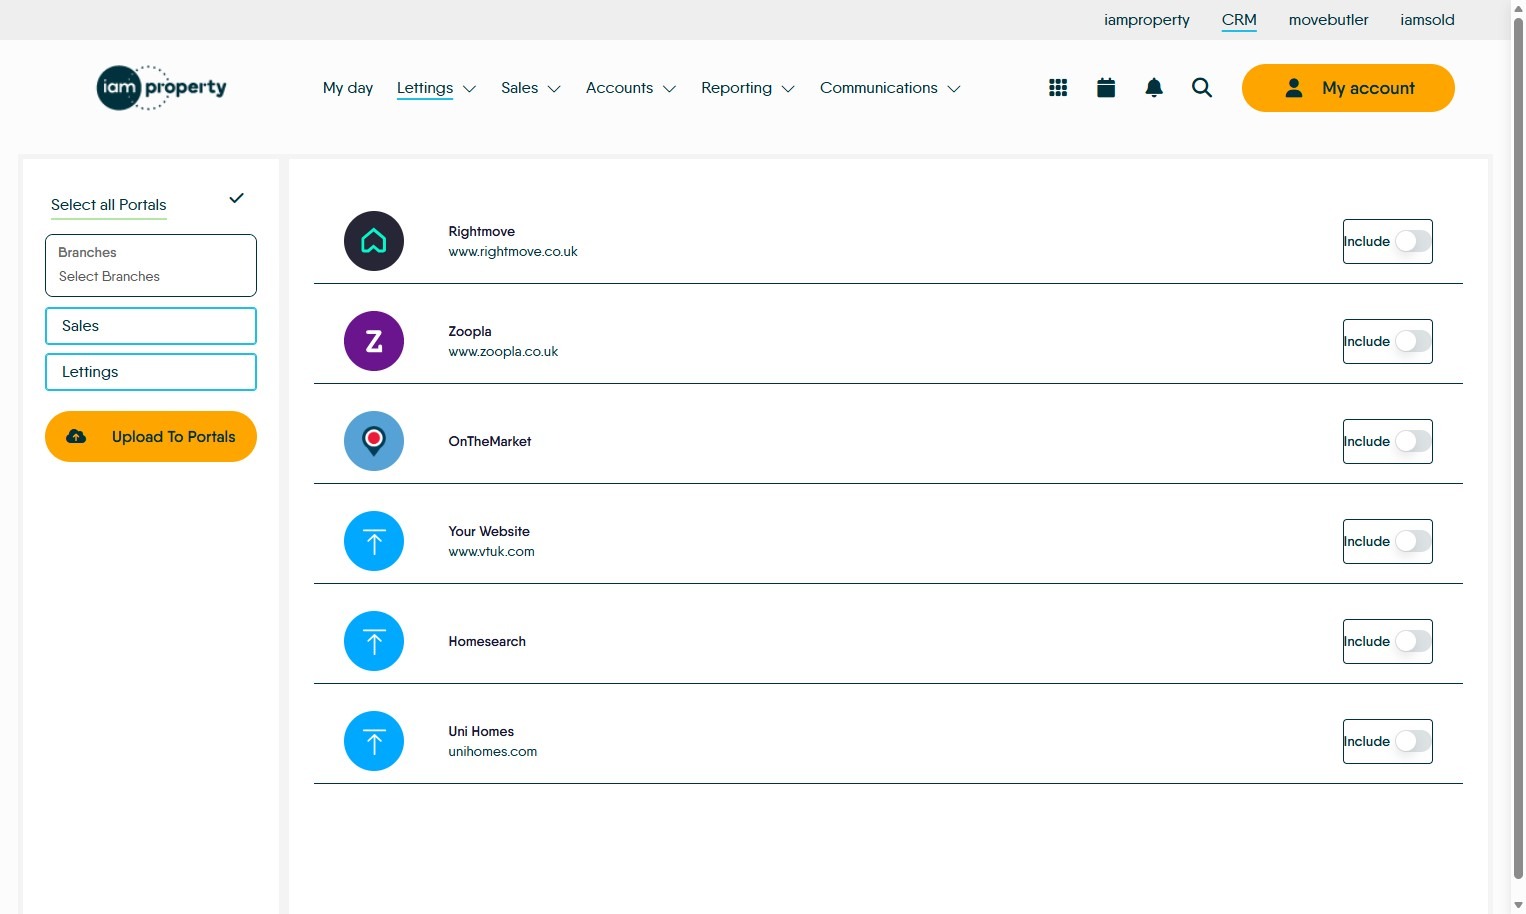
20. "Portals" allows an upload to be made of all properties currently marked as 'Advertise' in the marketing tab of the property record. This will bulk upload all properties, (both sales and lettings) that are newly created or edited, to the portals.
Click "OnTheMarket Include"
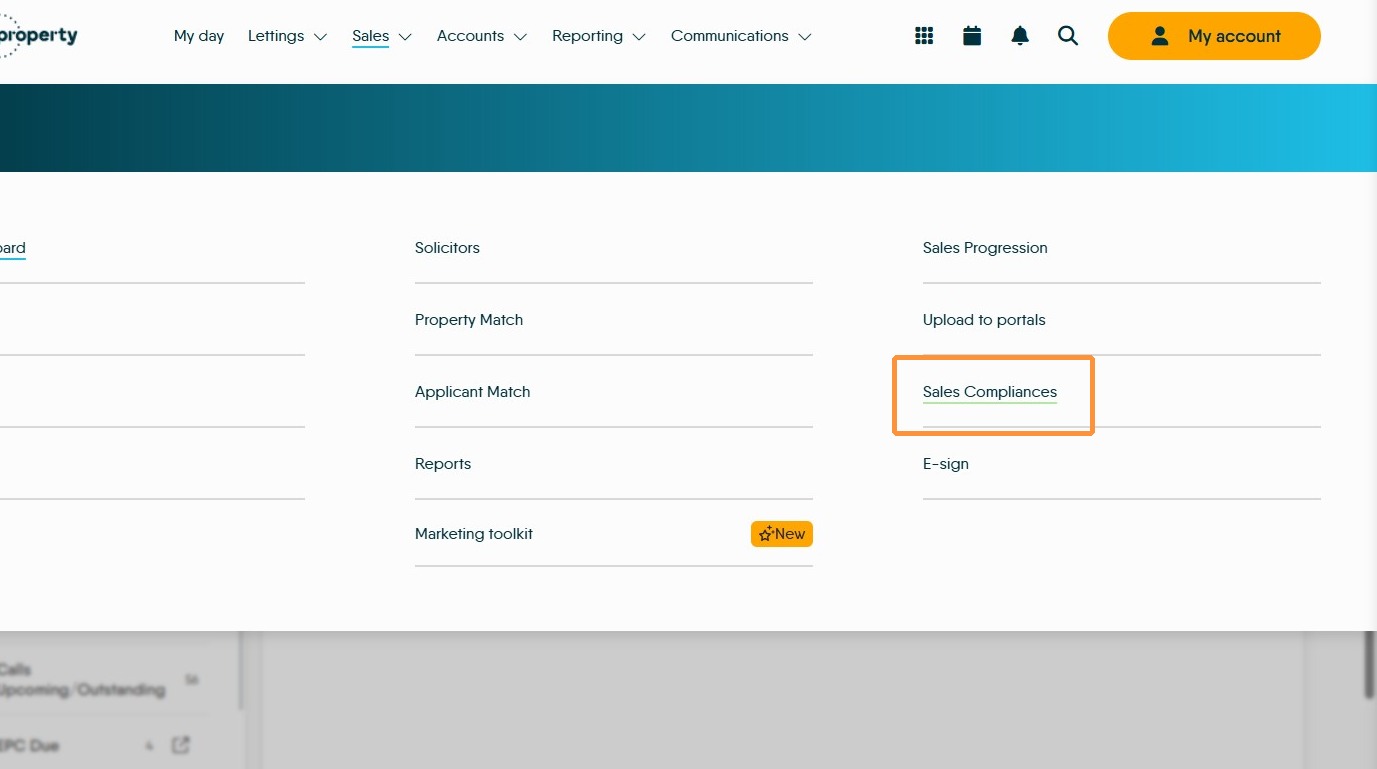
21. In the Sales menu, there is one unique menu item that is not shown in the tiles. "Sales Compliances" this screen show the compliance status of all your Vendors and Buyers and is automatically updated by movebutler. It is also available in the 'Explore Your...' screen
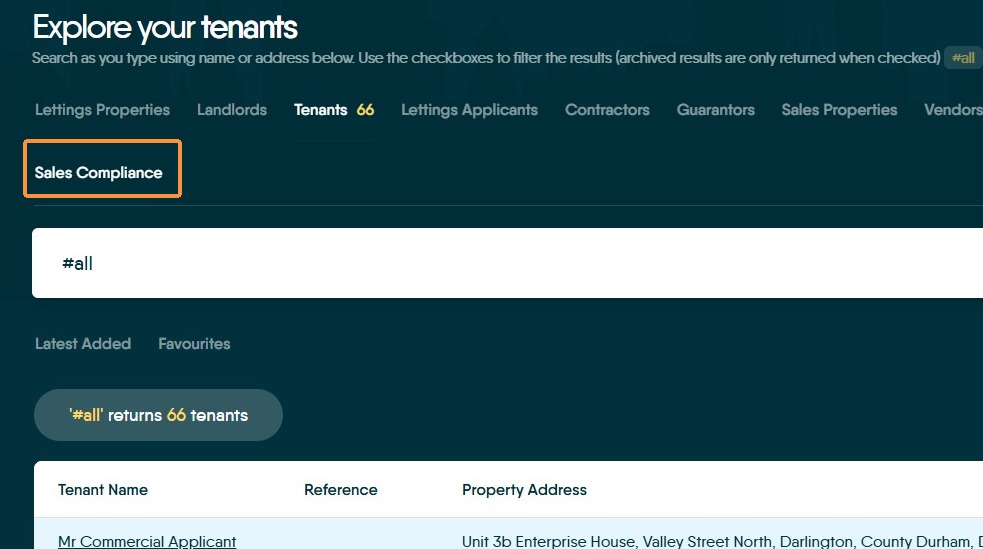
22. Click "Sales Compliance" this will show the status of all current users in the movebutler AML checking pipeline
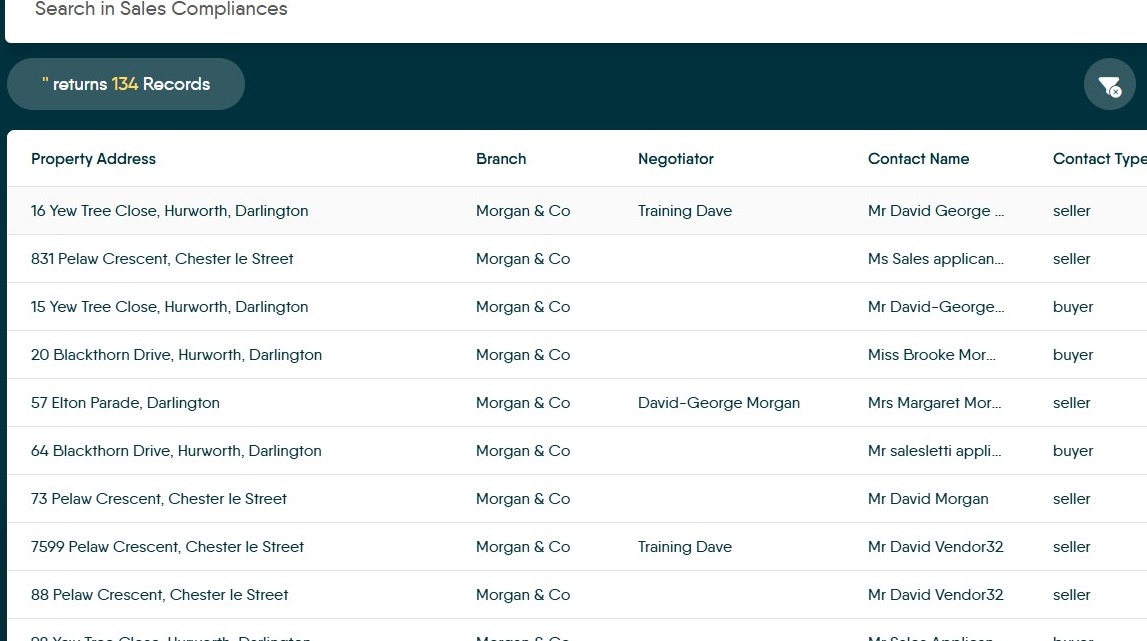
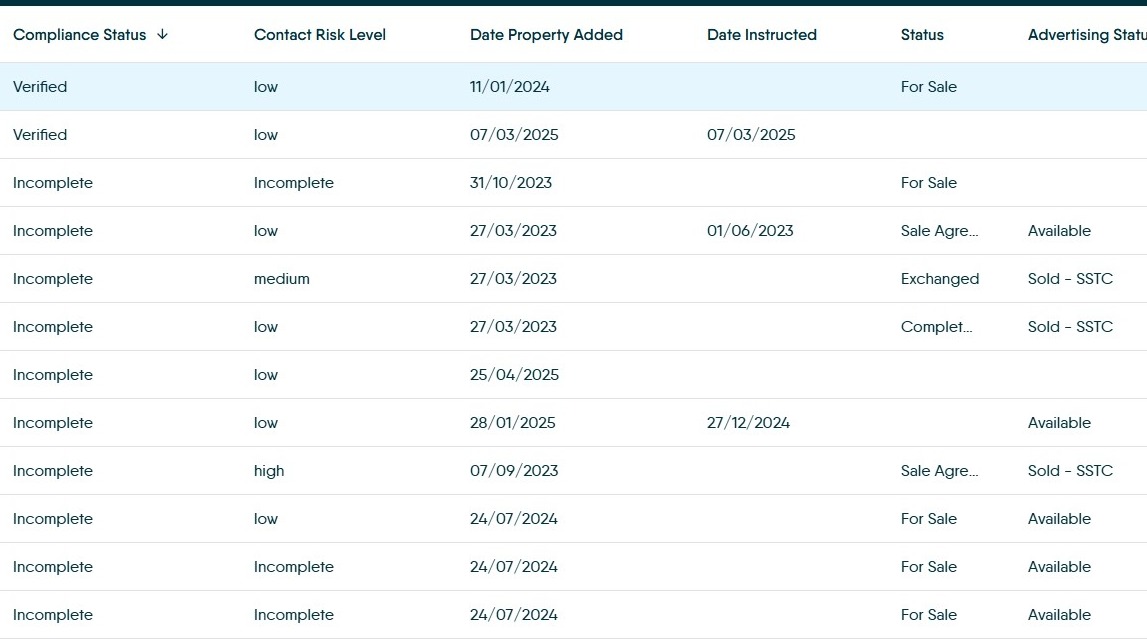
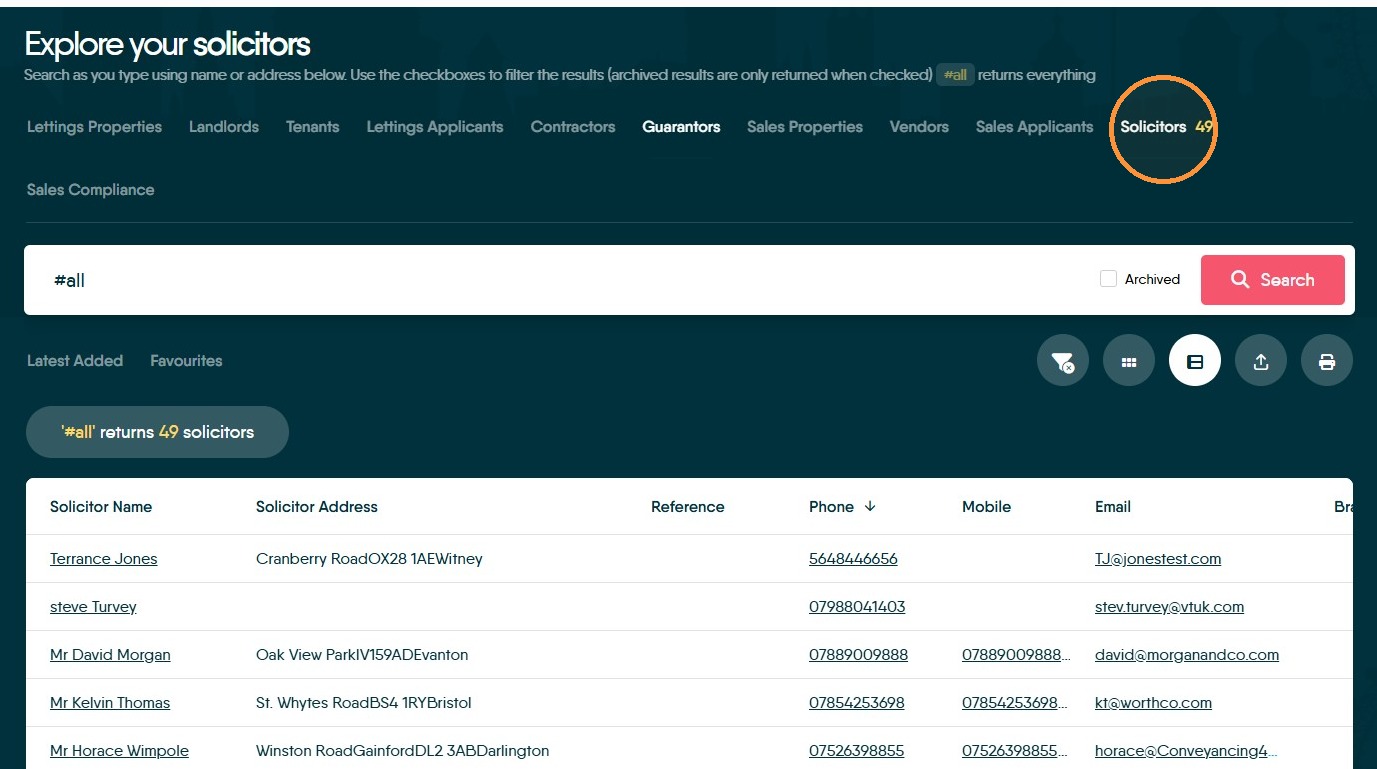
23. There is no link from the dashboard to review the Solicitor information to do this click "Solicitors" on the 'Explore Your...' screen
Lettings Specific Tiles
24. There are 3 Lettings specific tiles
- Tenants
- PB Tenants
- Contractors
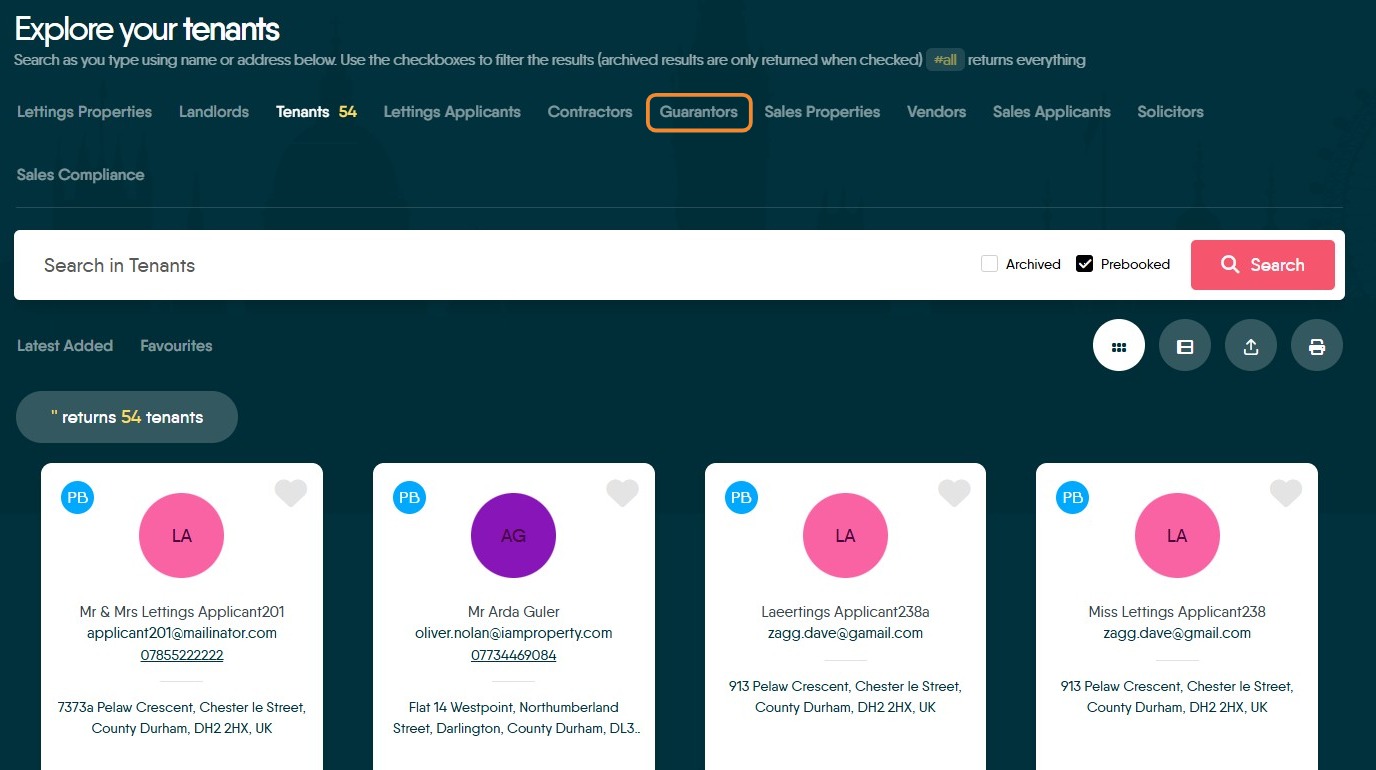
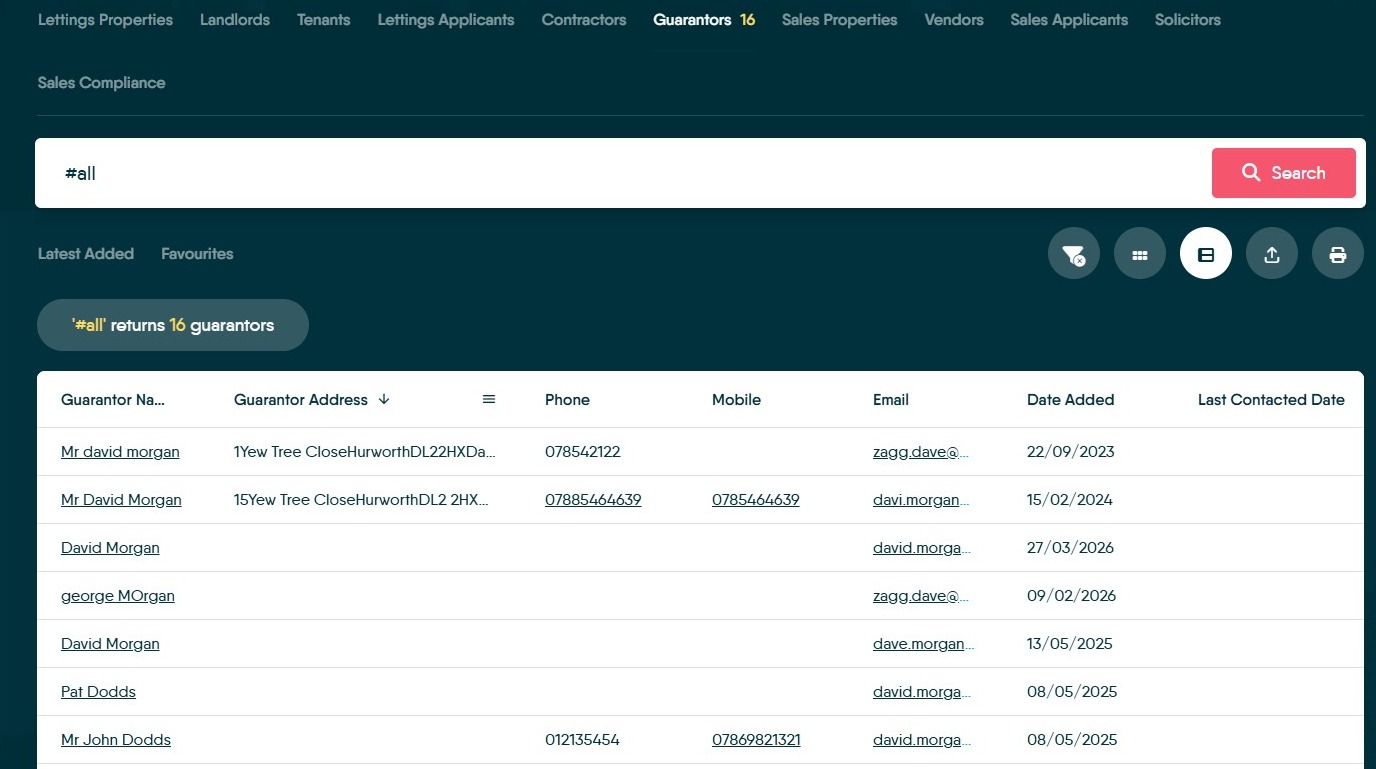
There is also an option from the 'Explore Your...' screen to see a list of Guarantors
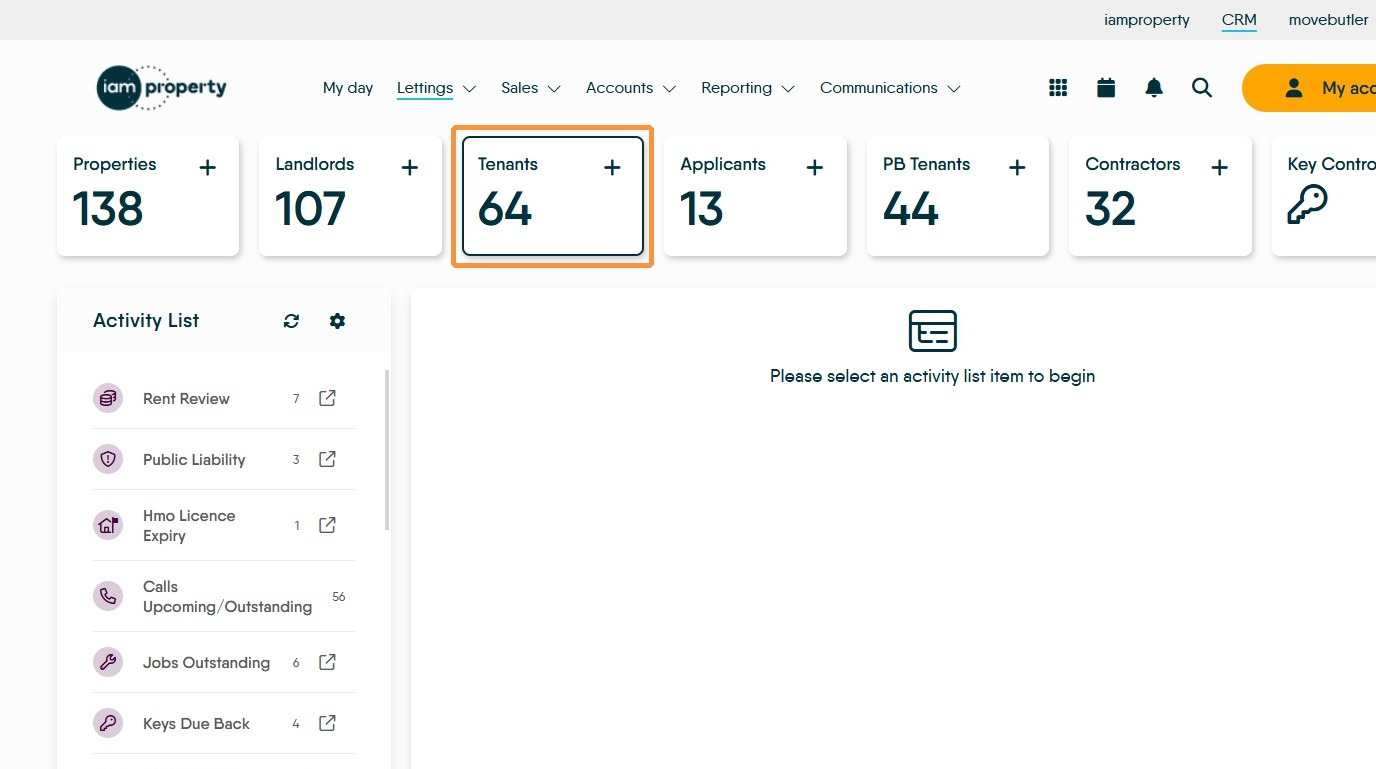
25. To access the tenants records, click "Tenants"
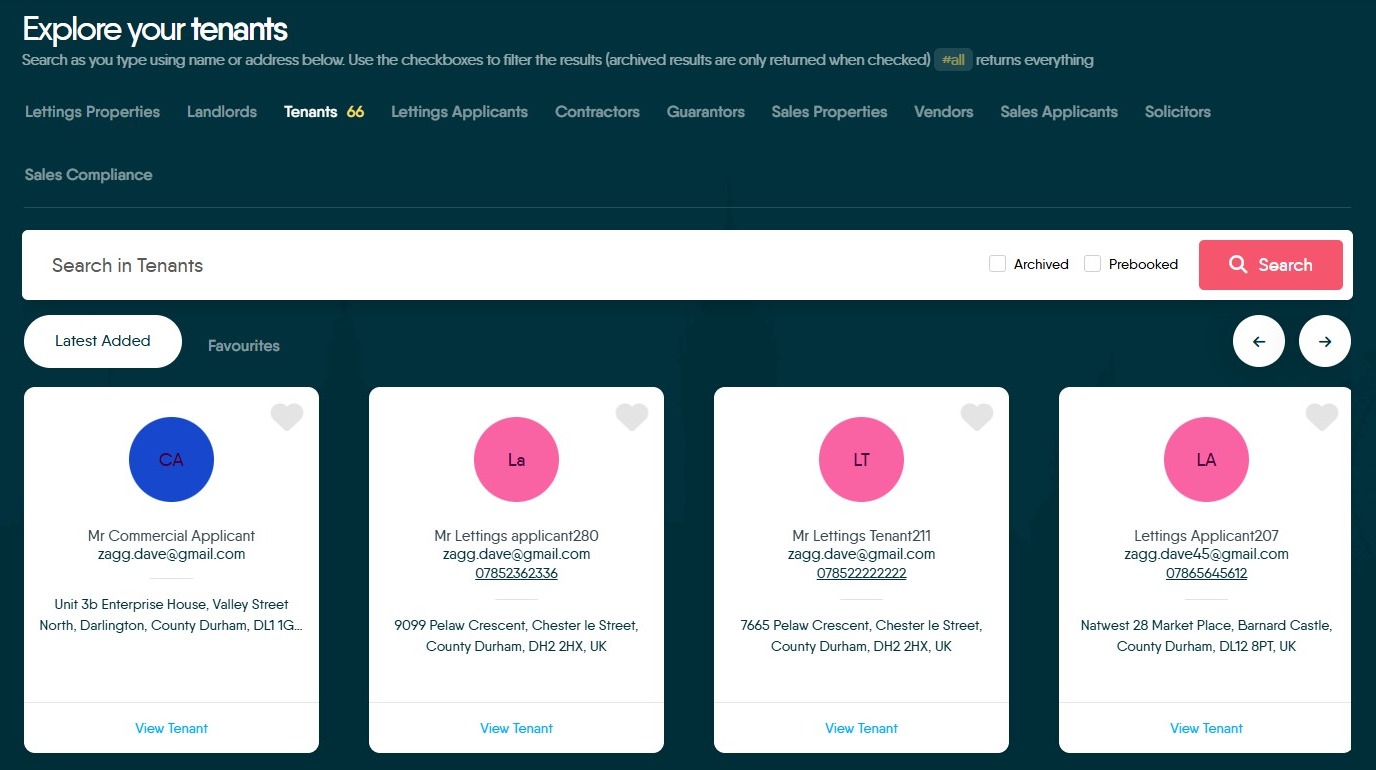
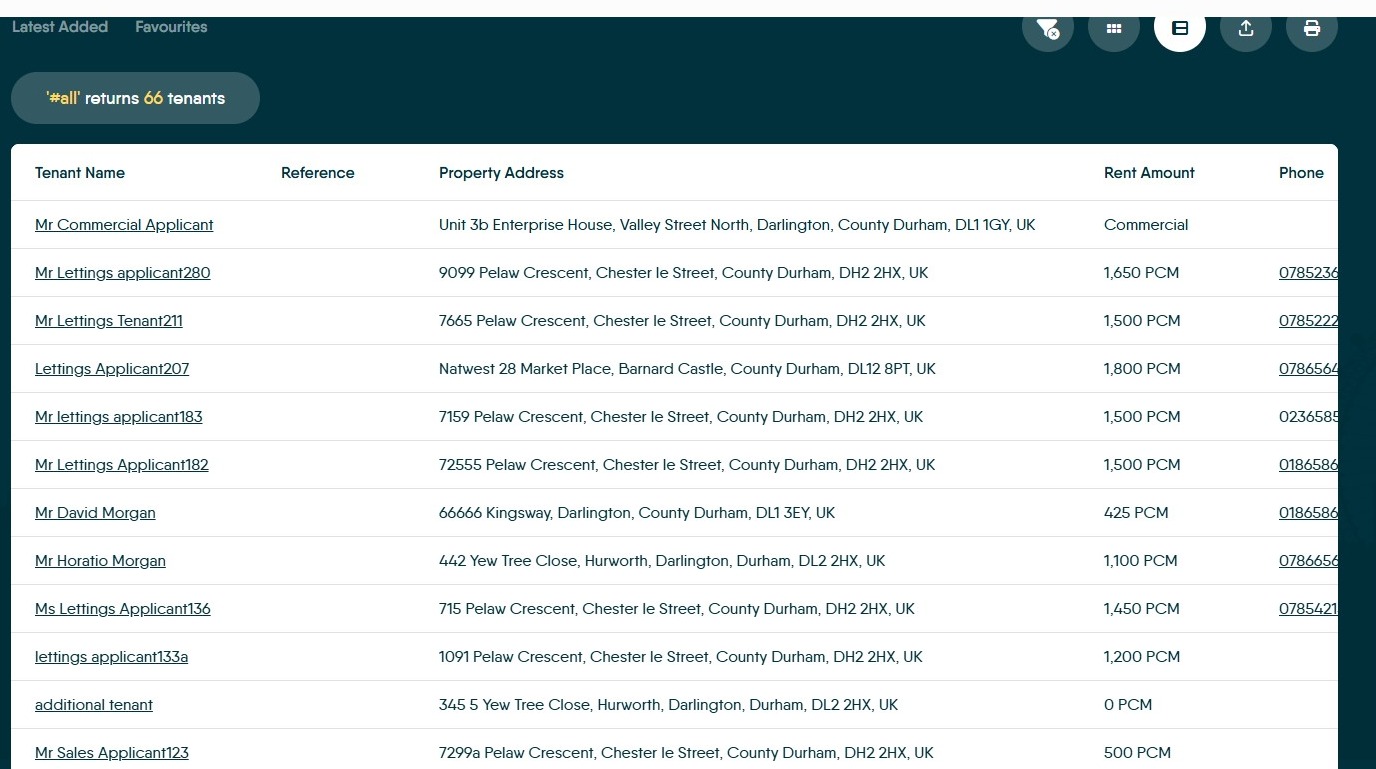
26. The initial view will be the most recently added records. Click "#all" to view all the records.
As with all of these screens any text that is underlined is clickable to all access to that record. N.B. the ability to dial out of CRM using your phone system requires a compatible system and API to link to CRM.
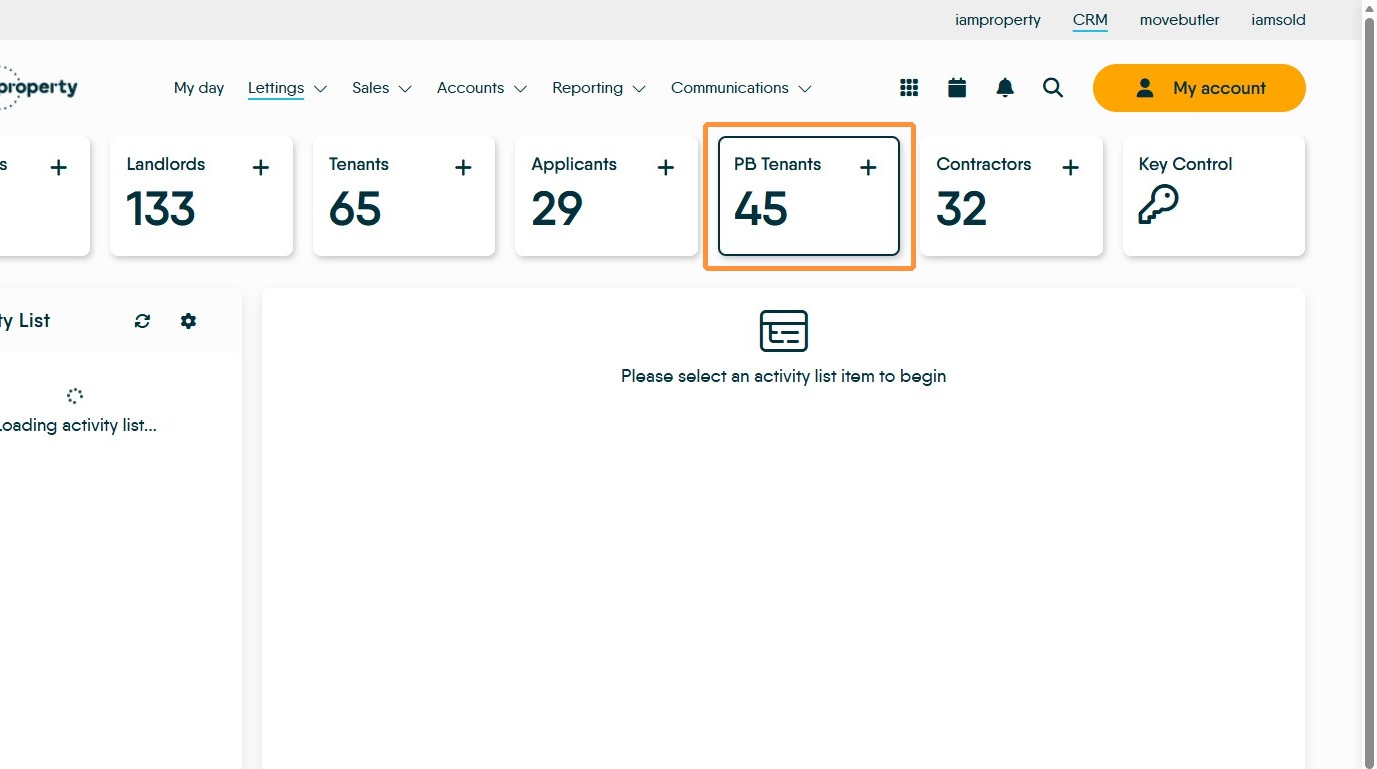
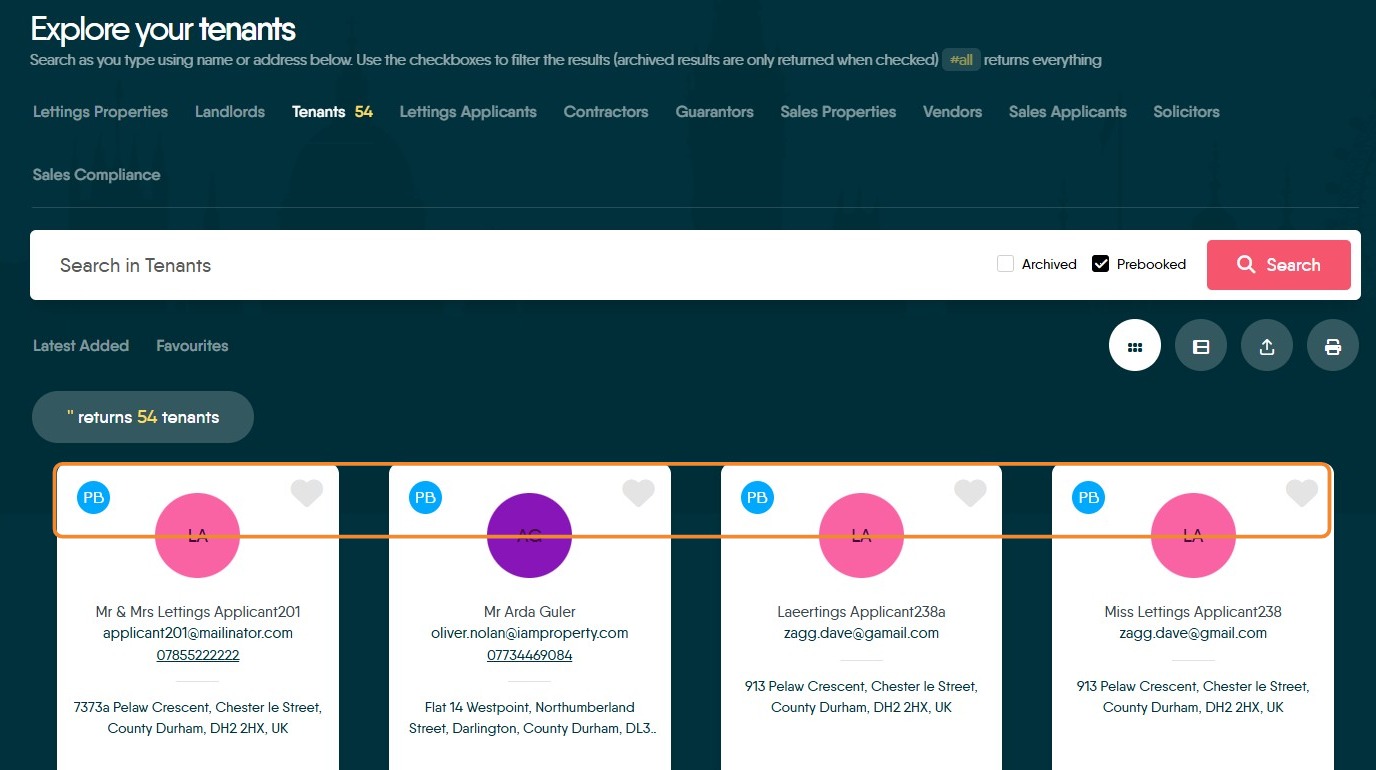
27. Click "PB Tenants" this will show the Pre Booked tenants, these are identified by a blue 'PB' in the top left of the tenancy tile.
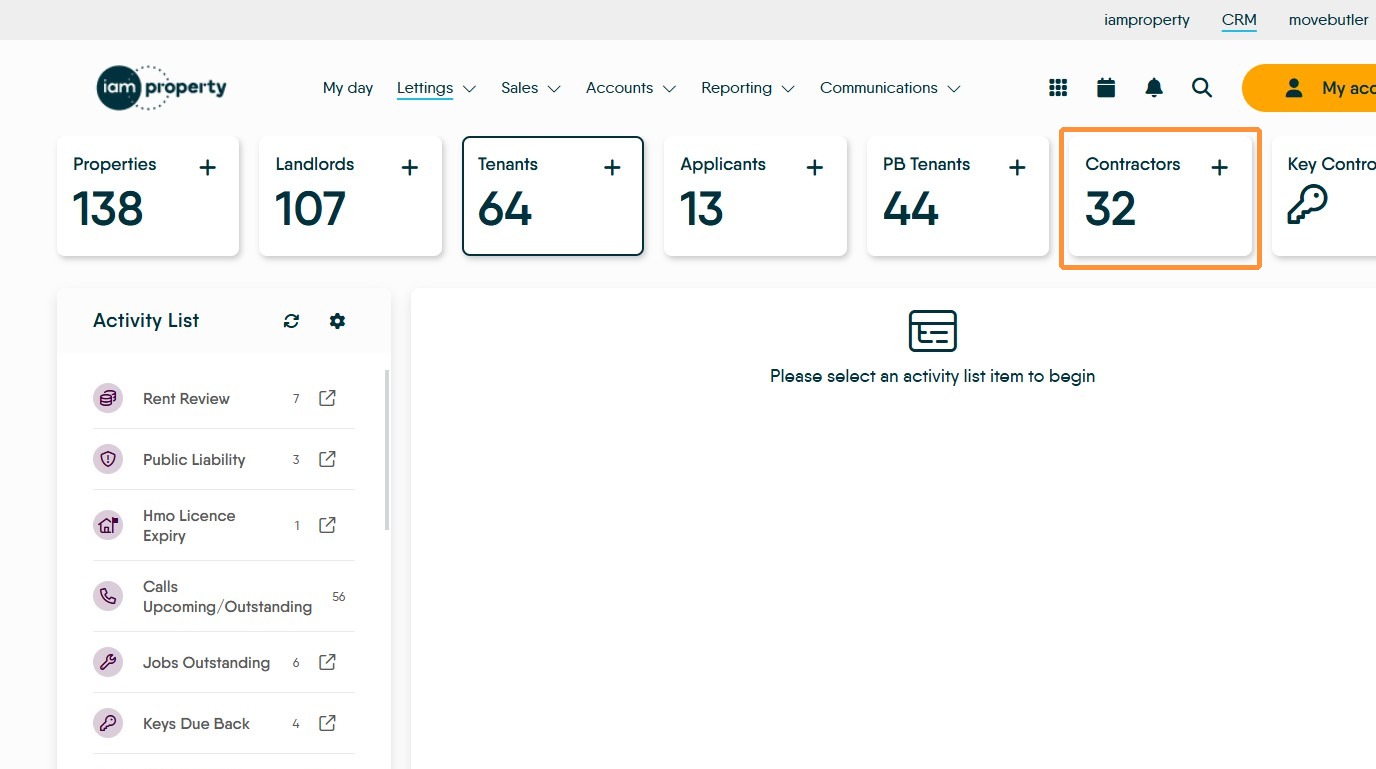
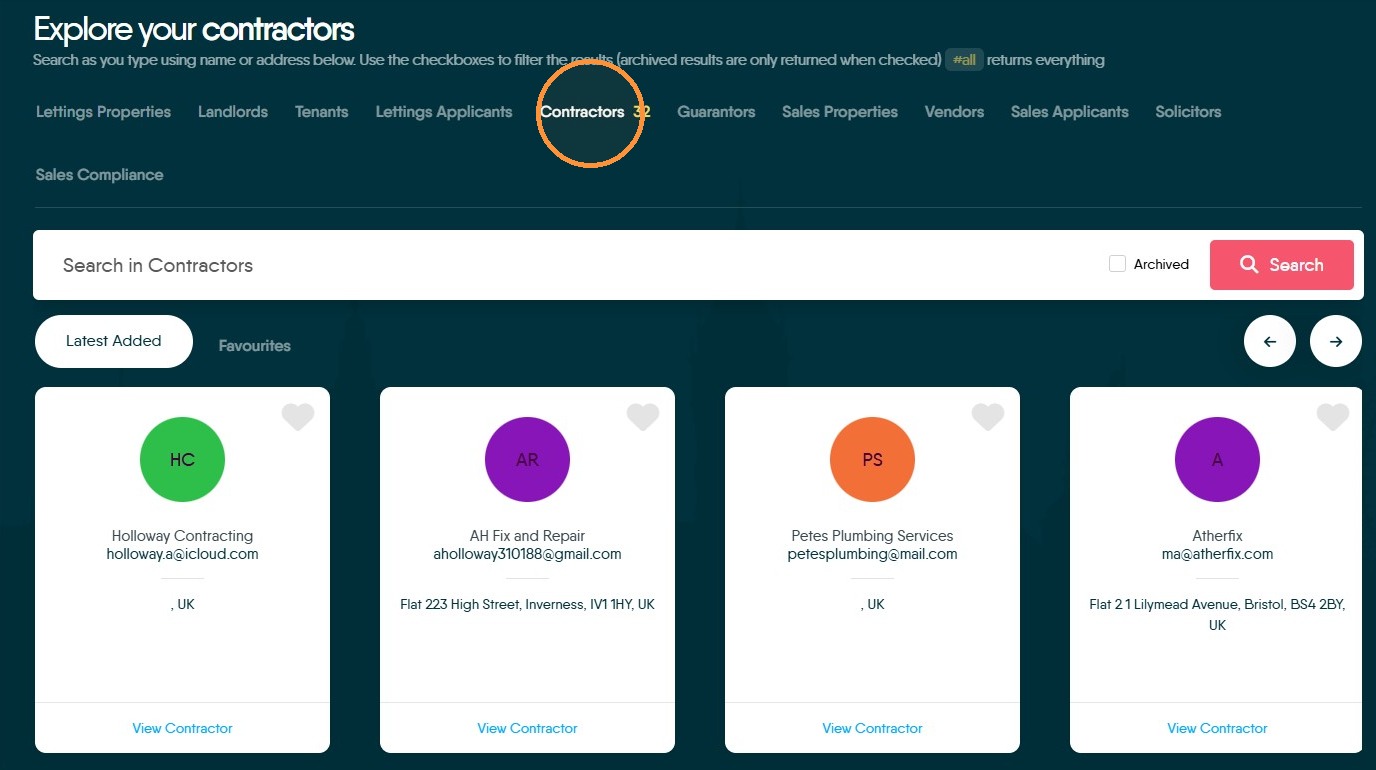
28. To access the contractor records, click "Contractors" as with the other screens this will show the 4 most recently added records, clicking '#all' will show all records.
29. There is no link from the dashboard to review the guarantor information to do this click "Guarantors" on the 'Explore Your...' screen.