This guide provides a step-by-step process for adding User Defined Fields (UDFs) to the Property Tenancy section in a CRM, enhancing data customisation and management. By following these instructions, users can tailor their system to better reflect their specific needs, such as tracking furniture items associated with tenancies. It simplifies the process of organising information, ultimately improving efficiency and data accuracy in property management.
Alert: Alert! This guide was created to answer a specific question, tracking the furniture supplied to a Tenant at the start of a Tenancy.
The same process can be used for creating any UDF in CRM.
1. Navigate to https://crm.iamproperty.com/MyDay
2. Click "My Account" button

Alert: Alert! If 'Control Centre' does not show on your 'My Account' then it is disabled by a company policy. Please speak to your System Administrator to have the feature added, or CRM support.
3. Click "Control centre"

4. Click "Configuration"

Alert: Alert! When User Defined Fields are created they will show in the area of CRM you have created the UDF for, so consider where the UDF should appear before creating them. E.G. a UDF created in the Landlord option will show in a Landlord record.
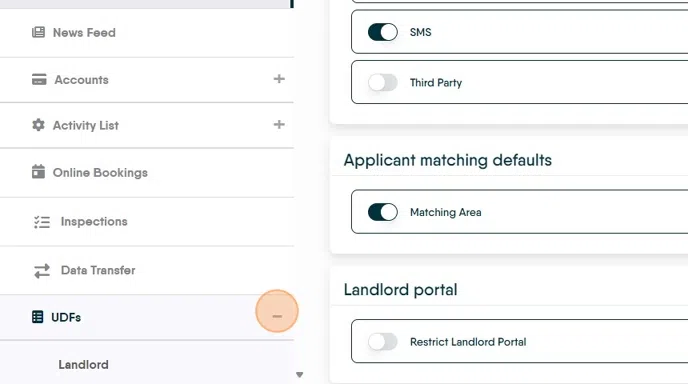
5. From the left hand menu in configuration. Click "UDFs" then scroll down to select the area you wish to add the UDF to. In this case Click "Tenancy"
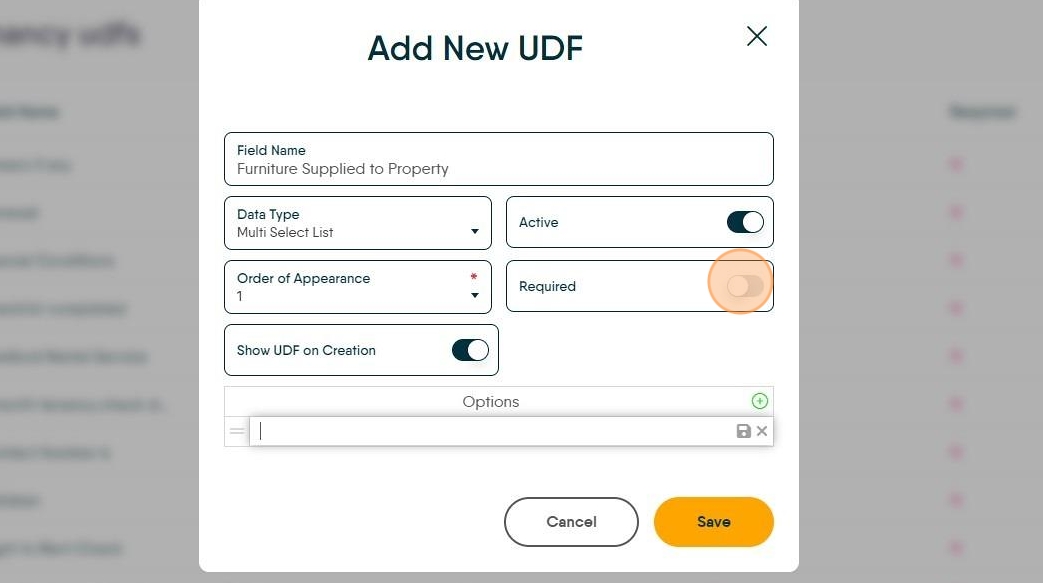
6. To create the UDF Click "Add New UDF"

7. Click the "Field Name" field. Name your UDF

8. Click into the Data Type box to set what type of data can be added using this UDF.
There are a few options to pick from.

9. for example click "Multi Select List"
With a list or multi select list, the list options need to be added. To do this click the green + icon and add the items. (see below for guide)

10. Click here to show the UDF.
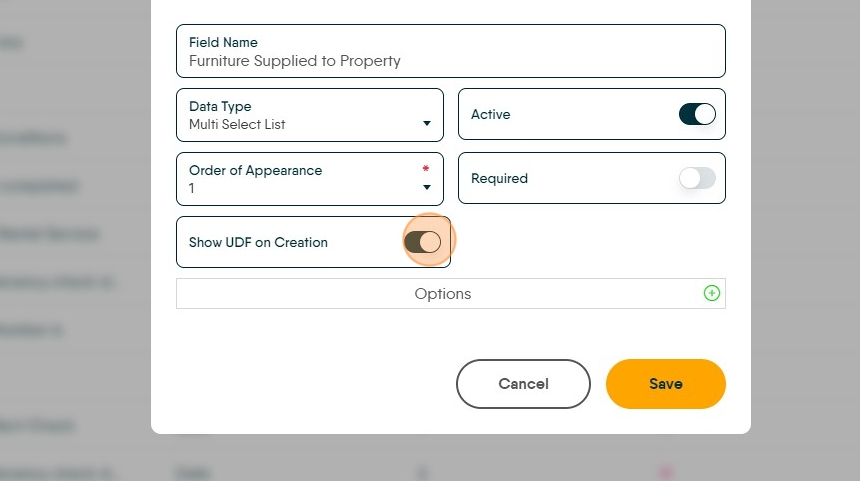
11. Click here to make the UDF mandatory/required for all users.
N.B. this will affect all CRM records in the UDF category, accessing an old record will require an answer to this question the same as accessing a newly created record.
Adding Select/Multi Select Questions.
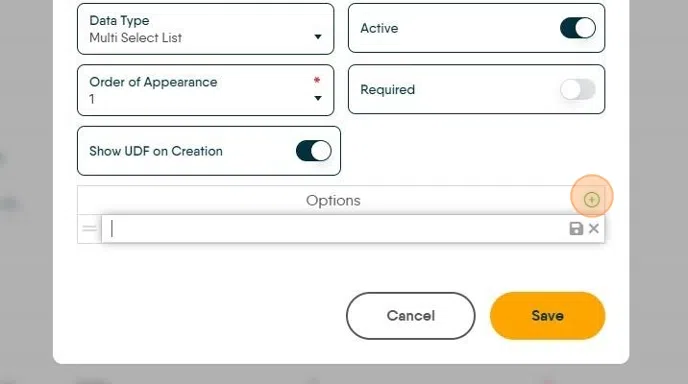
12. Click the green +. In the field below type the question and repeat.
Click here to save the question. Click the + to add the next question.
Add the next question
Click here.
13. To edit or delete a question. Click here and select the 'Bin' to delete or the 'pencil' icon to edit.

14. Once complete and all questions are added, click "Save".

To Use the UDF
15. Click "Lettings"

16. Click "Lettings"

17. Click "General"

18. Click "Tenants"

19. Click "View Tenant"

20. Click "Tenancy"

21. Once in the Tenancy record the UDF will show at the bottom of the 'Details' screen

22. Click into the field and in this case select from the Multi select list.

23. In this scenario we can click back in and pick a second option.

24. Click "Wardrobe"

25. Both selections will show.
