Importing Clients from CRM to movebutler
This guide offers a comprehensive walk through for importing clients from a CRM to movebutler, ensuring that all necessary information is accurate and complete. It highlights best practices, such as verifying client awareness of data sharing and utilising digital invitations for a smoother process. By following this guide, users can efficiently manage client and property data, maintain compliance, and streamline their workflow in movebutler.
Alert: Alert! Before you start on the movebutler process you need to ensure that all of the information on the CRM record is complete and correct. Email address and telephone numbers should not be copied from other users i.e. they need to be unique.
In this guide we will be looking at a Private Treaty sale not Auction.
1. Navigate to the property whose Vendors (or purchasers) you are adding to movebutler
Click "movebutler"
If required click "Sign In"
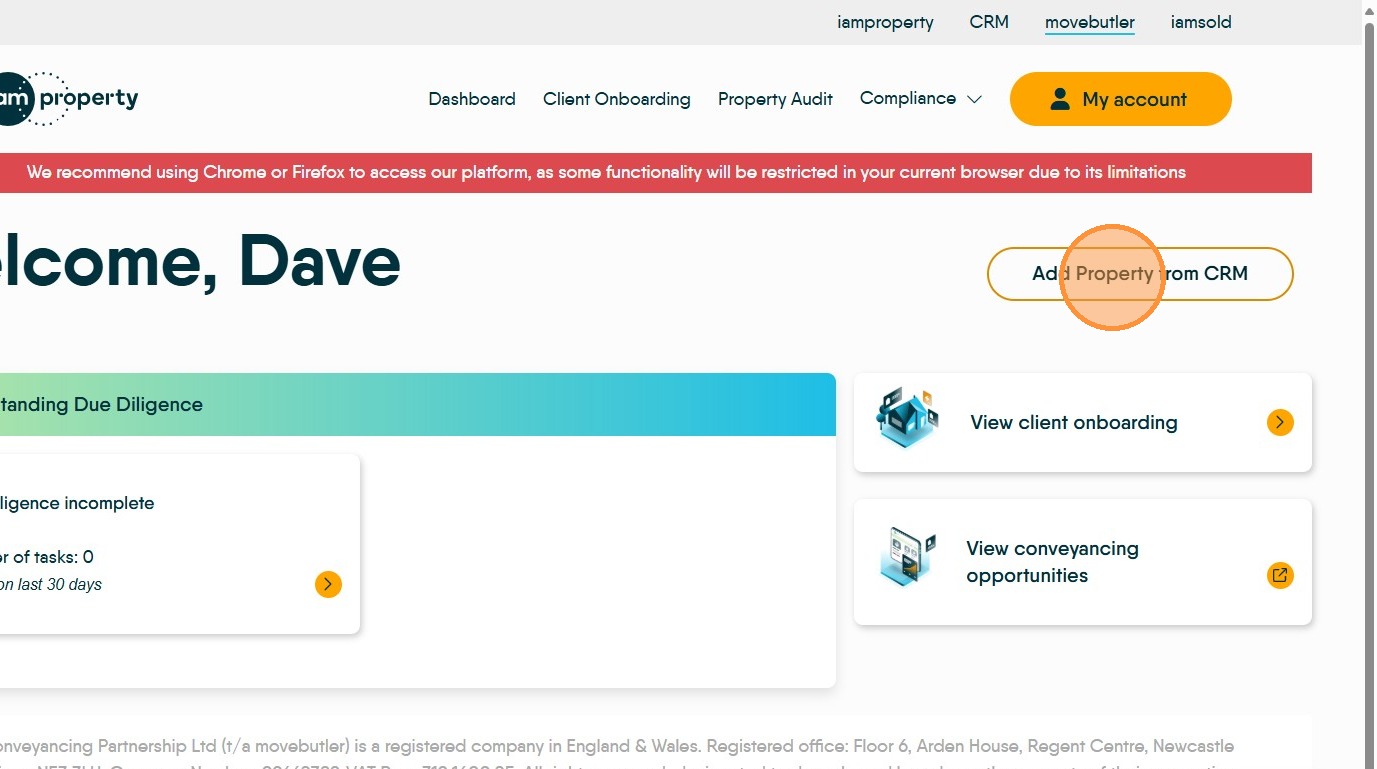
2. Once in movebutler we will be adding a new client and property.
Click "Add Property from CRM"
3. Click the "Search property sales postcode" enter and search for the property in the drop down list.

4. Next set the Transaction Type and Method of Sale options. For example click 'Sale'
If the price is set in the property record it will copy over
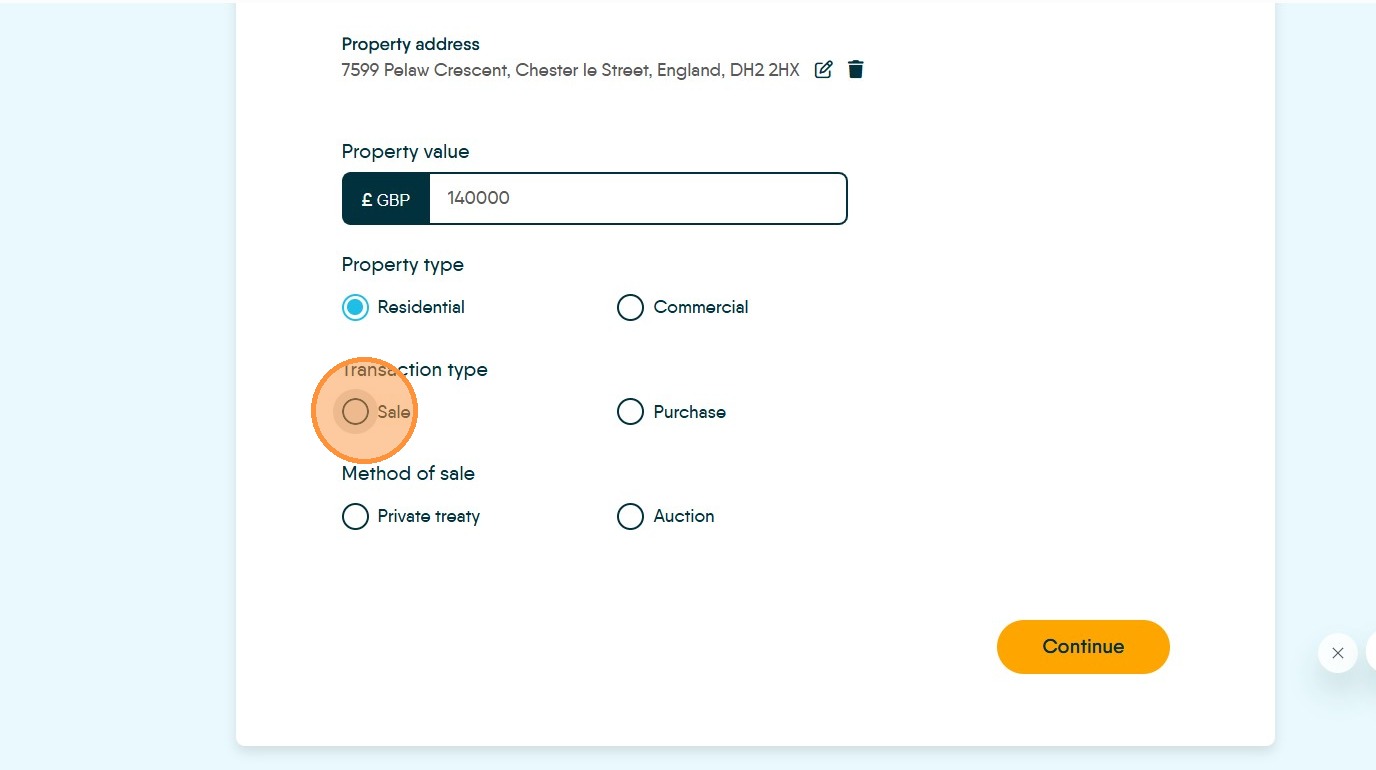
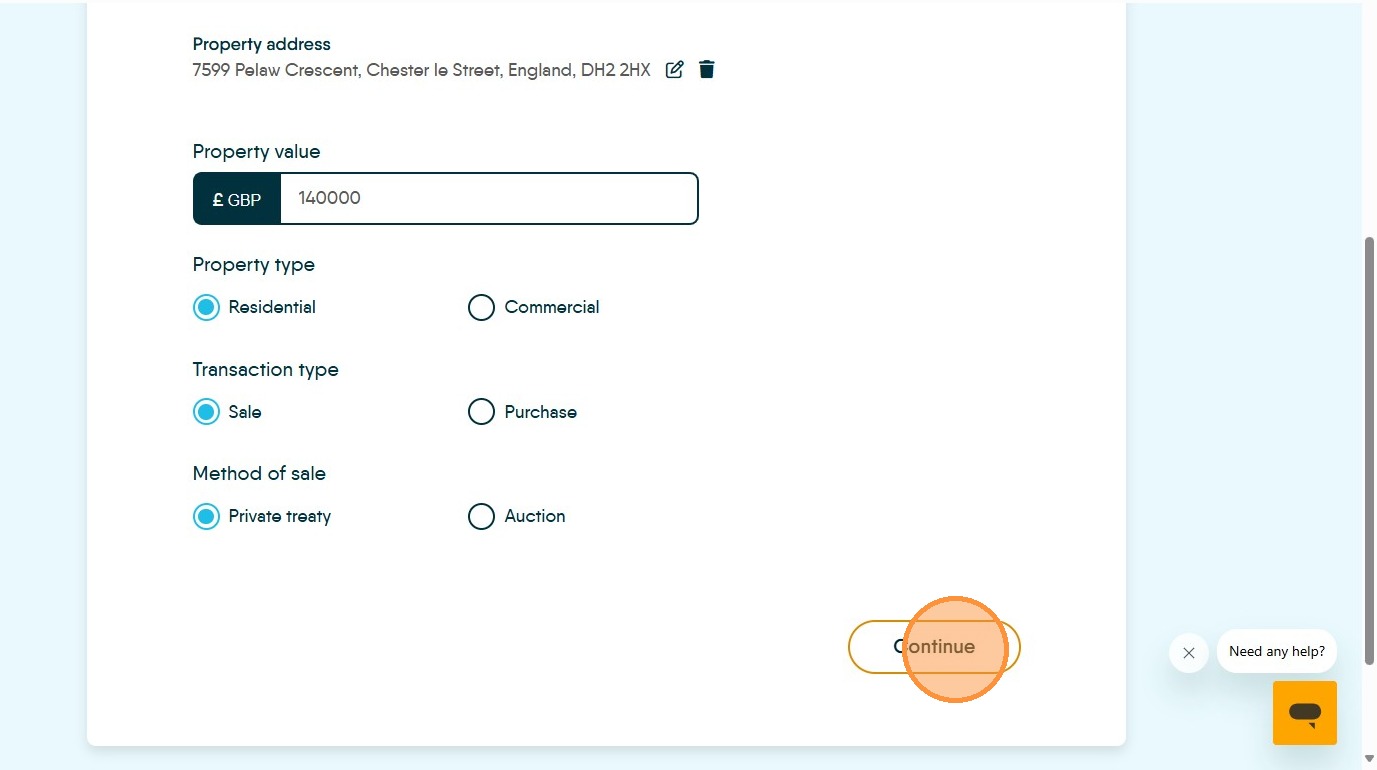
5. Then click "Private treaty" or "Auction" as required
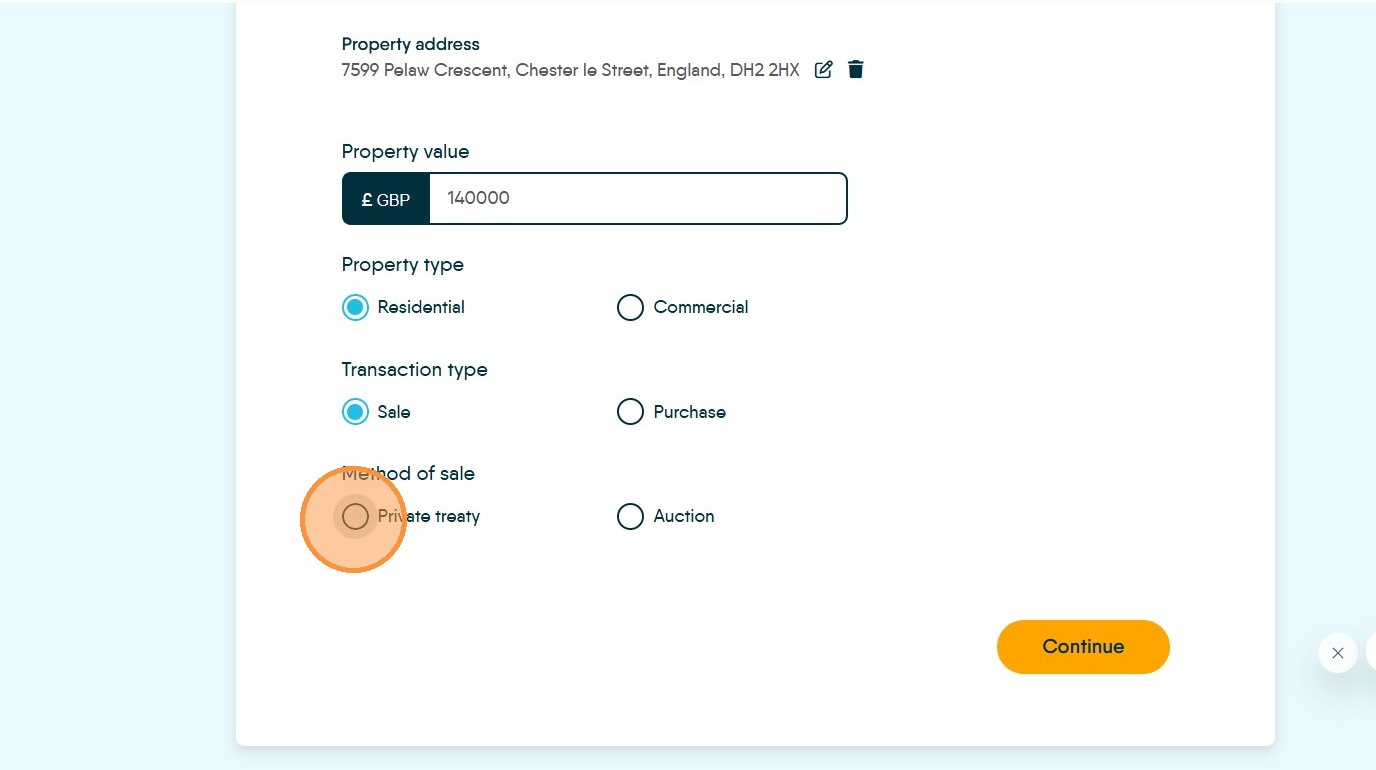
6. Click "Continue"
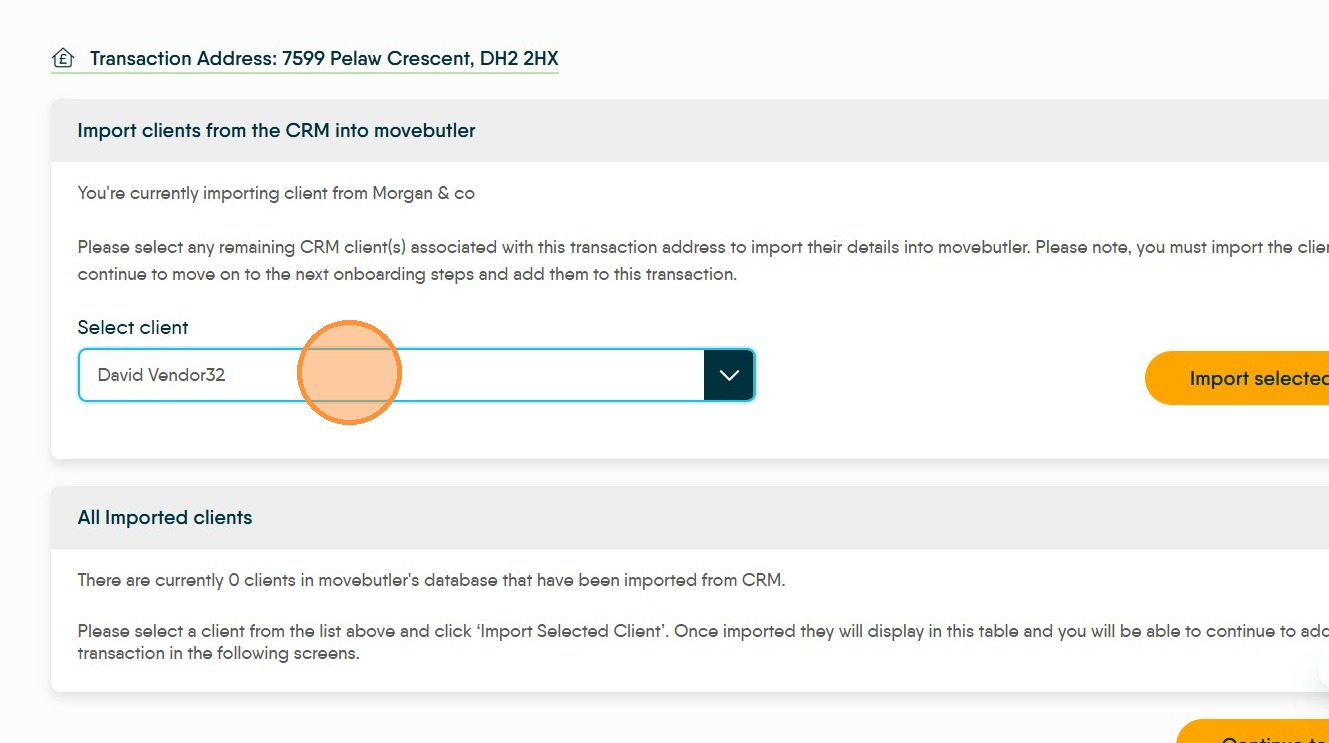
7. Import the client (Vendor) details by selecting from the drop down menu. This menu will show all the Vendors attached to this property
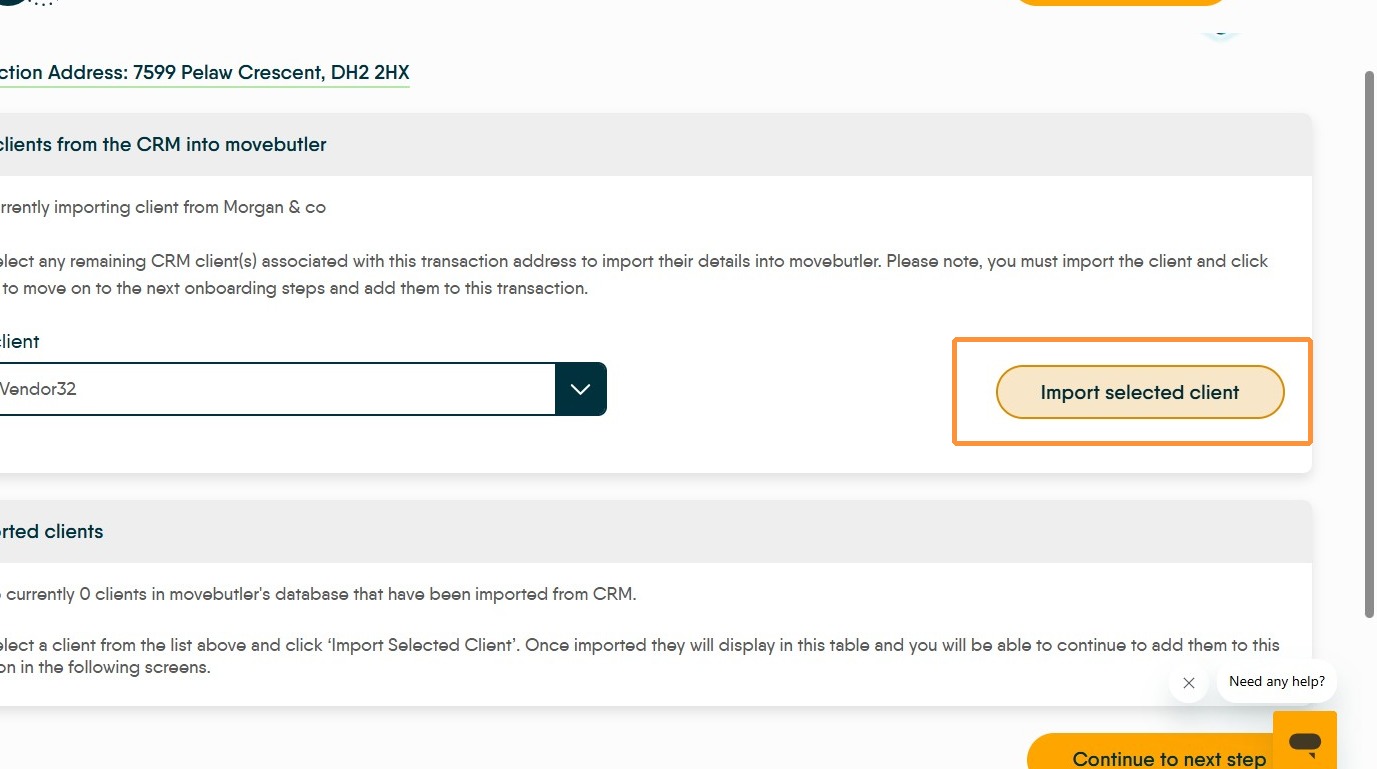
8. Click "Import selected client"
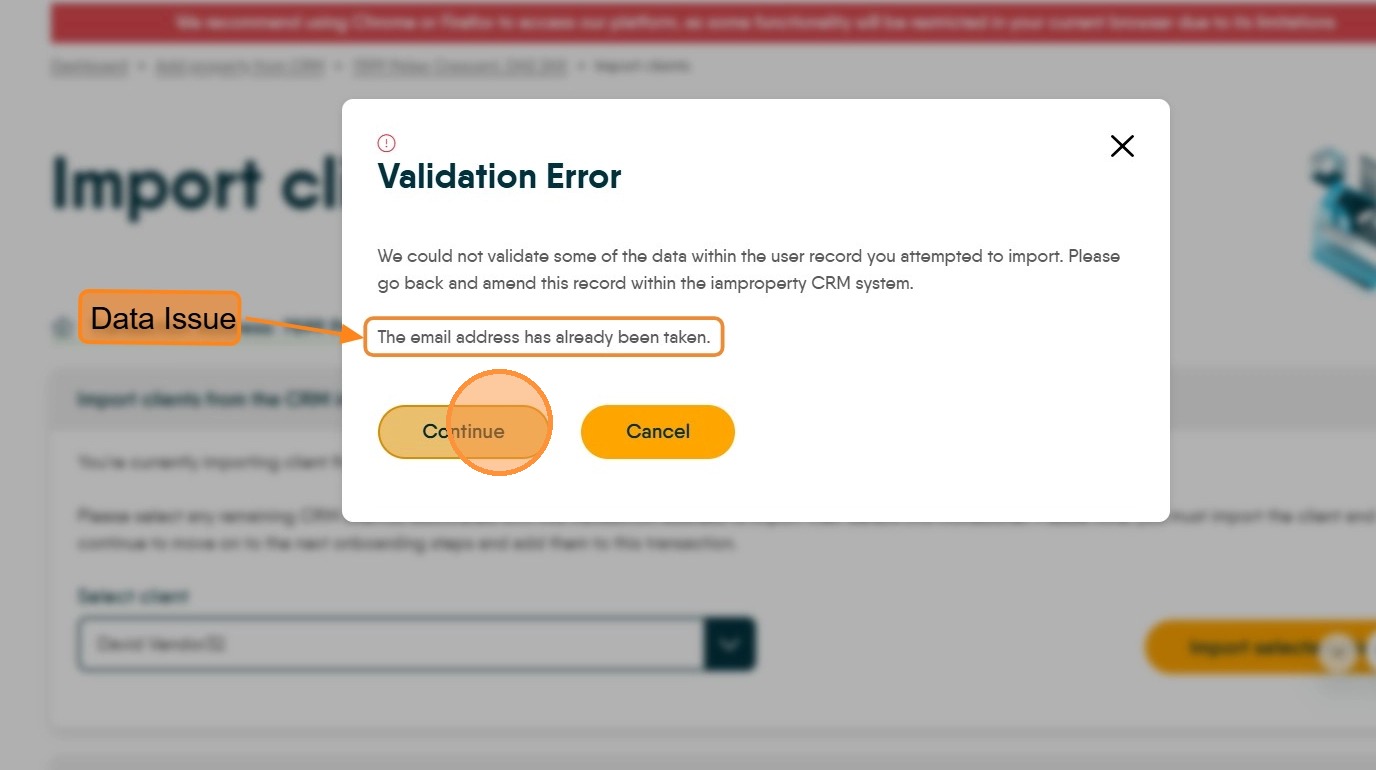
9. If there are any errors in the data within CRM then you will see a 'Validation Error' message, fix the issue and click "Continue". This screen will identify the data issue.
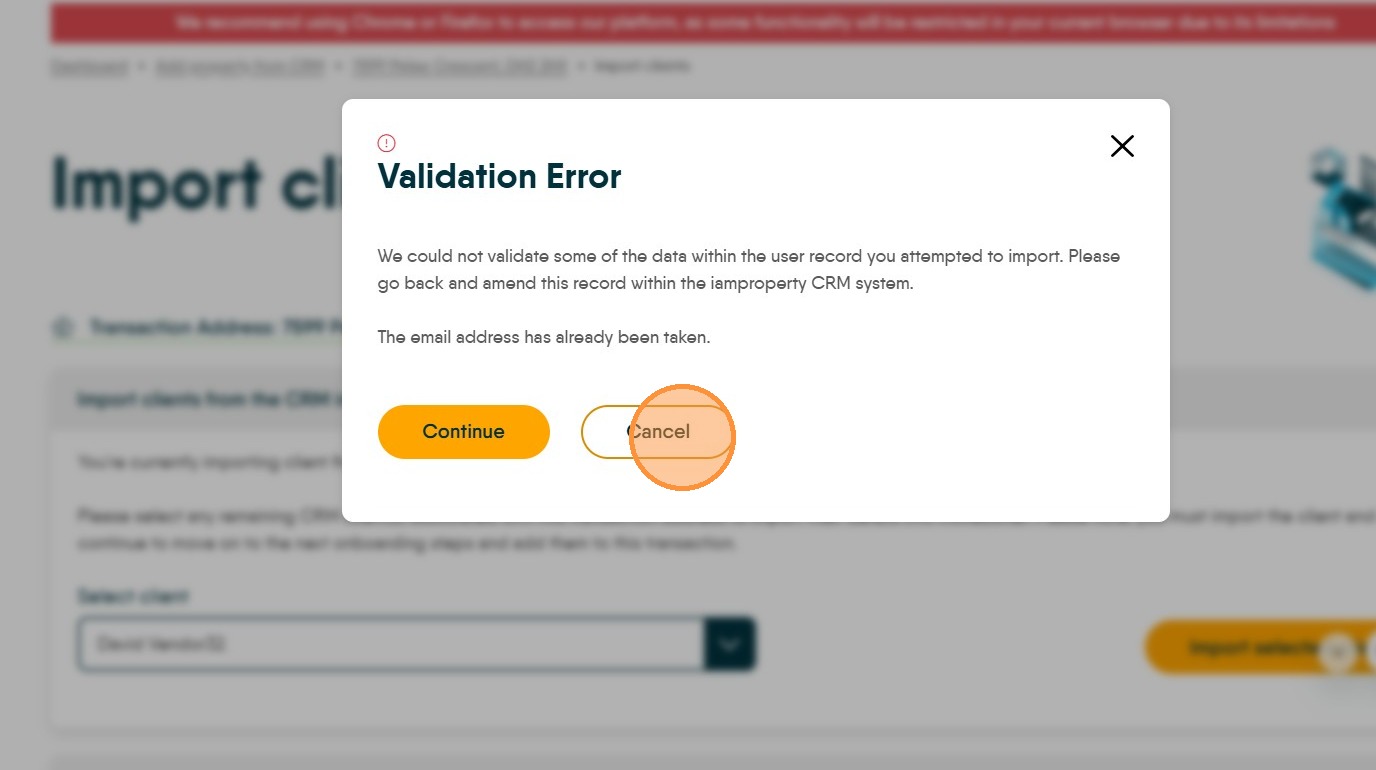
10. or click "Cancel" and return to CRM to fix the issue.
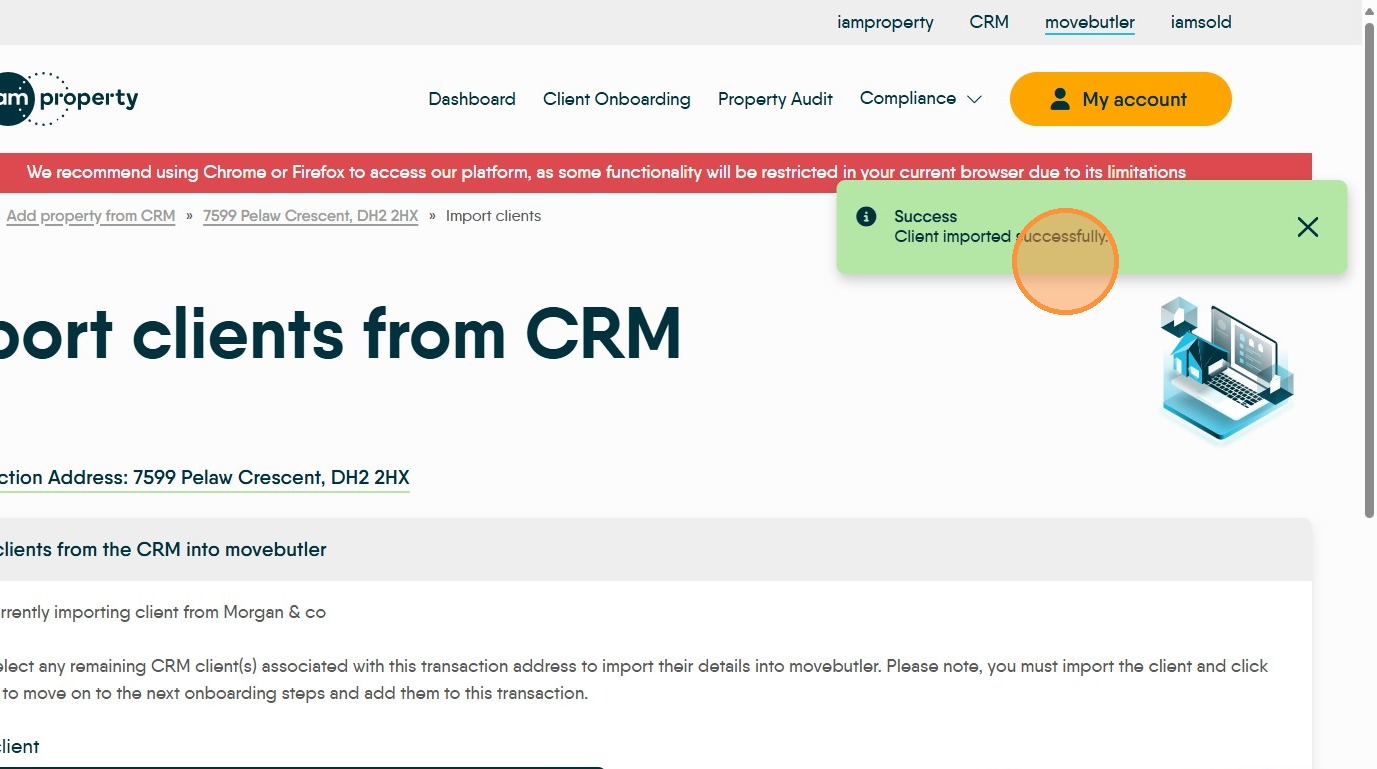
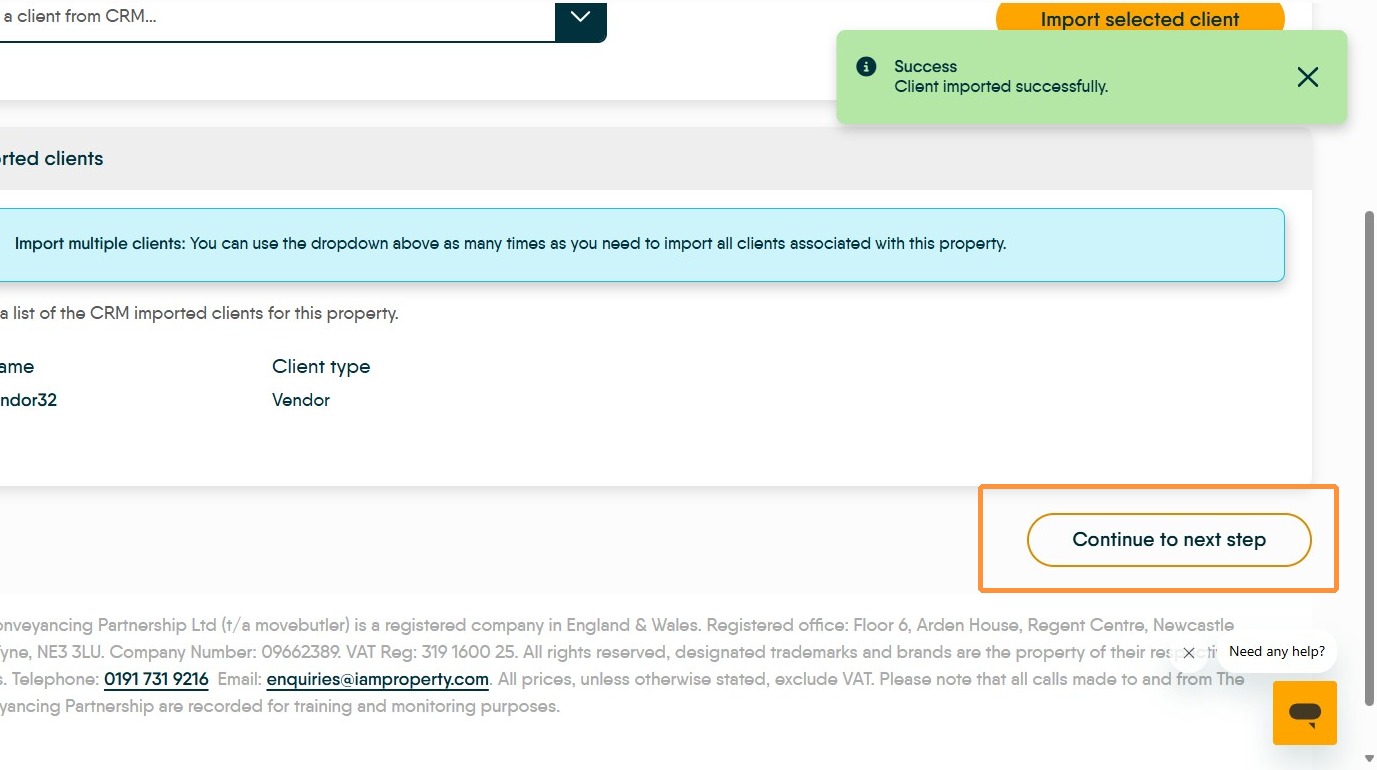
11. If successful you will see "Success Client imported successfully."
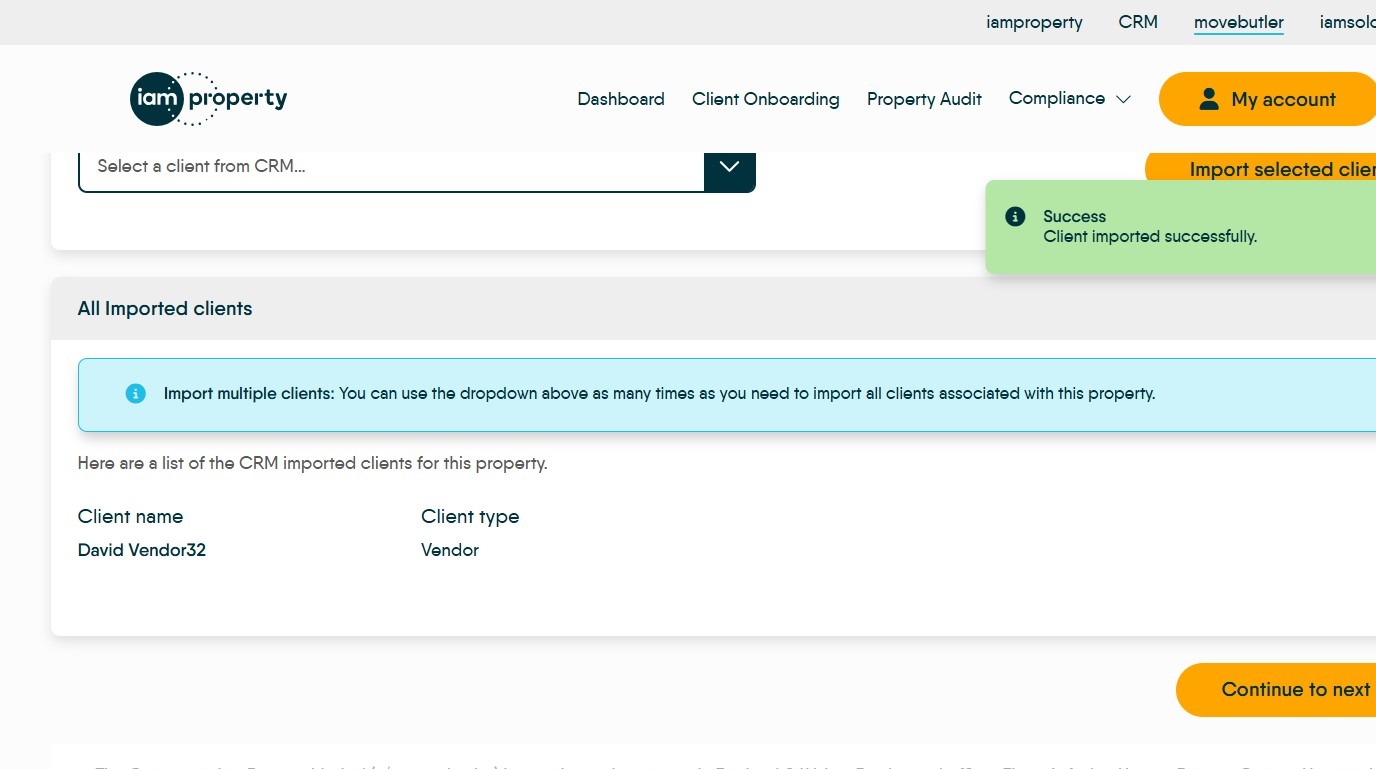
12. To Import multiple clients use the dropdown as many times as you need to import all clients associated with the property.
13. Once all Vendors are added to movebutler Click "Continue to next step"
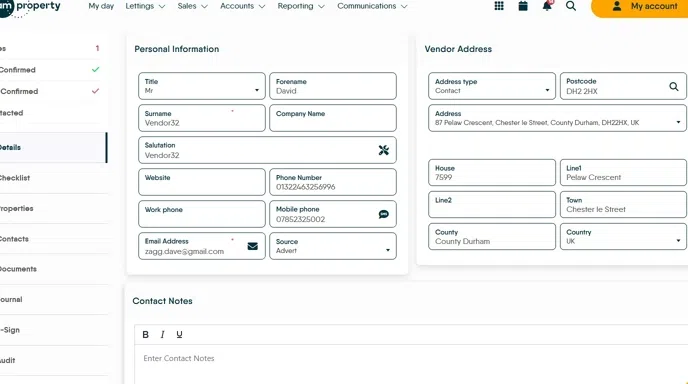
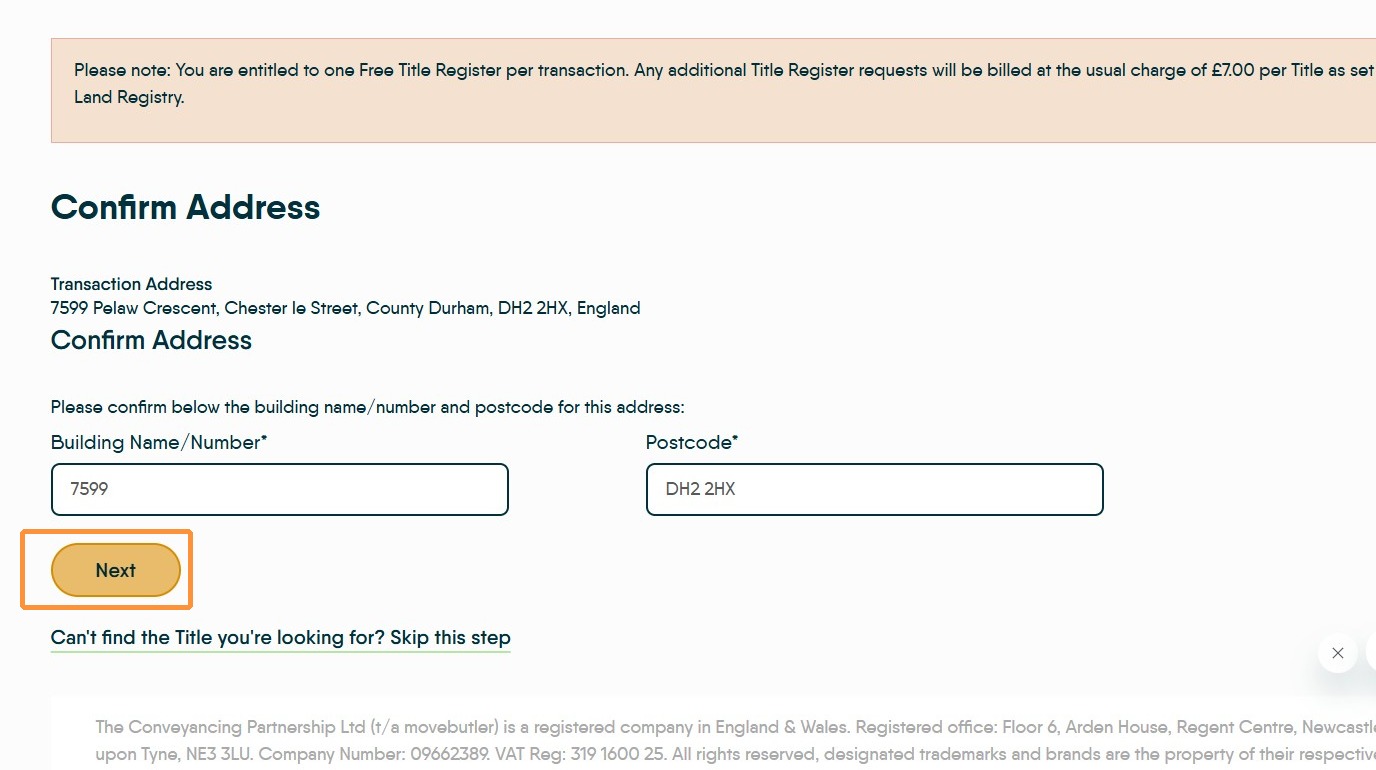
14. Check the Address details are correct. Click "Next"
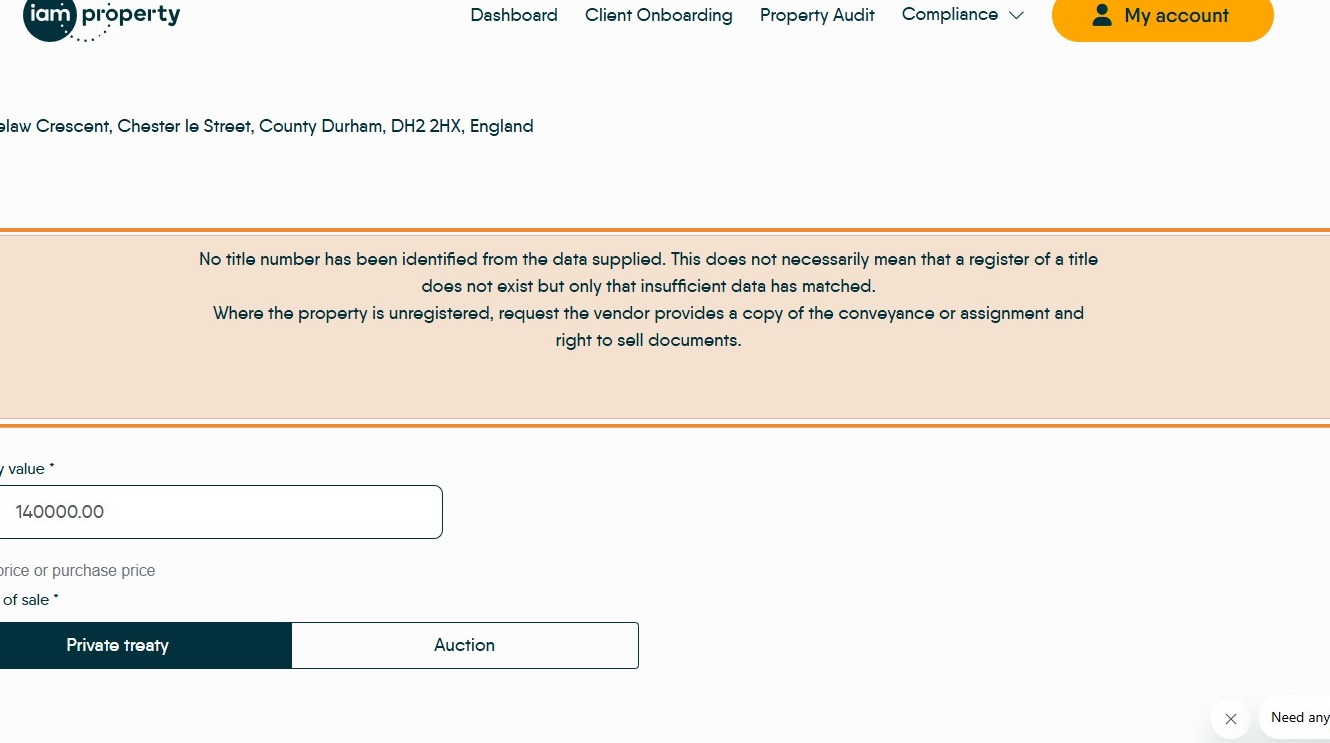
15. If there is no title registered for the property you will see this warning message.
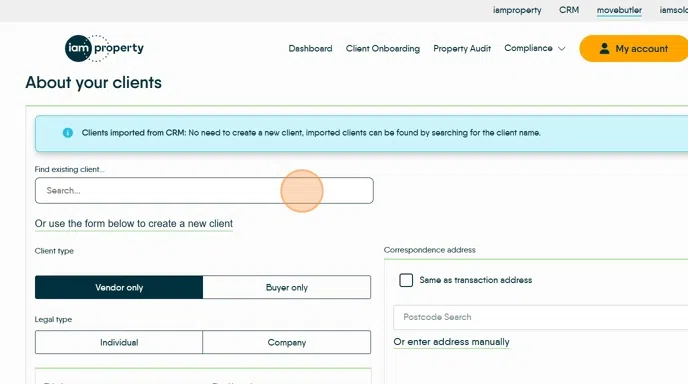
16. Click here and select the (previously added clients) clients from the drop down.
17. Complete all the fields, it is good practice to set the date of birth and sex at this point. Select the "Legal Owner / Beneficial Owner" option.
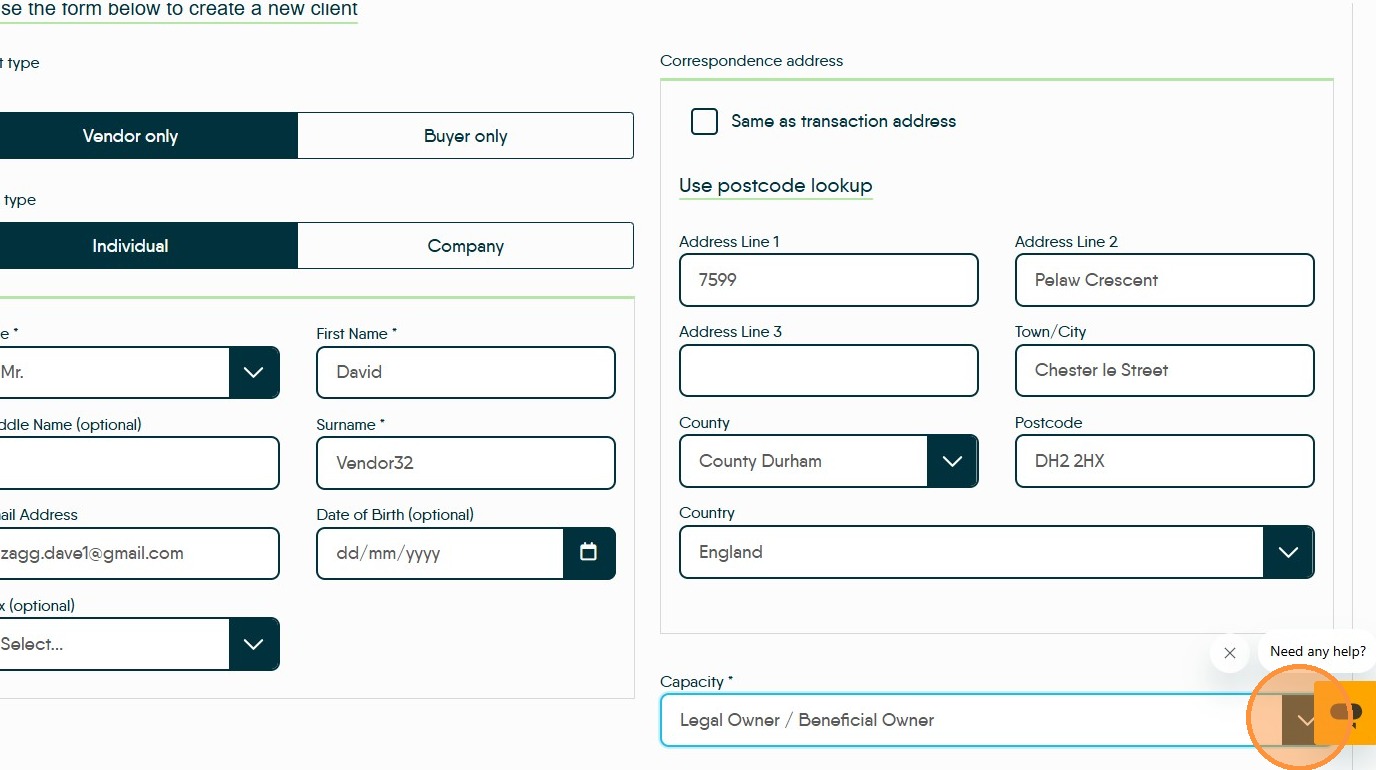
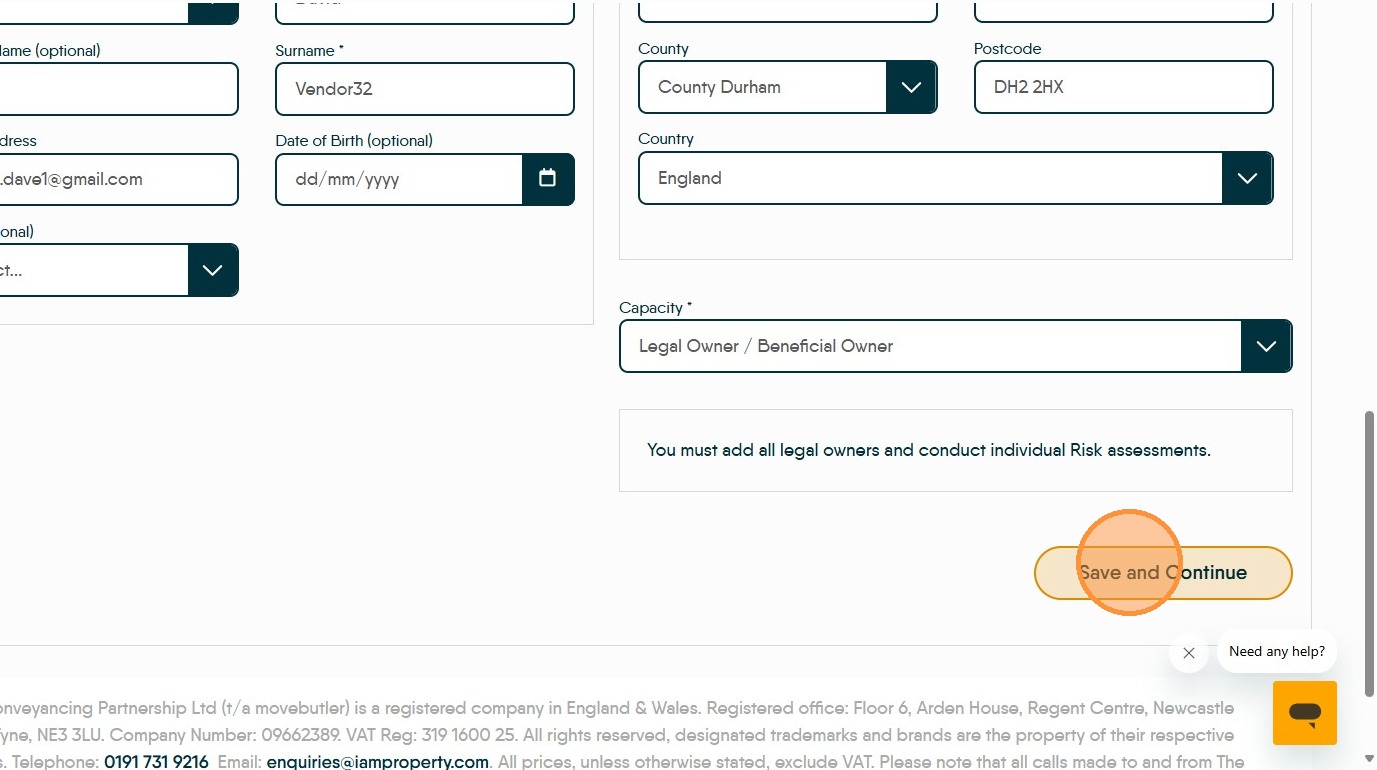
Alert: Alert! Before you complete and move on from this screen make sure ALL legal owners are added to this check and individual risk assessments are raised.
Also make sure your clients are aware that movebutler is being used.
18. Click "Save and Continue"
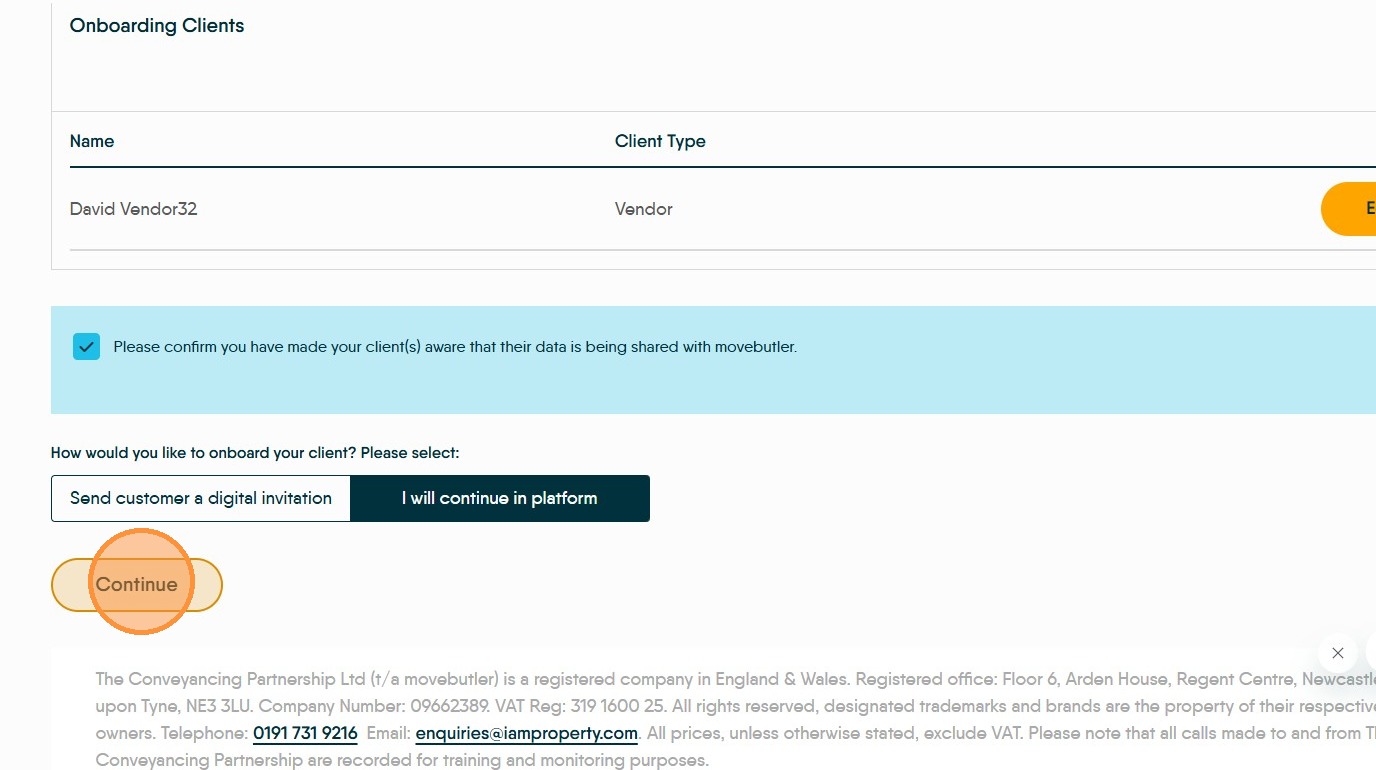
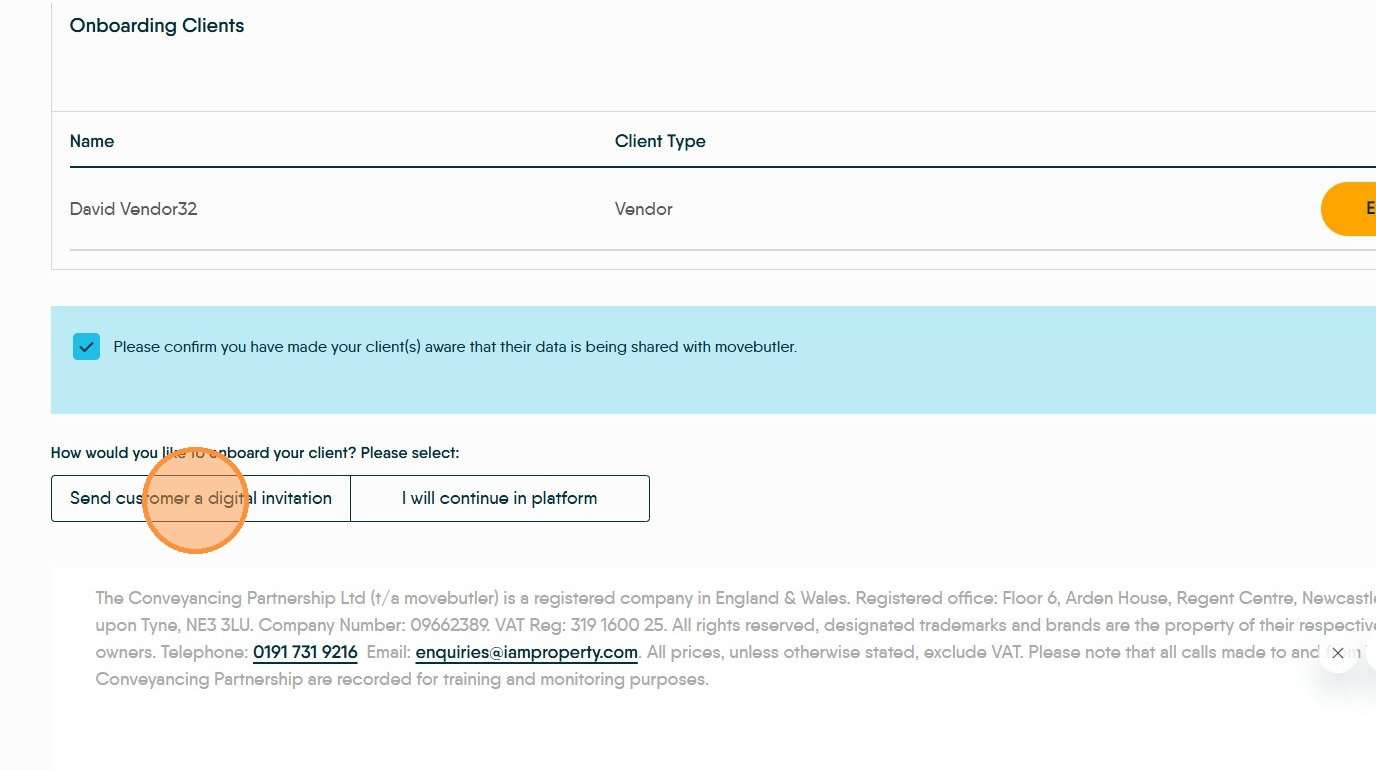
19. Click "Please confirm you have made your client(s) aware that their data is being shared with movebutler."

20. The best practice is to use the online process. So the customer can complete and add their own information. Click "Send customer a digital invitation".
21. If your customer cannot use the digital route. Click "I will continue in platform"
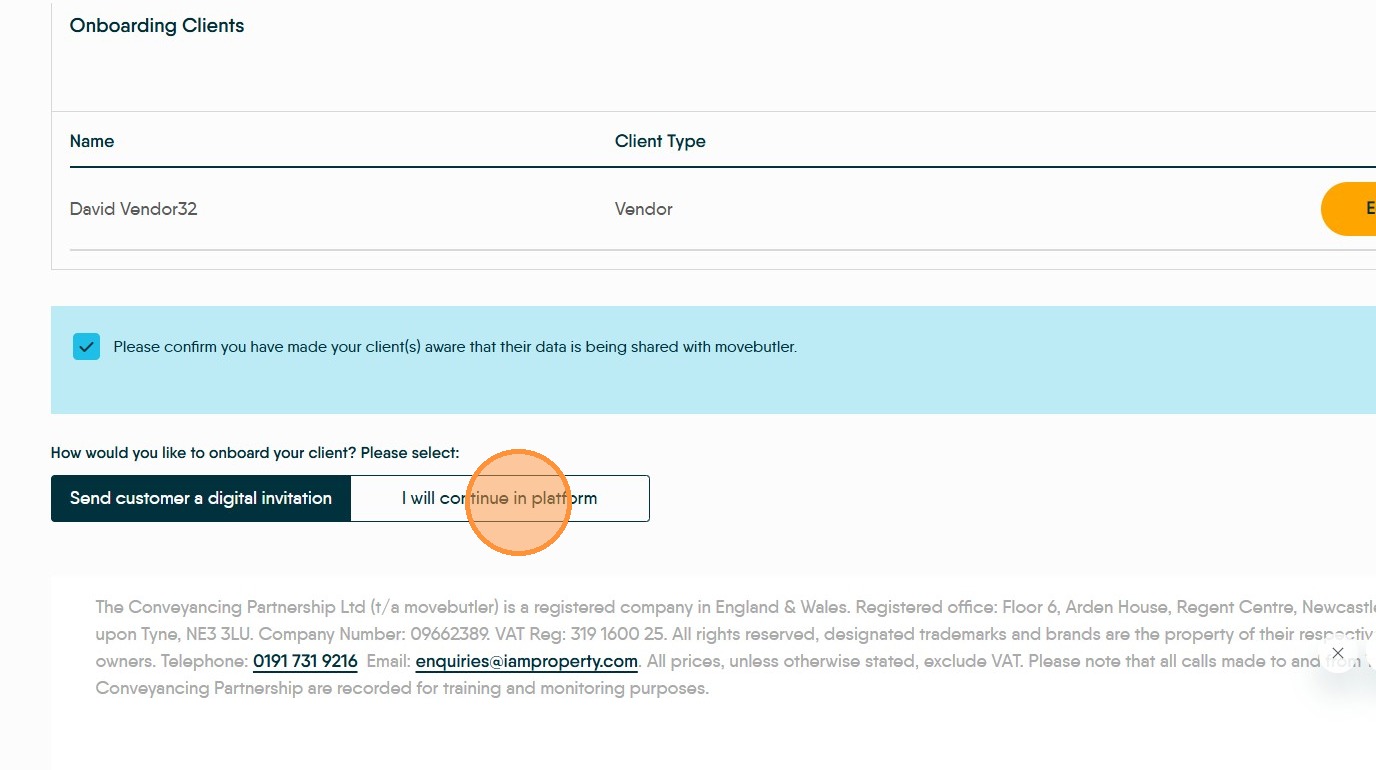
22. Click "Continue" This will send an electronic invite to the client for them to complete the movebutler checks, or allow you to continue in platform to run the checks alongside the customer.