This guide offers a step-by-step approach to configuring Letzone settings effectively, which is essential for optimising prebooked lettings workflows. By following these instructions, users can enhance their operational efficiency, ensure compliance with tenancy terms, and improve communication with tenants through tailored notifications.
1. Navigate to https://crm.iamproperty.com/MyDay

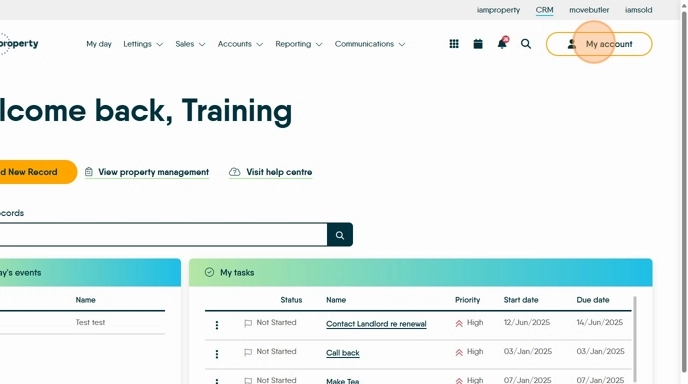
2. Click "My account"
Click "Control centre"
Click "Configuration"
3. Click "Letzone"

4. Click "General". The main Configuration settings for Letzone are in here.

5. Click "Letzone Configuration" If you use Rightmove to reference your clients, add Rightmove.
From this screen you can set the system to show Risk Assessments and Quality Assurance settings. These are both optional, Quality Assurance is set from the Additional Information section of the Tenant Record. Risk Assessments are set in the Letzone module.

6. Click "Letzone Payments" allows you to setup Letzone to take Card payments

7. Click "Letzone Tenancy Terms And Conditions" in this section you can add your letting terms and conditions to be viewed by the tenant

8. Click "Letzone Confirmation Required" to enable a checkbox in the Letzone portal for the tenant to mark that they have read and accept the terms and conditions.
If this is set and the tenant does not click the check box a notification will show whenever you access the Tenant record to remind that they have not accepted the T&Cs

9. Click "Quality assurance tiers" to set these if you use this option.

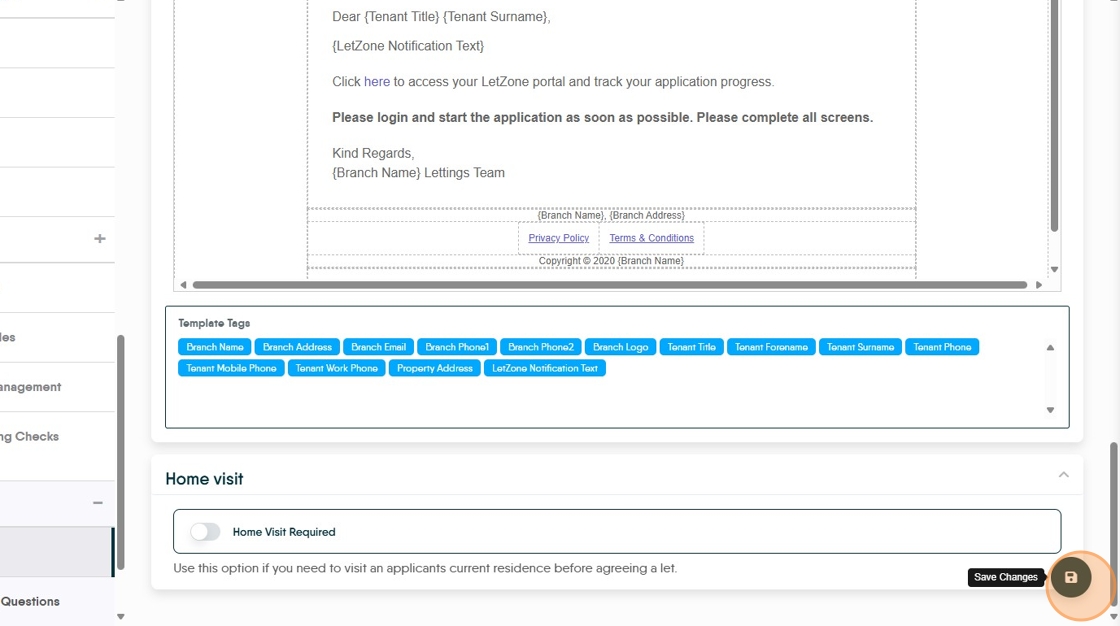
10. Click "Letzone Email Notifications" this is the email that is sent out to the tenants to invite them to use the Portal.

11. If you make home visits prior to the acceptance of a new tenancy this option will allow the outcome of these to be recorded in Letzone. Click "Home Visit Required"

12. Click here to save the updated information