This guide is essential for anyone looking to configure SMTP settings in the iamproperty CRM efficiently. It provides a straightforward, step-by-step approach to ensure your email system is properly integrated, allowing for seamless communication. By following these instructions, users can easily set up their email host, verify configurations, and test functionality, ultimately enhancing their CRM experience. Whether you're an end-user or working with IT, this guide simplifies the process, promoting effective email management.
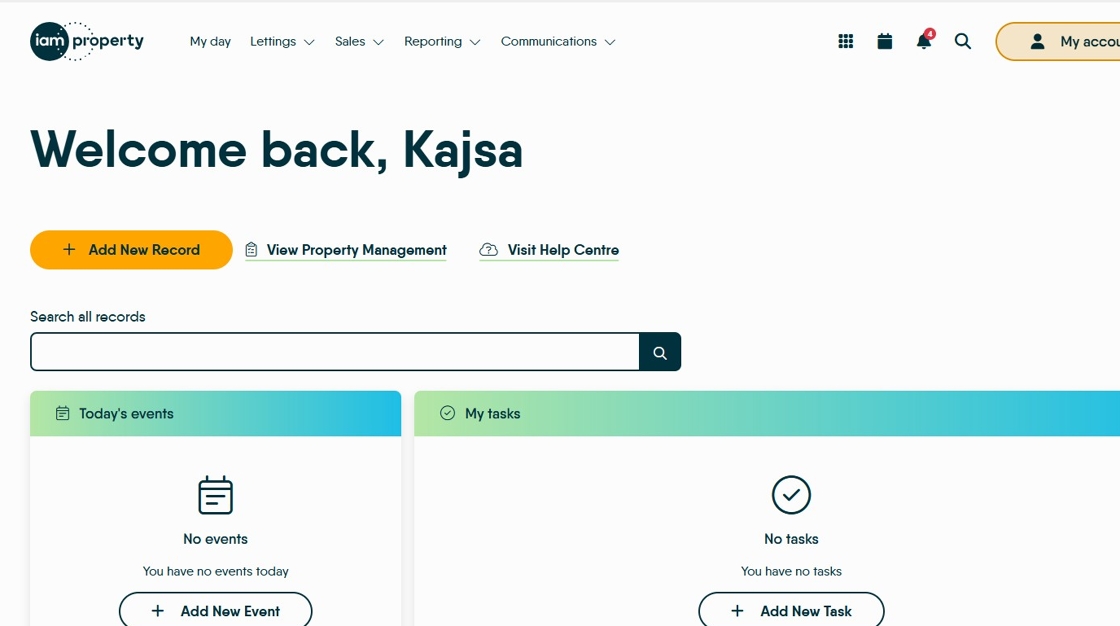
1. Navigate to https://crm.iamproperty.com/MyDay
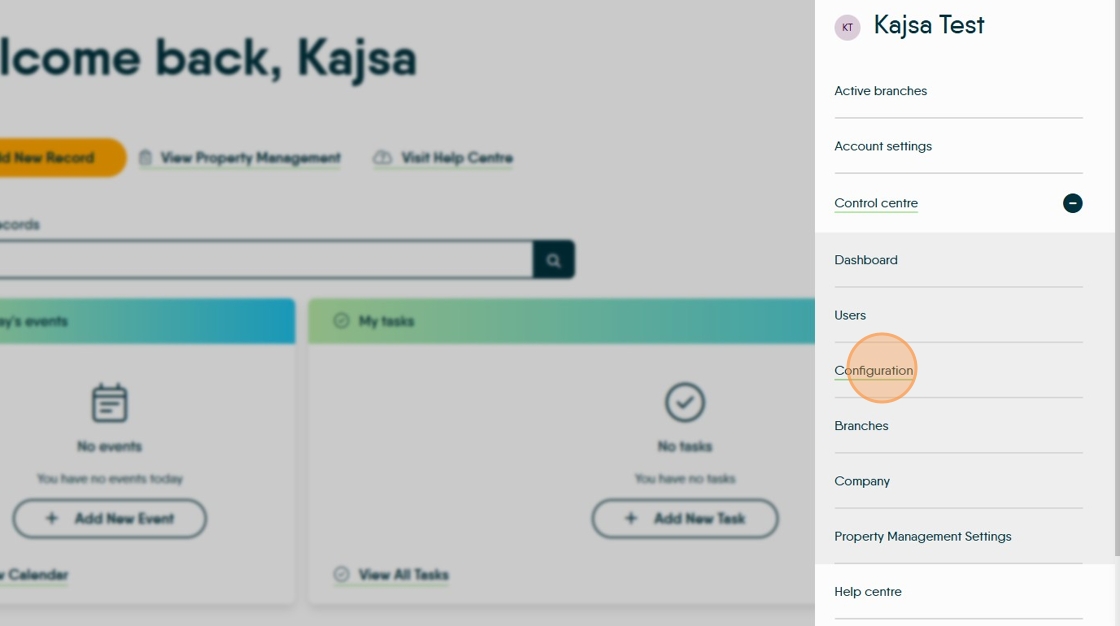
2. Click "My Account"

3. Click "Control centre"

4. Click "Configuration"
5. Click "SMTP"
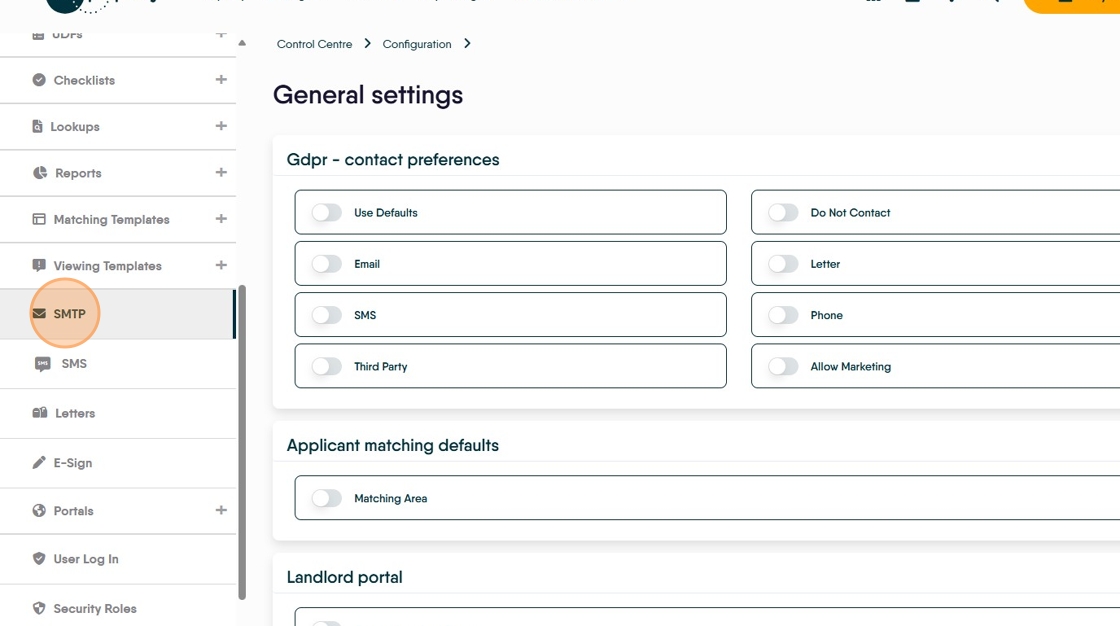
6. This is the email configuration screen. From this screen you can add the email host you use (e.g. smtp.office365.com) and the port number.
This information is in the configuration of your current email system, alternatively speak with your IT provider/department.

7. Click "Edit Settings"

8. Click the "SMTP Host" field.

9. Click the "SMTP Port" field.

10. Click the "Password" field.
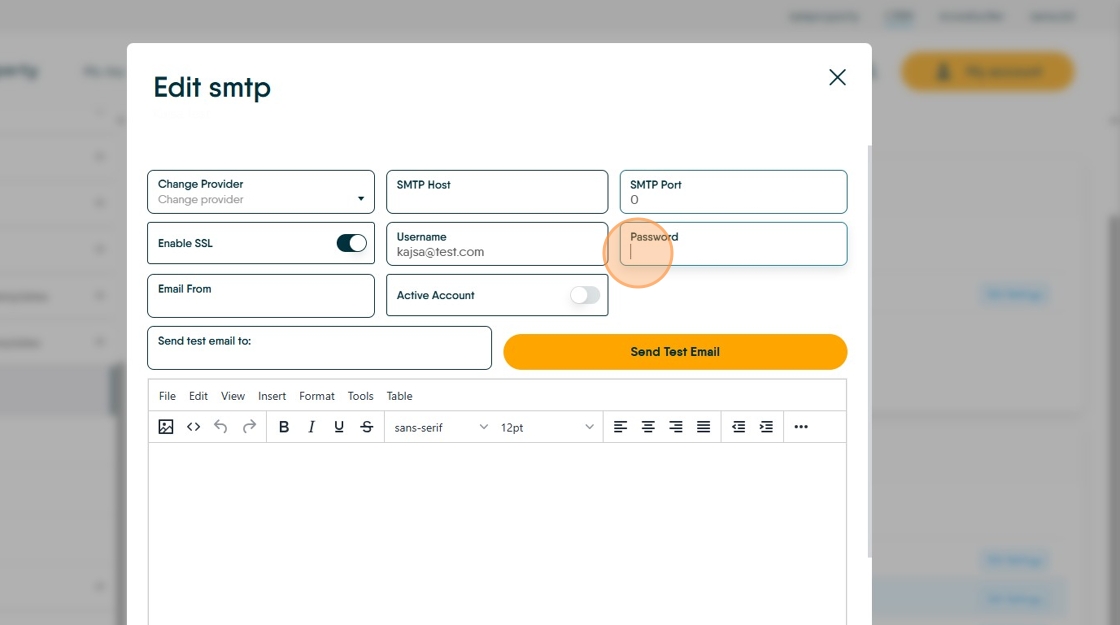
11. Click the "Email From" field and add the email address replies are to be sent to, usually this would be your own email address.

12. Click here.

Testing the Settings
13. Click the "Send test email to:" field. Type in an email address for the test email to be sent to.

14. Click "Send Test Email"

15. Click here.
