This guide is essential for property management and accounts teams looking to efficiently add and manage maintenance invoices within the CRM system. It provides step-by-step instructions on how to upload invoices, track payment statuses, and charge landlords for completed jobs, ensuring a streamlined financial process. By following this guide, users can enhance their invoicing accuracy and maintain better organisation within their accounts.
Tip: This guide will show how to add costs and invoices to a completed job in Property Management and then where to find and how to manage that invoice in the Accounts module.
The 'Best Practice' for this process is the contractors add their own invoices via the Contractor Portal, however we understand this isn't always possible
To test this guide, you will need a Maintenance Job that can be completed and have an invoice added.
1. Navigate to https://crm.iamproperty.com/myday then to your Property Management jobs list.
Complete the Job in the Property Management Module
2. If the Contractor has completed the task and added the Invoice, you will see 'Contractor Completed' on the job record. This means you only need to check the Invoice has been added and feedback given before completing the job. It is possible you will need to add the contractor invoice, if so follow the instructions below.
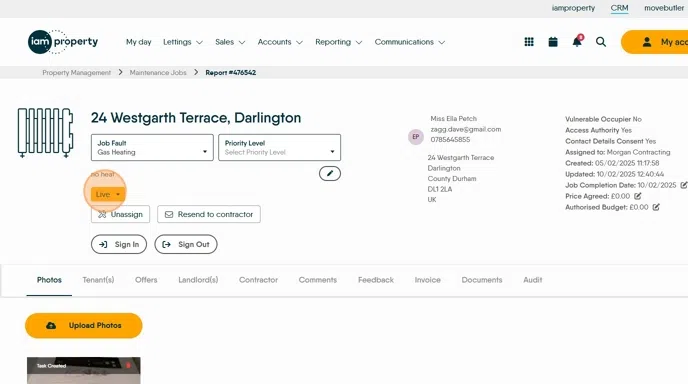
3. Open the job record (click on the property details) click "Live" and
Click "Completed"
Click "Yes, Change"
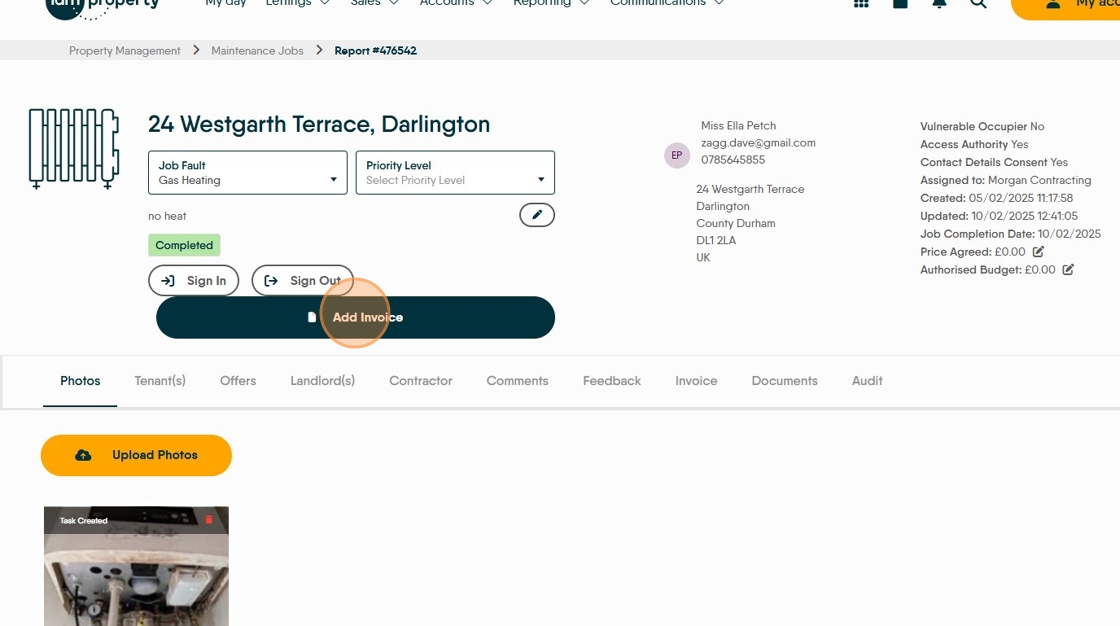
4. Click "Add Invoice" (You may need to refresh the screen to see this.)
5. Click "Upload Invoice" to add an electronic copy of the Invoice

6. add the Invoice Number

7. Click the "Select the Date" field and set the Invoice date

8. Click here and add the value of the invoice
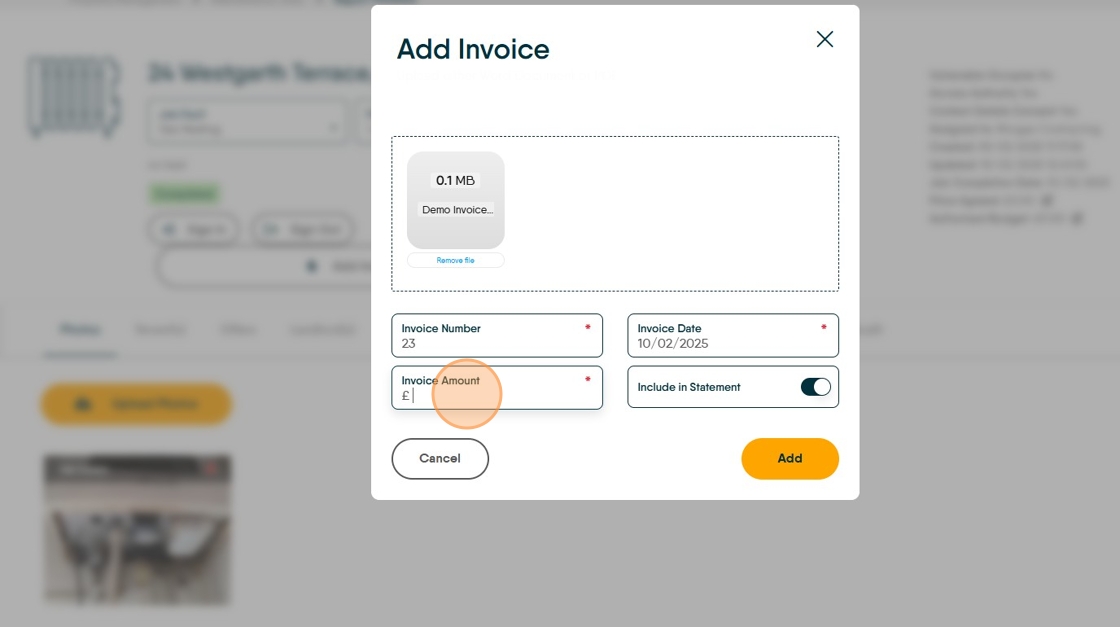
9. Select if you want a copy of the invoice adding to the Landlords statement. Then click "Add" to add the Invoice to the job record and into 'Jobs Awaiting Payment' in the Accounts module

Tip: Tip! You can go back to the Completed task and add or update the Invoice, find the job using the Invoices menu and click on the appropriate job number, or use the filter to show the 'Completed' jobs.
10. Once completed the Job will not show in the Jobs list. If you want to view all the Jobs that have had an invoice added, click on the Invoice option
Click "Invoices"

11. This will show a list of the maintenance jobs that have been completed and if there has been an Invoice or Invoice information added. The information shown is the Invoice number, the value of the invoice as well as if it has been paid. 'Download' shows a copy invoice has been added to the record. If the option to 'Include in Statement' is enabled this will be added to the landlord statement email.
If the number in the 'Job Link' column is clicked you will be taken to the Job record.

Invoicing the Job to the Landlord
Alert: At this point the maintenance job has been completed and added to the list of 'Jobs Awaiting Payment'. It has not been charged to the Landlord at this point.
The next screens will show how to charge the Landlord for the work.
12. Click "Accounts"

13. Click "Accounts dashboard"

14. Once in the Accounts Dashboard, on the 'Expenses' tile click on the 3 line menu and from this list select

15. Click "Jobs Outstanding"

Jobs Outstanding.
Alert: These are the maintenance tasks that have been created and completed in the Property Management module. The jobs will show here if they are noted as COMPLETED regardless of whether an invoice has been added.
16. This will show the list of 'Jobs Outstanding'. Click the 3 dot menu

17. Click "Edit"

18. This will show you the expense record. All the information added to the record in Property Management will show here and can be edited if required. The Expense Category is a mandatory field and needs to be completed.
Click "Select expense category" and select from the list of options.

19. You do not need to check or complete anything in the the Attachments or Info screens. To charge the Landlord for the work, click "Payment".

20. To create the Invoice or charge to the Landlord. Click here.
If the contractors charges have been added to the Property Management job then the details will show in here. If no costs or Invoice has been added you an add all the costings here.

21. You will need to set the Transaction Sub Type from the list. Click "Select transaction sub-type"

22. If you are splitting the expense with your tenant. Click "Split Expense"

23. This will show a slider that can be used to set the payment split between the Landlord and the Tenant. Click here.

Uplift and Commission
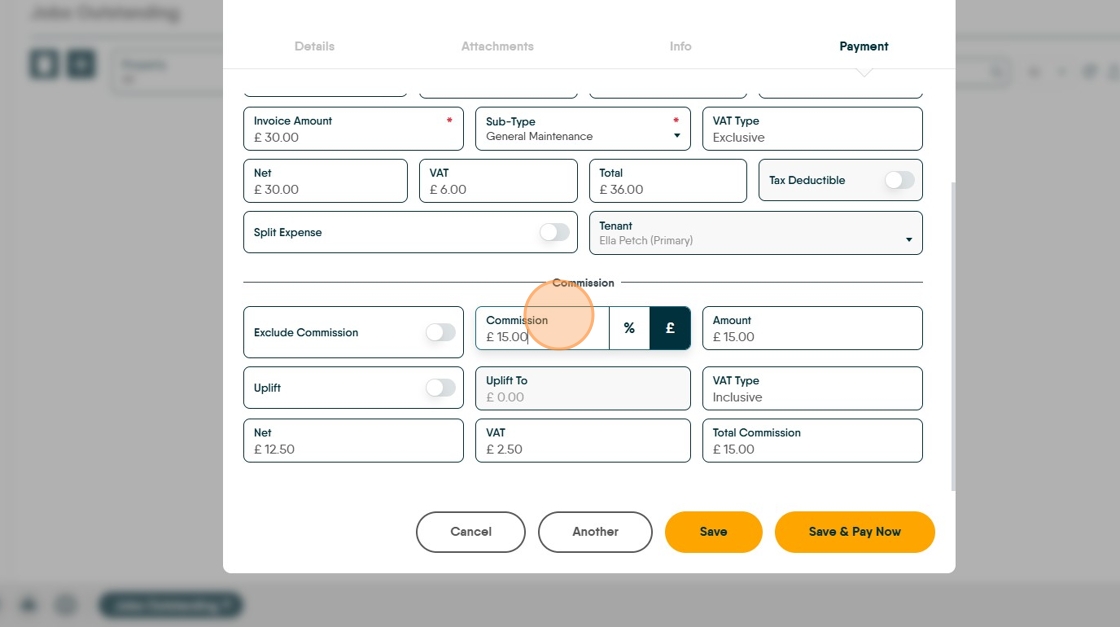
24. If a commission payment is set in the Contractor record it will show here, as either a cash or percentage value (as preset). The commission rate can be edited here or if not enabled, can be enabled here. Click "Commission" toggle to enable or disable.
Commission is a payment from the Contractor to the Agent. It is set in the Contractor record and is paid automatically from the payment to the Contractor into the Agent Ledger.
25. The other option in the 'Commission' screen is the option to 'Uplift' a payment. This adds an additional charge to the Landlord and will be a cash amount added to the Landlords invoice and paid directly to the Agent Ledger.
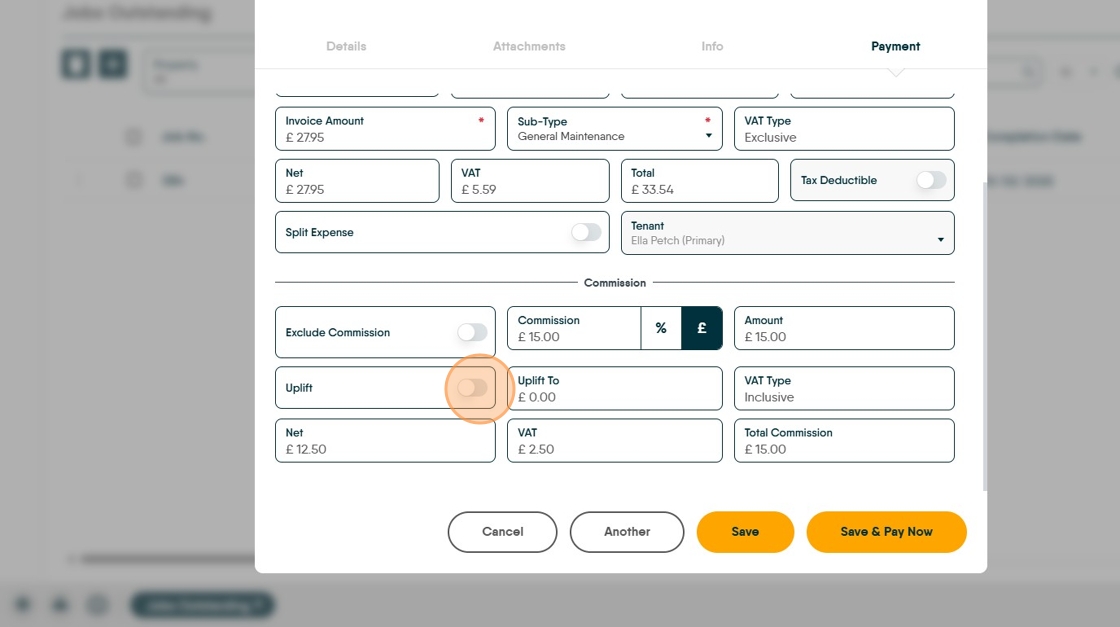
26. Click the "Uplift To" field and type the total amount to be charged INCLUDING the uplift charge. e.g. to uplift this charge by £20

27. Click the "Total Commission" field and type £53.54. This will then create a charge of £20 shown in the 'Total Commission' field.

28. Click "Save"
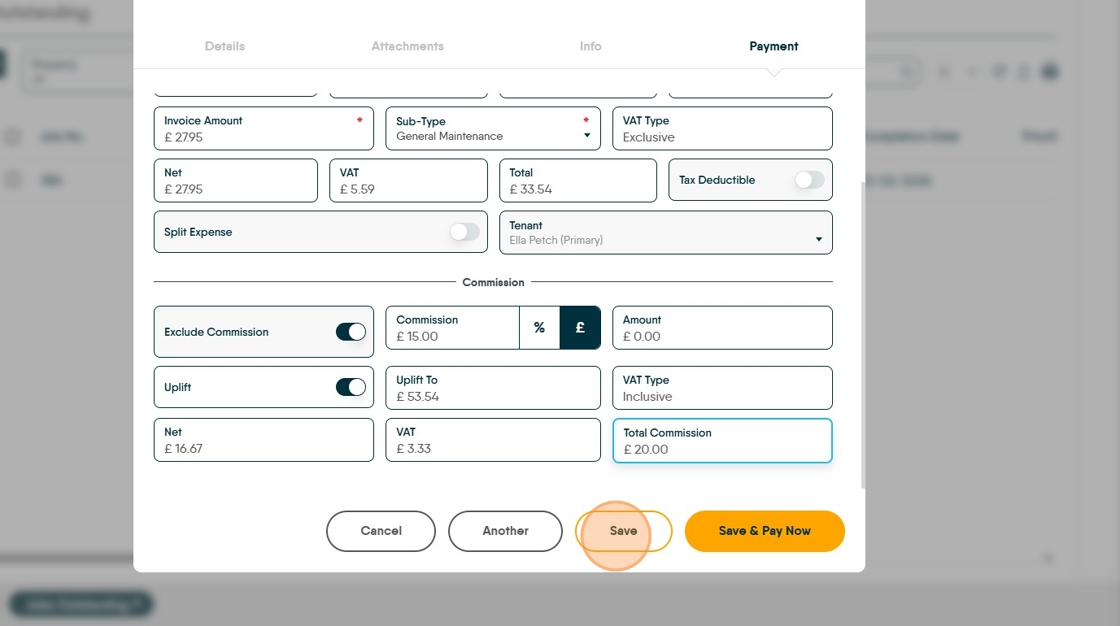
This will create a charge to the Landlord that will be taken when you next 'Perform Payments' at the same time the payment to the landlord will be created.
Alert: Alert! If there are funds available on the property record, you will see an option to "Pay Now?" this allows you to pay the contractor invoice straight away. This can be ignored and carry on as usual or opt to pay (create the payment line in the Client Account or BACS) your Contractor.
To Pay a Contractor Before the Perform Payments is Completed
29. This effectively gives the ability to make a payment to the Contractor before you have done the Perform Payments function. Click "Yes" or click the "Save and Pay Now" option.

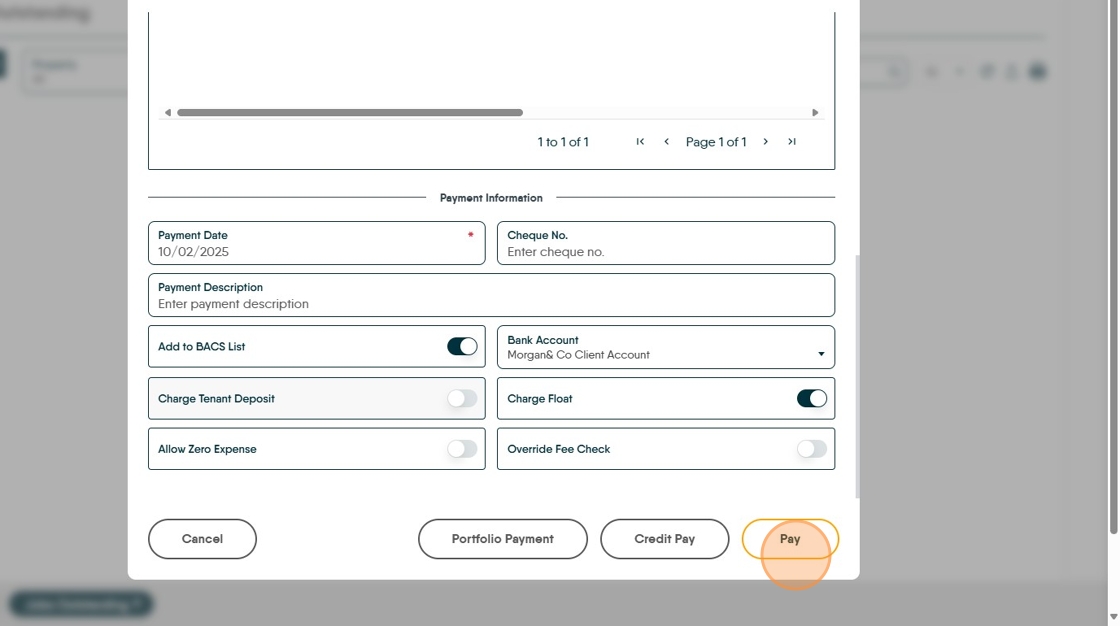
30. The screen will show the details of the Contractor and the Landlord plus property details.
The screen will show the Property Balance, Float (if appropriate), Deposit (if appropriate) plus any funds on the Tenant record.

31. Click this checkbox. To select the Invoice to be paid. It is possible to have multiple invoices for the same job from the same contractor showing on one record. The payment to the contractor can be split so partial payment can be made.
To partial payment, scroll along the payment line and edit the payment in the appropriate field.

32. There are now options to pay the contractor. Use any (retained) deposit or use the float. Select how to pay the Contractor if paying via BACS, select the BACS option, otherwise if paying a bank transfer disable the BACS option.

33. Click "Pay" and the payment will be created either in BACS or the Client Account.
Alert: Alert! Although you have processed the payment to the Contractor in CRM, it still needs to be processed by a BACS file upload or the bank transfer made in your 'real world' bank.