This guide provides a walkthrough for creating and configuring entries in the CRM Calendar, essential for managing appointments and schedules in real estate.
It covers adding appointments, filtering views, and customising the calendar. It also includes tips for integrating with Outlook and Google calendars, helping users sync events across platforms.
Viewing this guide will help streamline calendar management and boost productivity within the CRM system.
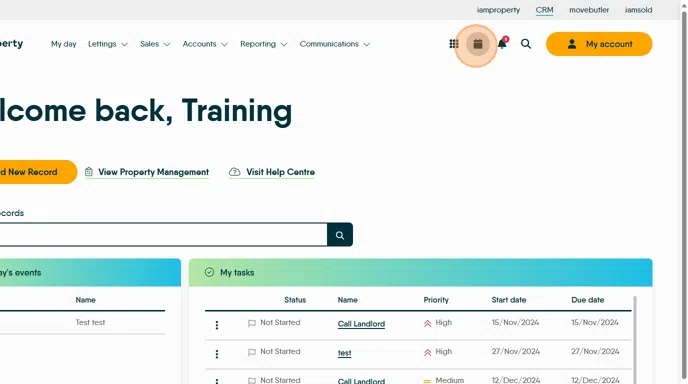
1. Navigate to https://crm.iamproperty.com/MyDay

2. Click "Calendar" or Click here then click "Calendar"
Adding a Calendar Entry
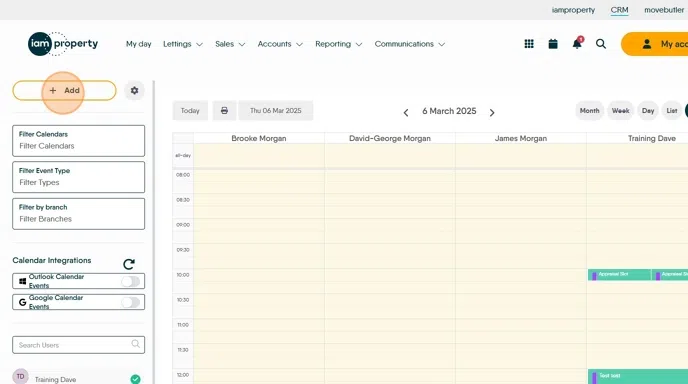
3. There are 2 options to add an entry to the CRM Calendar.
Click "Add" then from the options select the type of appointment you want to create.
4. Alternatively, right-click on the date, time that you wish to create the appointment.
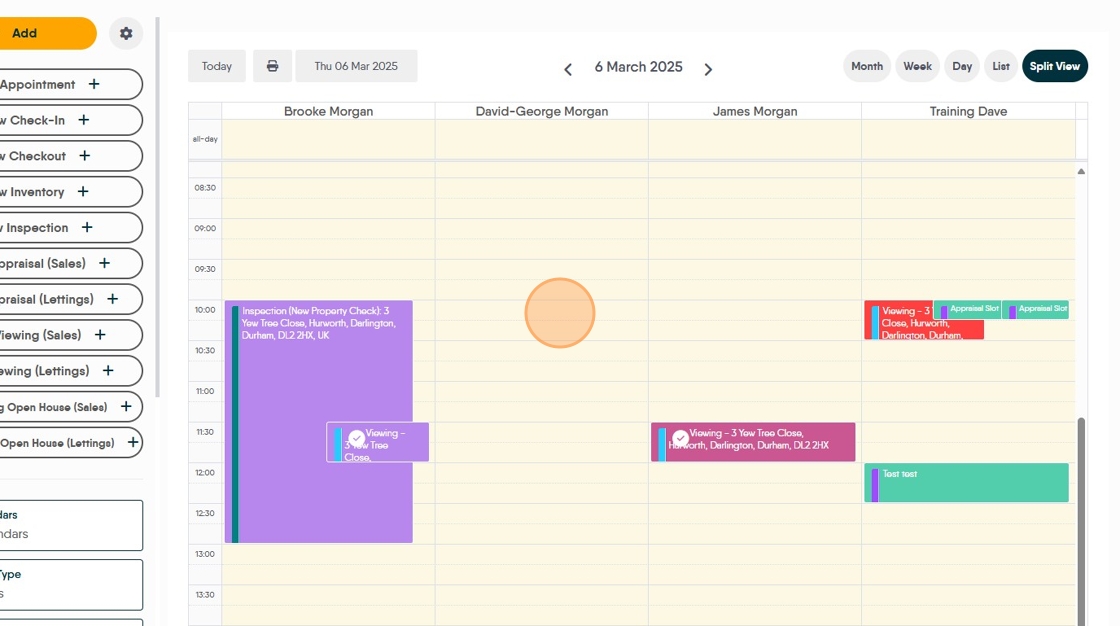
5. Select the appointment type from the drop down list.

6. In this example we are using 'Viewing'.
Select the appropriate option from the "Status" menu option.

7. Click "Viewing Confirmed" if the viewing has been confirmed.
If not confirmed the viewing will show in the calendar in red, and will show as unconfirmed in the Applicant and Property records.

8. Click here to search for or add the applicant.

9. Click here to search for the Property. A new property can be added from here as well.
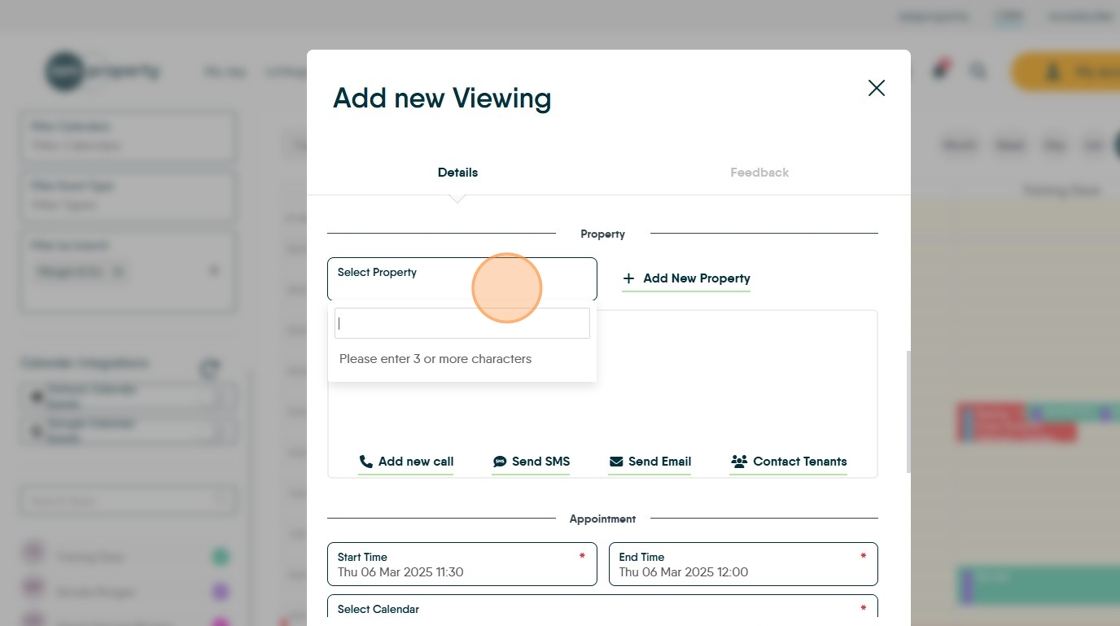
10. The details of the property plus the Vendor/Landlord will also show.
The 'Send Email' 'Send SMS' options can be used to send notifications.

11. If you have right clicked on the calendar to create the appointment the time and date will be pre-set, if you haven't used that route, add the date and time here.

12. Complete the additional fields as required.
Calendar will be set based on the type of appointment you are creating. Set any reminders you want.

13. Assign to Users will be set from the Calendar you are using, however this allows you to assign the appointment to any user or multiple users.
Click "Brooke Morgan"
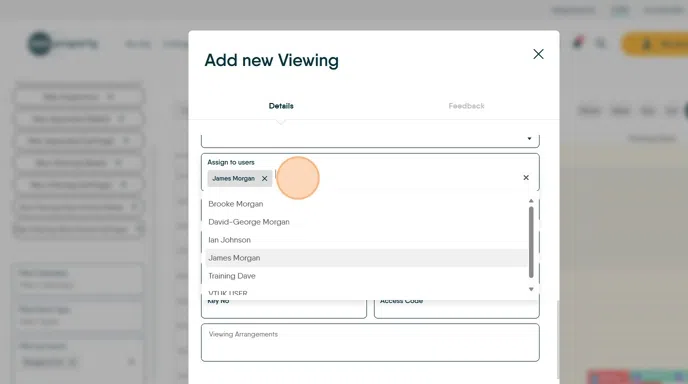
14. Click "Save Viewing"

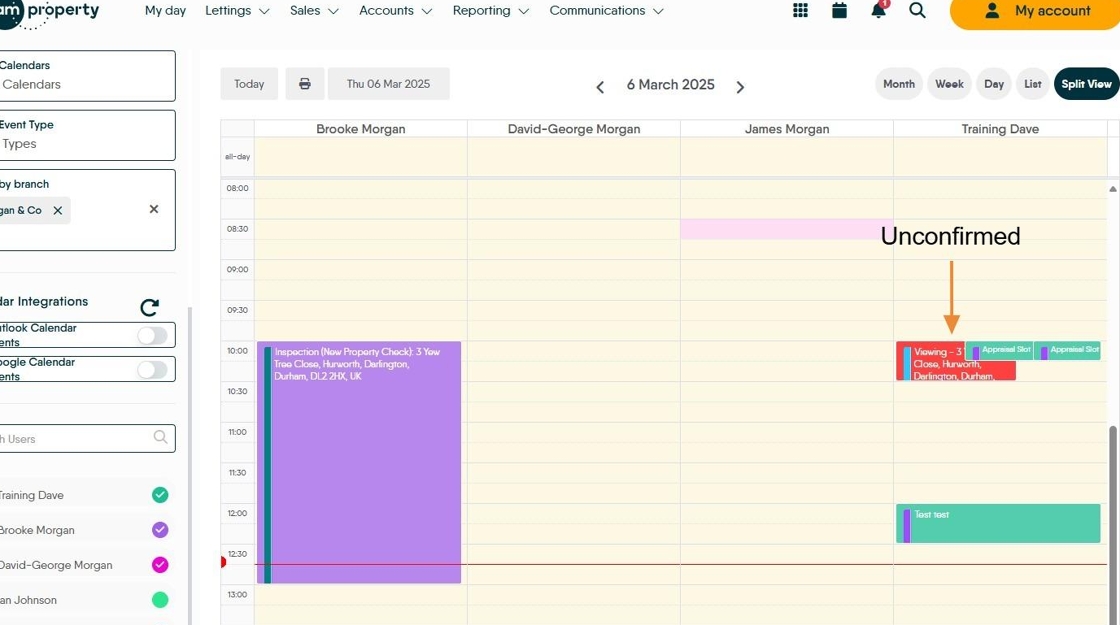
15. The appointment will then show in the Calendar.
You can see an unconfirmed appointment shown in red and a conformed appointment in the colour allocated to that user.
Managing Calendars
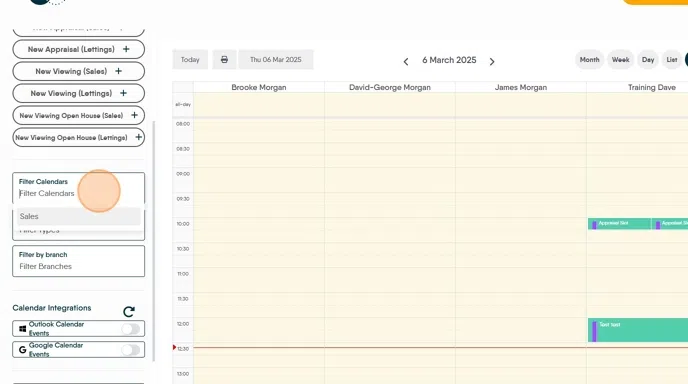
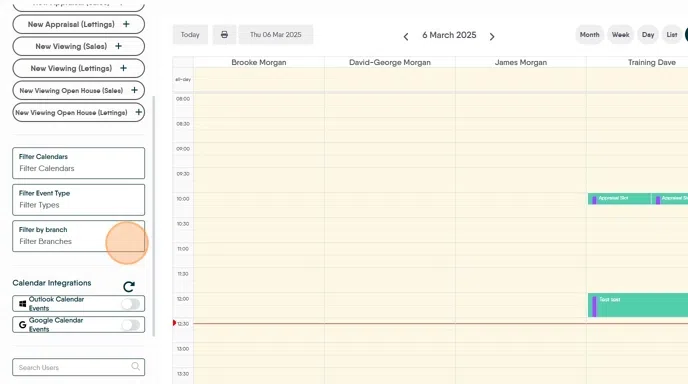
16. You can filter the calendars to just see the calendar you want.
Click the "Filter Calendars" field.
Click option from the drop down menu.
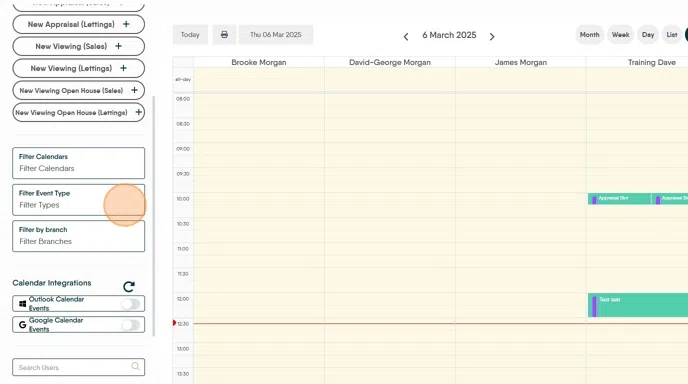
17. Click the "Filter Types" field to filter by specific appointment types.
Click here.
18. Click the "Filter Branches" field to filter by specific branch.
Click "Morgan & Co"
19. You can also opt to show selected colleagues calendars on your calendar. Select the specific Users whose calendar you want to see.

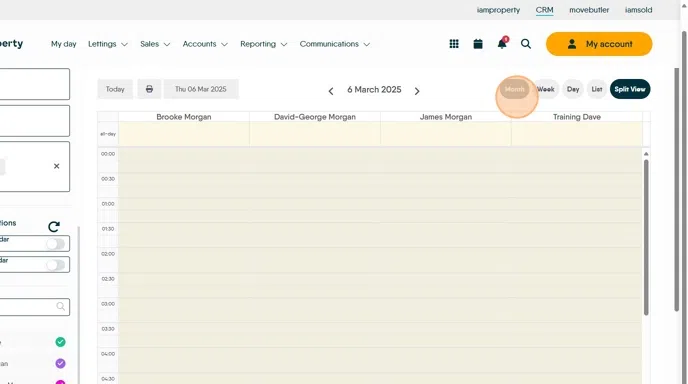
20. There are also options on what information you see on the screen. Click "Month" to see a month view
Click "Week" to see the whole week
Click "Split View" to see individual calendars for each users you have selected.
Configuring the CRM Calendar
21. Click here to access the configuration area.

22. Click here to show weekends in the Calendar. The start and end dates of the day can also be set here.

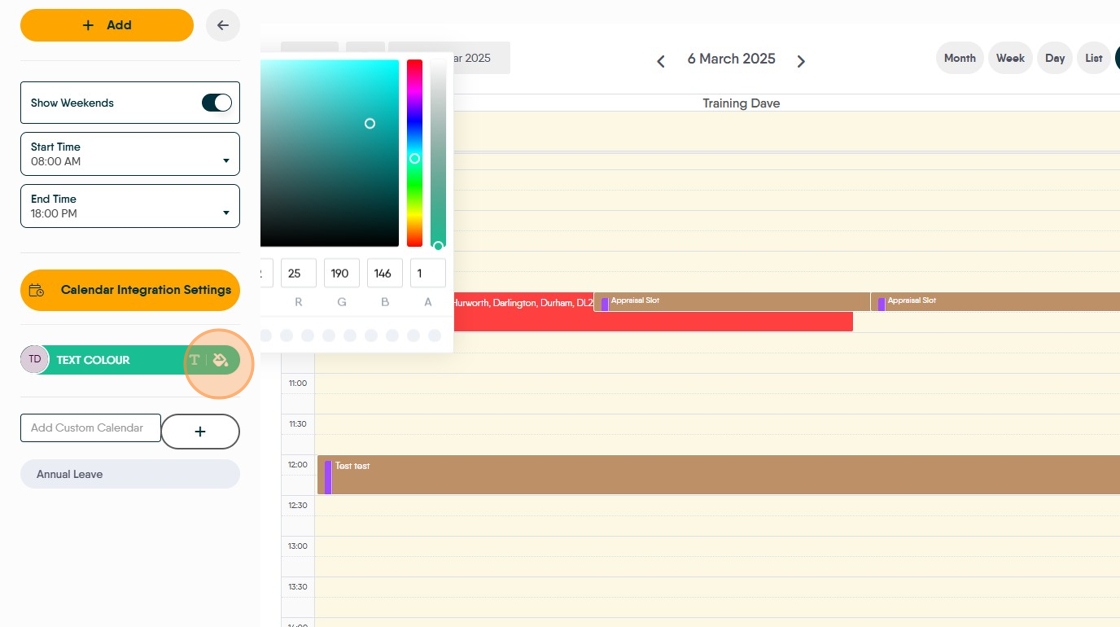
23. Click here to change the text colour assigned to a user.
Click here to edit the colour, be careful not to select a colour that is hard to view
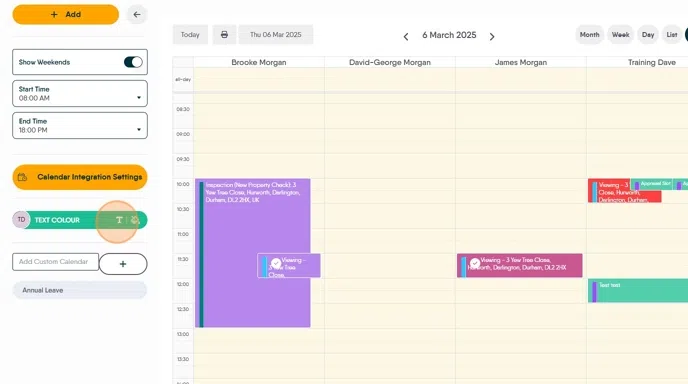
24. Click here to edit the main background colour for the user.
25. Click here to add a custom calendar.
If you are part of a group of Agencies please check before adding a personal calendar as it can stop others seeing you appointments.

Integrating with Outlook or Google Calendars
Alert: Alert! Before Integrating your Calendars check with your IT department to ensure permissions are in place to allow this.
Failure to connect is usually down to a security setting in your email service.
26. Click "Calendar Integration Settings"

27. Click here.

28. Click here.
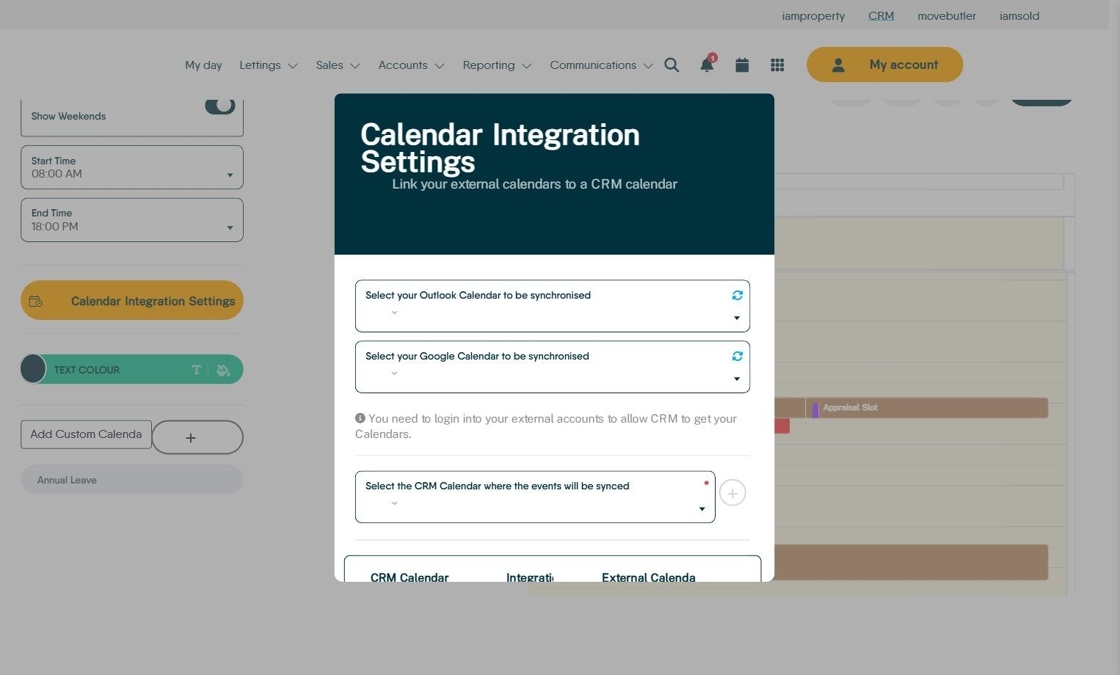
29. If you are using Outlook this screen will show, follow the instructions to sign in etc.
30. Click here and set the calendar that the synchronised information comes from

31. Click here and set the calendar that the synchronised information goes to.

32. The calendar information will show at the bottom of the screen.

33. Click here to close this screen.

34. Click here to return to the initial calendar screen.

35. Click here to enable/disable the Calendar Integrations.

36. Click here to refresh and update the calendar info.
The CRM Calendar and the Outlook/Google calendar will now show the entries from each other, a new entry in CRM will show in Outlook/Google and vice versa.
